


Pillow Making 101

Patterned Pillows Add Color to Transitional Living Room
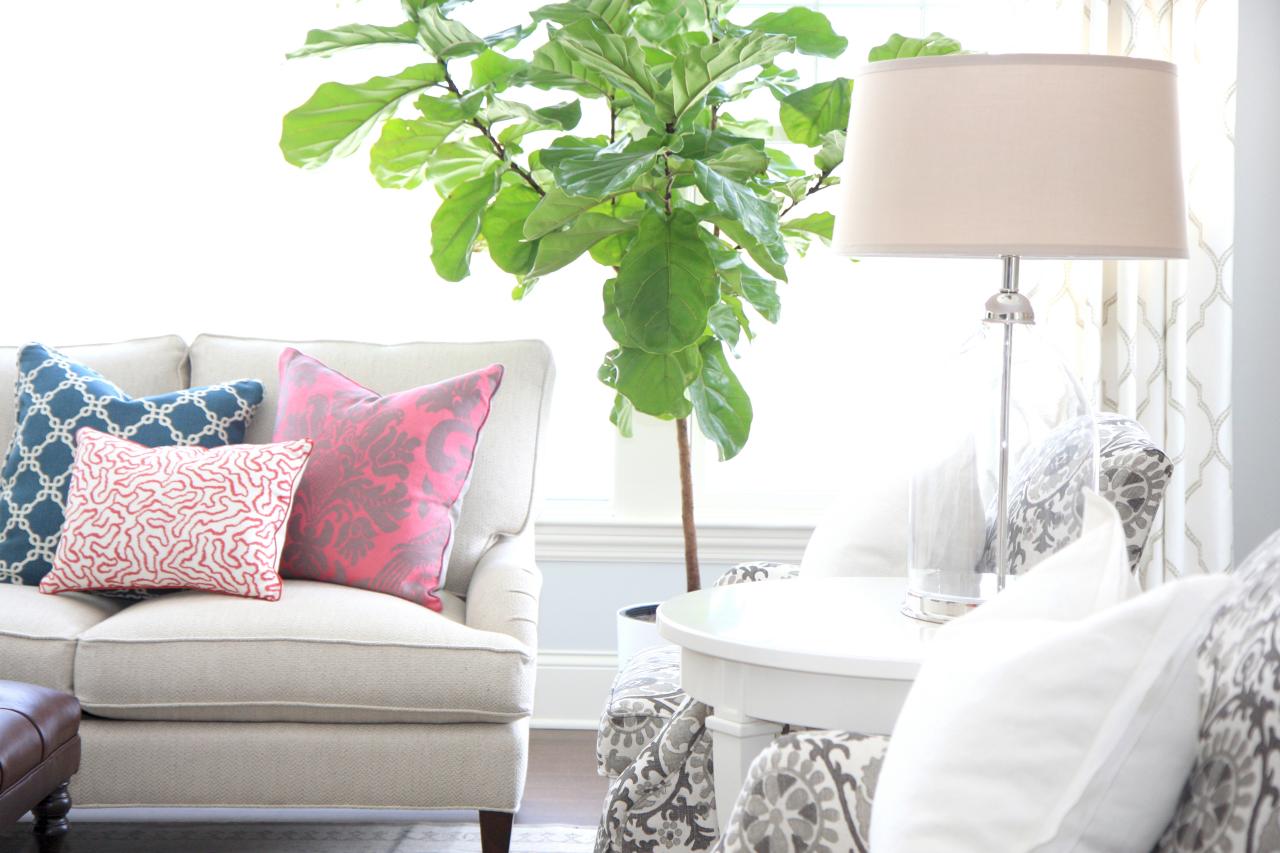
Stylish patterned pillows lend color and personality to this neutral living room. A fiddle leaf fig tree brings the outdoors in, adding an organic touch to the sophisticated space.

Photo by: Bria Hammel Interiors
Bria Hammel Interiors
Pillows add color, pattern and texture to a room. They soften hard edges of furniture and create a much warmer space. They can be elegant or just plain fun.
Pillow covers are a quick, easy and inexpensive sewing project. When shopping for fabric to make throw pillows, try fabric and upholstery stores, and look for fabrics that enhance the decor of your room.

Throw Pillow Decorating Inspo for Those Who Believe More is More 40 Photos
Lovers of maximalist design know that when it comes to throw pillows, you can (almost) never have enough. Browse these photos for ideas on how to add color, pattern and texture with throw pillows, and get ready to pile 'em on your own bed or sofa.
Ready to add brighten your home? Here's the plan:
Materials and Tools:
pillow form
fabric
trim (if desired)
matching thread
scissors
straight pins
sewing machine
Steps:
1. I like to make pillow covers that can be removed for washing. Since virtually any type of fabric can be used to make a pillow cover, check the cleaning instructions on the end of the bolt of fabric before buying.
If you intend to wash the pillow cover, you must preshrink the fabric and any trims. Many fabrics can be preshrunk using the washer and dryer. Trims cannot be washed in the washer, as they will tangle. Preshrink trims by filling a basin with very warm water and soaking the trim for a few minutes. Remove the trim from the basin and squeeze out any extra water. Hang to dry.
If you aren't planning to wash the pillow cover, it's unnecessary to preshrink the materials.
2. To create the front of the pillow cover, cut one piece of fabric the same size as the pillow form. Because the fabric should fit snugly over the pillow form, this measurement includes a half-inch seam allowance. If the pillow form is very firm, it may be necessary to add an inch to both the length and the width of the pillow.
3. To create the back of the pillow cover, cut one piece of fabric the same width as the front piece of the pillow and 4 inches longer than the length of the pillow front. Fold the piece in half lengthwise and cut along the fold. Turn this edge, which measures the same as the width of the pillow, under a quarter-inch and press. So that no raw edges will be exposed, turn under again and stitch. Repeat with the other back piece. (If the fabric you've chosen is very thick or stiff, you may want to cut the back piece of fabric exactly the same size as the front. This pillow cover will not be easily removed, as it will be slip-stitched closed.)
4. If you're using a trim, attach it in this manner: With raw edges together and beginning in the middle of a side, place the trim so that 1 inch extends beyond the seam allowance and is against the right side of the pillow front. Pin in place. When the ends of the trim meet, the second end should also be extended 1 inch into the seam allowance. Sewing very closely to the trim, use your zipper foot to sew the trim in place.
5. Lay down the pillow top with the trim side up. With right sides together, lay half the pillow back on the pillow front and pin in place. Pin the other half of the pillow back in place. The two pillow backs will overlap each other by 1½ inches. Using the stitching line that attached the trim as a guide, stitch the back and the front together. (If the back of your pillow is a single piece of fabric, sew as directed, but leave an opening into which your pillow form can be inserted.) Trim the excess fabric from the corners.
6. Turn the pillow cover right side out and insert the pillow form. Slip-stitch closed if necessary.


