


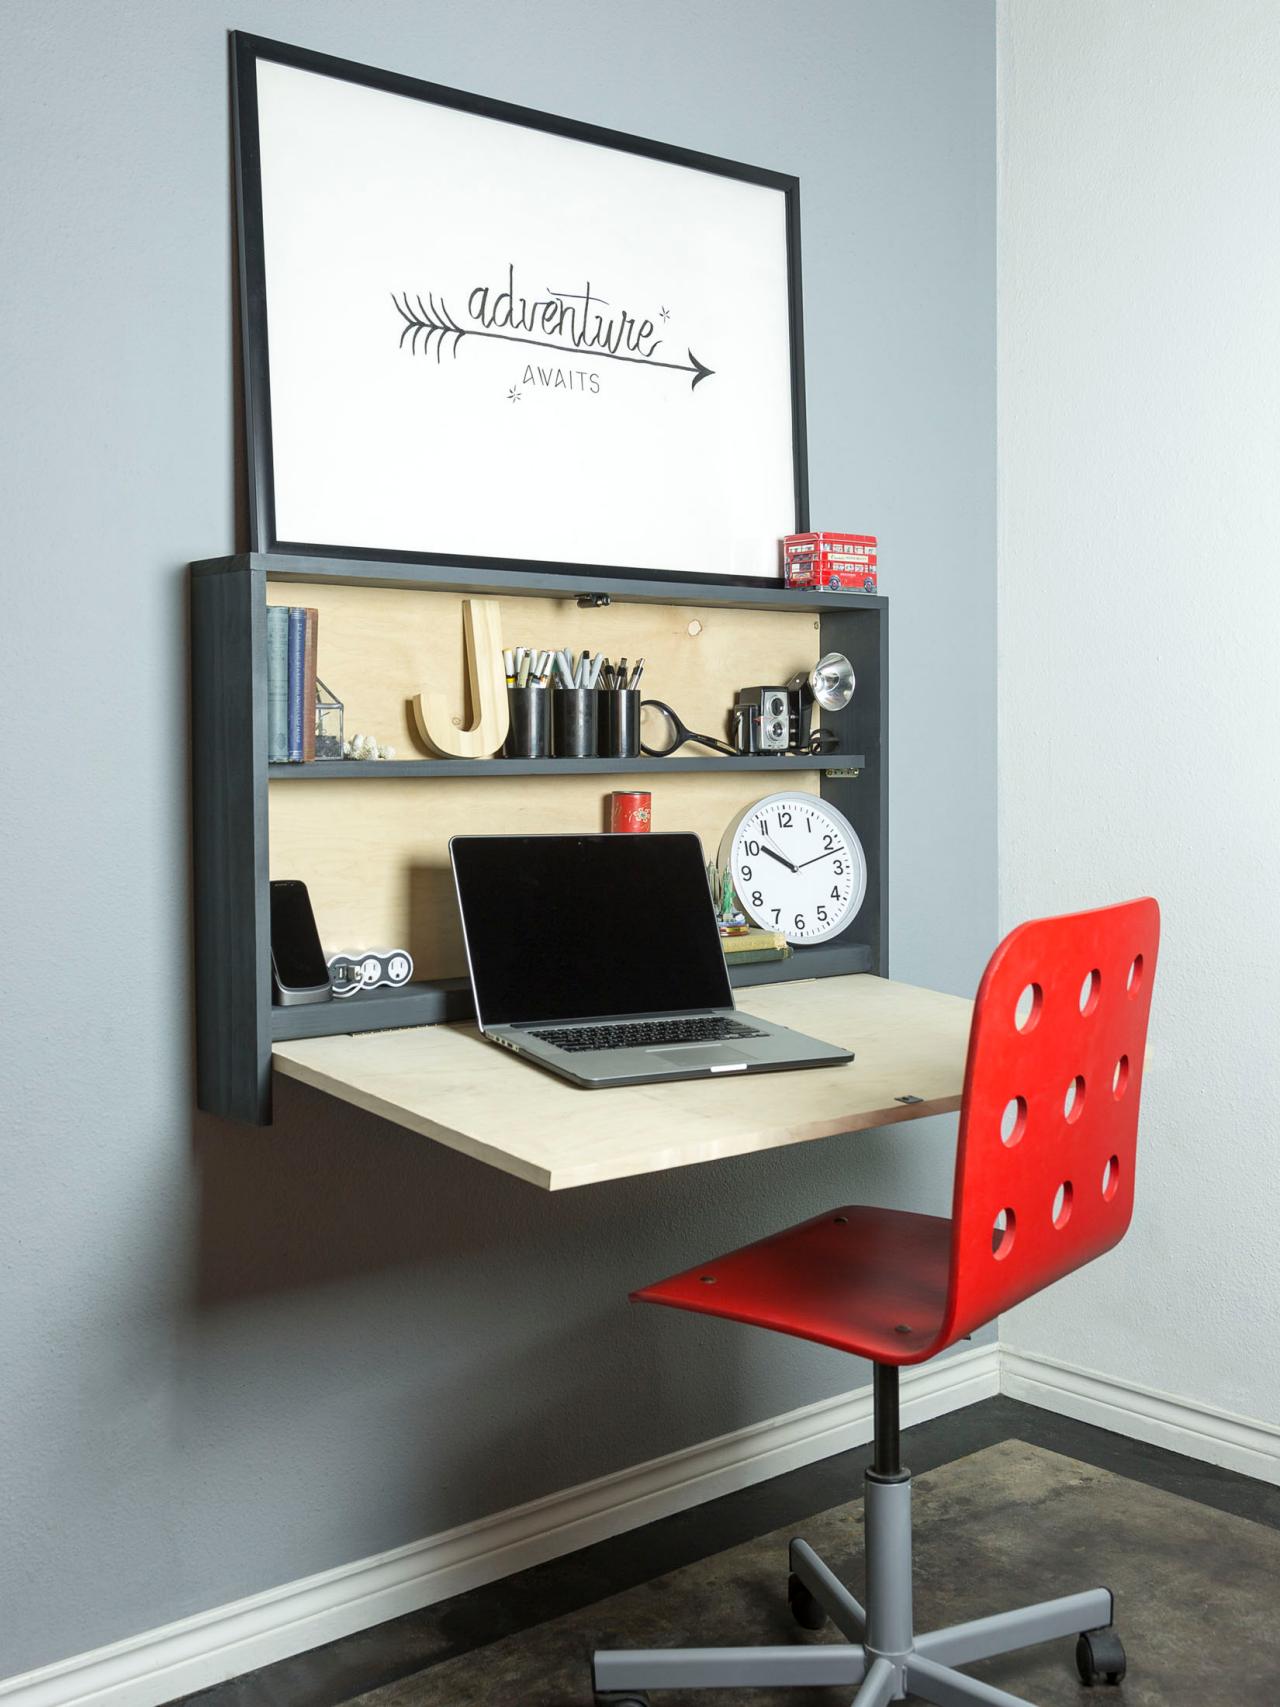
How to Make a Hanging Desk
Whether used for saving space or just a great way to disguise clutter, this hanging, folding desk is a clever work space solution for the bedroom.


Materials Needed:
- (1) 1"x6"x8' board
- (1) 1"x4"x6' board
- (1) 2"x4"x6' board
- (1) 4'x8' plywood, 3/4" thick
- saw
- sander and sandpaper
- 1-1/2" wood screws
- finishing nails
- 3/4" birch veneer trim
- iron
- paint or stain, as desired
- piano hinge, between 24" and 39"
- 2 L brackets
- 1 spring loaded magnetic closure
- 2 folding supports (optional)
Cut List:
- (1) 1”x6”40-5/8 - top
- (2) 1”x6”x24-1/16” - sides
- (1) 1”x4”x39-1/8” - top shelf
- (1) 2”x4”x39-1/8” - bottom shelf
- (1) 3/4”x24”x39” - plywood front
- (1) 3/4”x20-9/16”x39-1/8” - plywood back
Building the Frame
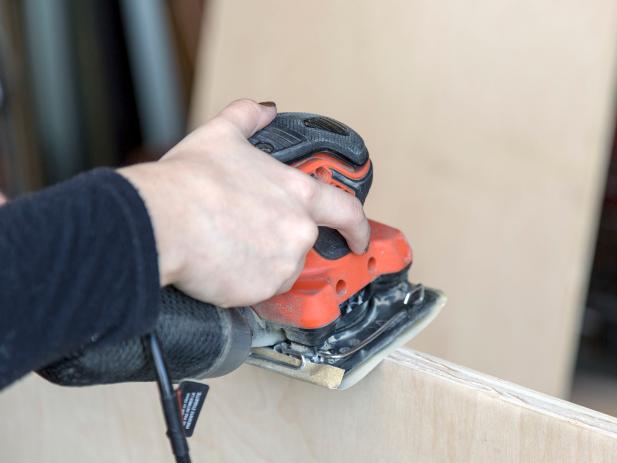
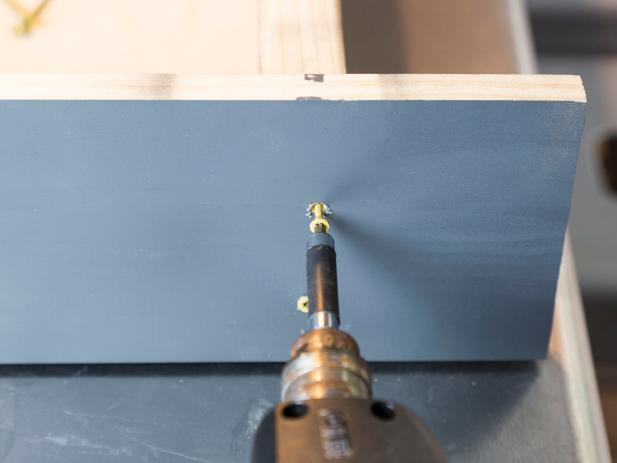
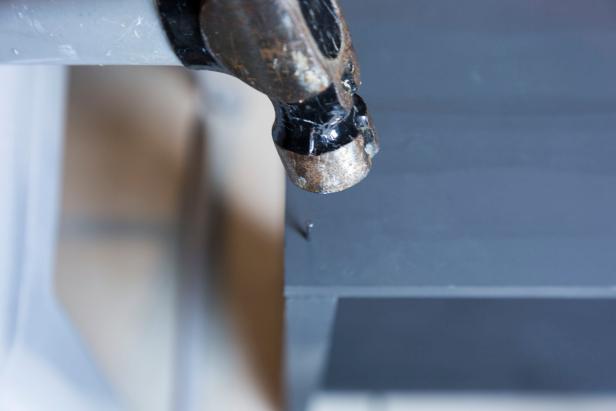
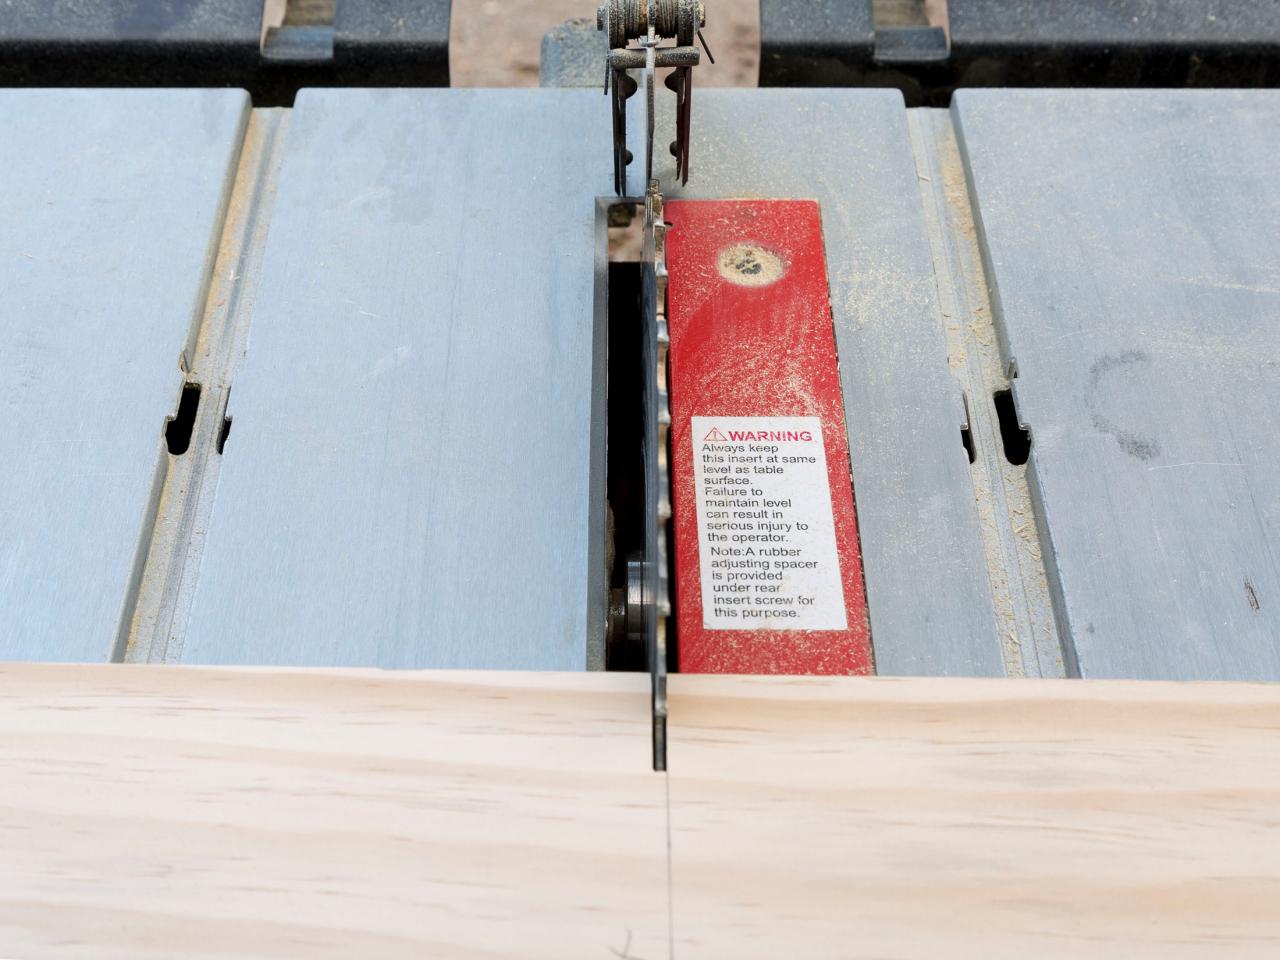
Cut the boards according to the cut list. (Image 1) Sand all edges of the boards to smooth and remove sharp edges except for the edges of the plywood pieces. (Image 2) Paint or stain/seal the pieces as desired. (Image 3) Lay the plywood back on a flat surface. Arrange the top and sides, front-facing edge down, around the plywood back with the top extending to the outside edges of the sides. Sandwich the 2”x4” bottom shelf between the two sides on the open end 3-1/2 inches from the bottom of the sides. It should be resting on the plywood back. Use wood screws through the outside of the sides and into the 2”x4” shelf to secure it in place. (Image 4) Use finishing nails to attach the top to the top edges of the sides. (Image 5) Remove the plywood back and set aside.
Adding the Desktop

Sam Henderson
Create Your Own Folding Desk
Sam Henderson
Create Your Own Folding Desk

Sam Henderson
Create Your Own Folding Desk
Sam Henderson
Create Your Own Folding Desk
Sam Henderson
Create Your Own Folding Desk
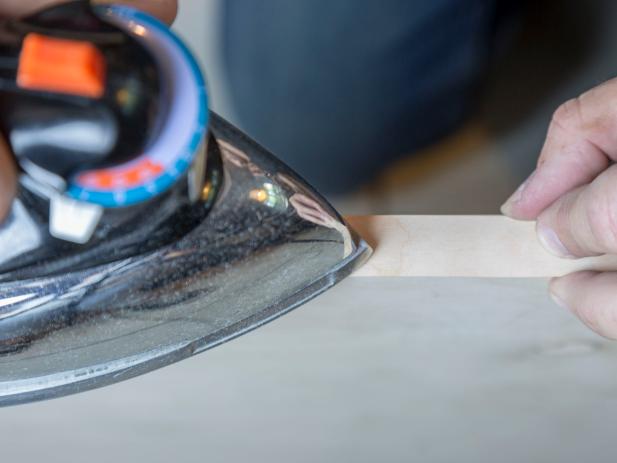
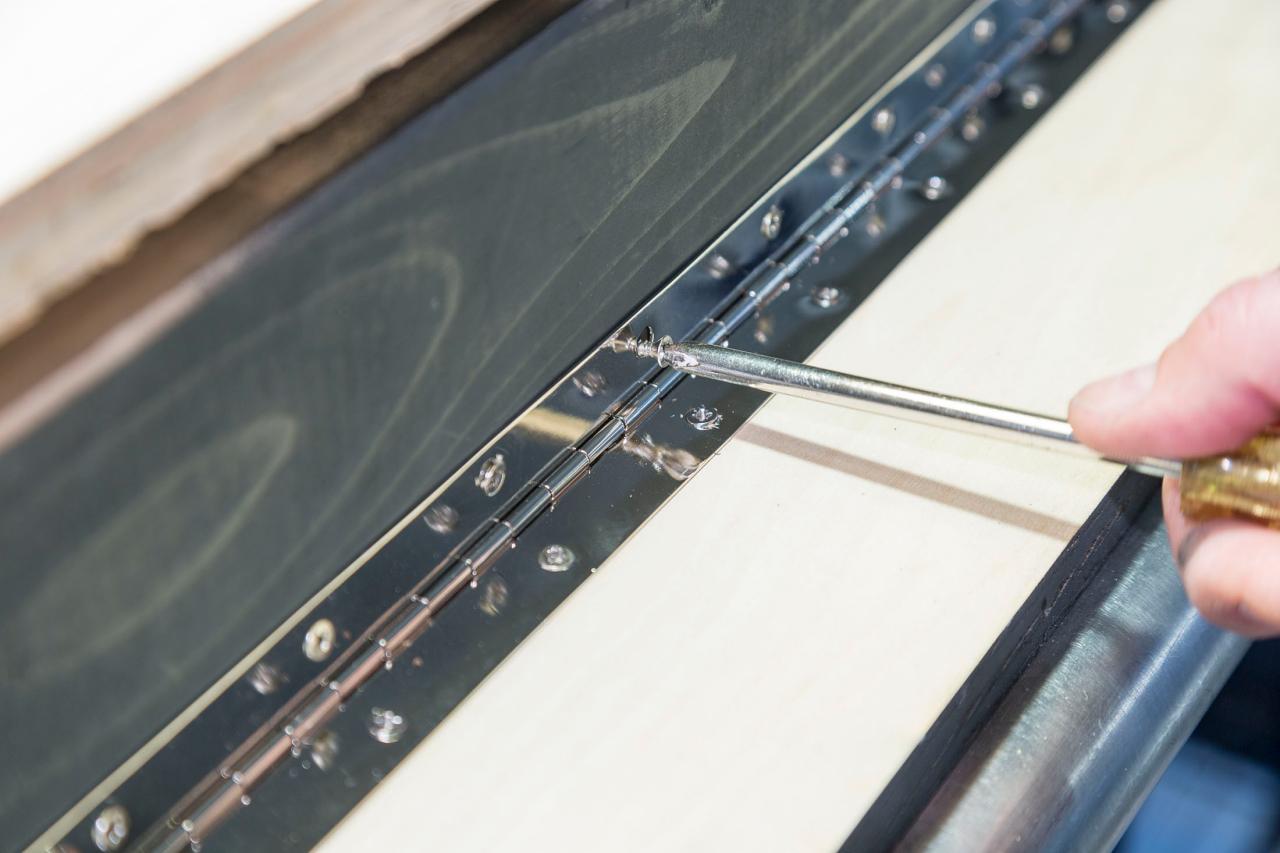
After cutting the plywood front use 3/4” birch veneer trim to conceal the raw, layered edge. Press the trim in place with an iron and remove any excess. (Image 1) Sand the edges and paint or stain/seal as desired. Lay the finished front, designed side down, on a flat surface. Place the desk frame on top of it, front facing edge down. Position the front with just a tiny gap at the top (about 1/16” of an inch). Attach a piano hinge to the bottom of the 2”x4” bottom shelf and the back of the plywood front. (Image 2) Turn the desk over to make sure that the front swings open properly.
Adding the Back

Lay the plywood back, good side up, on a flat surface. Close the desk front and lay it on top of the plywood back. Use finishing nails to secure the sides and top of the desk frame to the plywood back.
Adding the Top Shelf

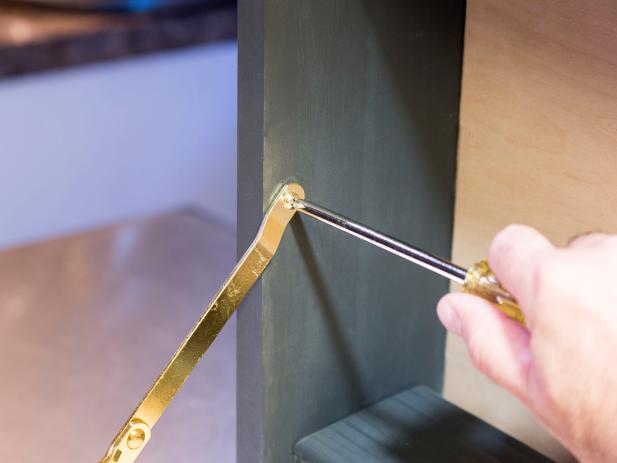
Stand the desk upright on a flat surface and open the front. Mark the desired distance from the top of the desk to the bottom of the top shelf. Make a mark on both sides of the desk frame and install long L brackets to hold the shelf in place. Install the 1”x4” top shelf flush with the plywood back and secure the bottom of it to the L brackets with small screws.
Adding the Finishing Touches

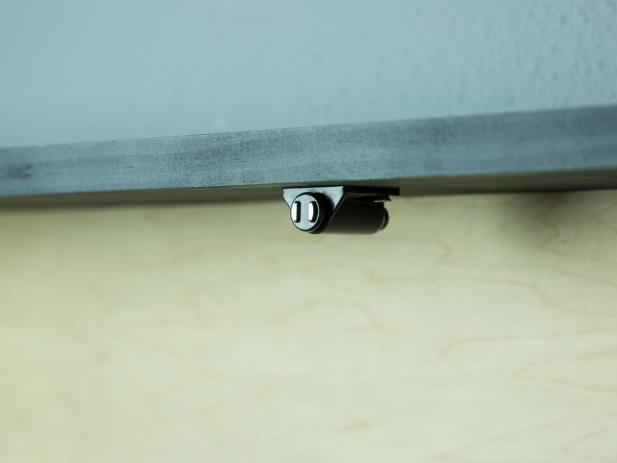
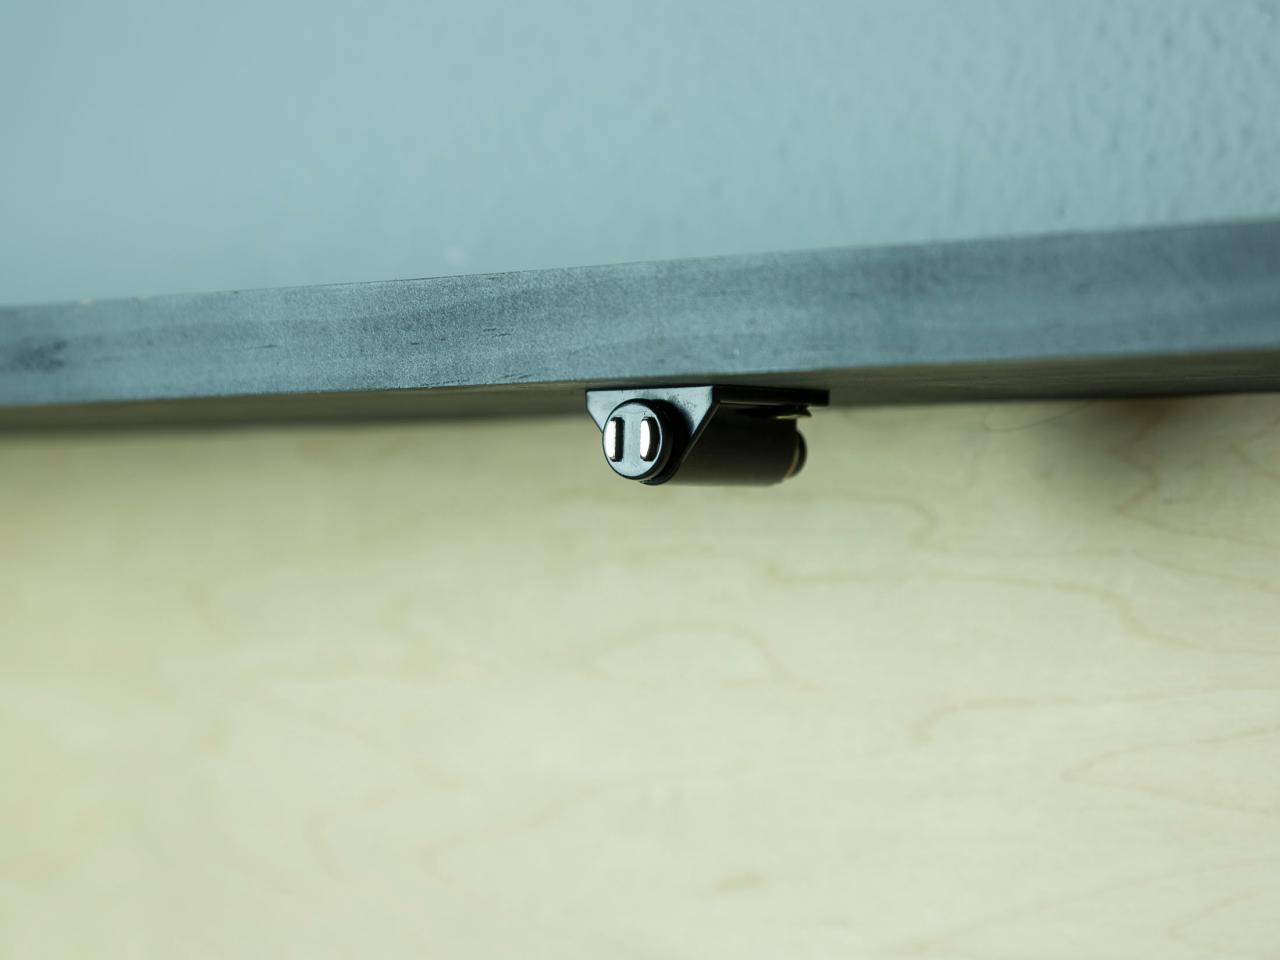
Add a spring-loaded magnetic holder inside the top center of the frame. (Image 1) Then add its corresponding metal plate to the inside of the front at the strike point. Sink any screws or nails and fill with wood putty. Sand and touch up the paint.
There is a 1/2” gap between the bottom shelf and the plywood back. This was designed to allow for cords to drop behind the desk. Add an outlet/USB charger combo to the back of the desk for convenience.
Tip: The desk top is suitable for light use, but for added stability consider folding supports on both sides. (Image 2) You will need them to be no more than 4” long when closed.
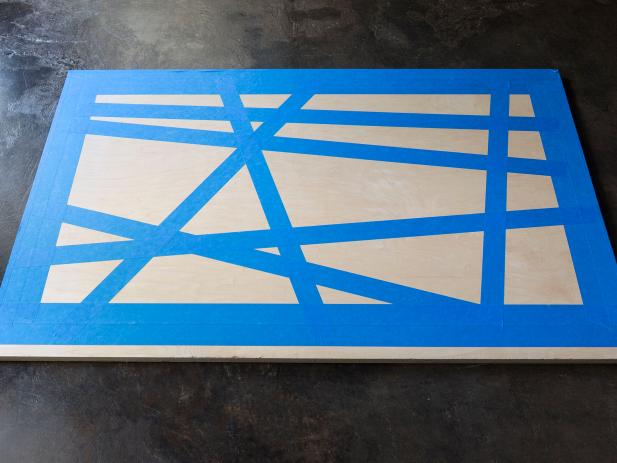
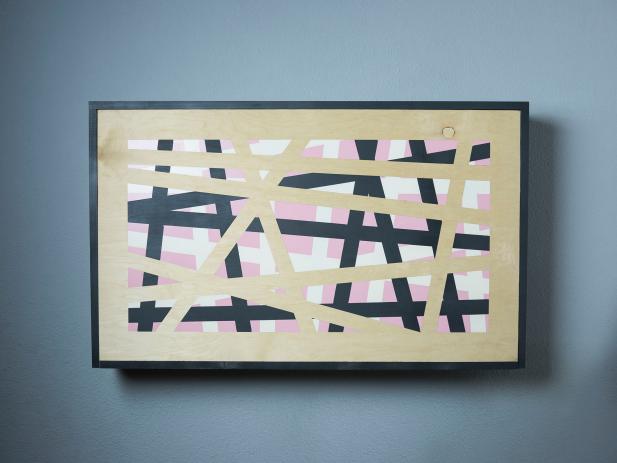
Designing the Front
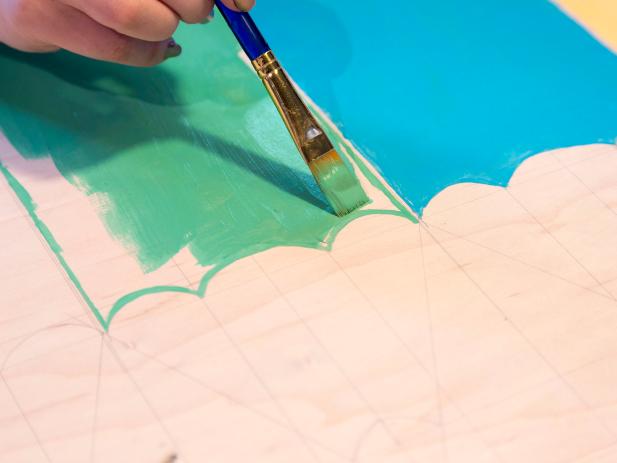
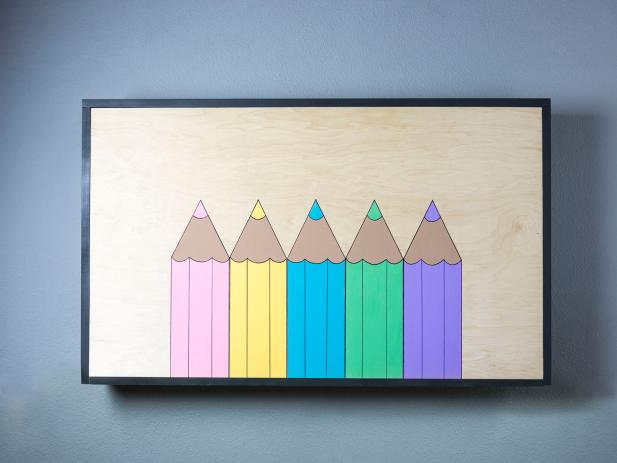
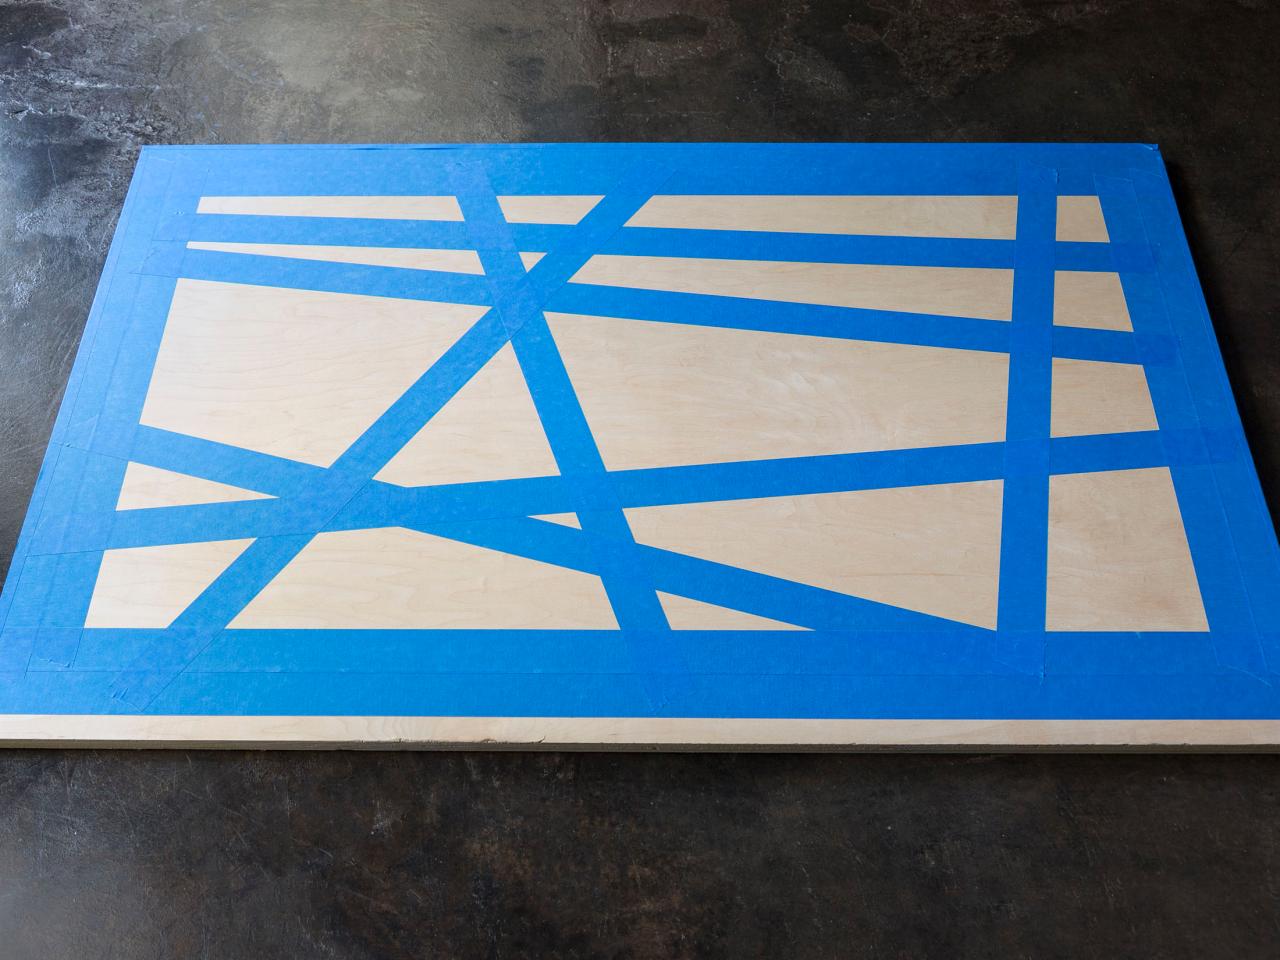
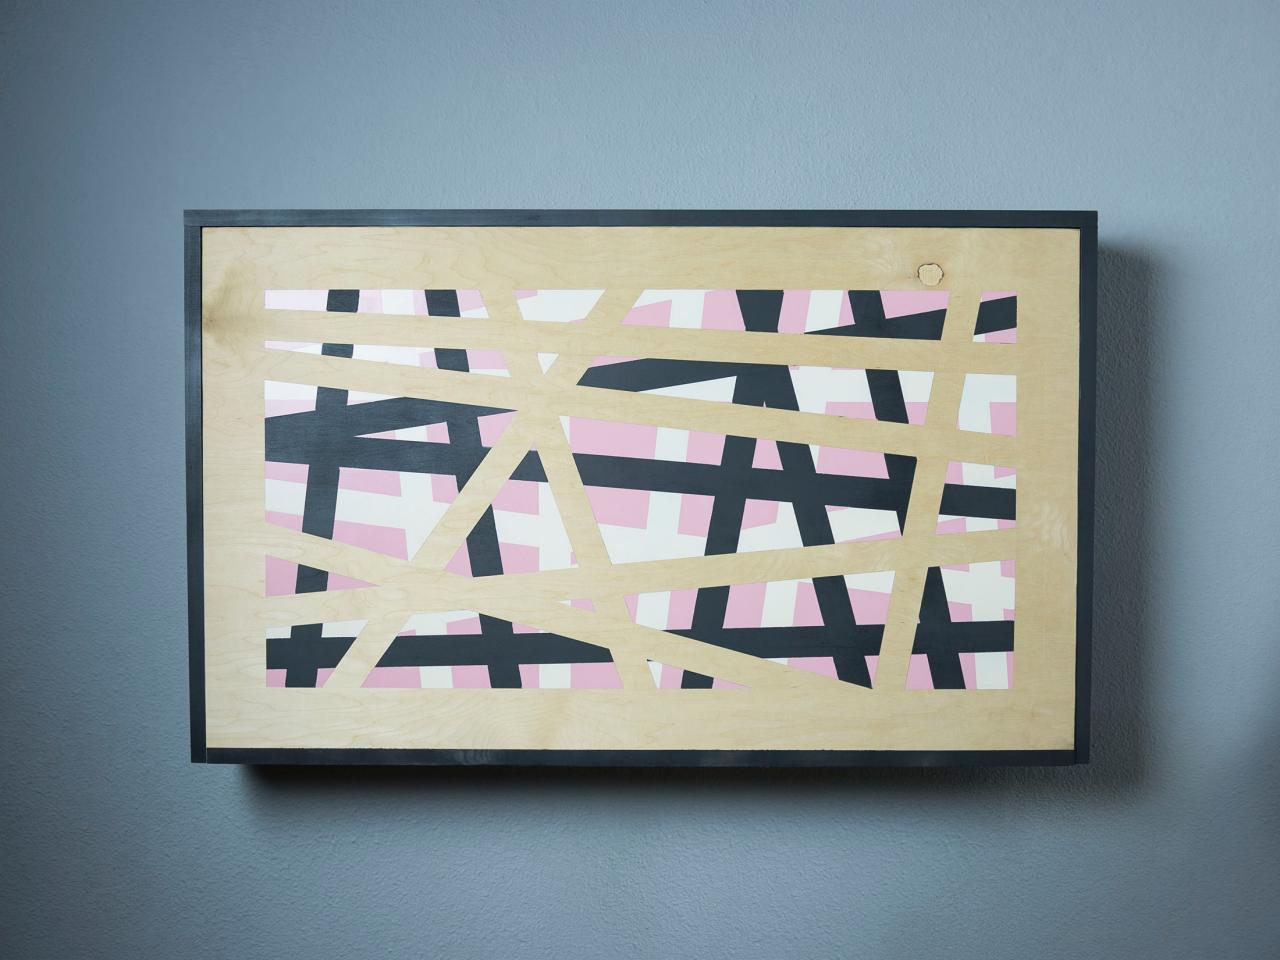
Create your own artwork on the front of the desk to display when it is closed. Draw simple graphics like pencils neatly lined up. (Image 1) Paint them with acrylic paint and then seal them with spray sealant. (Image 2) For a modern, graphic look, tape a "frame" around the outside edge. Then criss-cross some tape to make a pattern. (Image 3) Spray the surface and tape again filling in some of the gaps between the first round of tape. Spray with another color. Tape and spray one more time. (Image 4) Note: The last color you apply will be the background and the bare wood stripes will be in the foreground.
Hanging the Desk
Hang the desk with L brackets at the top and bottom corner edges or by drilling directly through the back on the inside and into the wall. Using either method, be sure to use heavy duty anchors in the wall unless securing it to a wall stud.


