


Make a Kid-Friendly Kitchen Measuring Station
Get organized and empower your little chefs with this custom, kid-level measuring station.

Flynnside Out Productions

Materials Needed
- cork roll or panels (wide/long enough to fit cabinet)
- (8) removable adhesive hooks
- extra-strong double-sided tape
- (1) mountable clothespin
- measuring cups
- measuring spoons
- yardstick or T-square
- pencil or marker
- Kitchen Conversions Printable
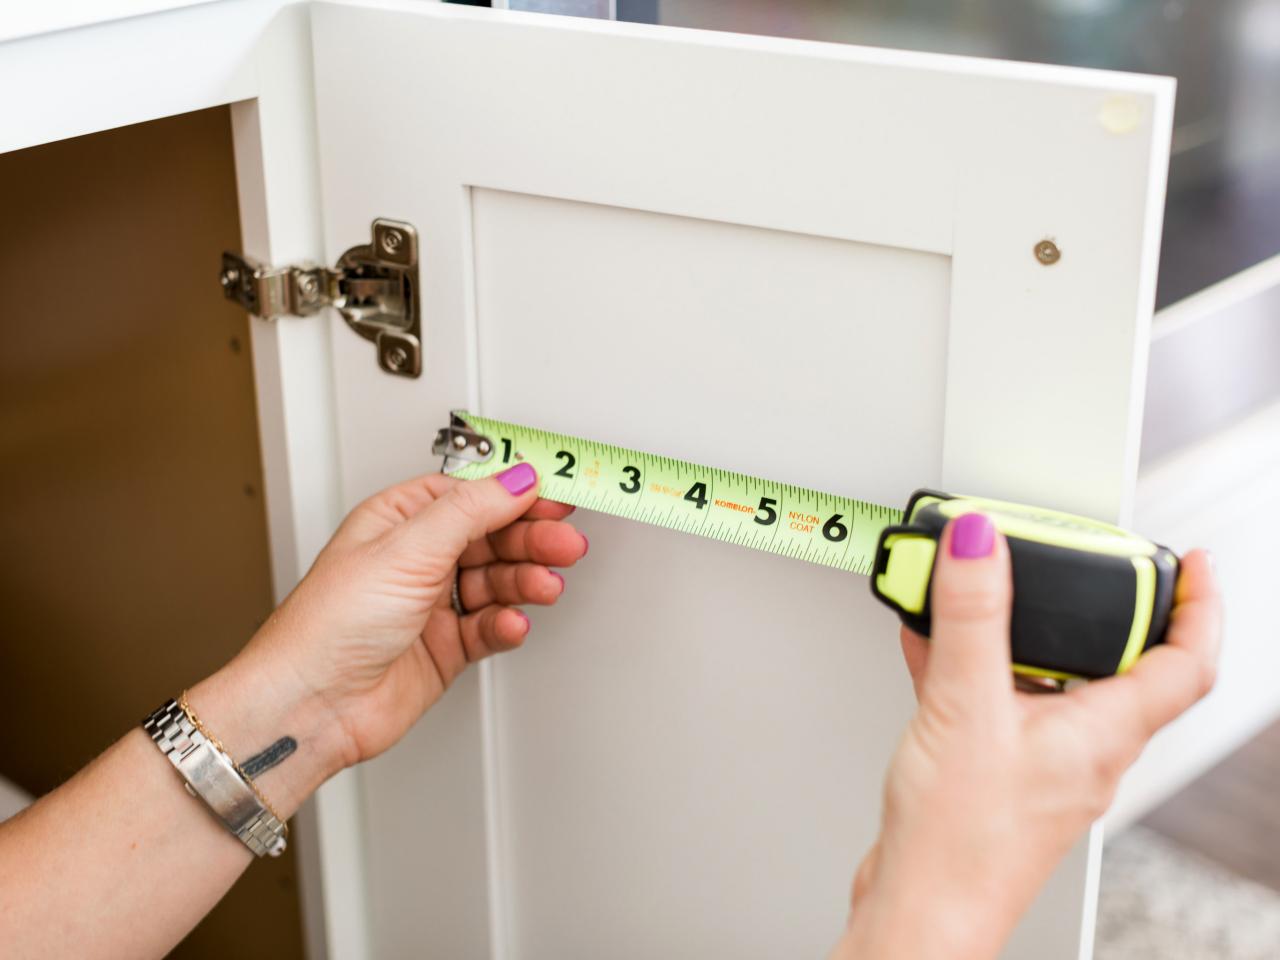
Measure Cabinet
Measure the area inside your cabinet door where you want to mount the cork.

Flynnside Out Productions
Measure + Mark Cork
Using a yardstick or T-square, measure and mark where you will cut the cork to fit your cabinet.

Flynnside Out Productions
Cut Cork
Cut out the cork, then lay it flat on a table.

Flynnside Out Productions
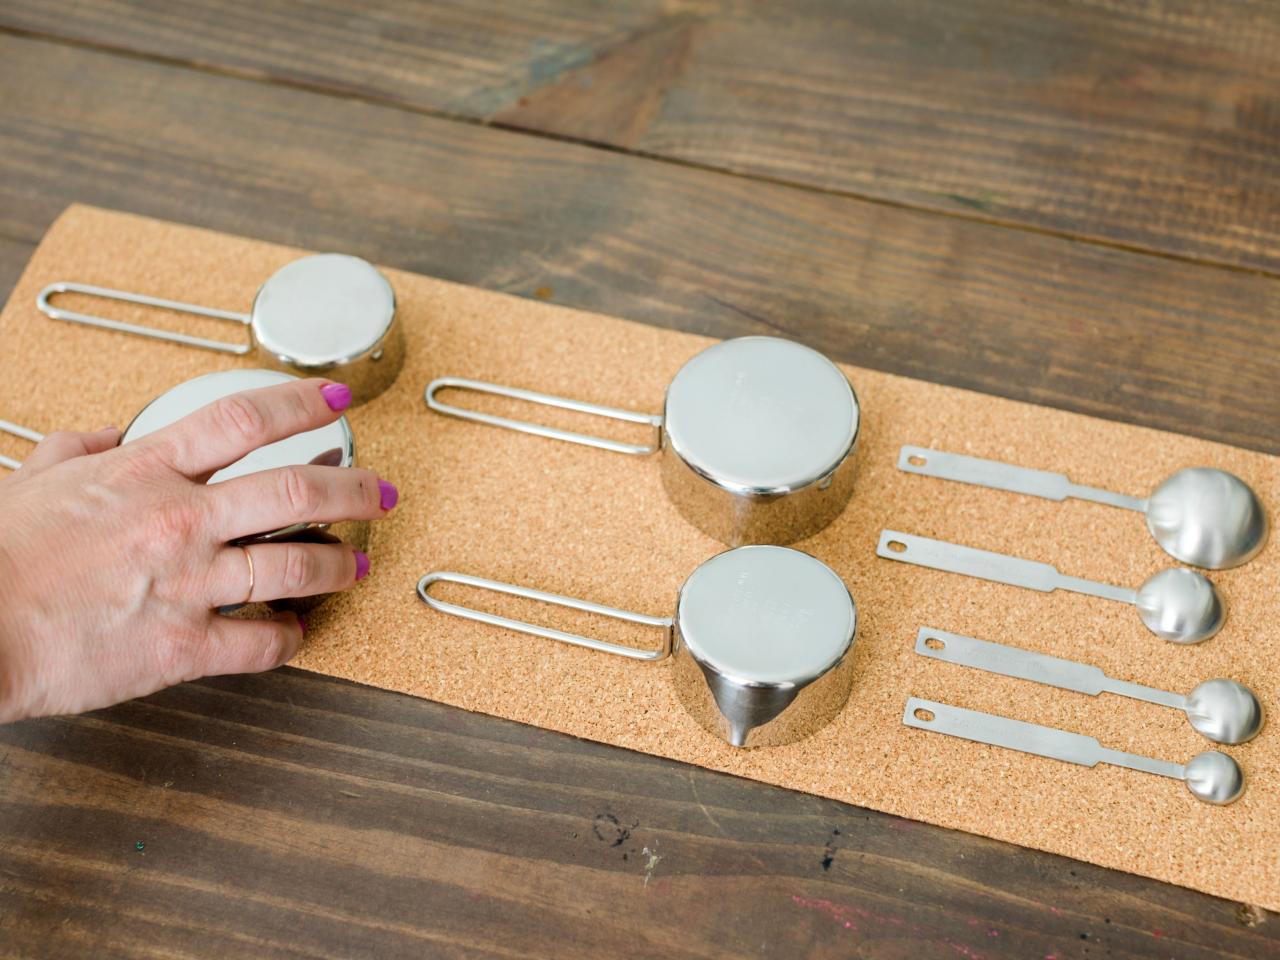
Arrange the Layout
Decide how the cups and spoons will be arranged on the cork, then make a small mark where each hook will go.

Flynnside Out Productions
Attach Hooks
Attach the adhesive hooks to the cork panel.

Flynnside Out Productions
Apply Tape
Attach extra-strong double-sided tape to the back of the cork panel.

Flynnside Out Productions
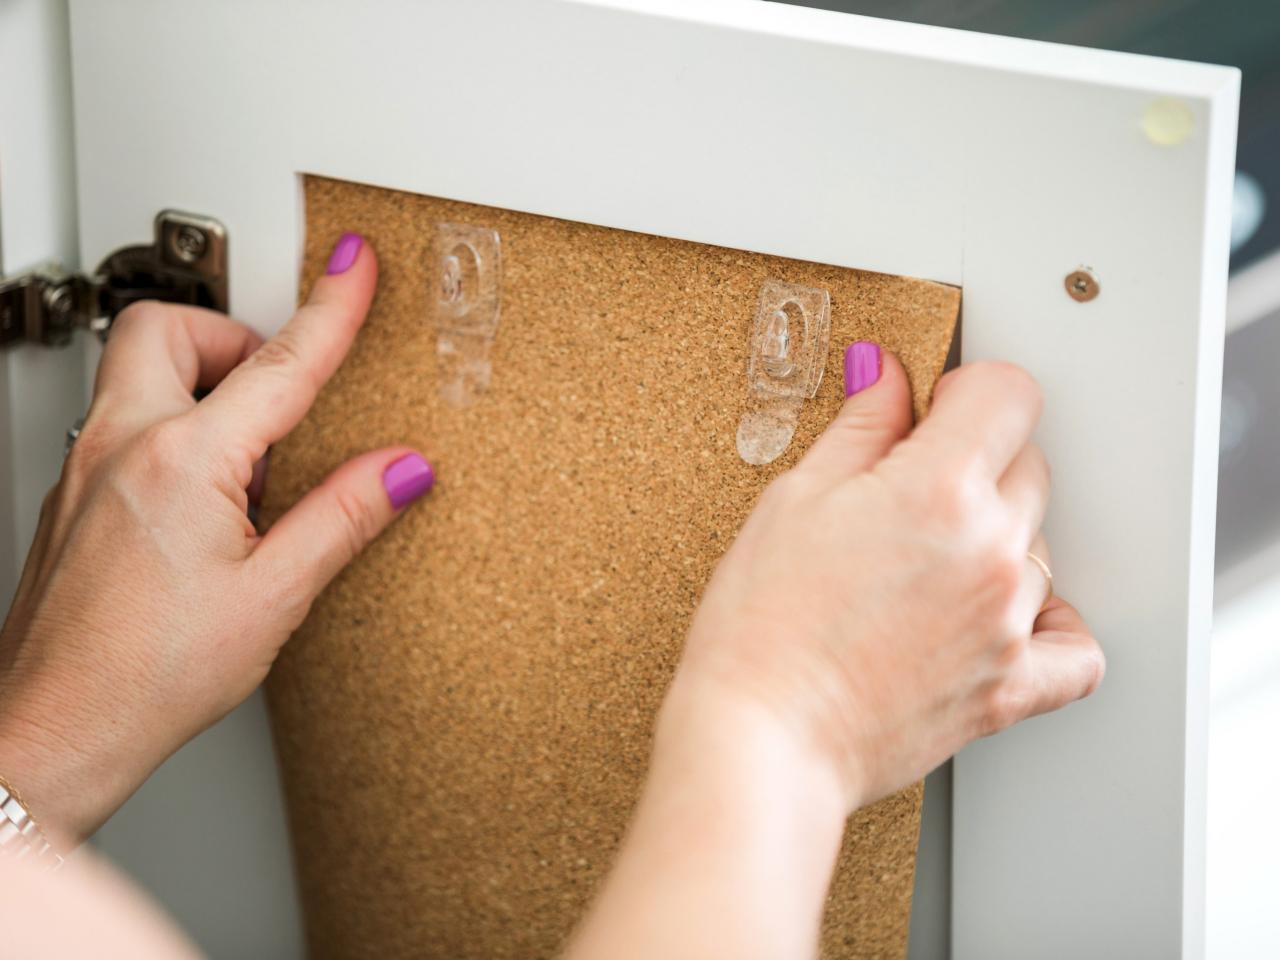
Hang Cork
Affix the cork panel to the back inside of the cabinet door.

Flynnside Out Productions
Add Clip
Add a clothespin with double-sided tape (or use a removable mountable clip) inside the cabinet to hang the measurement guide. (Download and print our free printable here.)

Flynnside Out Productions
Hang Cups + Spoons
Hang measuring cups and spoons on the hooks. Now you're ready to enjoy baking and cooking with the kids.

Flynnside Out Productions


