


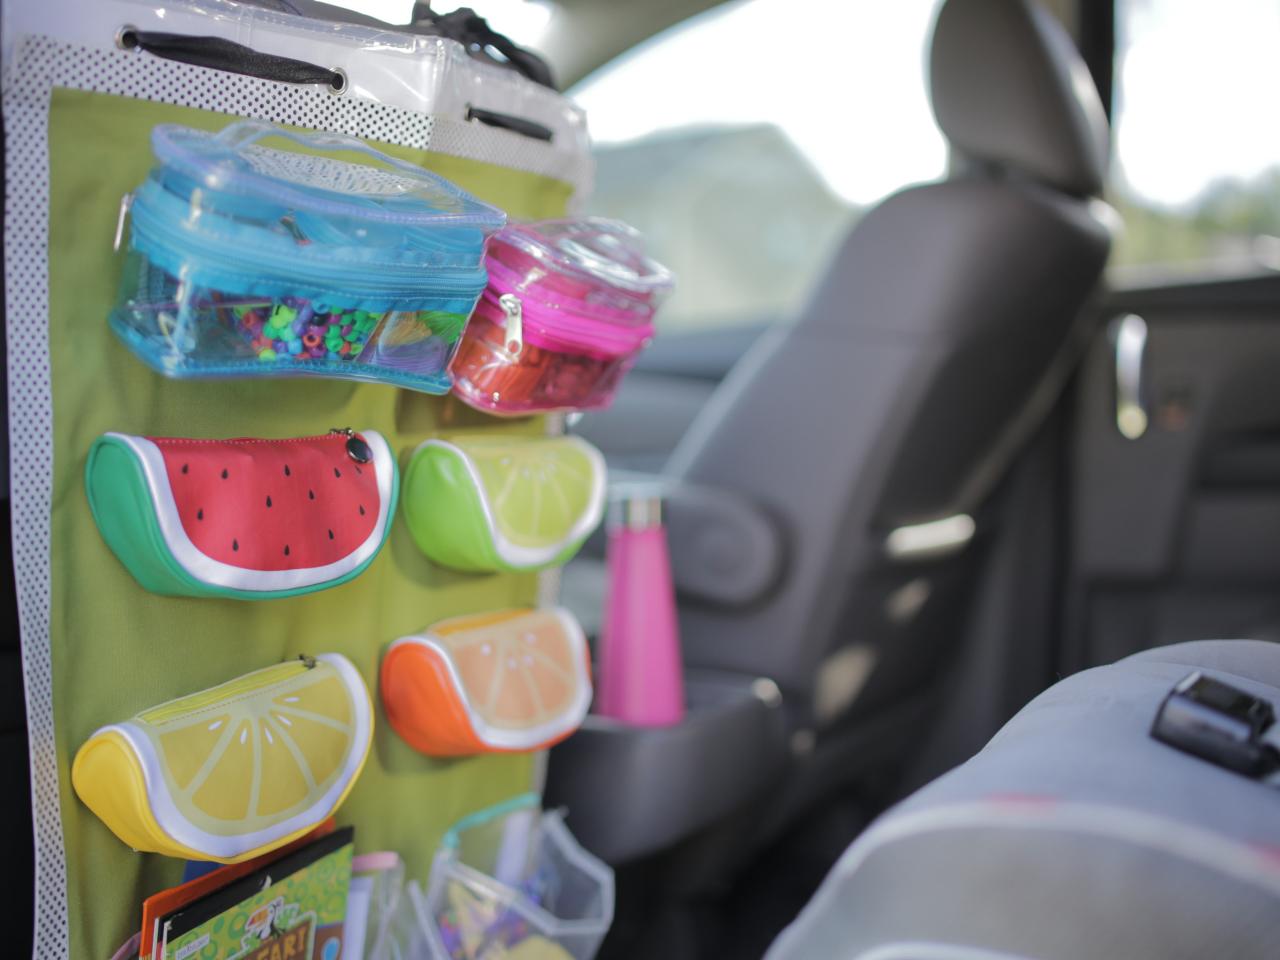
How to Make a Fun Backseat Organizer for Kids
Getting ready for a road trip? Keep kids content in the car with this backseat organizer that holds all the basics, plus a whole lot more.

Flynnside Out Productions

Materials Needed
- 24" x 48" fabric remnant
- white duct tape
- washi tape
- hook-and-loop tape
- scissors
- measuring tape
- clear, vinyl shoe organizer
- colorful zipper pouches
- ribbon
Cut Fabric
Determine the desired size of the organizer, then measure the fabric and cut out. We chose a 24-by-48-inch panel to fit a standard minivan's driver's seat.

Flynnside Out Productions
Bind Ends With Tape
To give the fabric a clean, finished look and keep it from unraveling, wrap the cut ends of the fabric with white duct tape.

Flynnside Out Productions
Embellish With Washi Tape
To give the organizer a playful vibe, dress up the edges with patterned washi tape.

Flynnside Out Productions
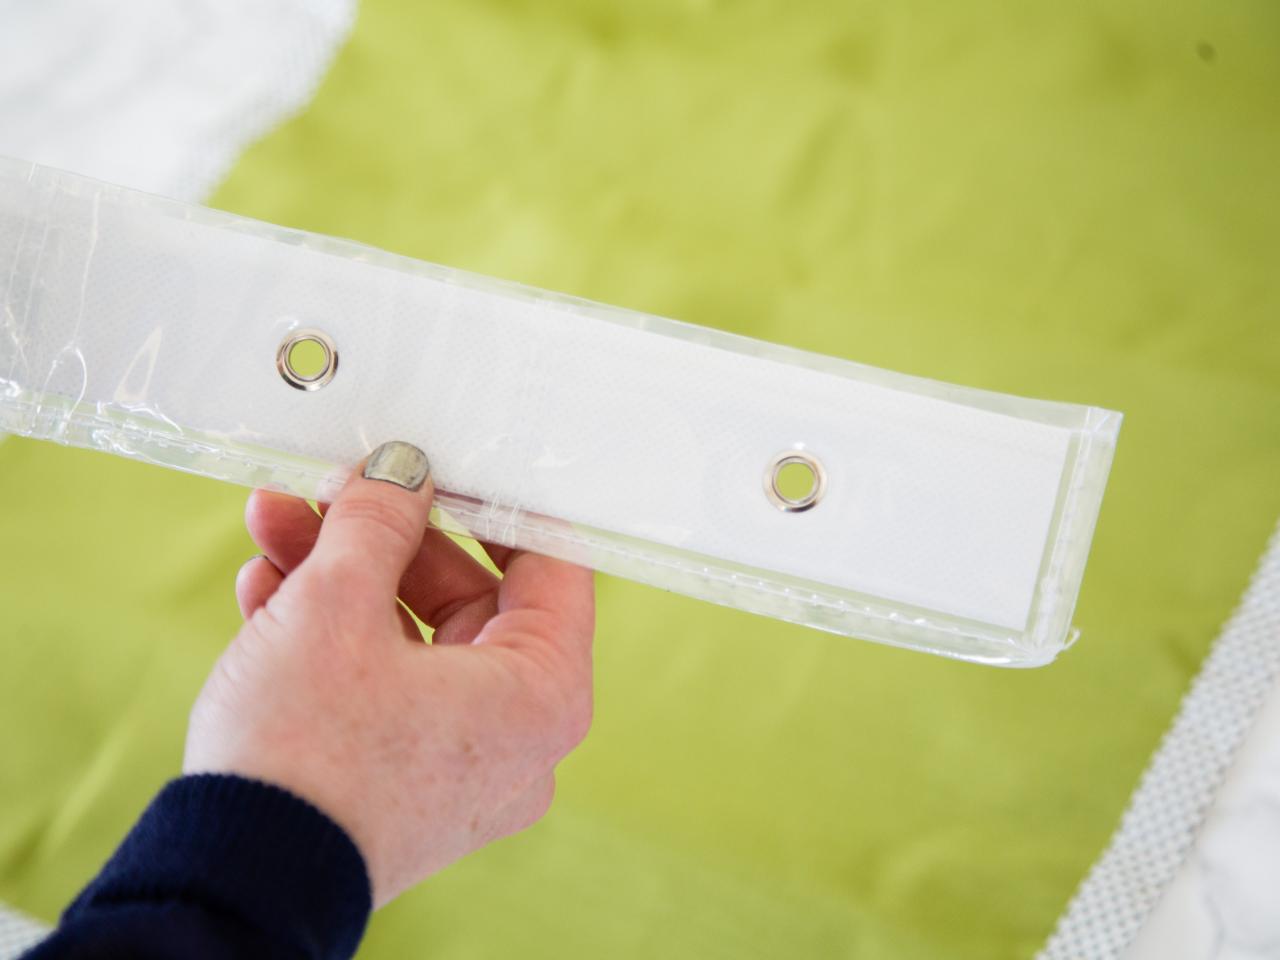
Add Grommeted Top
To hang the organizer on the back of the seat, add grommets along the top of the panel. Trim the grommeted strip off a vinyl shoe organizer (Image A), then add a bead of hot glue to the strip (Image B). Next, secure it to the top of the fabric panel, adding duct tape along the back (Image C, D) for extra strength.

Flynnside Out Productions
Image A

Flynnside Out Productions
Image B

Flynnside Out Productions
Image C

Flynnside Out Productions
Image D
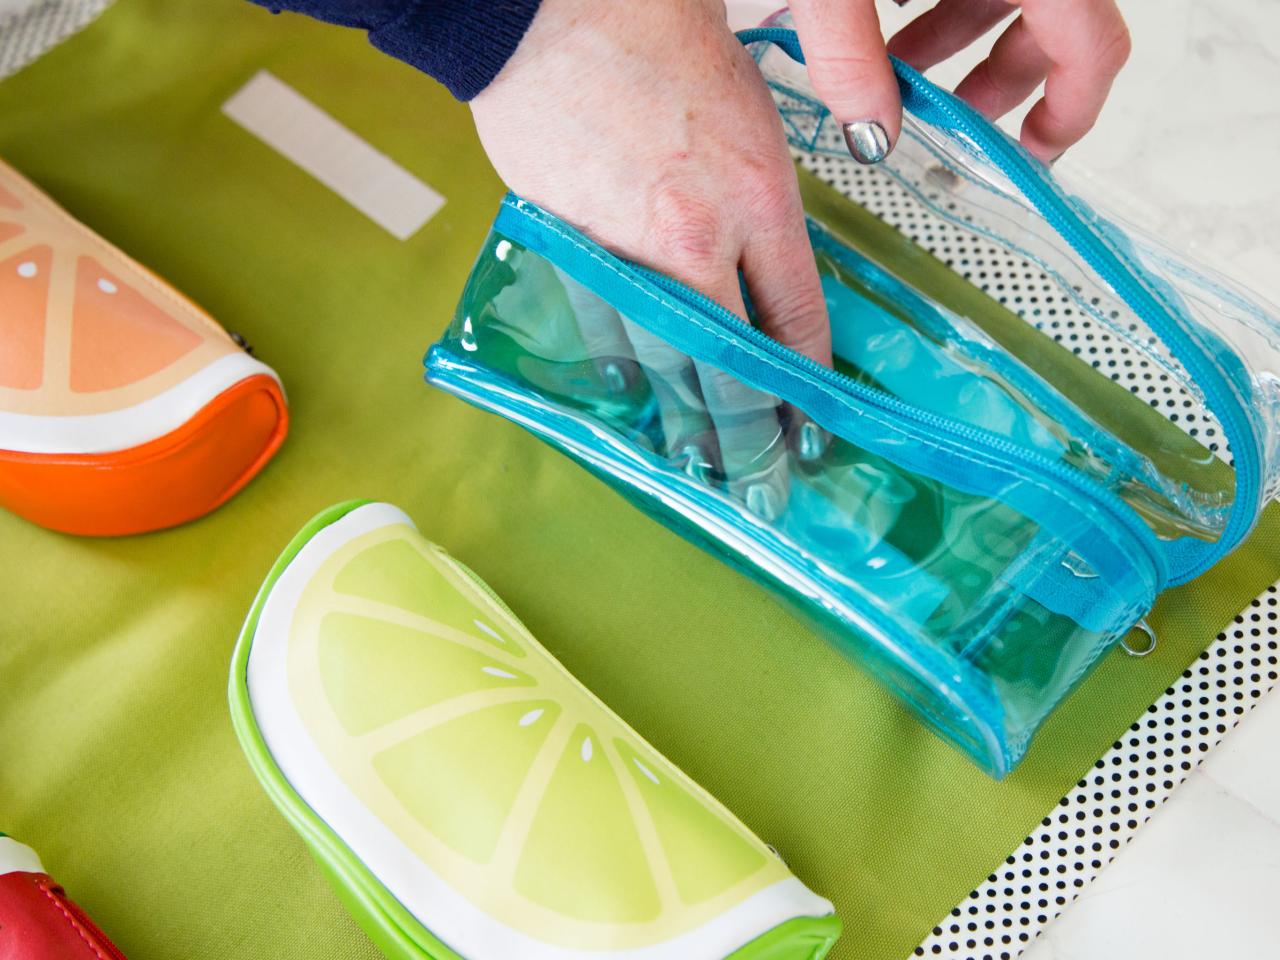
Secure Pouches to Panel
To attach zippered pouches, cut 4-inch strips of hook-and-loop tape, then arrange them on the fabric in your desired layout.

Flynnside Out Productions
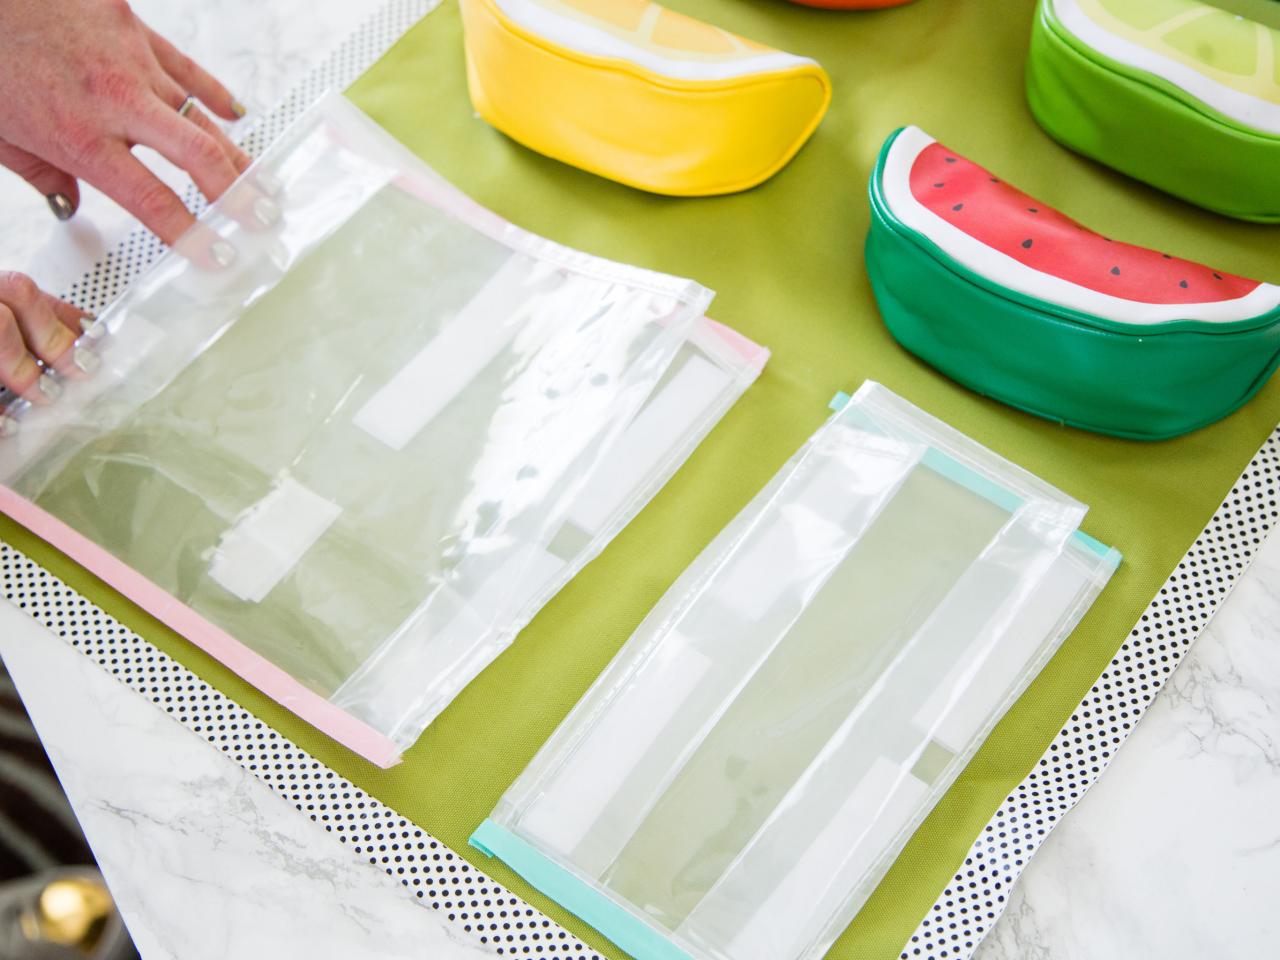
Add Clear Pockets
For more storage, trim individual pockets off the vinyl organizer (Image A). Bind cut ends with duct tape to give it a finished look (Image B). Secure them to the fabric panel using hook-and-loop tape as you did with the zippered pouches (Image C).

Flynnside Out Productions
Image A

Flynnside Out Productions
Image B

Flynnside Out Productions
Image C
Hang in Car
To hang the organizer, run ribbon through the grommeted top, then drape around the seat's headrest. Tighten and tie it off at desired position.

Flynnside Out Productions
Fill It Up
Start with the basics:
- water bottle
- sunglasses
- basic first-aid kit
- healthy snacks (almonds!)
Add some fun stuff:
- toy cars + figurines
- activity kits
- crayons
- more healthy snacks (trail mix!)
Include some "oops!" items:
- hand sanitizer
- wipes
- car-sickness bag
- even MORE healthy snacks (dried fruit!)


