


DIY Copper + Cement Hanging Planter
Give your greenery a modern makeover with this stylish DIY hanging planter! Featuring copper accents, this chic garden accessory is bound to brighten up any indoor or outdoor space.


Materials Needed
- small cardboard box
- nonstick cooking spray
- 2 cups Portland cement
- 1/2 cup sand
- 1/2 cup water
- mixing/smoothing tool
- straw
- scissors
- 2 copper elbows
- rope
- tape
Mix Cement
Cover the inside of a small cardboard box (we used an old jewelry gift box) with nonstick cooking spray. Set aside. In a small disposable container, combine the cement and sand. Add water, then mix thoroughly. Add more water as needed until the mixture is a workable consistency — not too thick and not too runny.
Mold It
Spread the mixture evenly into the greased box. Drop it lightly on a hard surface a few times to remove any air bubbles. Let dry for five minutes.
Add Copper Elbows
Spray a straw with nonstick cooking spray, then cut it in half. Stick one half in each of the top corners of the cement mixture — this will create holes for hanging. Place each of the copper elbows into the cement, then let it dry overnight.
Attach Rope + Plant
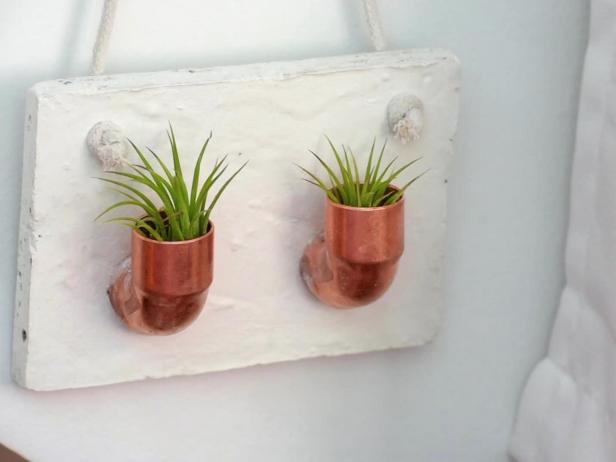
Remove the straws. Peel the box away from the now solid cement slab slowly, being careful not to crack the slab. Cut a length of thin rope, then wrap each end in a piece of tape to keep them from fraying. Pull the ends of the rope through each of the holes in the top corners, tie them into knots and cut off the taped ends. Fill copper elbows with small air plants or low-maintenance succulents. Faux blooms work great as well!


