


How to Make a Bright + Bloomy Spring Wreath
Celebrate warmer weather with a bloom-tastic wreath for your front door.


Photo by: Morgan Faulkner
Morgan Faulkner
Spring is in the air! Freshen up your front door with a bright and cheery wreath. An inexpensive grapevine form makes a pretty, practical base for faux stems that will stay gorgeous all season long. When shopping for blooms, choose greenery with texture (think fuzzy lamb’s ear) and opt for trendy flowers like ranunculus and lavender that come in a variety of shapes and sizes. The best part? No matter your style, this quick and easy tutorial can be used as a starting point for any wreath project — simply swap out the blooms for a look that’s all your own.
Materials Needed
- 14" grapevine wreath
- wire cutters
- hot glue gun
- glue sticks
- floral wire
- silk flowers (see below for details)
- silk greenery (see below for details)
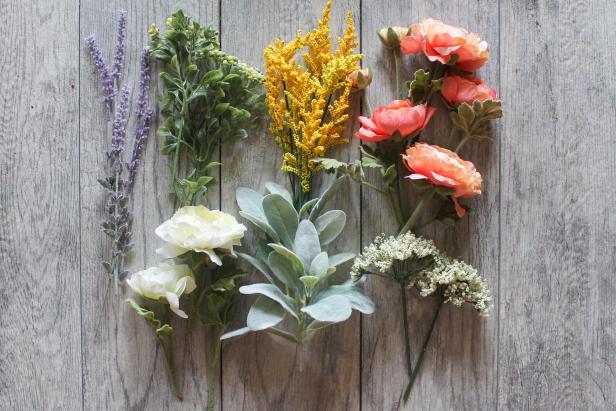
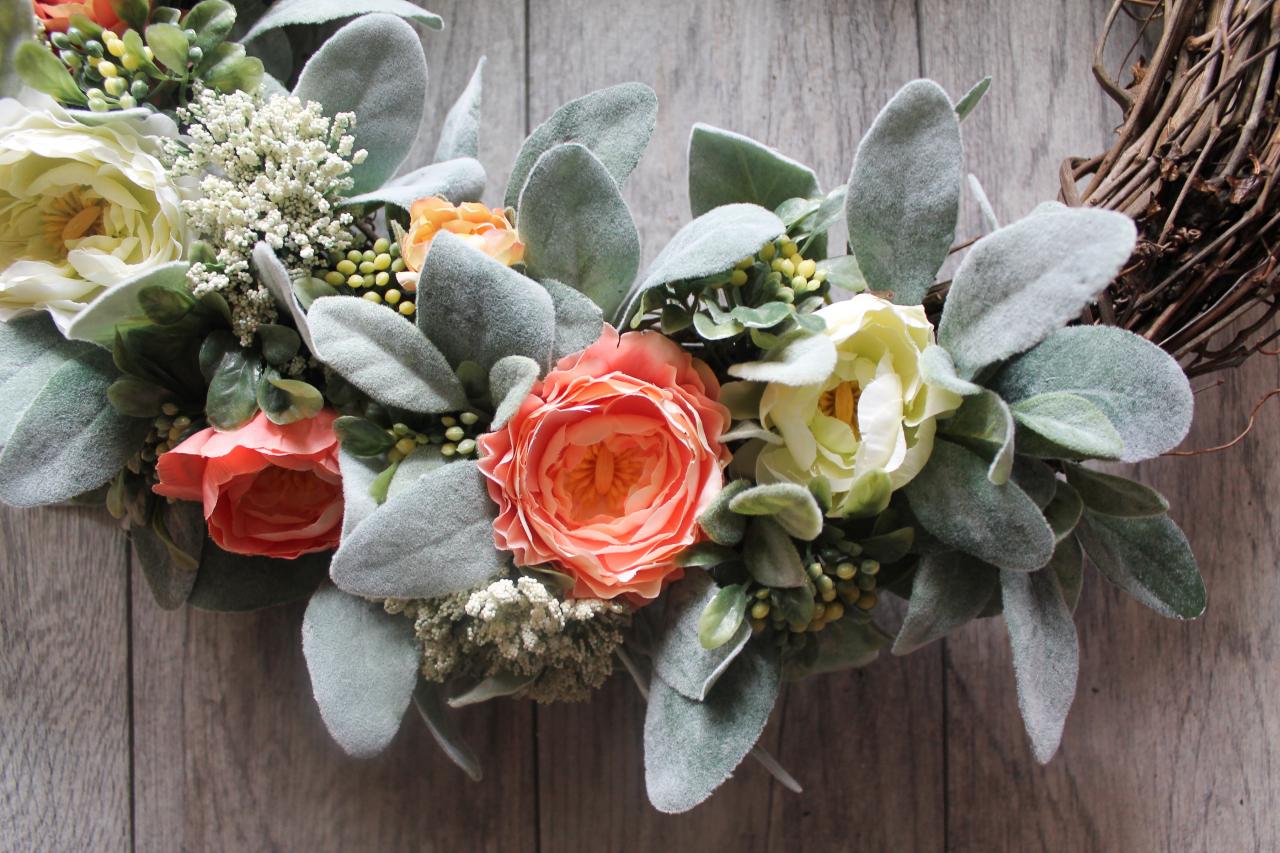
Prep Blooms
Prepping your blooms will make the wreath-making process a little faster. Using wire cutters, snip the blooms off the stem and create small piles of each variety. One stem of greenery or filler will yield multiple blooms by simply dividing each section into small pieces. For this project we’ve chosen silk versions of coral and white ranunculus, white queen Anne’s lace, lavender, green boxwood with berries, yellow goldenrod and lamb’s ear greenery.
Morgan Faulkner
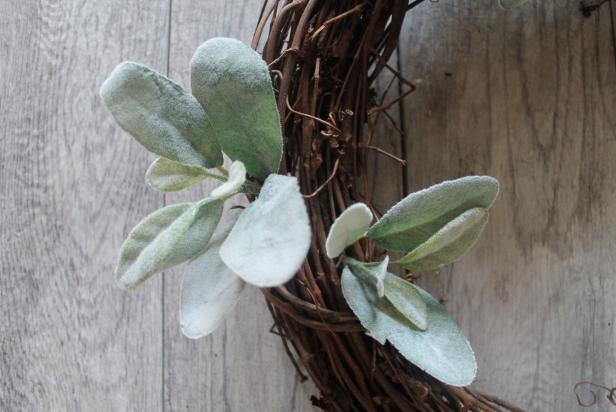
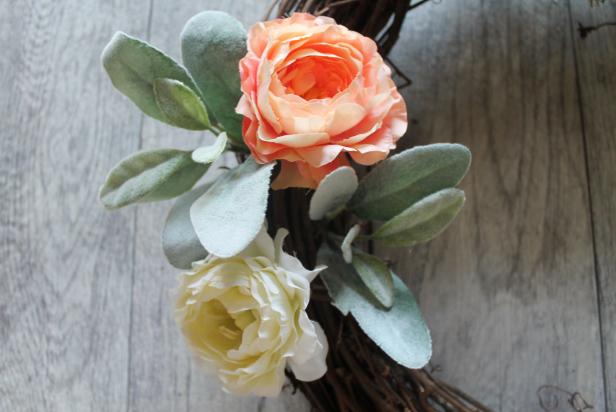
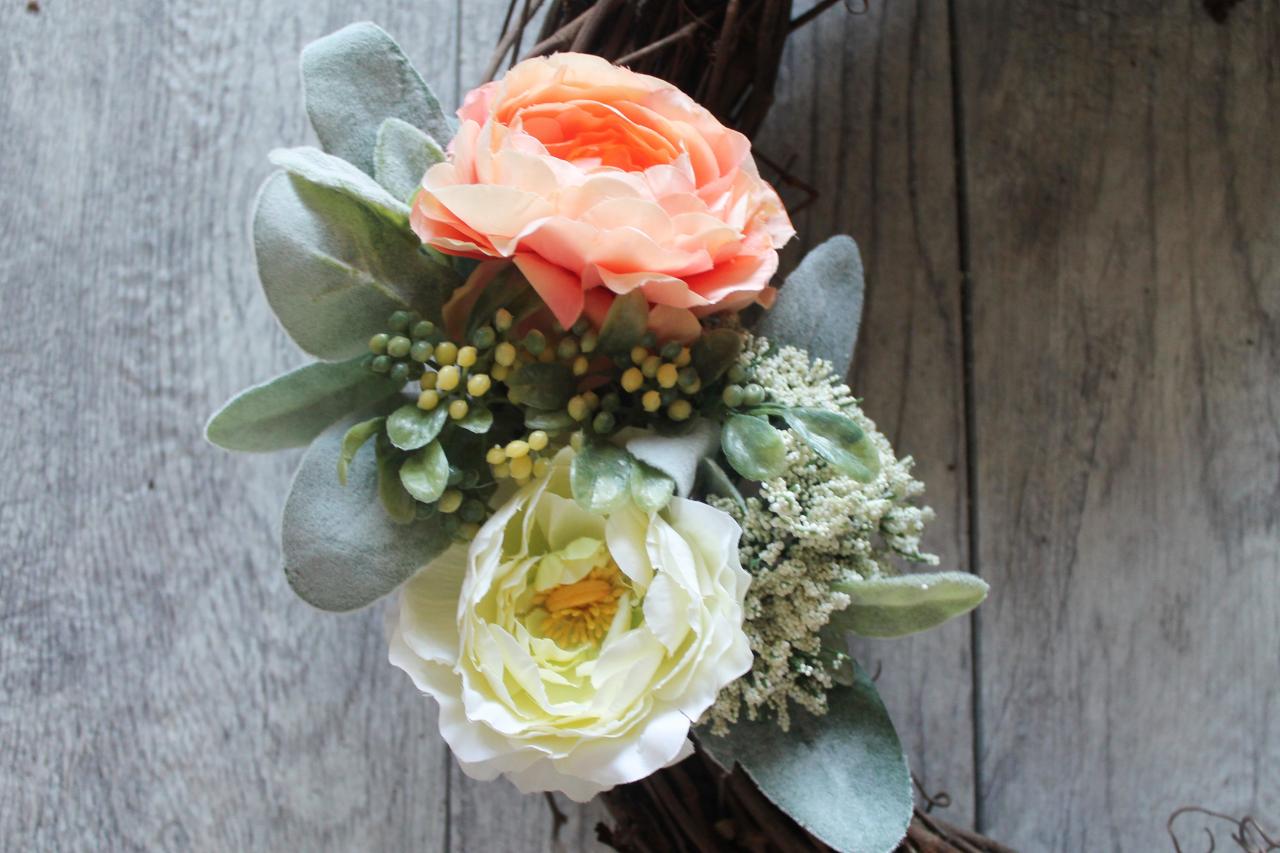
Create Pattern
Begin your wreath by creating a small pattern to repeat all around the project. Start by hot gluing two pieces of greenery to the wreath — one up and one down (Image 1). Next, glue in two larger focal blooms to offset the greenery (Image 2). Lastly, fill in the remaining space with two varieties of filler to round out the look (Image 3).
Morgan Faulkner
Morgan Faulkner

Morgan Faulkner
Fill In With Greenery
Add a few sprigs of greenery in between each section as you go to create a cohesive look.

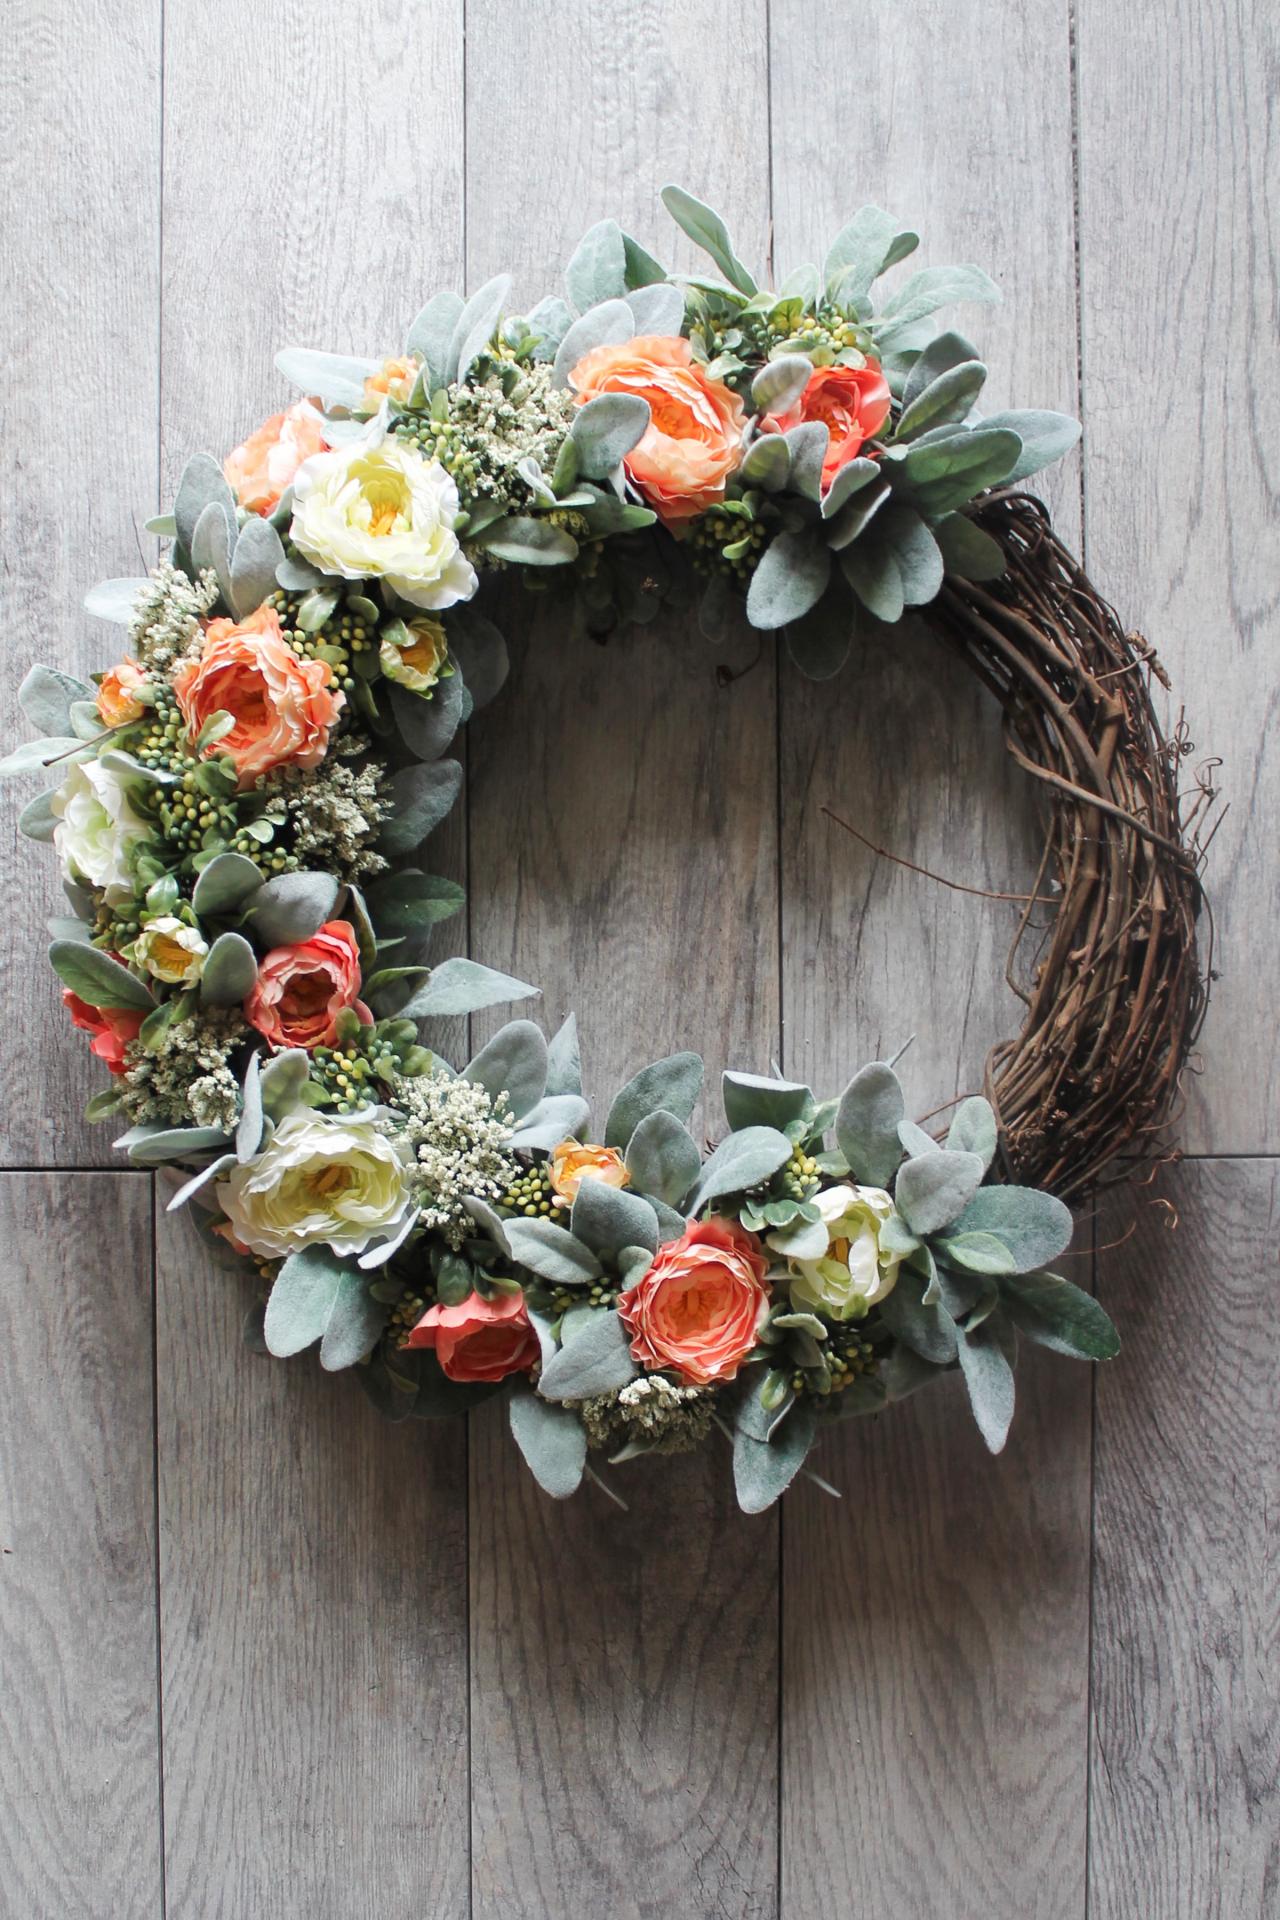
Continue Pattern
Repeat the pattern until desired look is formed. Here, we covered about 75% of the grapevine wreath for a contemporary take on a more traditional style.

Morgan Faulkner
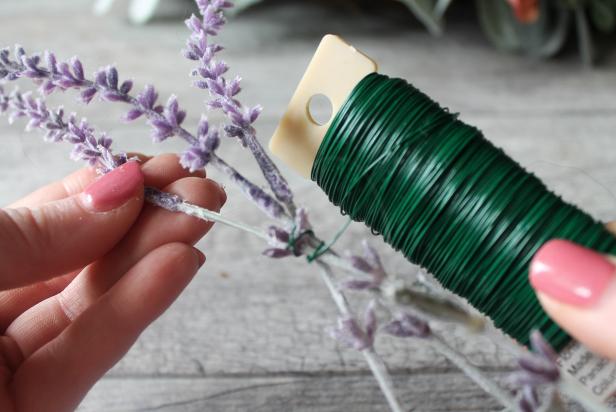
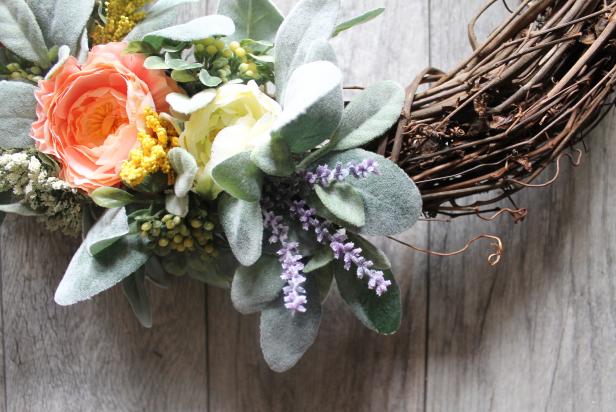
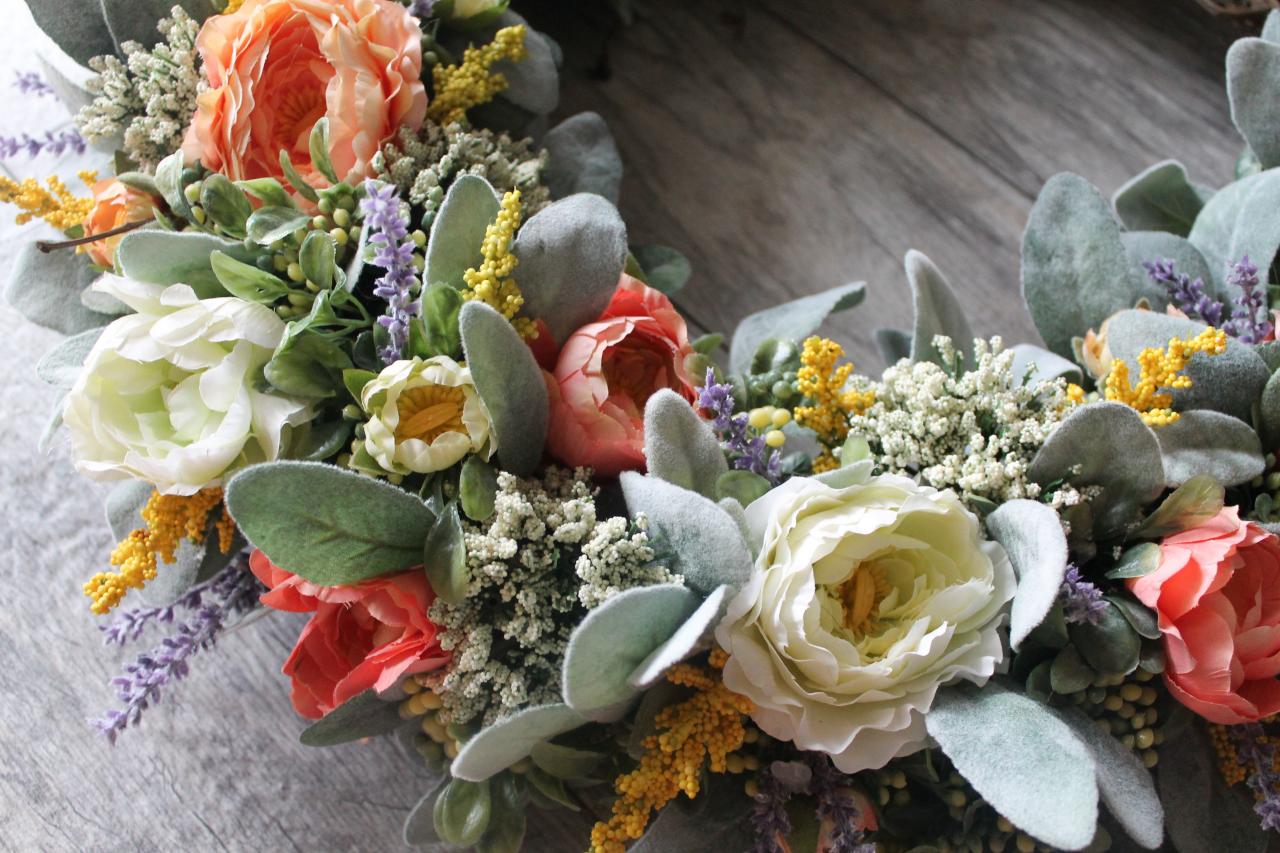
Add Accent Blooms
Create dimension by adding in accent flowers that will stick out an inch or two further than the rest. Using floral wire, bind stems of lavender together to ensure stability (Image 1). Glue the bundle throughout, alternating from left, right and middle (Image 2). For any remaining holes, glue in the yellow goldenrod for a pop of eye-catching color (Image 3).
Morgan Faulkner
Morgan Faulkner

Morgan Faulkner
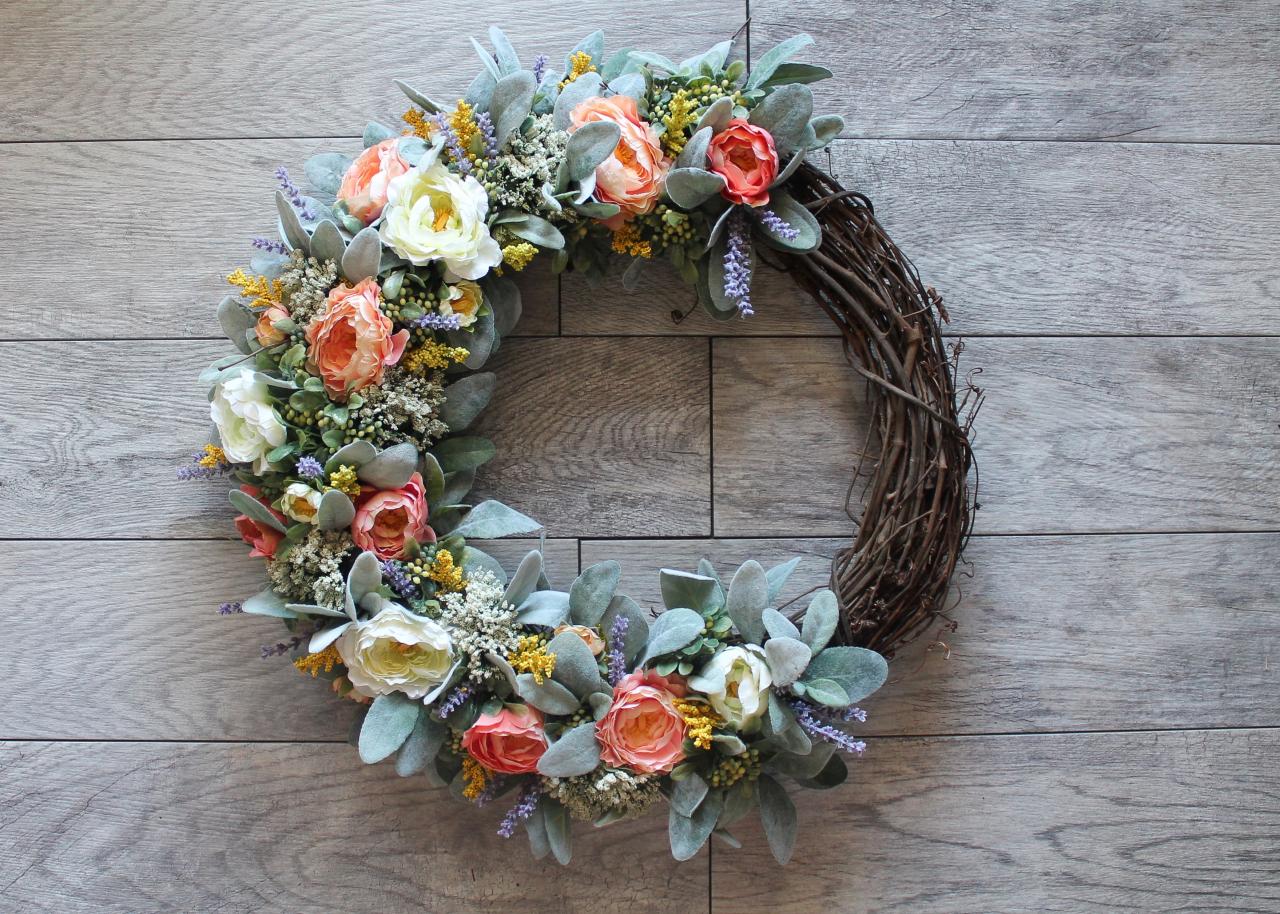
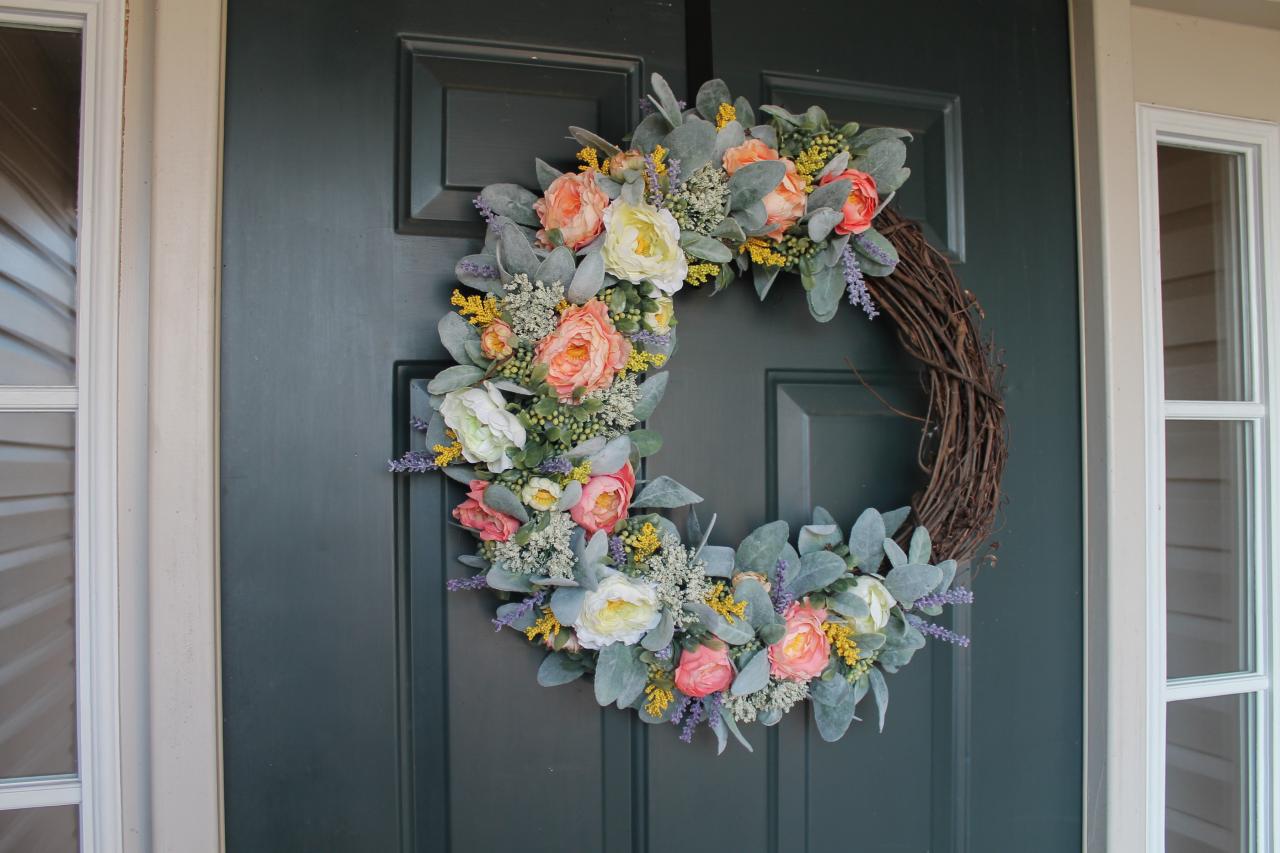
Hang and Enjoy!
Hang the finished wreath on an over-the-door hanger or loop ribbon through the grapevine and secure to a hook for a stylish alternative.

Photo by: Morgan Faulkner
Morgan Faulkner


