


How to Make a Jewelry Cabinet for Under $25
Build a wall-mounted jewelry box to keep your trinkets organized and untangled.
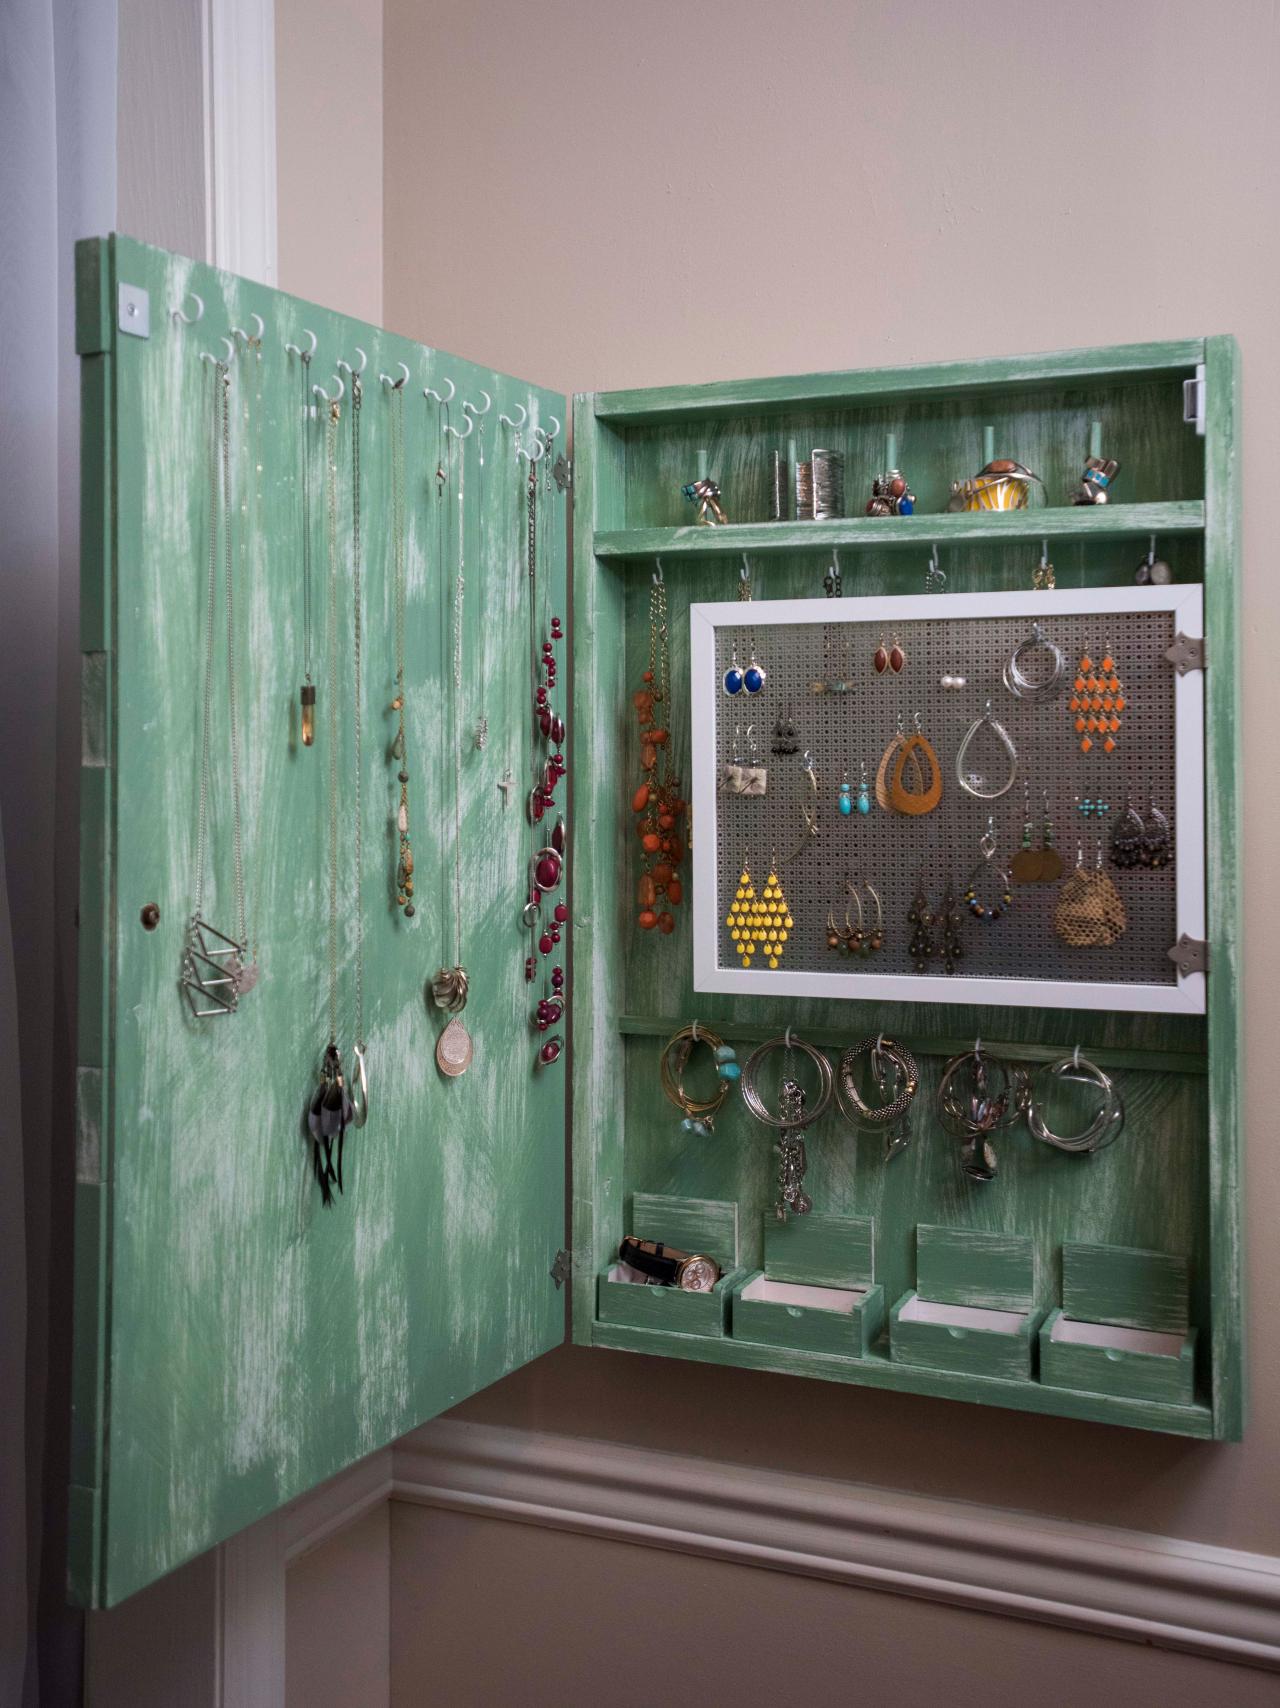
This budget-friendly, wall-mounted jewelry box is easy to build and you can customize the size to fit your space.

Clara MacLellan
Tools and Materials
- drill with various drill bits
- wood glue
- hammer
- nails
- screw-in cup hooks
- 1/2" plywood
- wood dowels
- paint
- paintbrush
- sandpaper/sander
- 1x3 wood boards
- cabinet hinges
- screwdriver
- cabinet knob
- picture frame
- perforated metal sheet
- screws
- stud finder
- level
- measuring tape
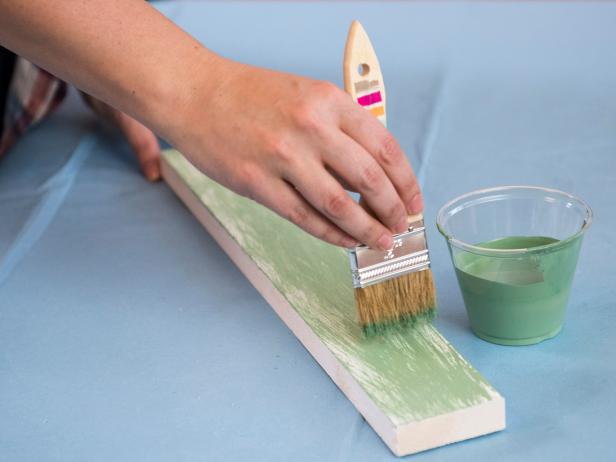
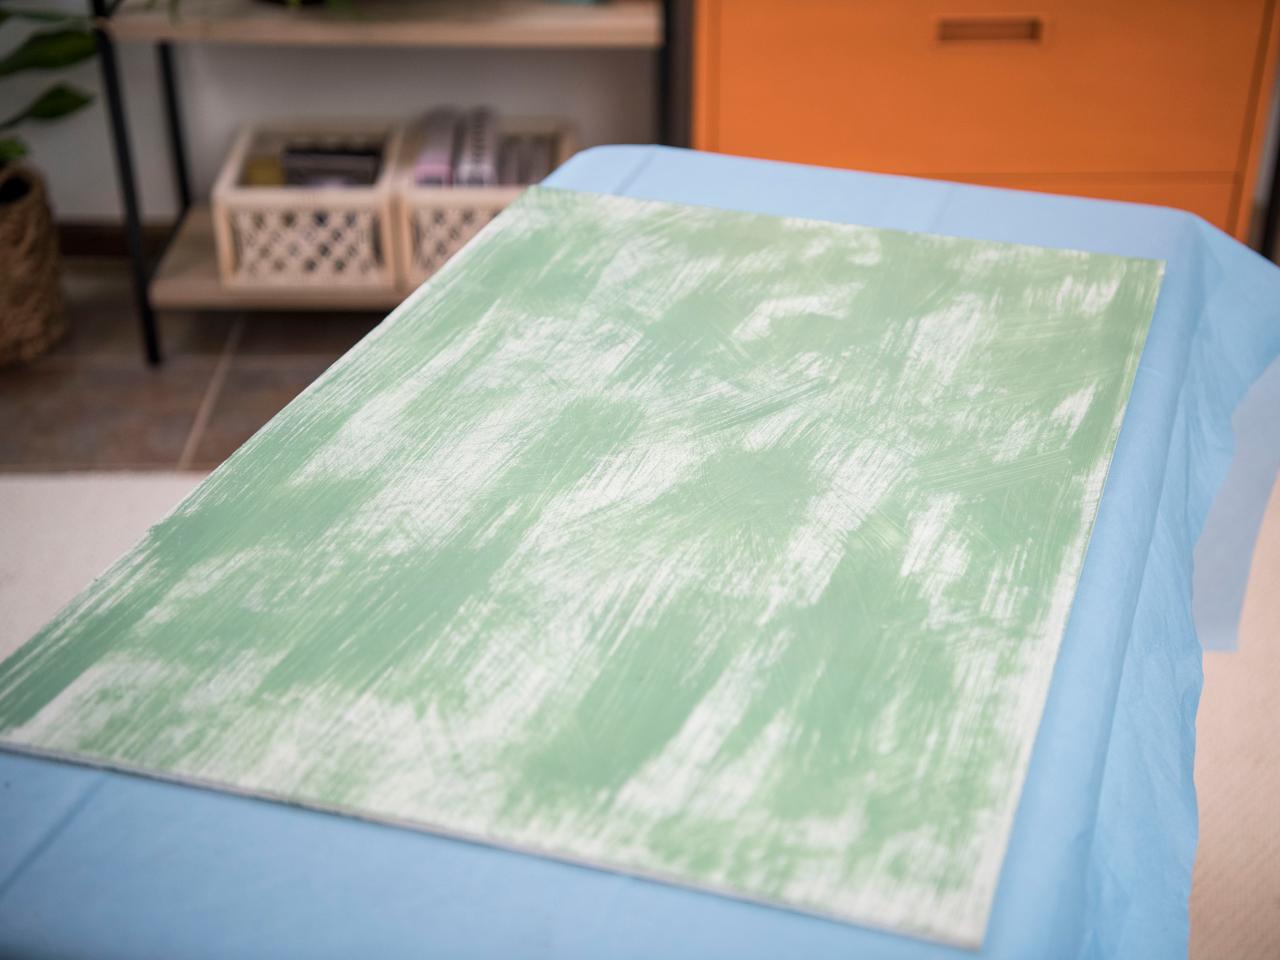
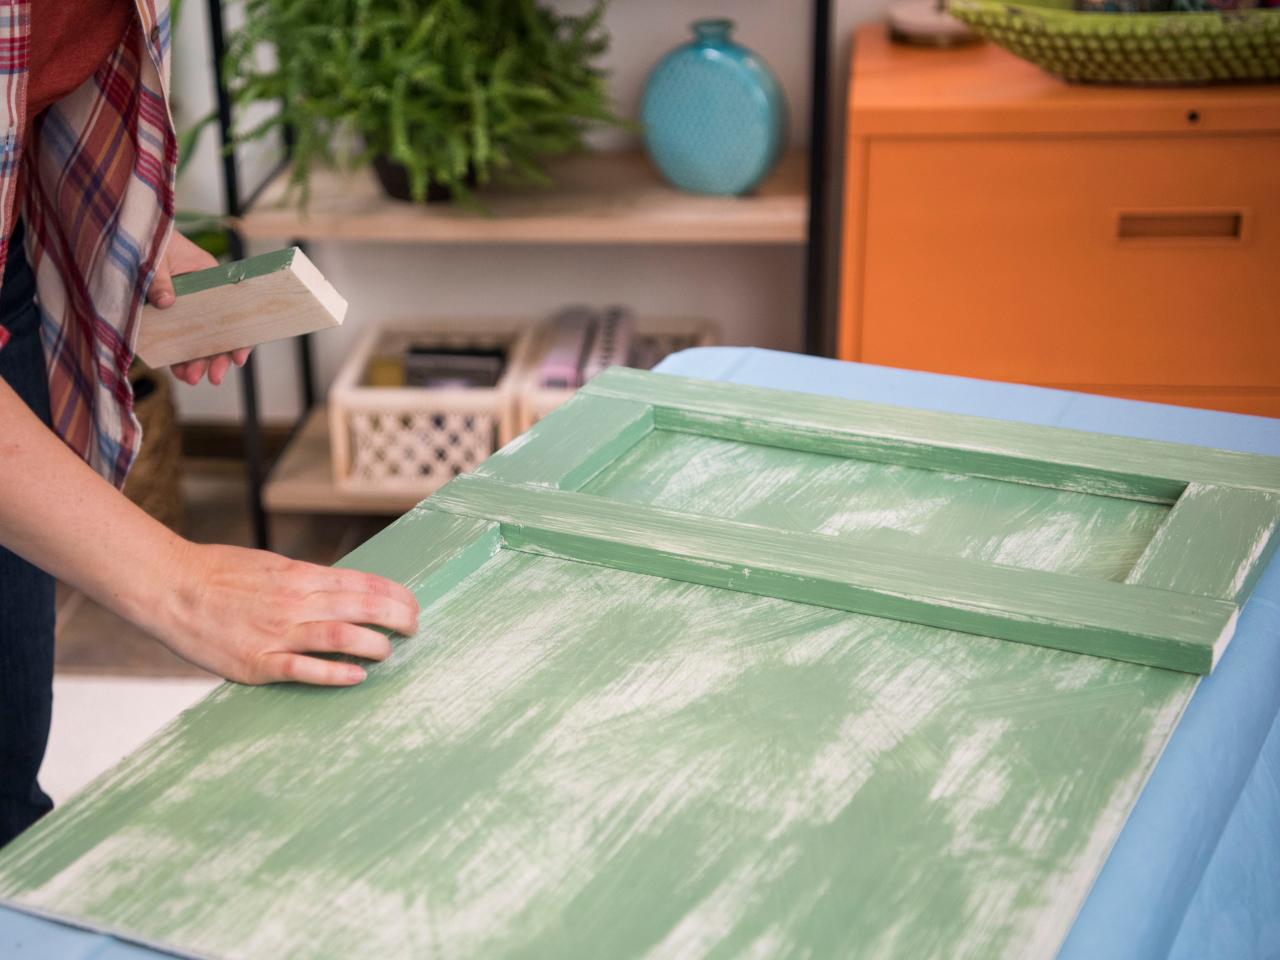
Step 1: Prep + Paint
Clara MacLellan
Use sandpaper on the wood to smooth out any rough spots. Wipe away the residue and then paint each piece as desired. Allow ample time for the paint to dry. Feel free to get creative with how you paint the wood, we use a rustic white-wash finish.
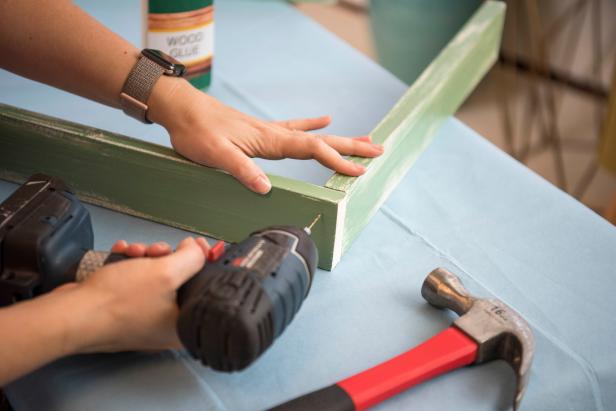
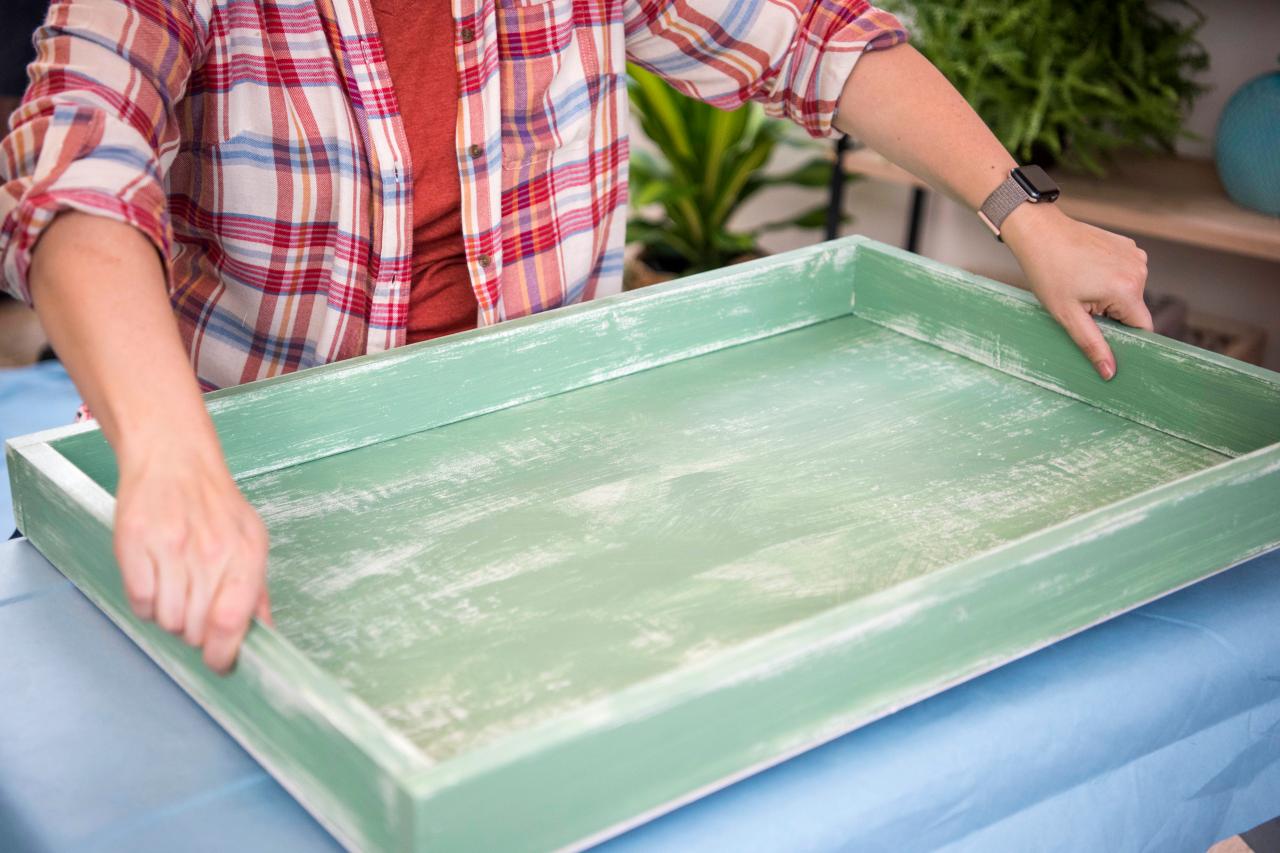
Step 2: Create the Frame of the Box
Clara MacLellan
Align four 1x3 pieces of wood together into a box shape. Pre-drill at least two holes in each side for the nails (pre-drilling will help prevent the wood from splitting). Use wood glue to adhere the 1x3s together and secure even further by hammering nails into the pre-drilled holes.
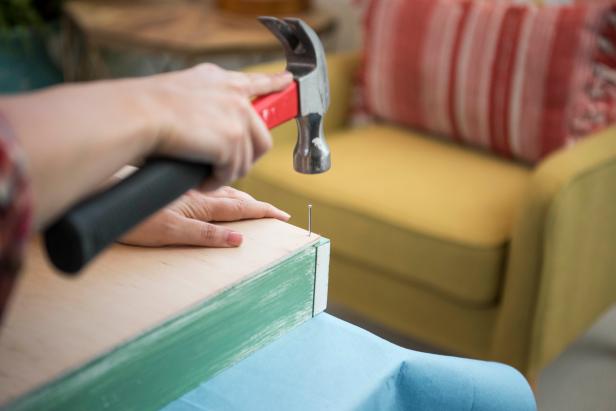
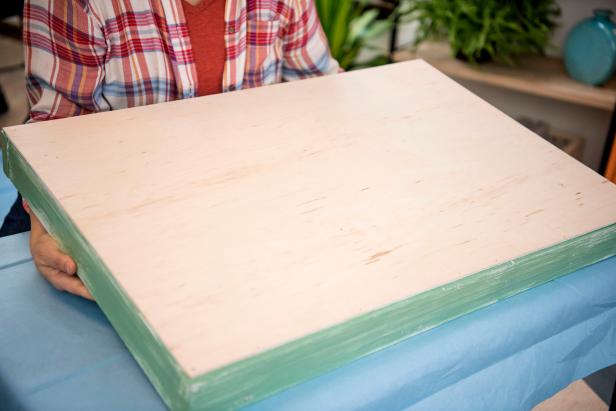
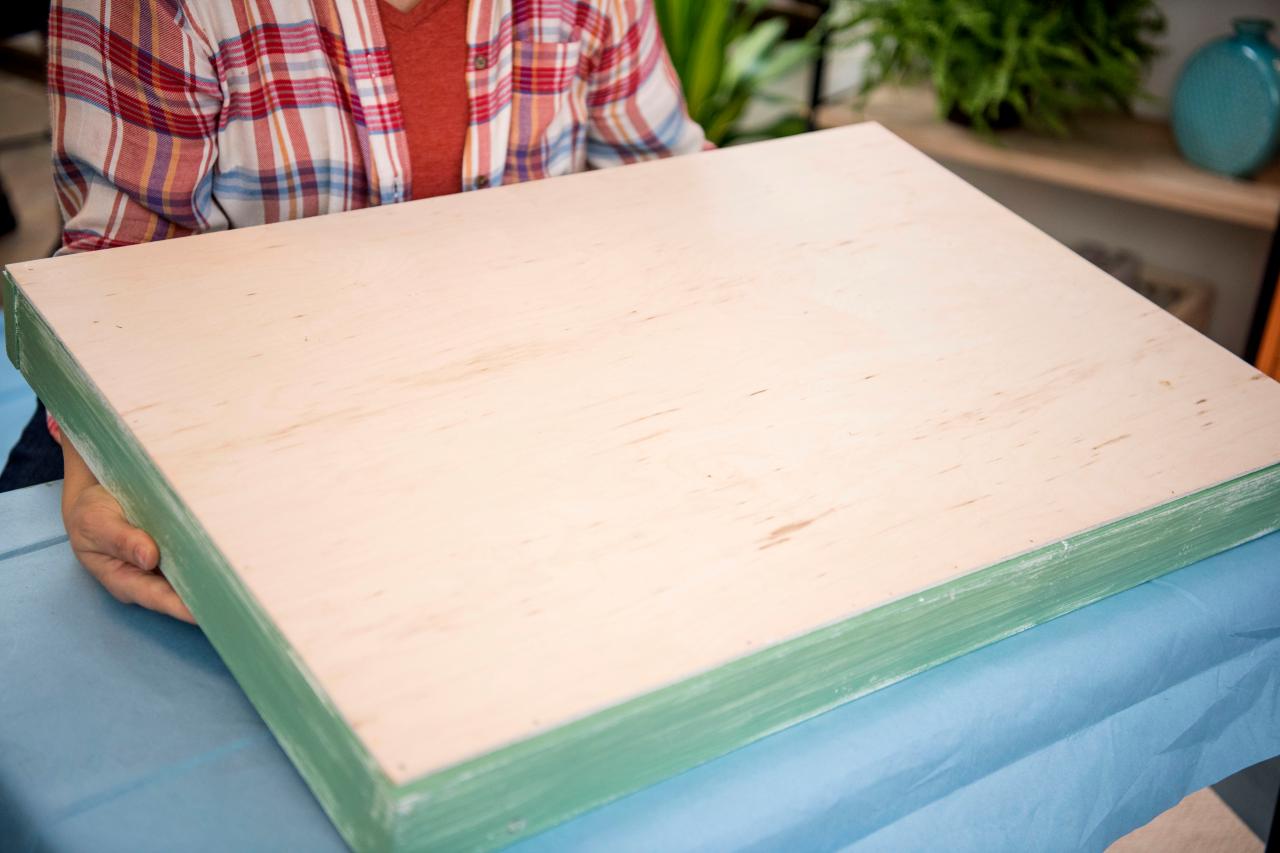
Step 3: Add the Back

Clara MacLellan
Clara MacLellan
Clara MacLellan

Clara MacLellan
Cut a piece of plywood to fit the size of the box. Use nails to secure the backing to the 1x3 box.
Step 4: Create a Ring + Bracelet Shelf

Clara MacLellan

Clara MacLellan

Clara MacLellan
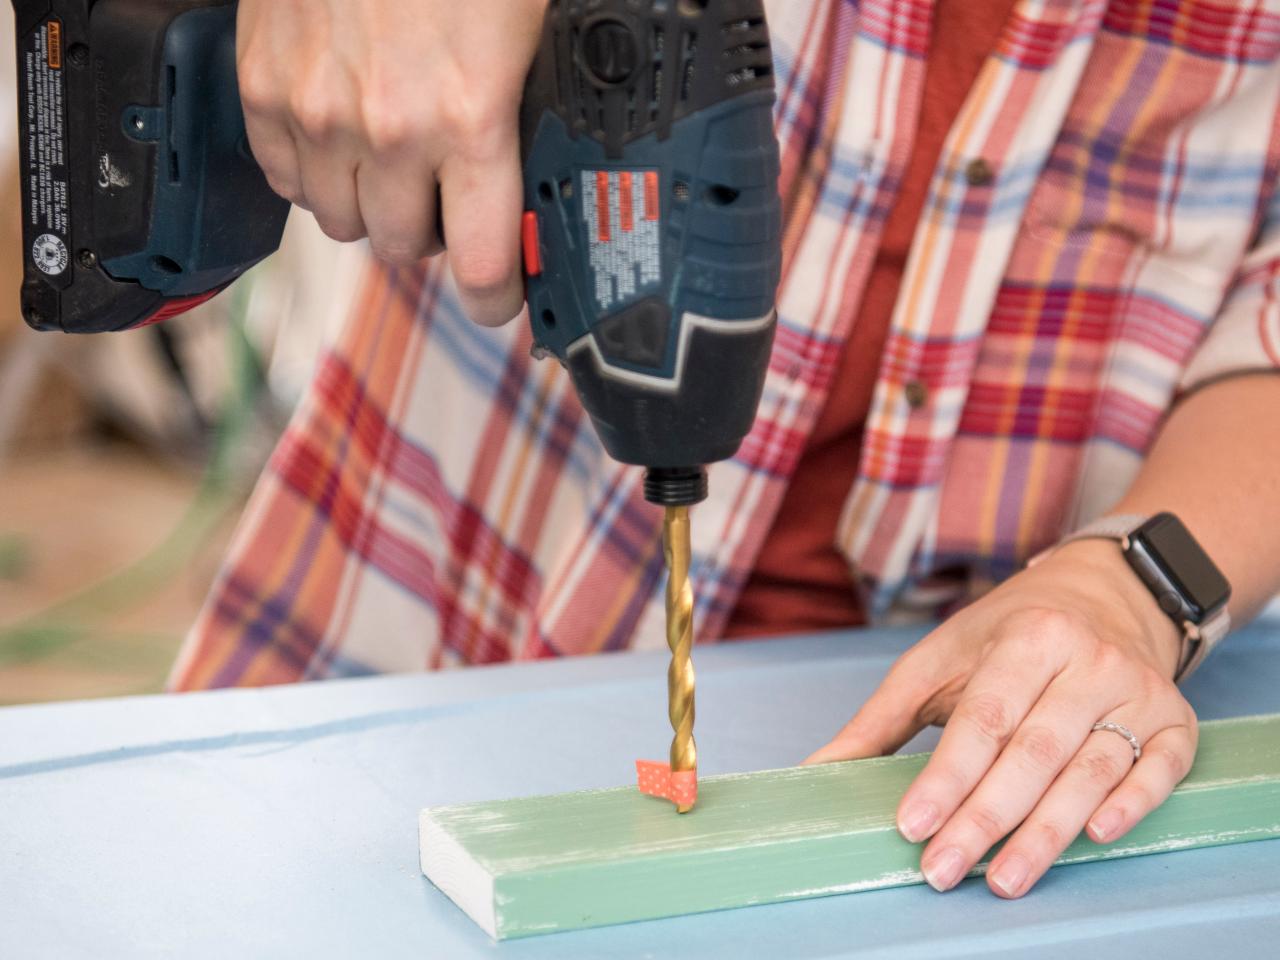
Use a drill bit to create evenly spaced holes along one side of a 1x3 board — use a drill bit that matches the size of your dowels. Wrap a piece of tape around the drill bit to serve as a guide for how deep you should drill. Put a dab of wood glue into the holes then insert the dowels and lightly hammer them into place.
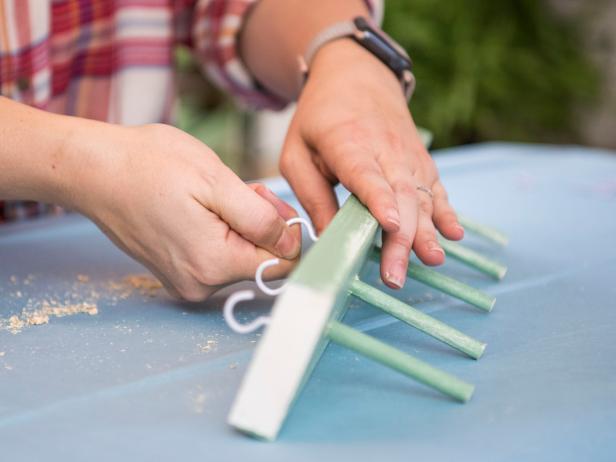
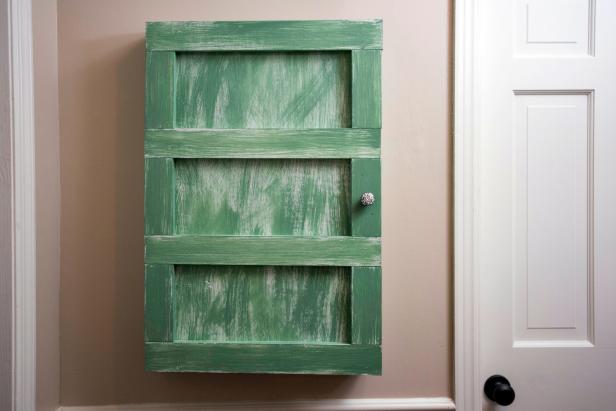
Step 5: Add Necklace Hooks

Clara MacLellan
Clara MacLellan
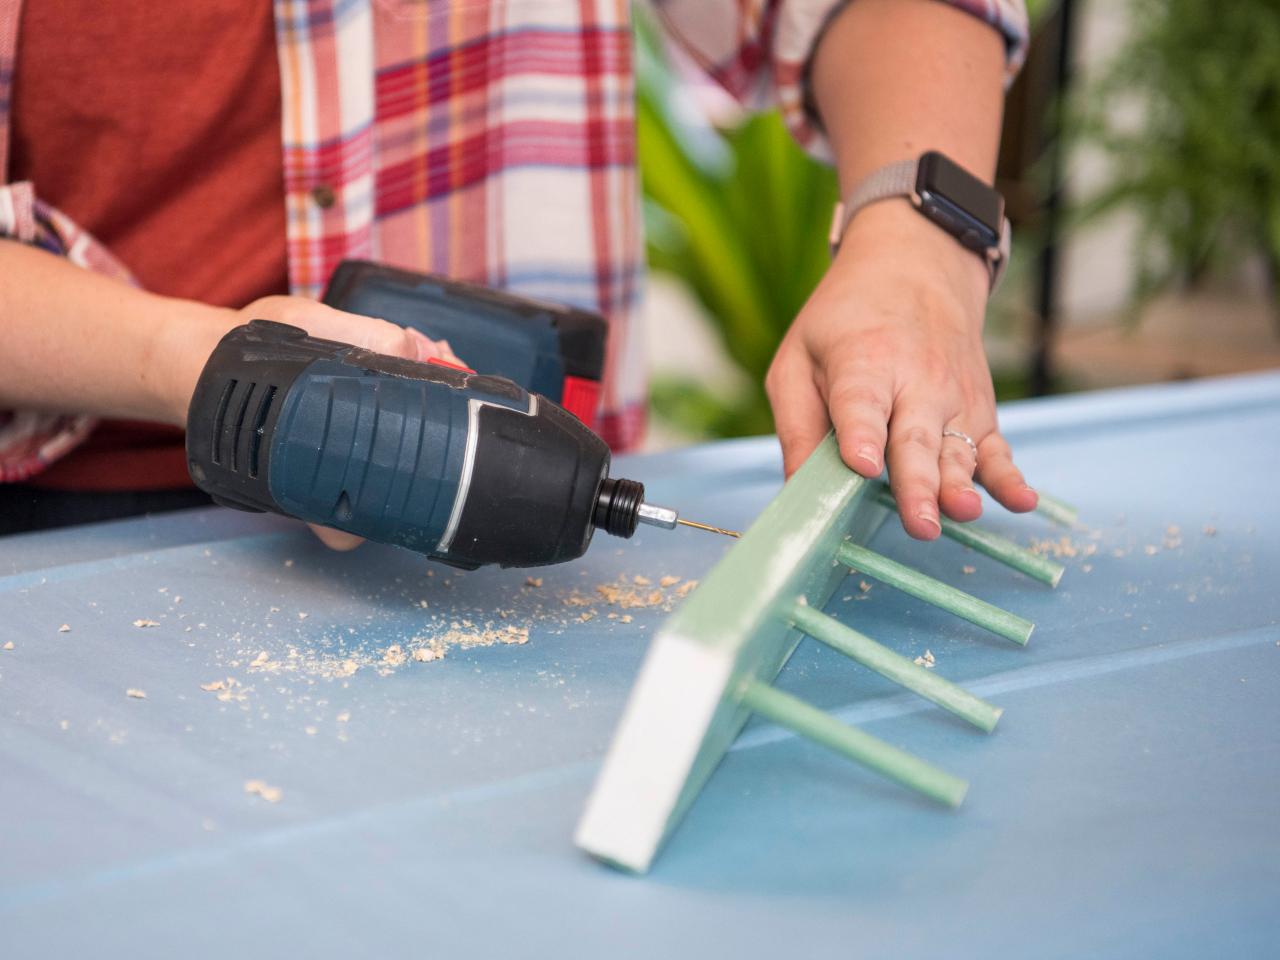
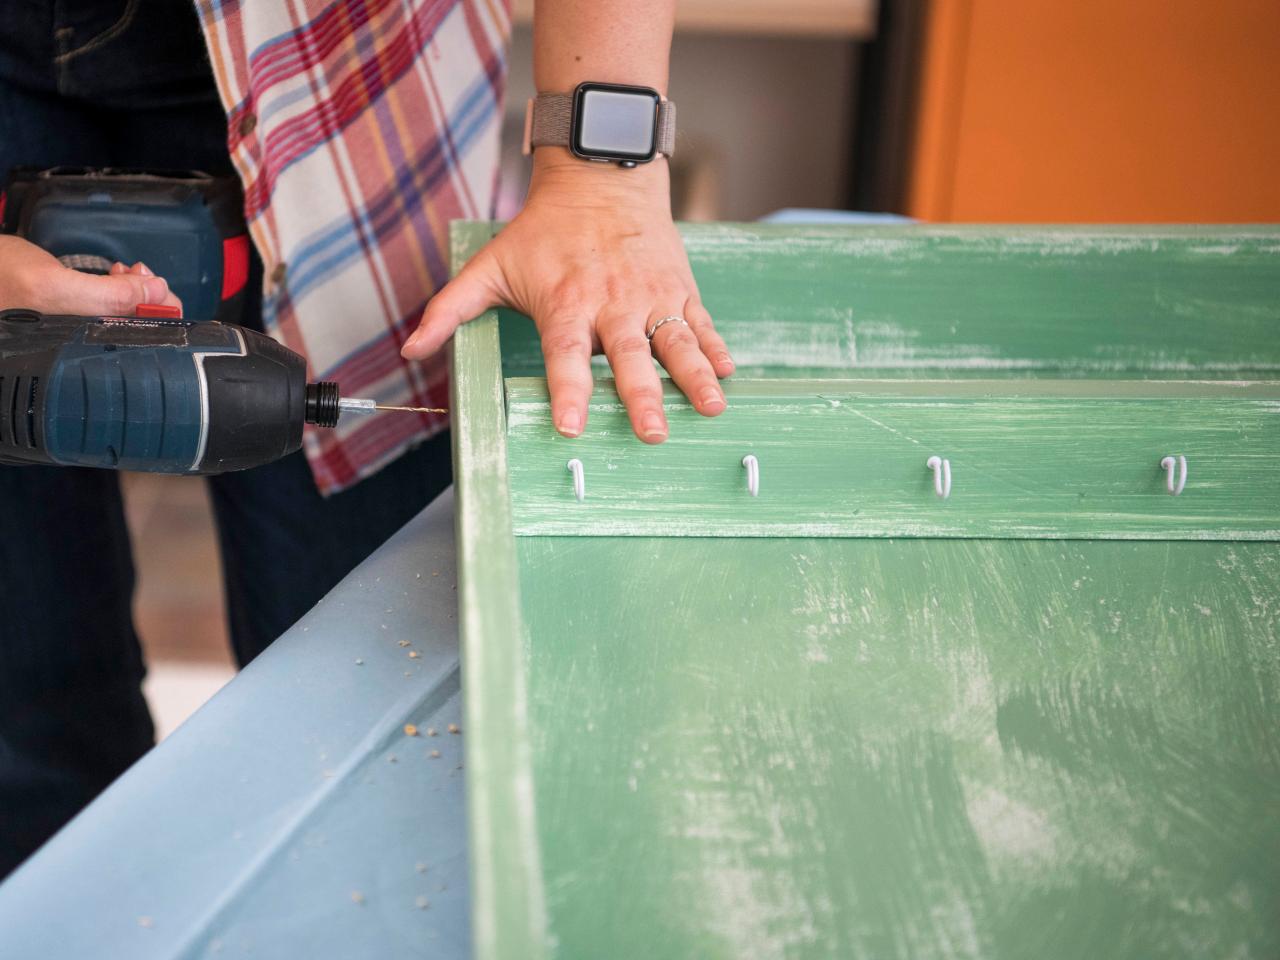
On the opposite side of the board, use a small drill bit to pre-drill holes in the board for the cup hooks. Don't drill the holes directly underneath the dowels. Once the holes are made, screw the hooks into place.
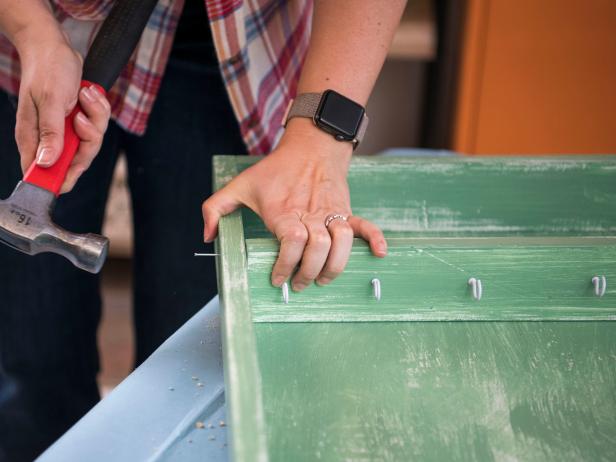
Step 6: Attach Shelf

Clara MacLellan
Clara MacLellan
Insert the dowel/hook board in the top part of the cabinet, make sure to leave space between the dowels and the top of the box for easy access to rings and bracelets. Use a small drill bit to pre-drill holes in the side of the box through the board, then hammer nails in those holes to secure the shelf.
Step 7: Create an Additional Shelf

Clara MacLellan

Clara MacLellan
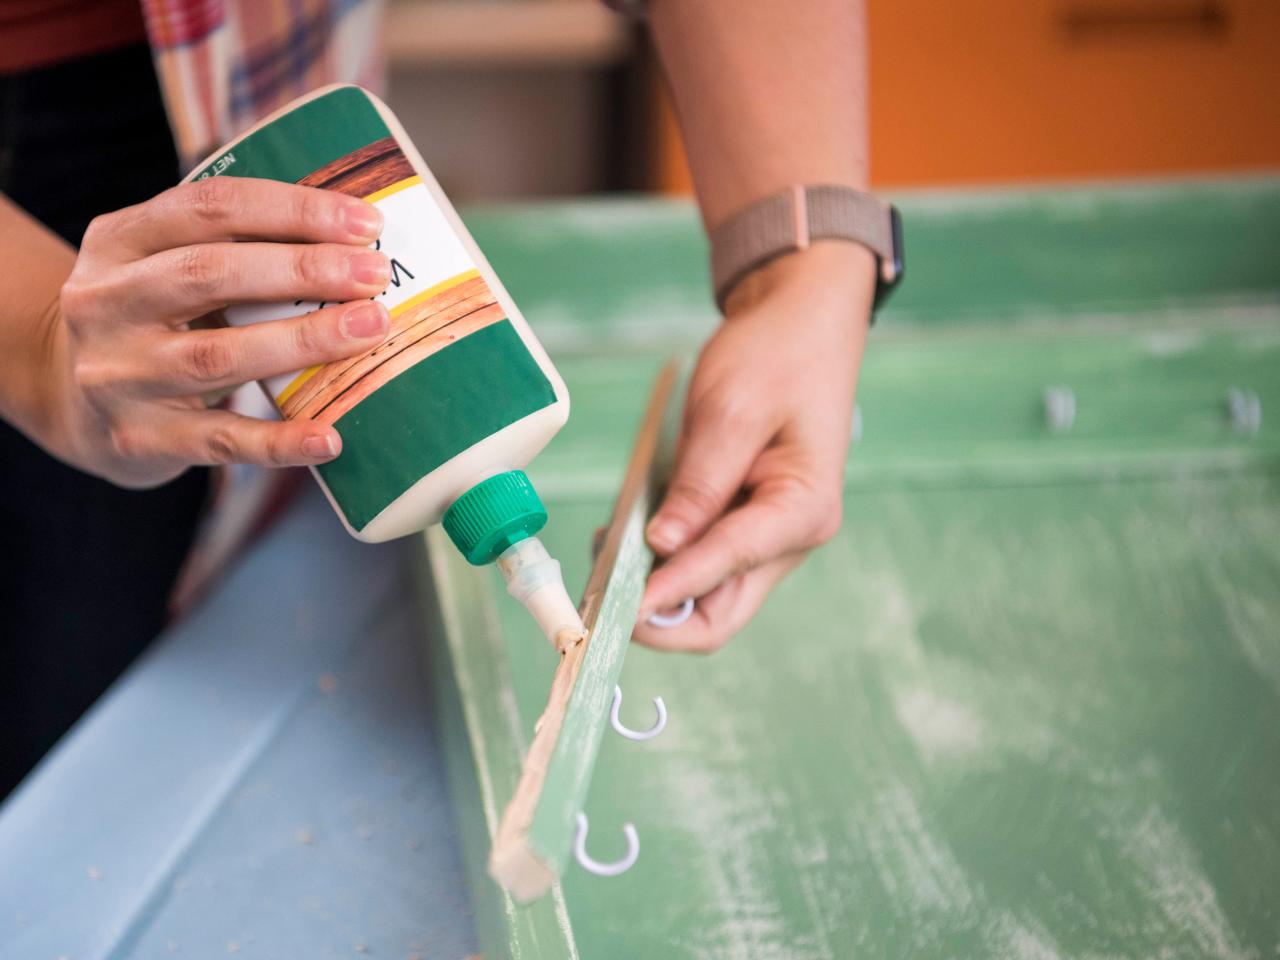
For an additional line of hooks, rip a piece of 1x3 lengthwise, paint and then pre-drill holes for the cup hooks and then insert them. Apply wood glue on the back of the wood and insert it into the bottom part of the cabinet. Pre-drill holes for nails and then hammer them in to secure the shelf.
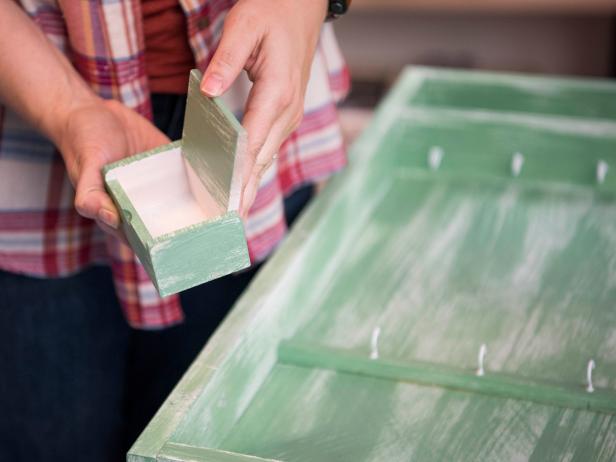
Step 8: Add Boxes
Clara MacLellan
We used pre-made boxes found at a craft store to line the bottom of the cabinet. These can be used for items that do not need to hang such as brooches and pins.
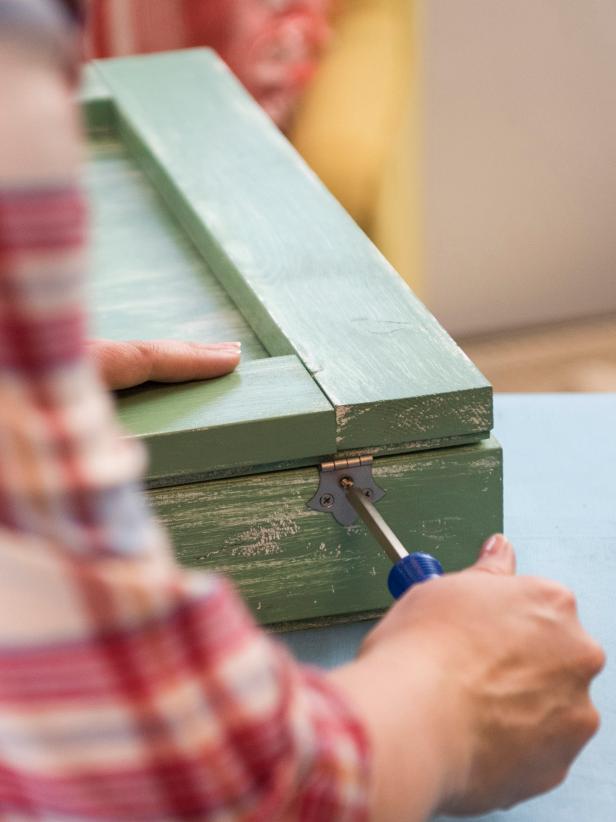
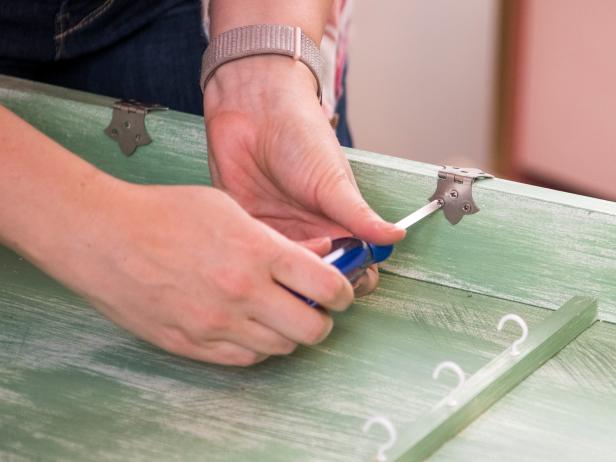
Step 9: Build a Door
Clara MacLellan

Clara MacLellan

Clara MacLellan
Clara MacLellan

Clara MacLellan
Use plywood and 1x3 boards to create a door for the cabinet. Make sure to measure the outside edges of the box when creating the door so that it will completely cover the box. All the edges should be flush with each other. Add hinges to the door and then secure them to the cabinet frame with a screwdriver. Add a decorative knob to the front of the door for easy access.
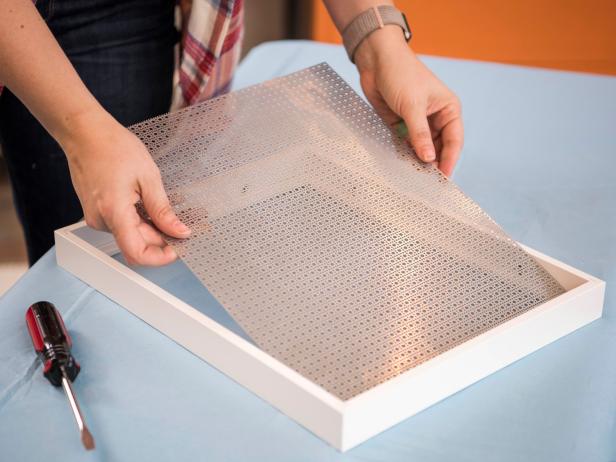
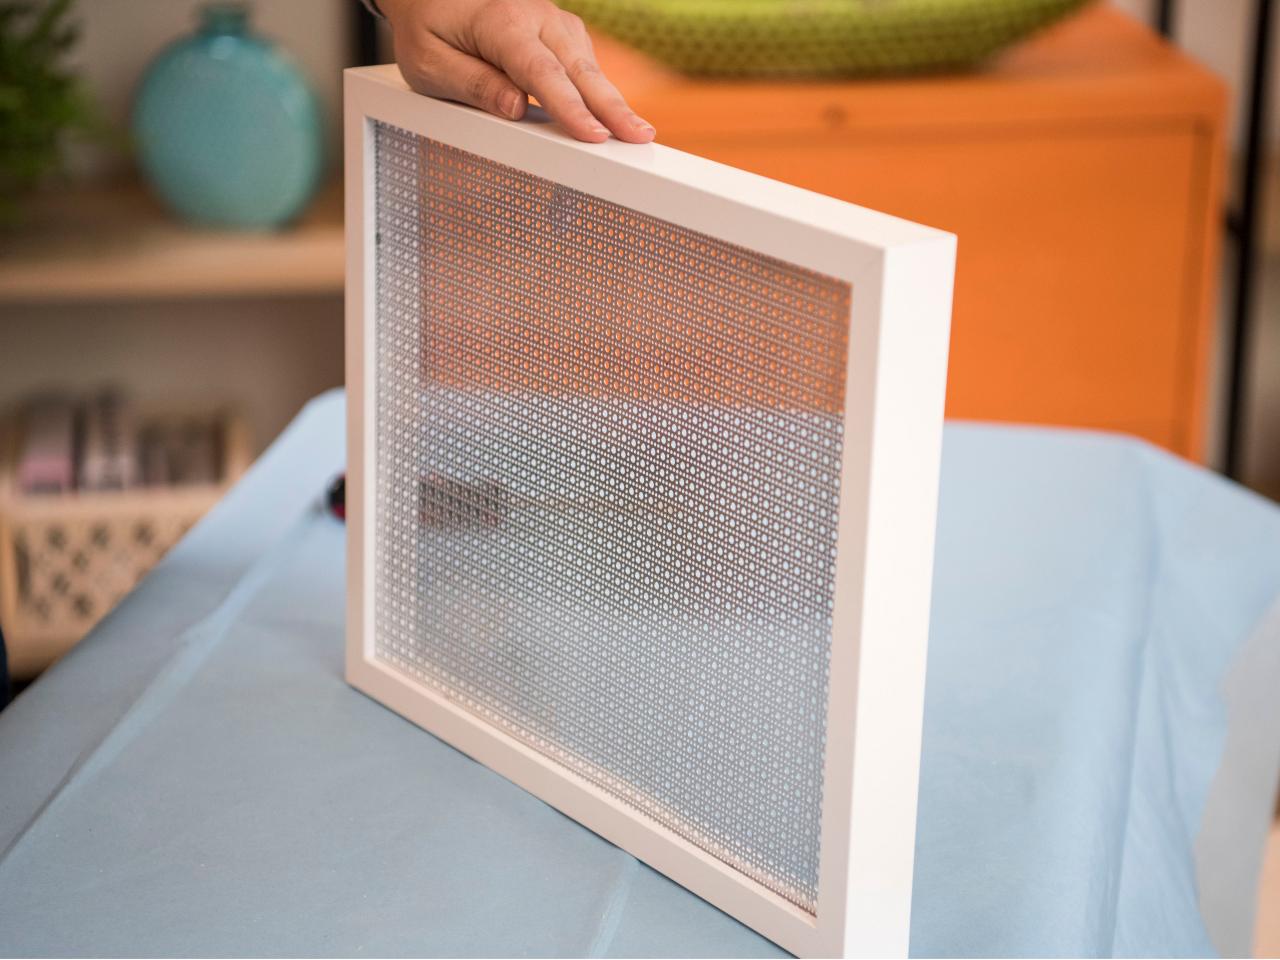
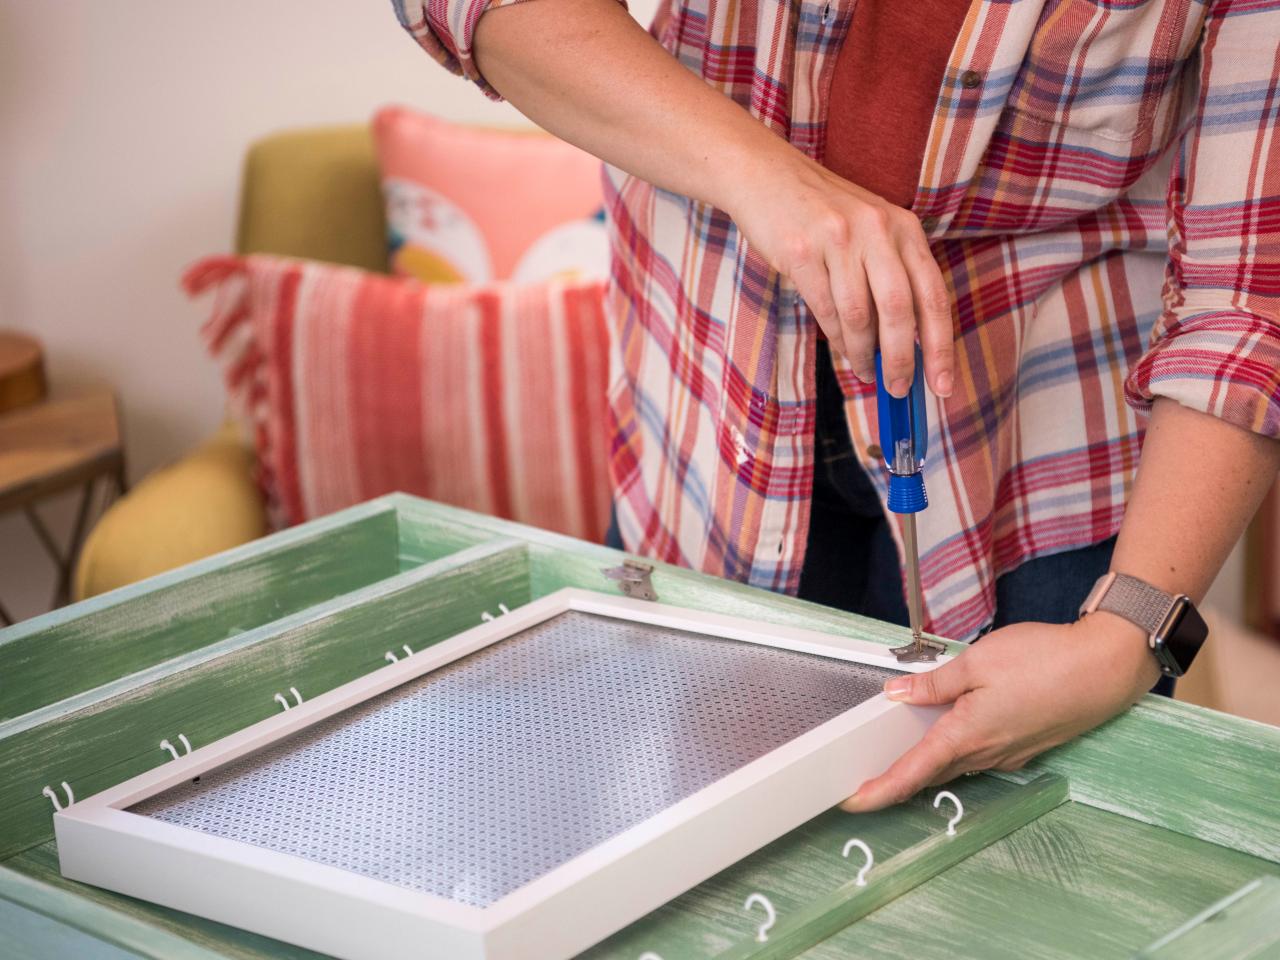
Step 10: Add Earring Panel
Clara MacLellan

Clara MacLellan

Clara MacLellan
Clara MacLellan

Clara MacLellan
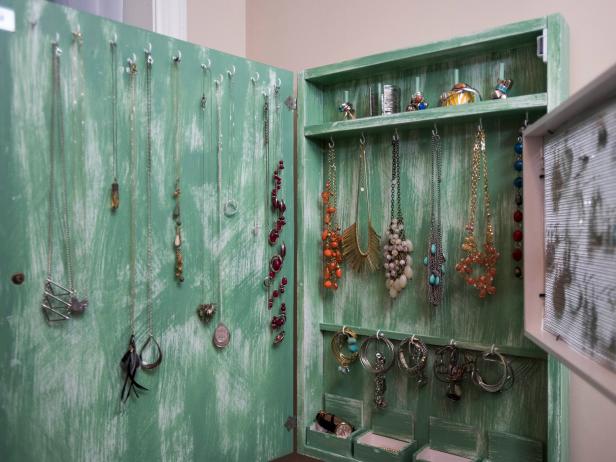
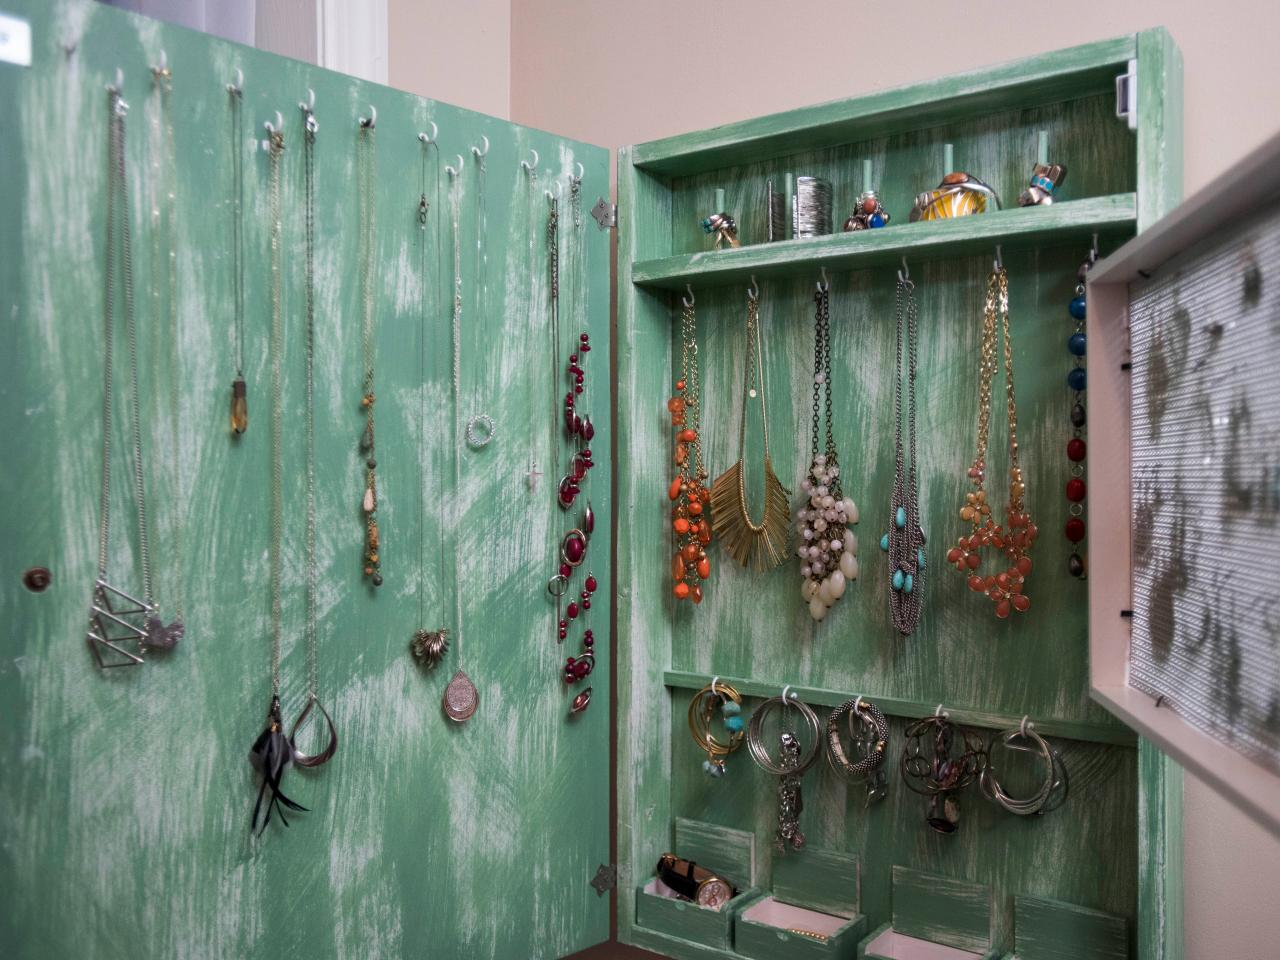
We added a swing-out panel to hold dangling earrings. To make this, insert a perforated metal sheet into an appropriately sized picture frame. On one side of the frame, add two hinges and attach the frame to the cabinet using a screwdriver. Make sure the earring frame sits flush with the box so the door will shut properly.
Step 11: Add Magnetic Closure
On the opposite side of the door hinges, add two magnetic closure pieces, one towards the top and one towards the bottom.
Step 12: Attach to Wall
Make sure to hang your jewelry cabinet on wall studs to provide extra safety and sturdiness to hold up the weight of the cabinet.
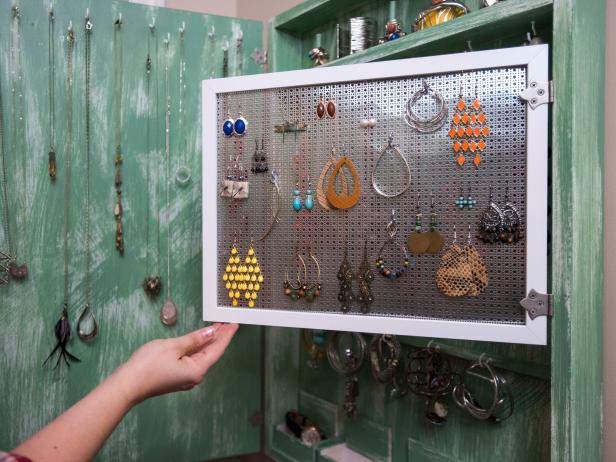
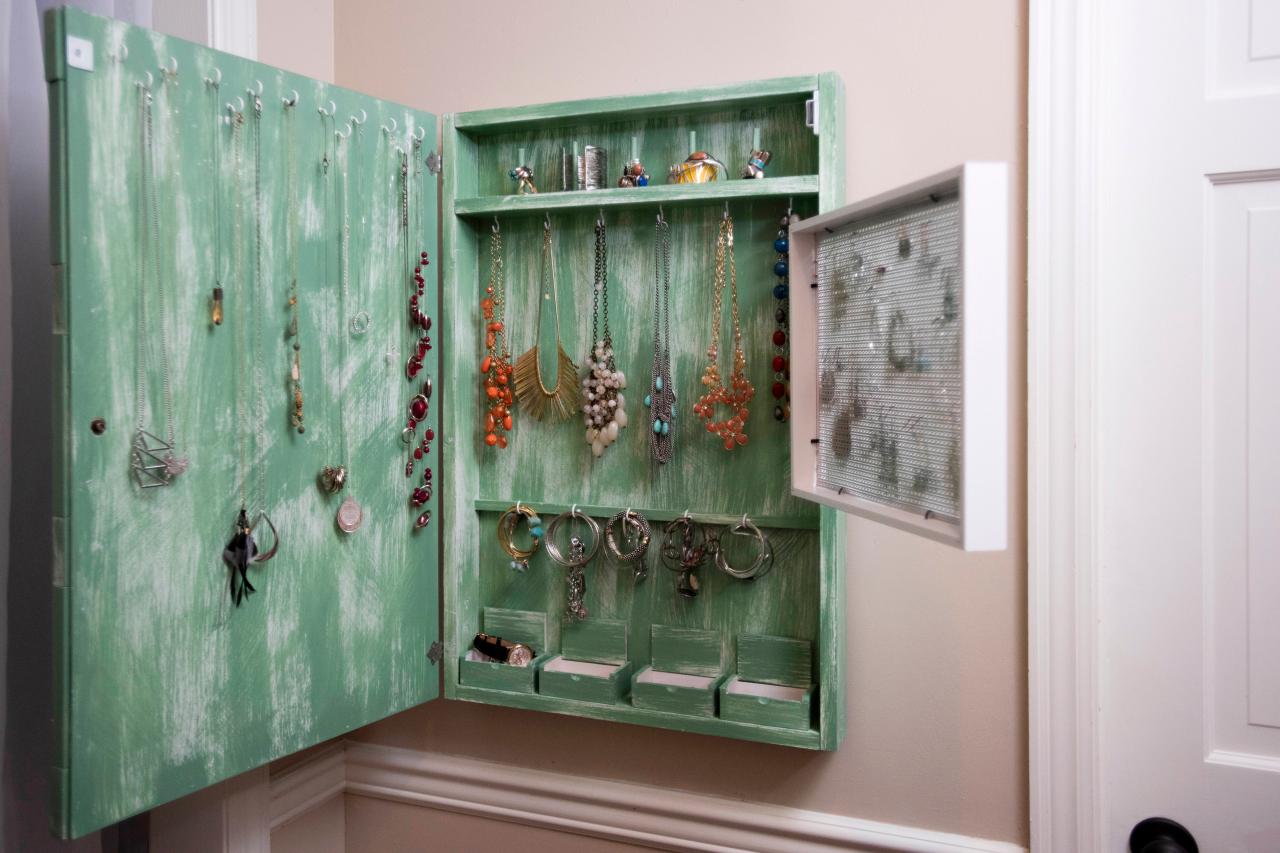
Step 13: Add Jewelry
Clara MacLellan
Clara MacLellan
Clara MacLellan

Clara MacLellan
Clara MacLellan
Once put together and hung, add your jewelry pieces and enjoy tangle-free organization.


