


Give a Tired Outdoor Wood Chair a Tropical Update
This wooden chaise longue was a little worse for wear after a year exposed to the elements. See how we gave it a fresh new look by sanding it, staining it and adding a tropical-inspired design.

Materials Needed
- dish soap/scrub brush
- electric hand sander
- 80- and 120-grit sanding pads for sander
- stain
- old T-shirt or rag
- latex gloves
- construction paper
- oil-based paint
- small paint brush
- oil-based paint pens
- water-based outdoor sealant
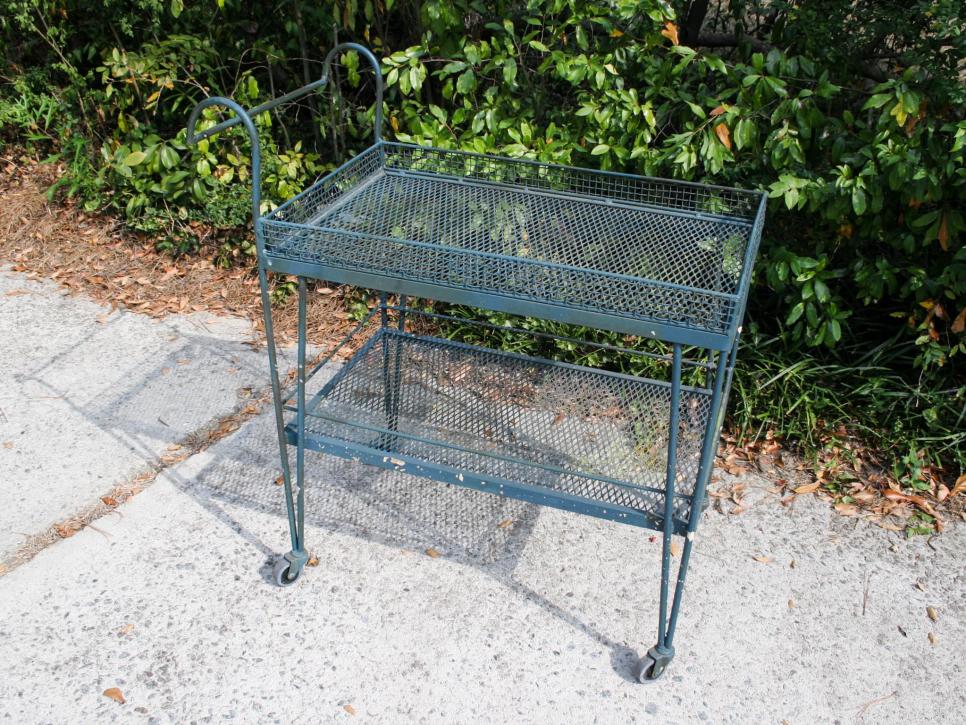
Before
Bringing wooden furniture back to life after a year or two outdoors can seem daunting, but it’s actually very easy and oh-so-satisfying when you’re done. This wooden chaise longue had seen better days after laying out under the sun and rain for a year. It was sun-bleached and a bit grimy, but overall still in great structural shape.

Clean It
If your item has significant mildew buildup, just grab a bucket and fill it with a 50/50 mixture of dish soap and water. Scrub the wood to clean it up, and let it fully dry for a few hours before sanding.
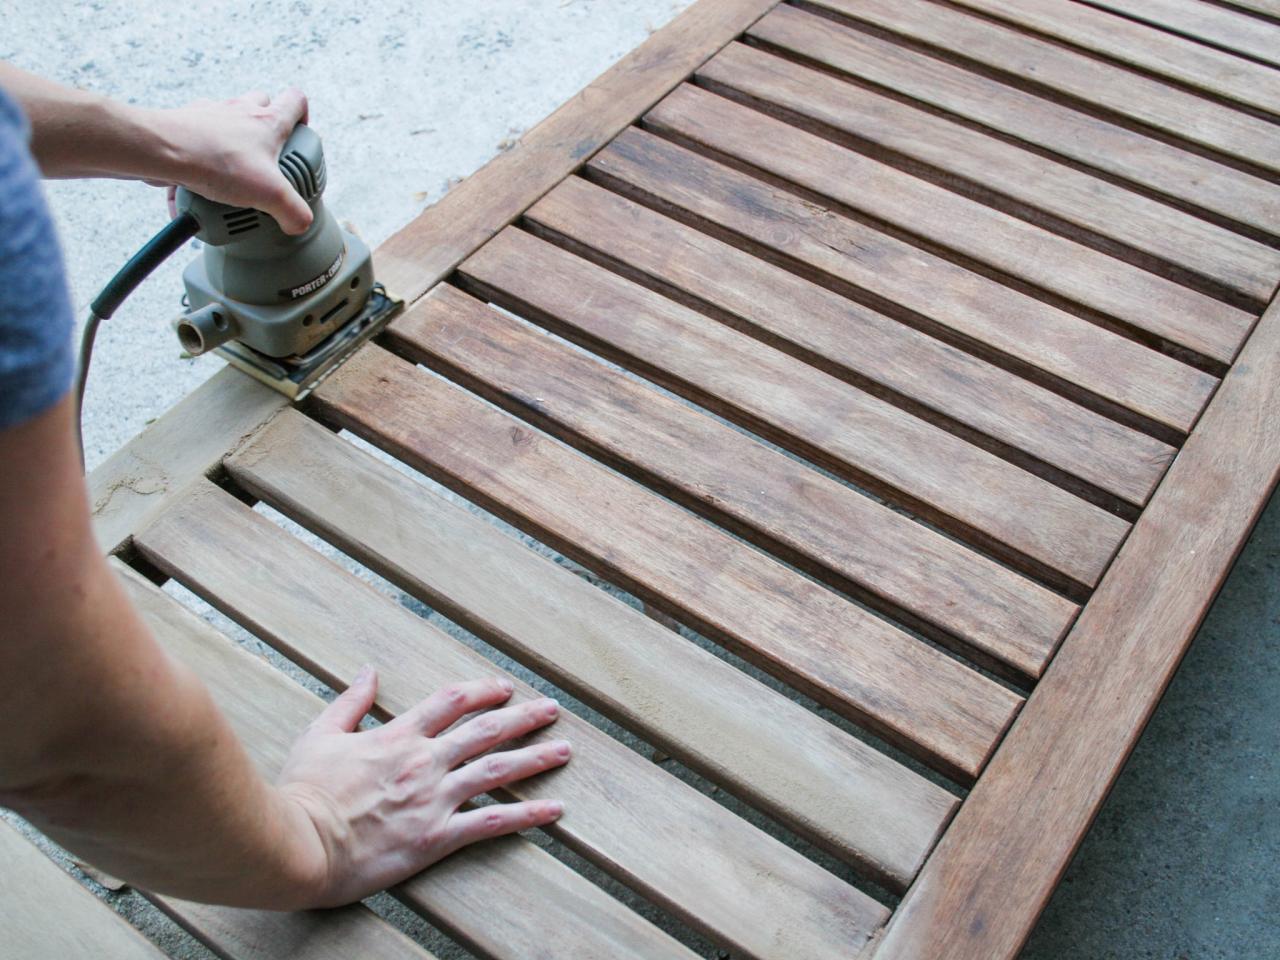
Sand It
Start with a 120-grit pad on your sander; if it doesn’t get through the grayed surface of the wood immediately, change to 80. 80 grit will sand off a lot of material, so err on the safer side and start with 120. Make sure to sand with the grain as best you can. Once you have finished sanding all surfaces, wipe the piece clean with a damp cloth to get all of the dust off.

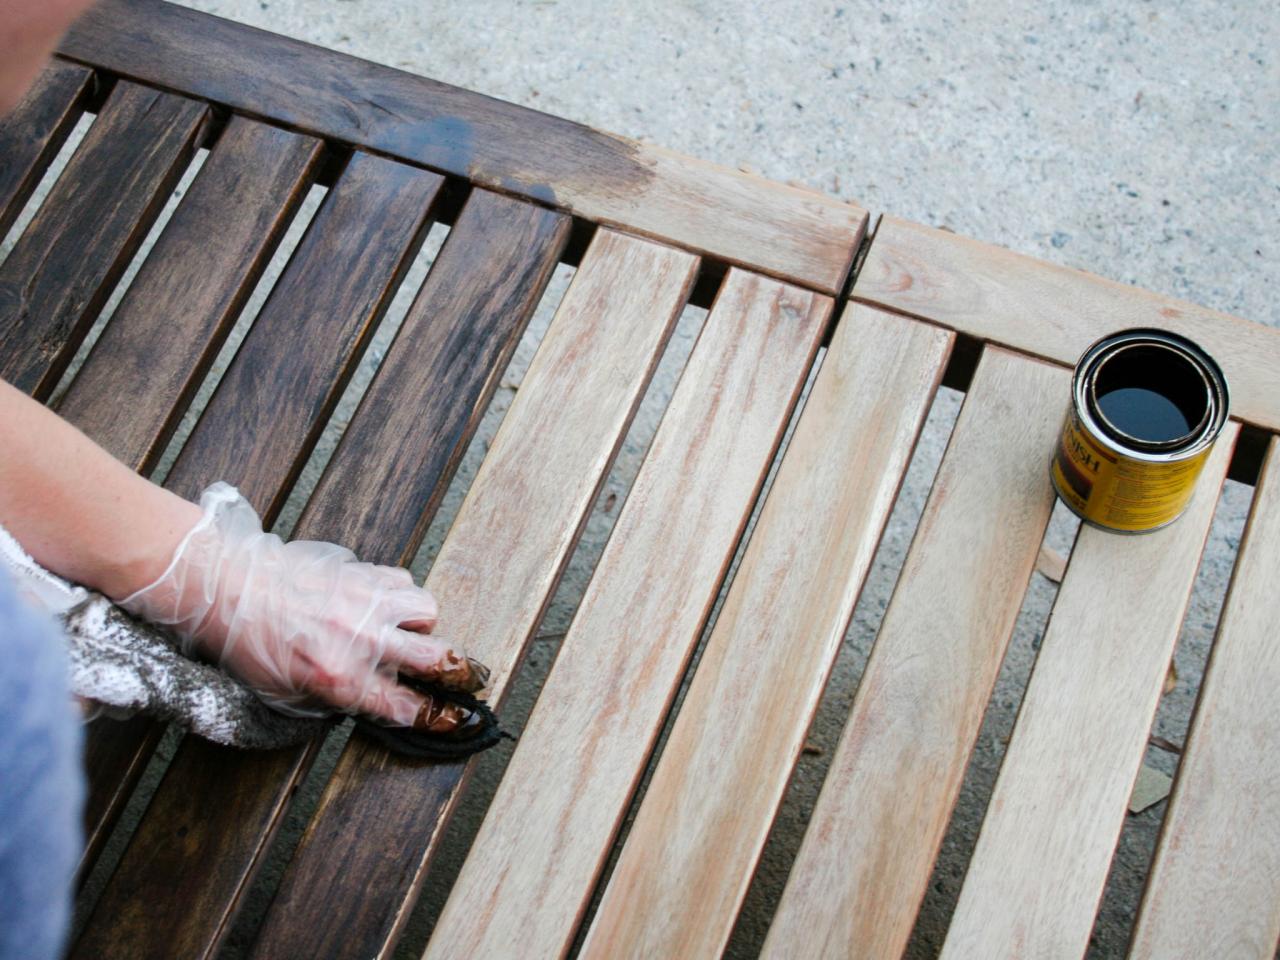
Stain It
To be safe, test your stain on an area that isn’t visible on the furniture to make sure it’s the color you really want. Then apply the stain all over with an old (but clean) T-shirt or cloth. Wear latex gloves so you don’t stain your skin. Be generous with the stain, just whipping away the excess when you’ve covered the whole area. Depending on how long the item has been outside, it may drink up that stain and require a second coat. Let it dry for an hour or so before deciding on a second coat.

Embellish It
If you’re giving your furniture a makeover anyway, why not kick it up a notch? Instead of stopping at a fresh coat of stain, we wanted to add a fun tropical pattern to give the basic design more personality.
Use thick construction paper to cut out your leaf shapes. Do a few slightly different sizes and shapes so they look more natural when you layer them on top of each other.

Since the wood stain is dark, it can be hard to see pencil marks as you outline. Instead, use an oil-based paint pen to lay out your design. (You can get these at any craft store in some really fun colors.)


Paint It
We chose a beautiful green paint color for the leaves. Using your small paint brush, fill in the leaves, exposing just enough of your outline so you can go back over it for the details. It will probably take two coats to fully cover the wood.

Once the paint has dried (after about 2-3 hours) you can go back over the pattern with your paint pens. Have fun with this part: the paint pens make it super easy to draw patterns and small details in your design. And the best part: if you don’t like a color you used, you can go right over it with another color. So easy!

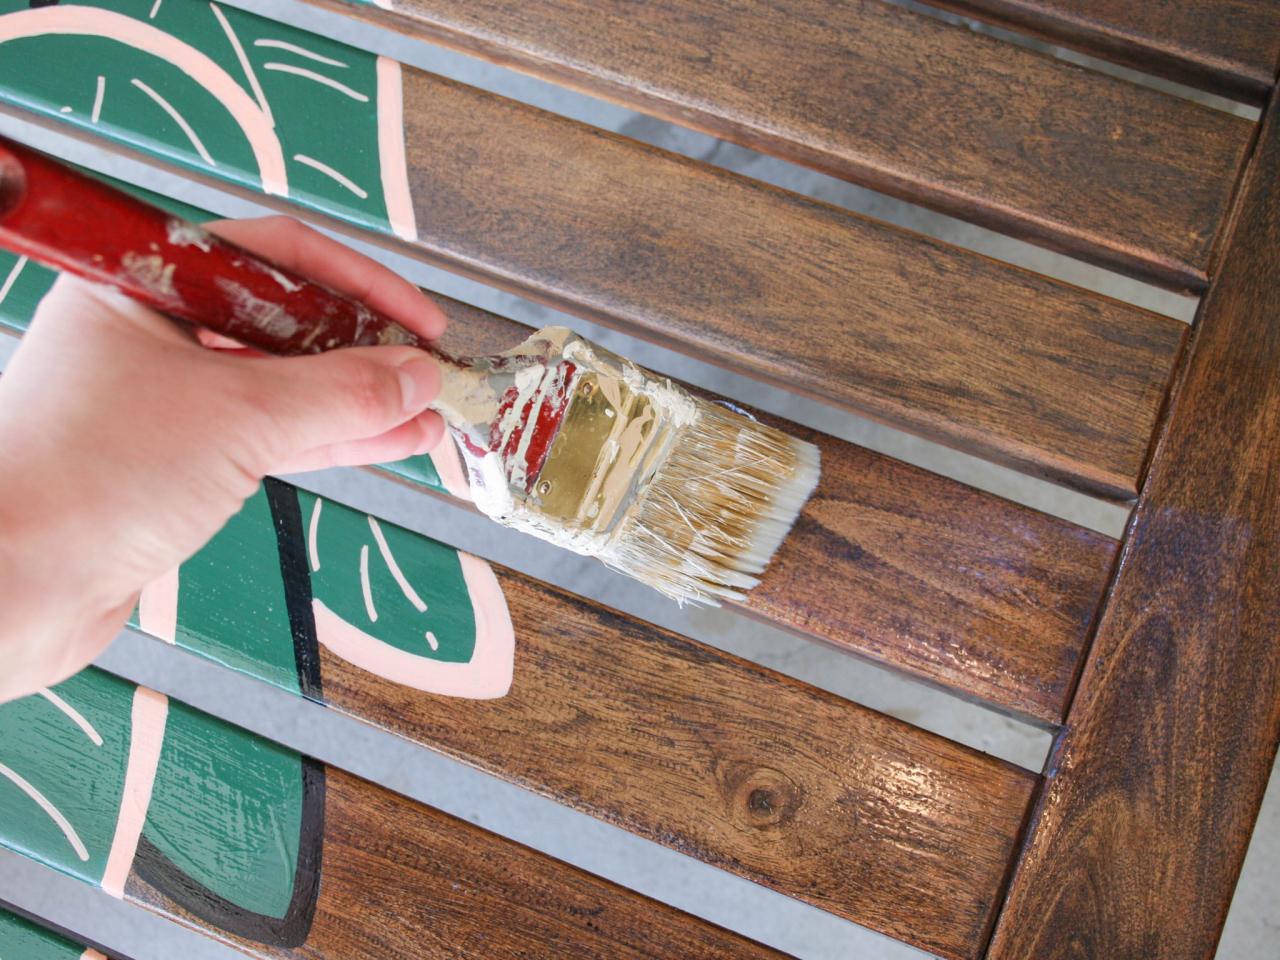
Seal It
Once you have finished your painted design, go over the whole chaise with an outdoor sealant. This will ensure the wood and your work of art will be protected from the elements. Two coats will be enough. Follow the instructions on the can for wait times between coats.

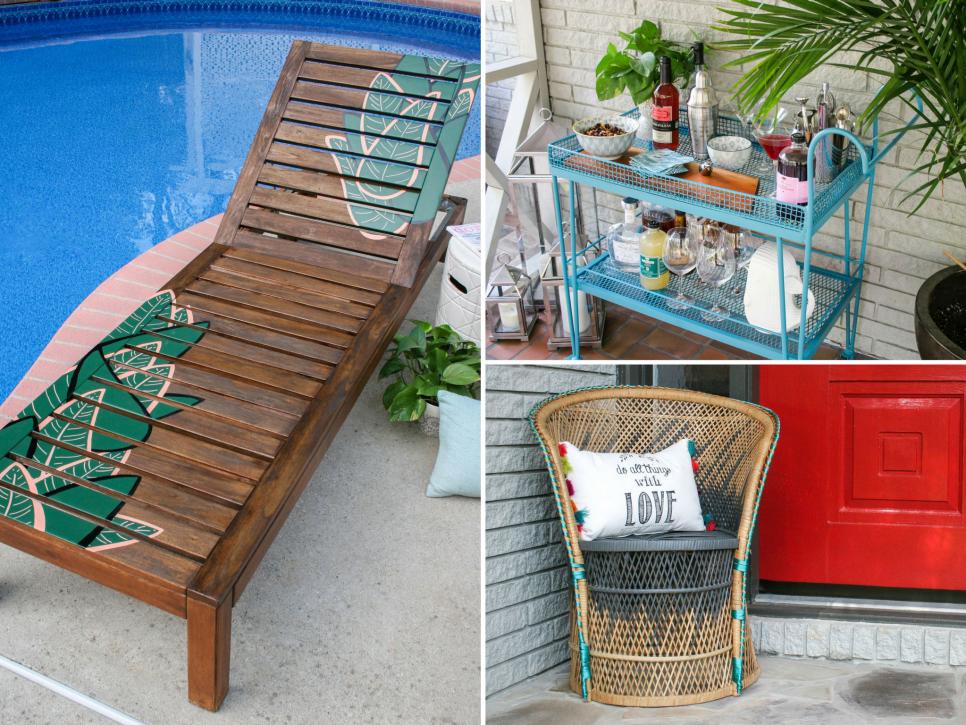
Enjoy It!
Now it’s time to kick your feet up and enjoy your hard work. Add a few toss pillows and a great magazine and get your chill on.
Before

After


