


How to Make a Chic, Outdoor Pillow Cover (No Sewing Required!)
Transform an old, faded pillow into an outdoor accessory with this quick, no-sew project.

Tomas Espinoza

Materials Needed
- 18"x18" pillow
- 2 yards indoor/outdoor fabric
- 6 yards pom-pom trim
- 3 hook and loop tape strips
- extra-strength fabric adhesive
- fabric fusing tape
- iron
- measuring tape
- ruler
- scissors
Measure Old Pillow
To recover an 18-by-18-inch pillow, it’s sometimes easier to remove the pillow cover and work with a pillow insert. You’ll also want to use your pillow's dimensions to determine how much trim your new design will require.

Tomas Espinoza
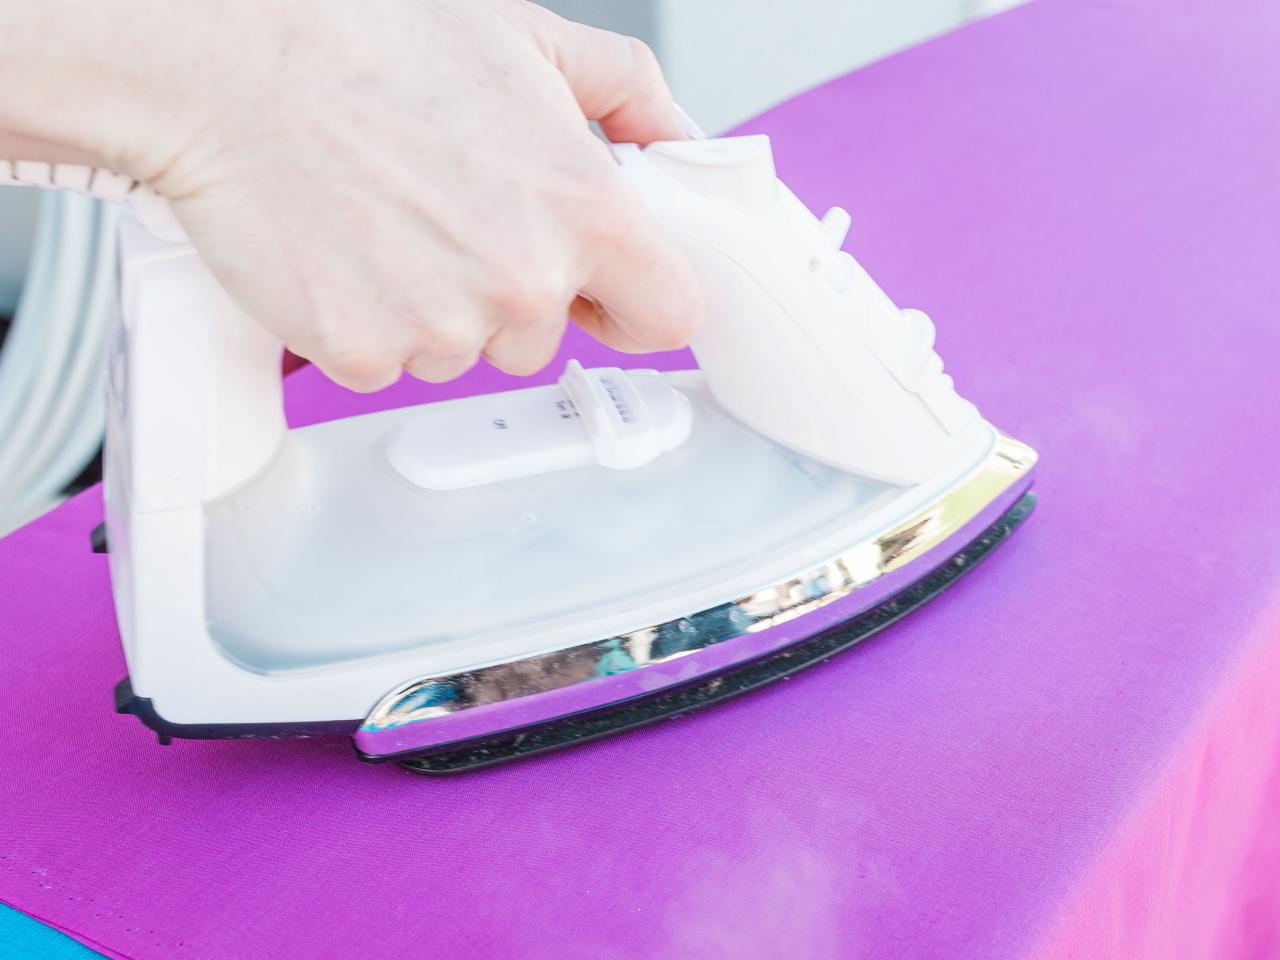
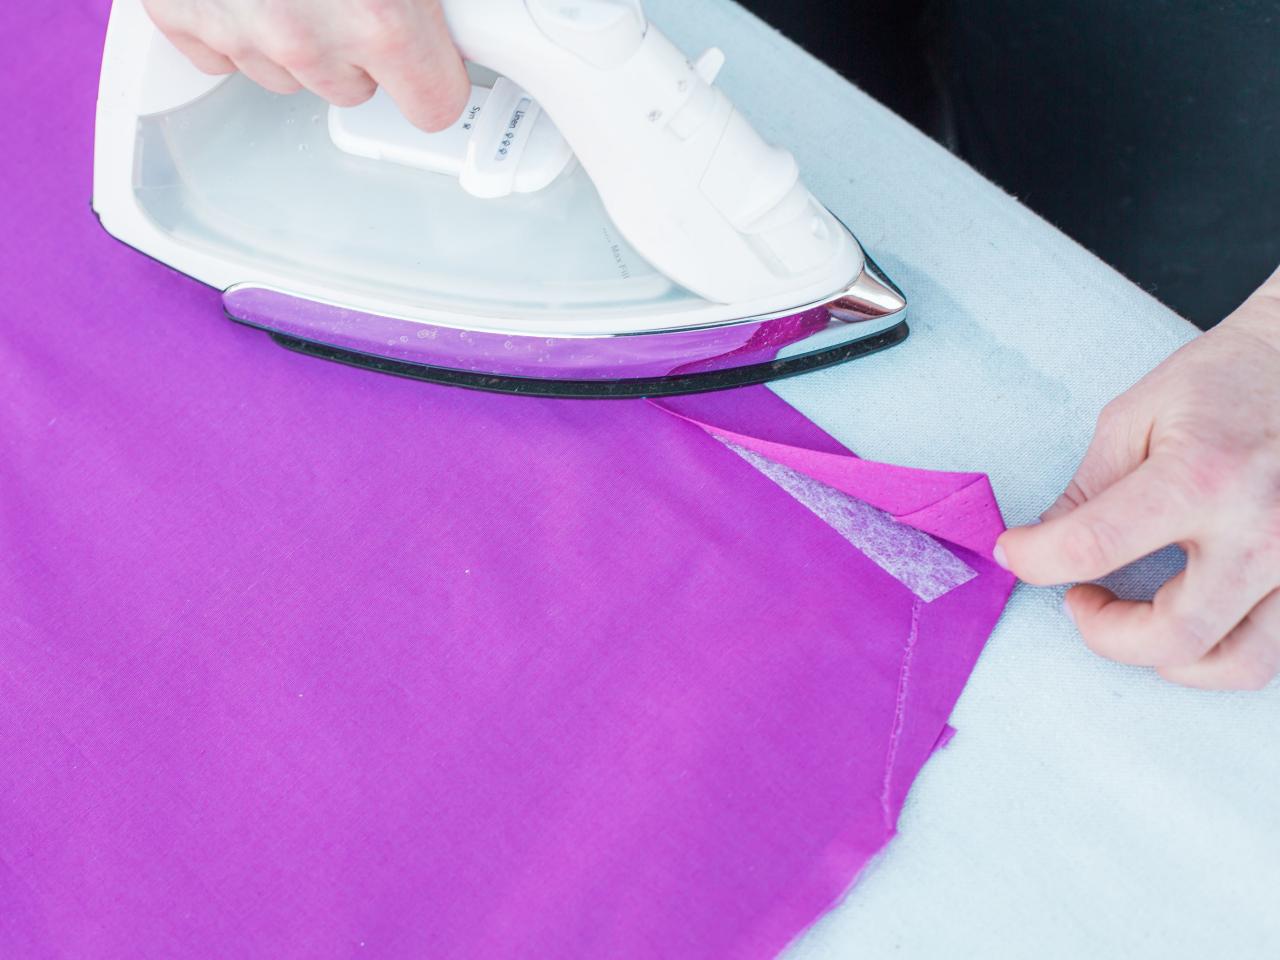
Iron Fabric
Smooth out the new fabric with an iron.

Tomas Espinoza
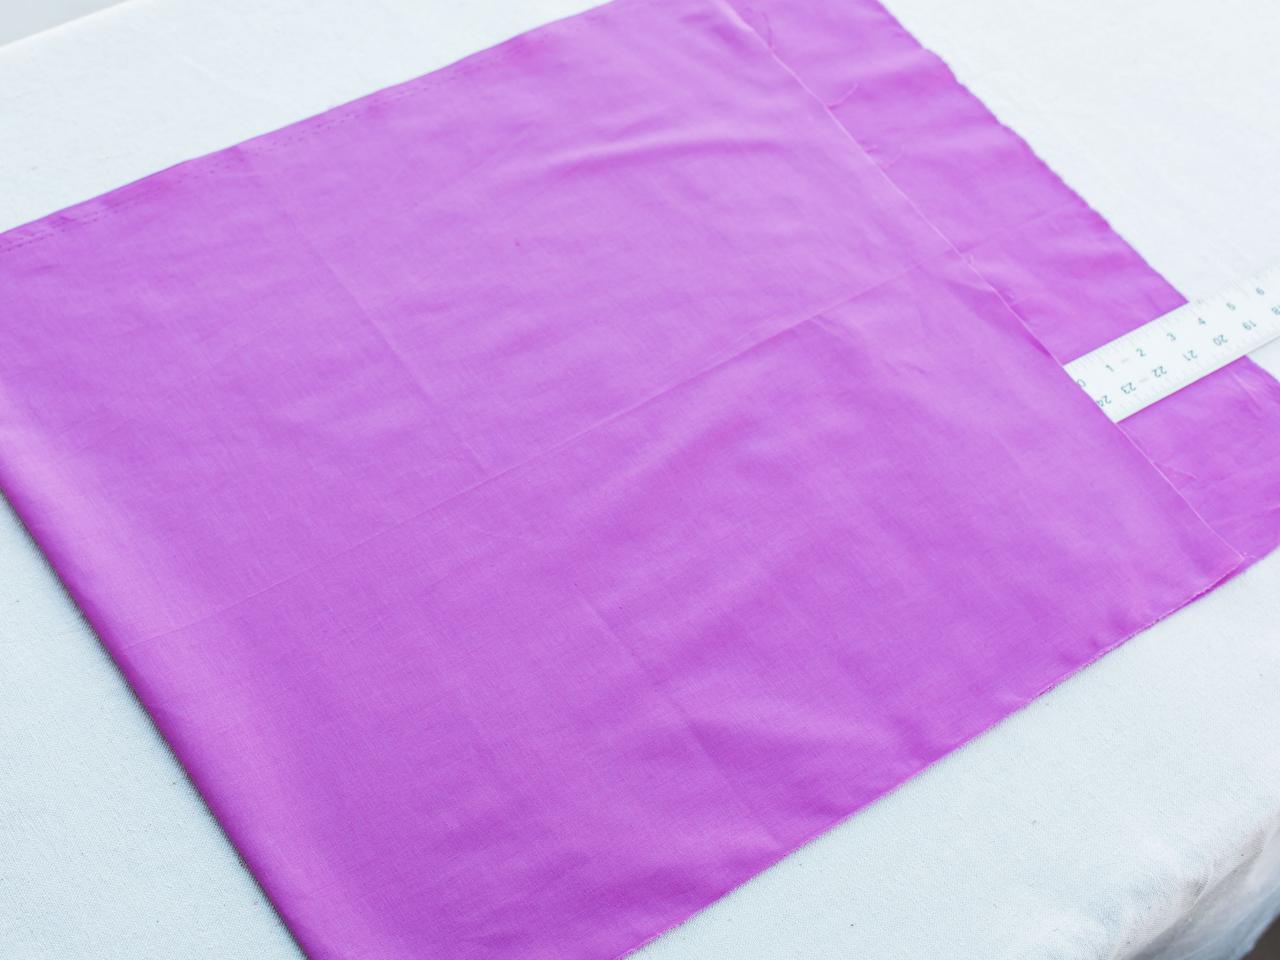
Cut Fabric
To recover an 18-by-18-inch pillow, cut out a 44-by-20-inch piece of indoor/outdoor fabric. Keep in mind, you’re adding extra width to accommodate for a one-inch seam on either side of the pillow.

Tomas Espinoza
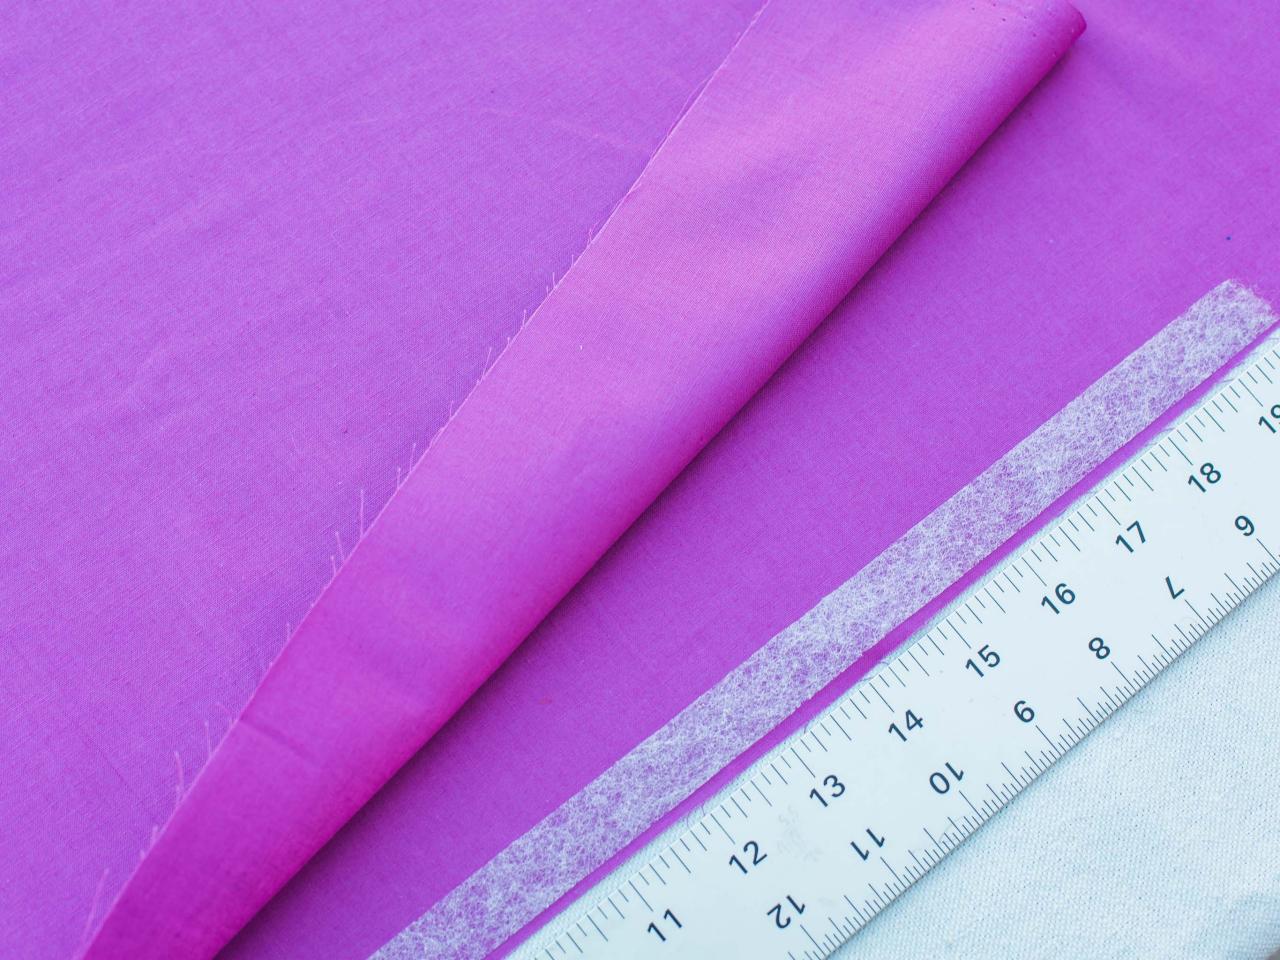
Fold Fabric in Half
Fold the fabric in half (right sides facing each other) to recreate the square shape of the pillow. Allow one side to peek out about 4 inches. This will be the pillow's top flap.

Tomas Espinoza
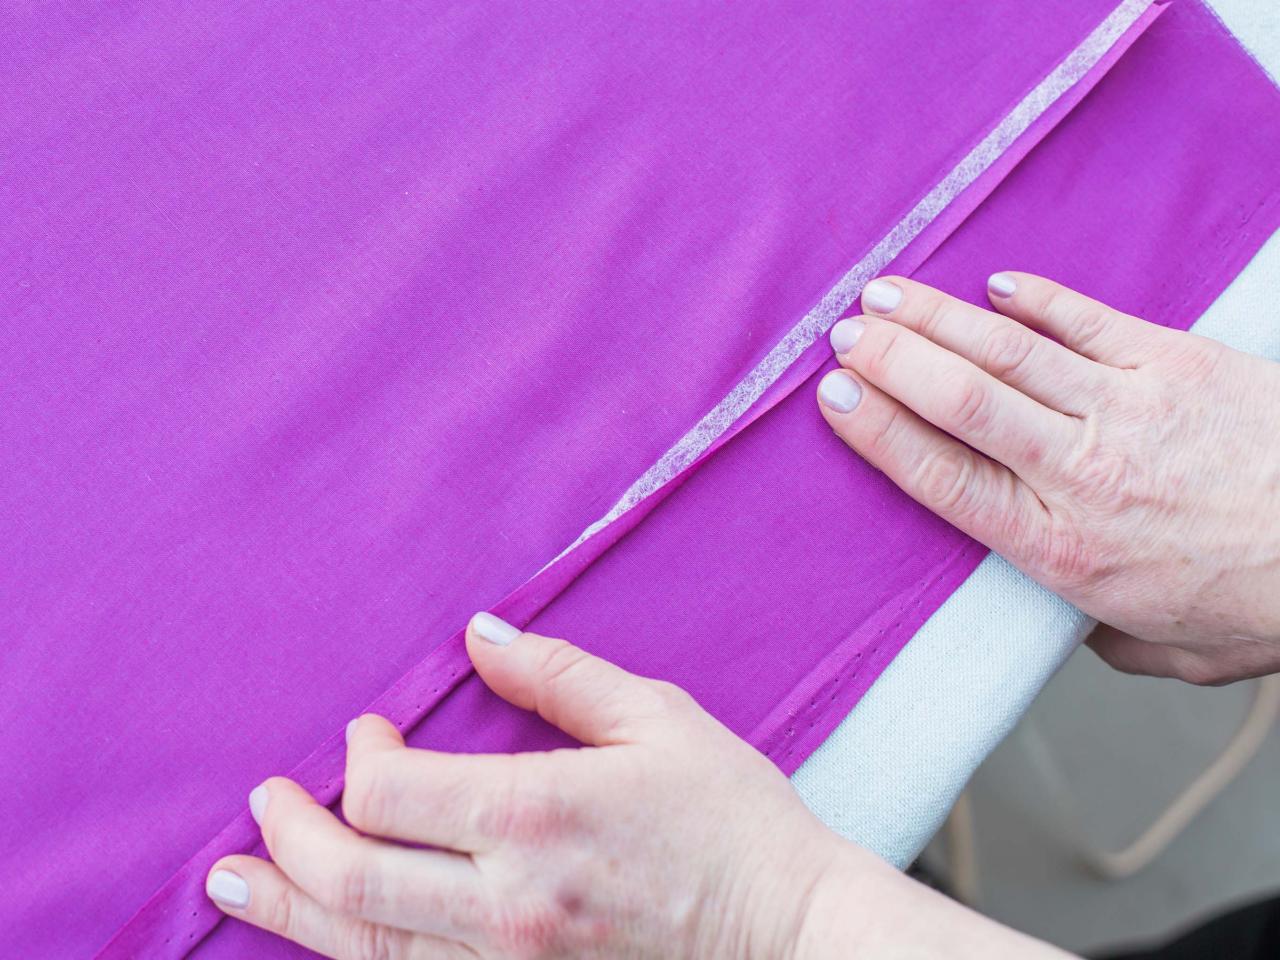
Add No-Sew Tape
Roll out the sewing adhesive tape along each edge, stopping just shy of the 20-inch mark.

Tomas Espinoza
Fuse Side Seams
Fuse the side seams together with an iron.

Tomas Espinoza
Finish Top Edge
Roll out and cut a thinner piece of sewing tape to finish the top edge of the pillowcase. Fold over the fabric about a half inch, then fuse the pieces together with an iron.

Tomas Espinoza
Finish Flap Edges
First, flip the pillowcase over and begin working on the flap. Fold the side edges of the top 4-inch flap in slightly, then fold over the long, top edge about an inch. Use the sewing tape in the same manner as the previous steps so that the edges are finished. Once it's cool to the touch, you’re ready to turn the pillowcase right-side out so that all the seams you just created are hidden inside the pillowcase and on the inside of the flap/opening.

Tomas Espinoza
Add Closure Tabs
With the hook-and-loop tabs still attached to one another, pull the backing off one side and position each one sticky side down on the pillowcase (Image A). Keep the spacing the same between each one (about 4 inches apart). Next, remove the adhesive backing again and fold the fabric flap down onto the sticky tabs. Press firmly. (Image B). This is a quick and easy way to make sure that the hook-and-loop tabs line up correctly on the first attempt.

Tomas Espinoza
Image A

Tomas Espinoza
Image B
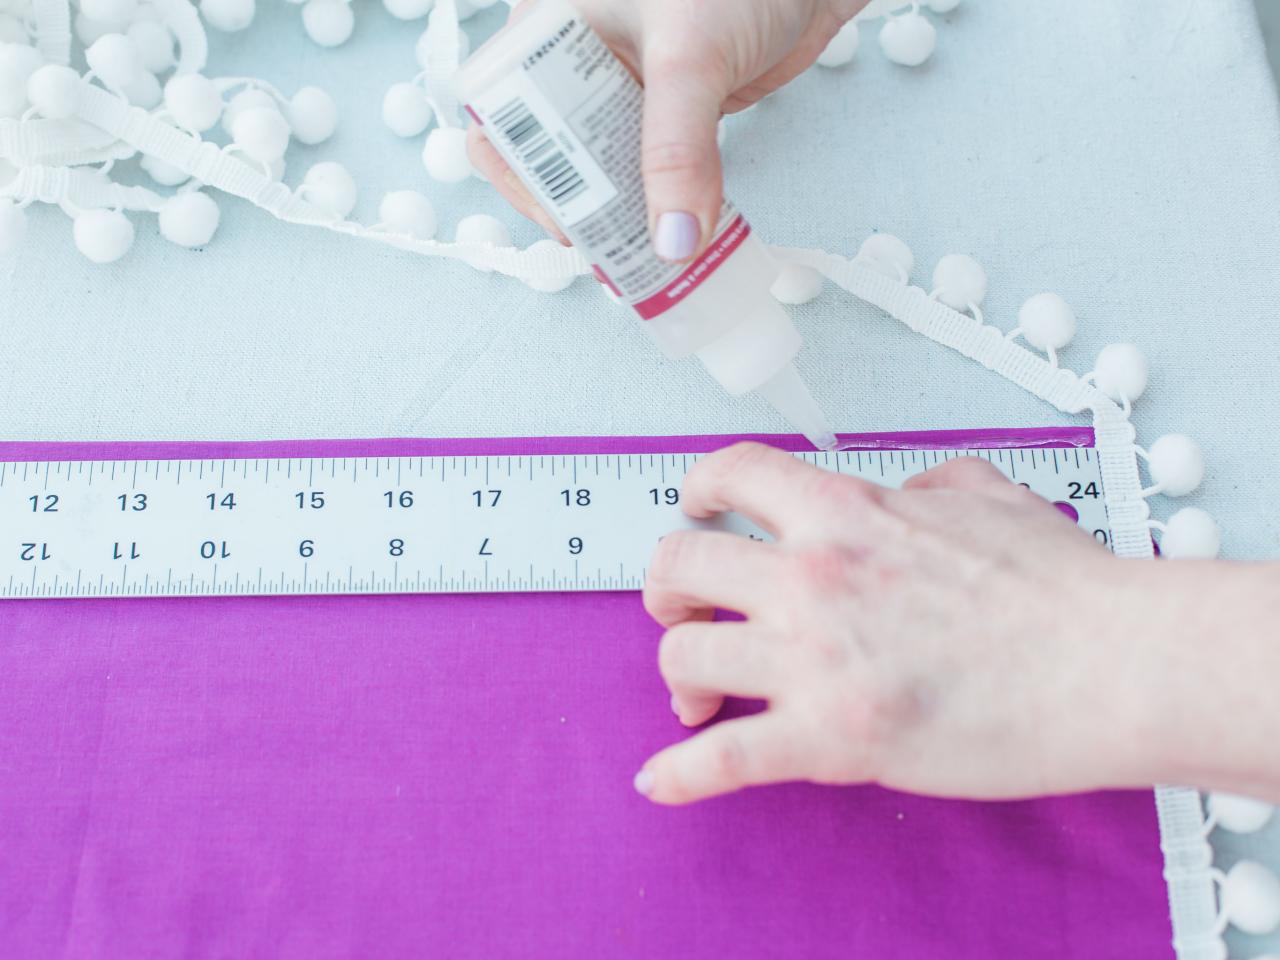
Add Fabric Glue
Using the straight edge of a ruler as your guide, squeeze out a thin line of fabric glue along the perimeter of the pillow, one side at a time.

Tomas Espinoza
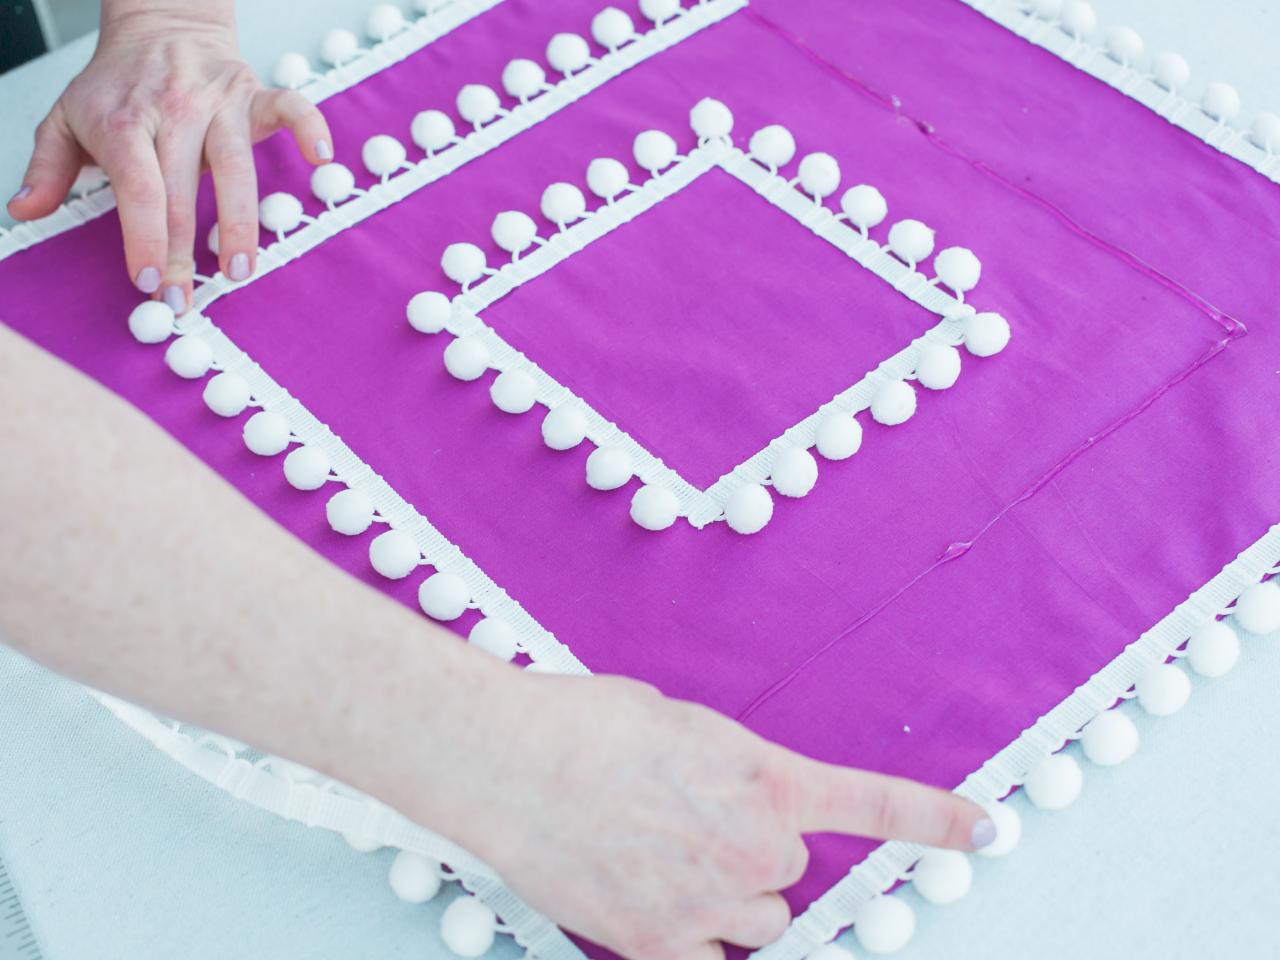
Add Pom-Pom Trim
Cut the trim to size for each side of a square, then press into place atop the fabric glue. Hold the trim in place, allowing the glue to set. Start with the perimeter of the pillow, then create the innermost square of pom-pom trim (Image A). The middle square will be positioned correctly, midway between the outer and inner squares (Image B).

Tomas Espinoza
Image A

Tomas Espinoza
Image B
Finishing Touches
Now, you’re ready to place the old pillow or insert inside the new pillowcase, fold over the flap and secure with the hook-and-loop tabs. Plus, it’s easy to remove for washing. Just be sure to wash by hand and air-dry this handmade pillow cover.

Tomas Espinoza


