


How to Build a Perfectly Portable Lemonade Stand
When life gives you lemons, make…a lemonade stand.


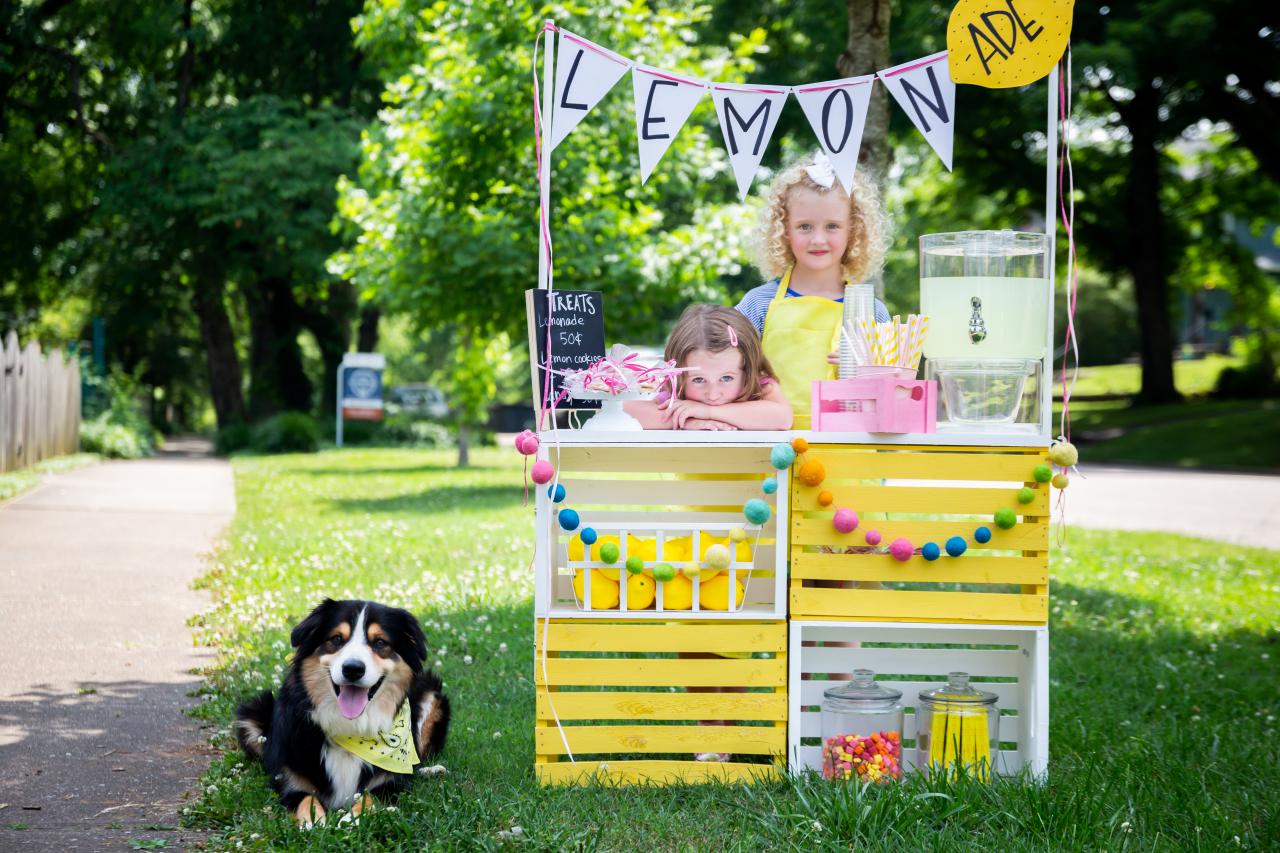
Summer just isn’t summer without a fresh lemonade stand on the corner. Get your kiddos in on the action by building a fully transportable DIY lemonade stand. When the corner competition is heated, your little business tycoon will have everything it takes to cool it down.

Materials Needed
- (4) 12” -x- 18” wooden crates
- 3’ -x- 11-1/4” pine board
- (2) 4’ 1/2” wooden dowels
- white paint
- yellow paint
- paint brush
- drop cloth
- permanent marker
- (6) pipe clamps + mounting hardware
- measuring tape
- drill + bit
- assorted decor
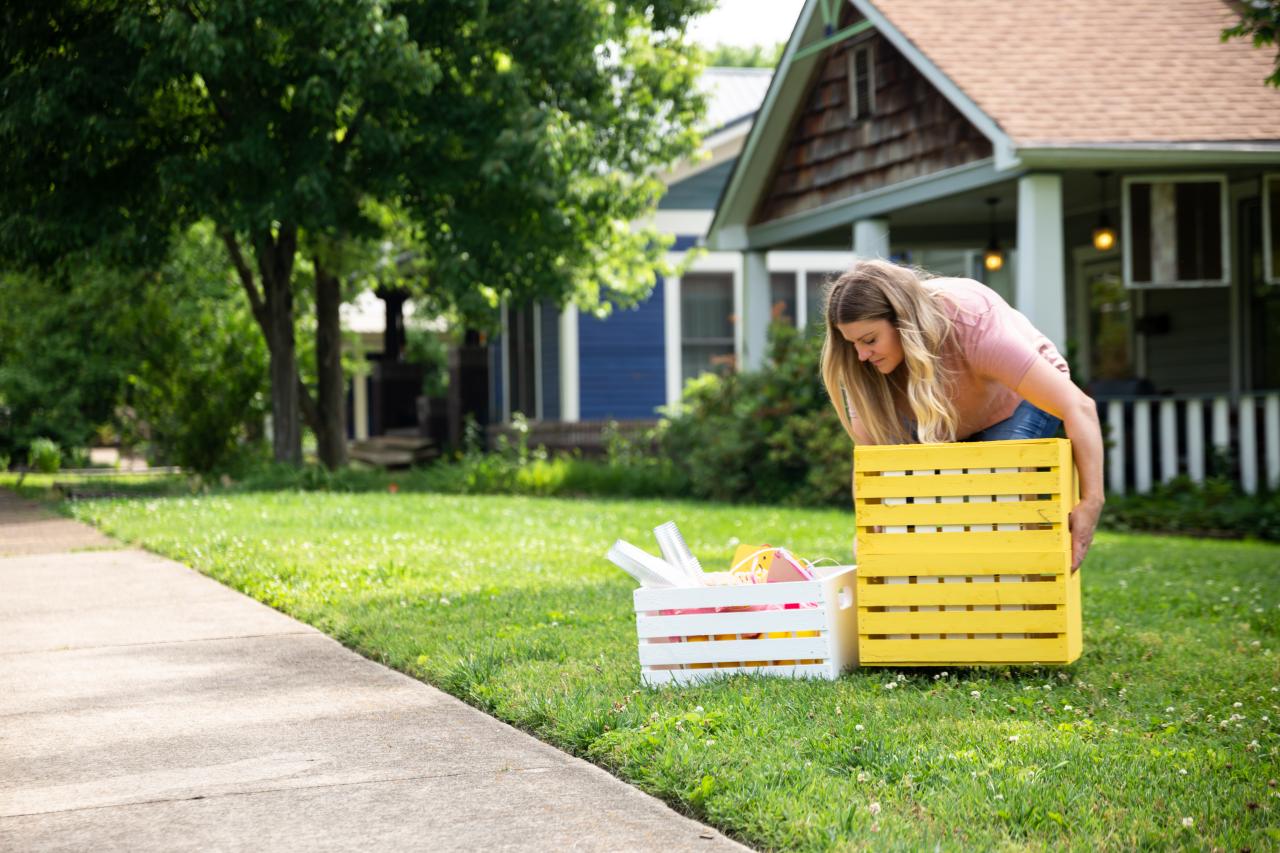
Paint All Pieces


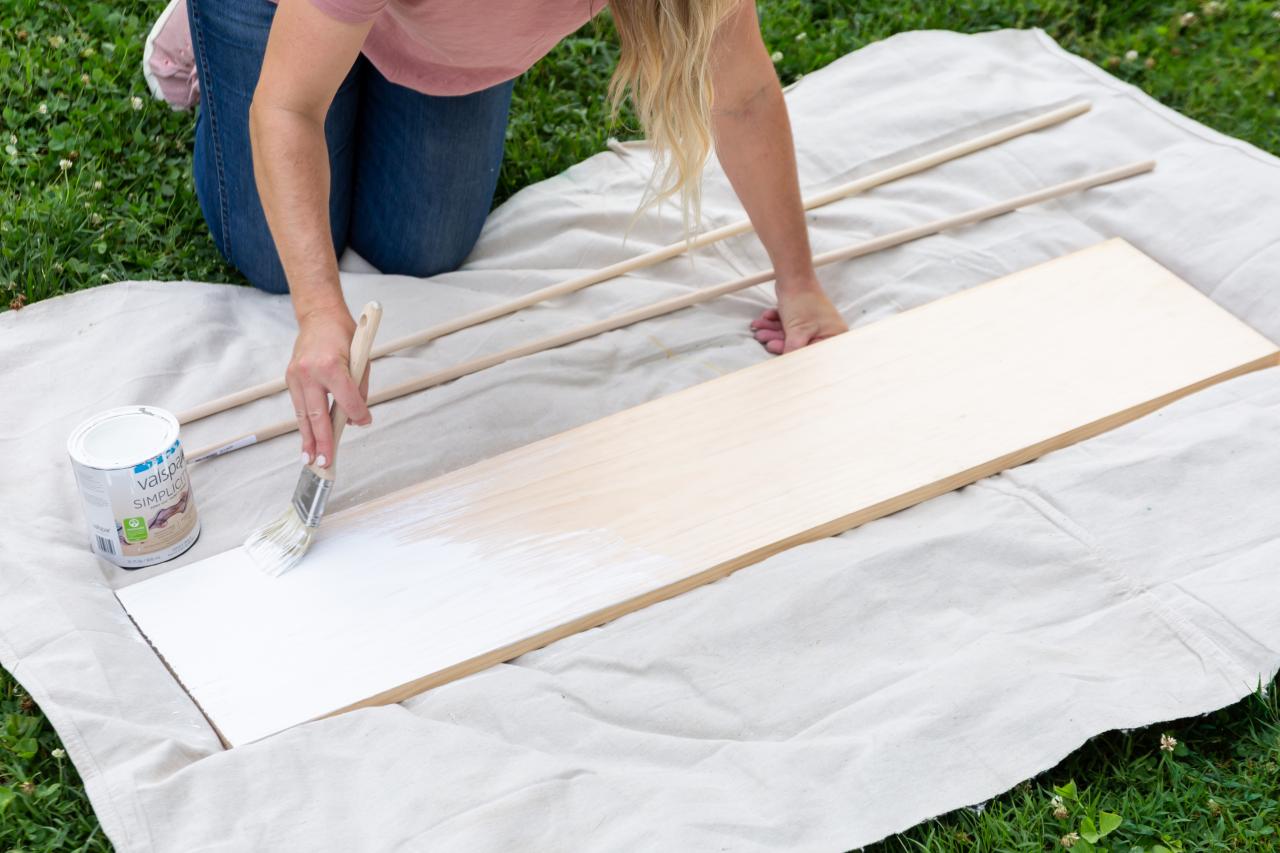
Start by painting your wooden crates. Lay out a drop cloth and paint two of the crates yellow and two white. While you wait for the crates to dry, paint the board and dowels white and allow to dry.
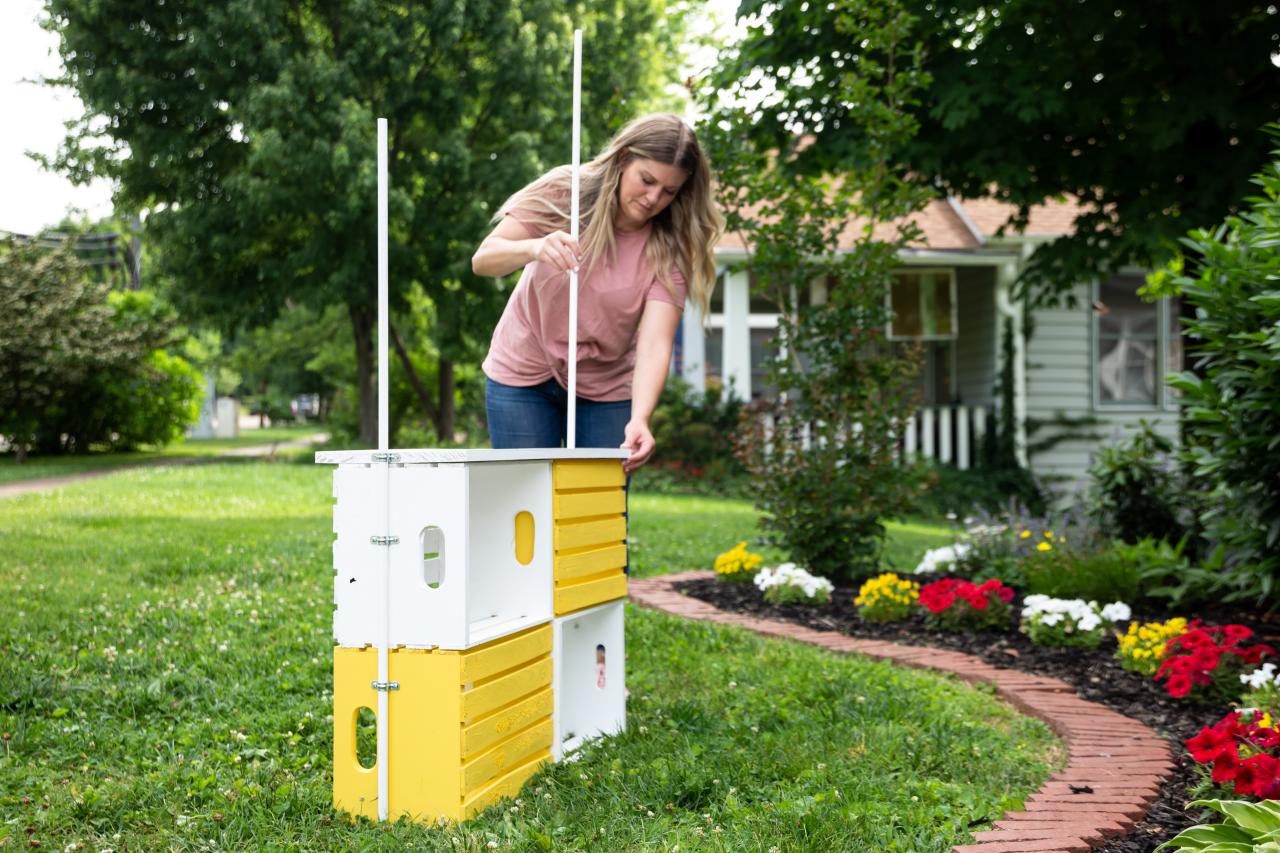
Attach Pipe Clamps
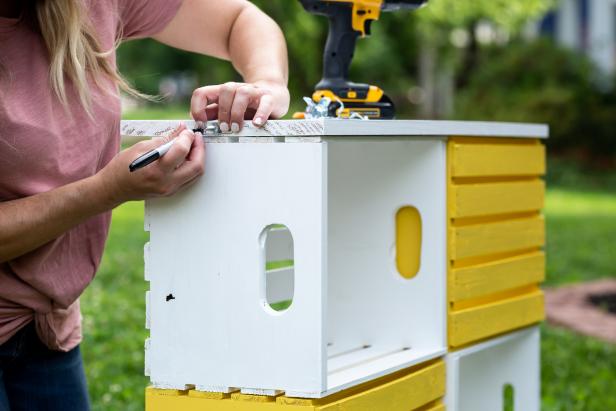
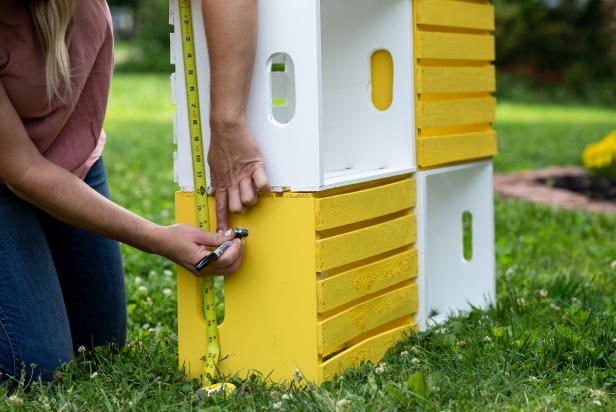

Use a measuring tape and a permanent marker to mark the holes for the pipe clamps. On each side, put the top clamps on the edges of the countertop board, the next tier 6 inches from the top and the lowest level 15 inches from the top. Attach the clamps and slide the dowels in place.
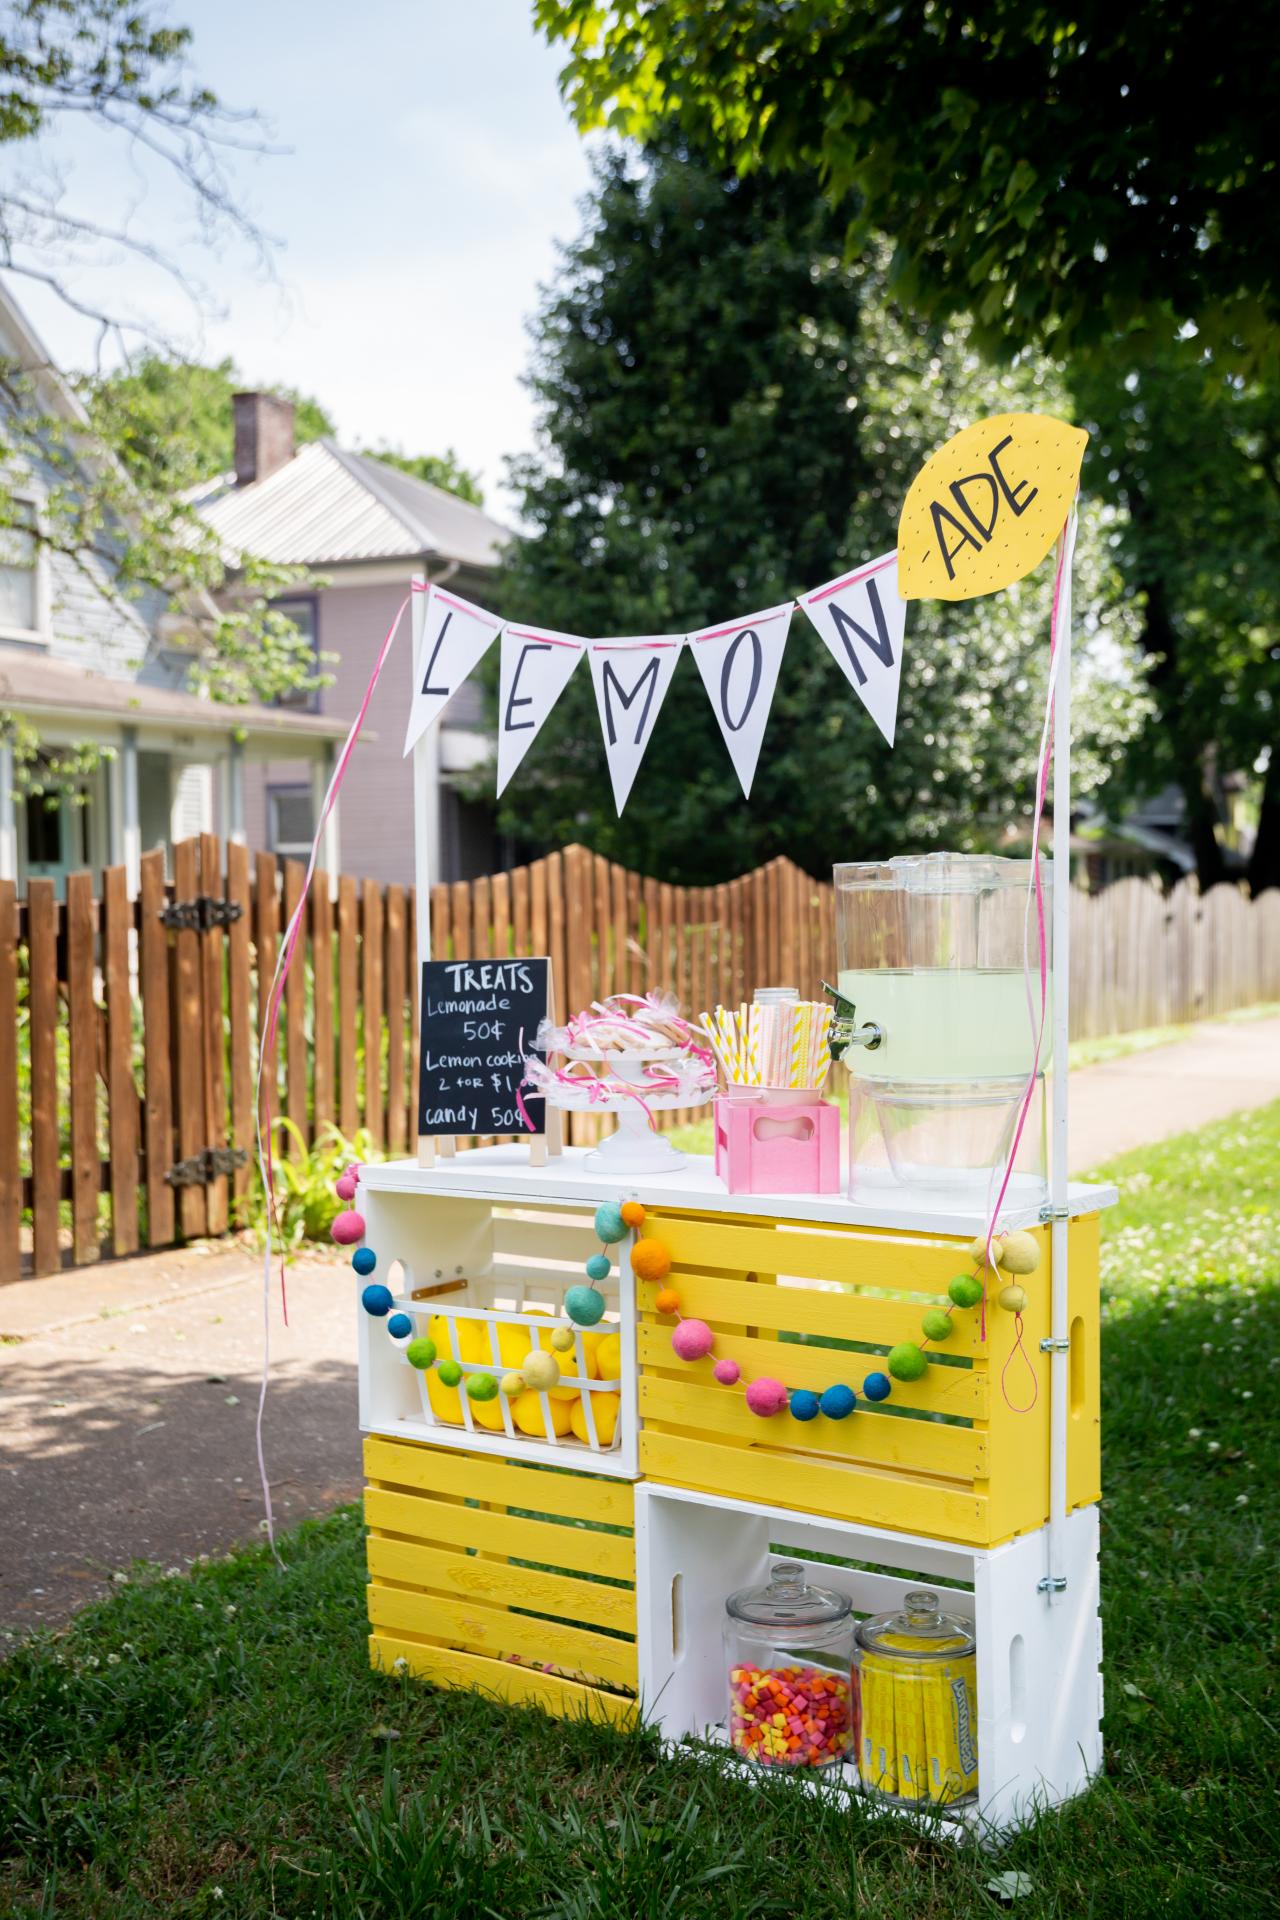
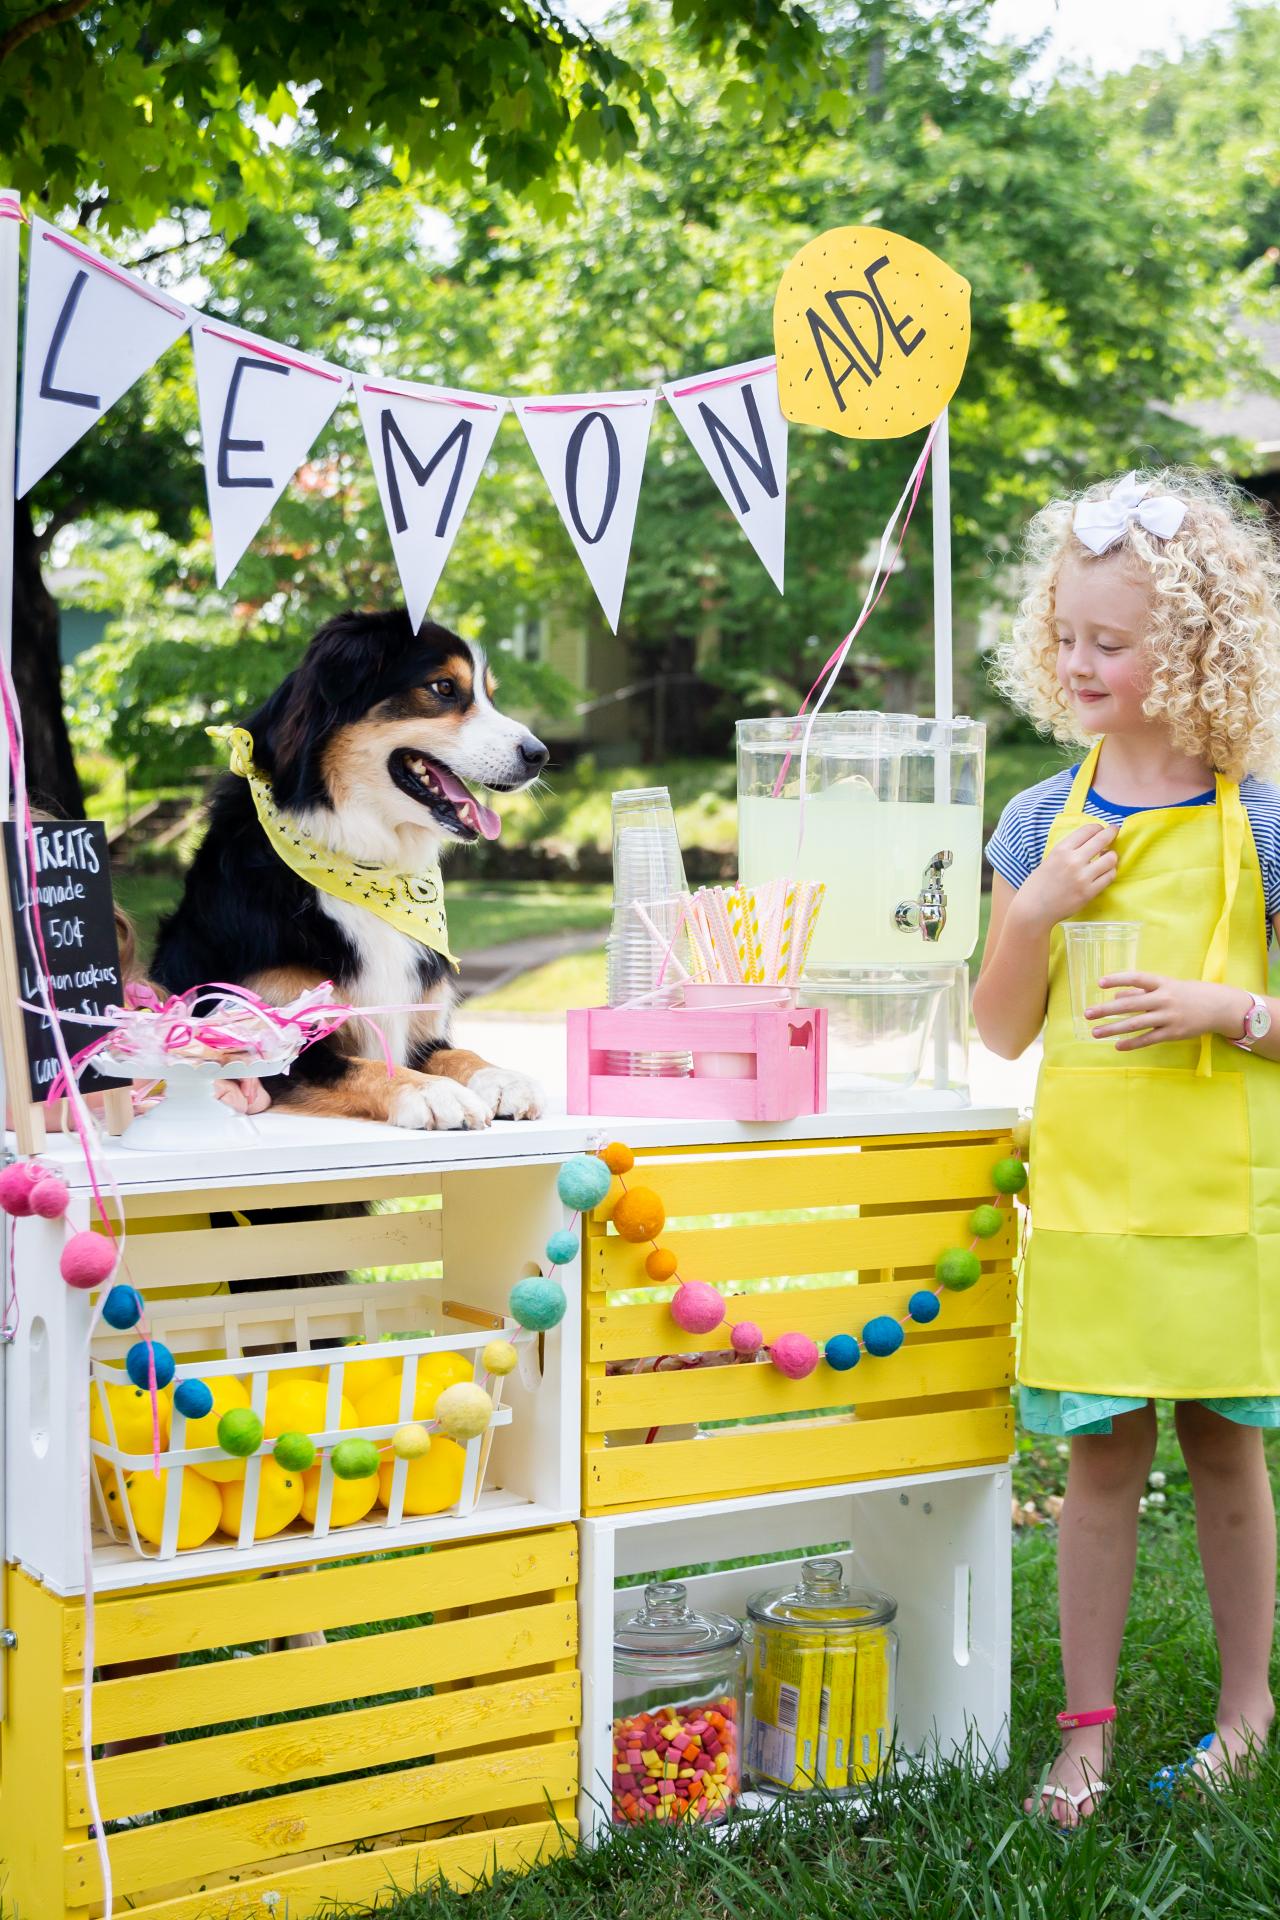
Just Add Lemonade!


Once you’ve found the perfect corner spot, assemble your lemonade stand and top it off with a banner to let neighbors know you're in business. Add all the necessary products and decor, and your child’s stand is sure to be a hit! Once you’re finished, just tear it down and slide it into the back of your car. It’s that easy.


