


How to Turn a Dresser Into a Media Console
When it comes to modern day media rooms, flat-screen TVs are often the main focal point. While the televisions themselves are sleek, modern and aesthetically pleasing, many TV stands and consoles are considered eyesores. Given the amount of time spent looking at the TV wall, it's wise to look beyond the consoles that are readily available through retailers and, instead, create a media console that not only does its job but works harmoniously with the room's decor.
Designer showrooms offer inspiration for homeowners interested in a one-of-a-kind, high-end media consoles that look great, plus help conceal wire and components that would otherwise be considered clutter. Homeowners with moderate do-it-yourself skills can sidestep designer showrooms' hefty price tags by creating a similar look themselves. All that's needed is some imagination, an old dresser, basic power tools, bold color and paint supplies.
With a little elbow grease and a few hundred dollars, a designer-grade media console which looks just as sleek at the flat screen above it may be within reach by following these step-by-step instructions.
Materials Needed:
- dresser
- drill
- 1.5-inch paddle drill bit
- electric sander
- sanding pads
- drawer hinges
- screws
- painter's tape
- tape measure
- jigsaw or table saw
- marker
- 2-by-2-inch blocks of wood (two per drawer)
- pencil
- HVLP paint sprayer
- high gloss lacquer
Before
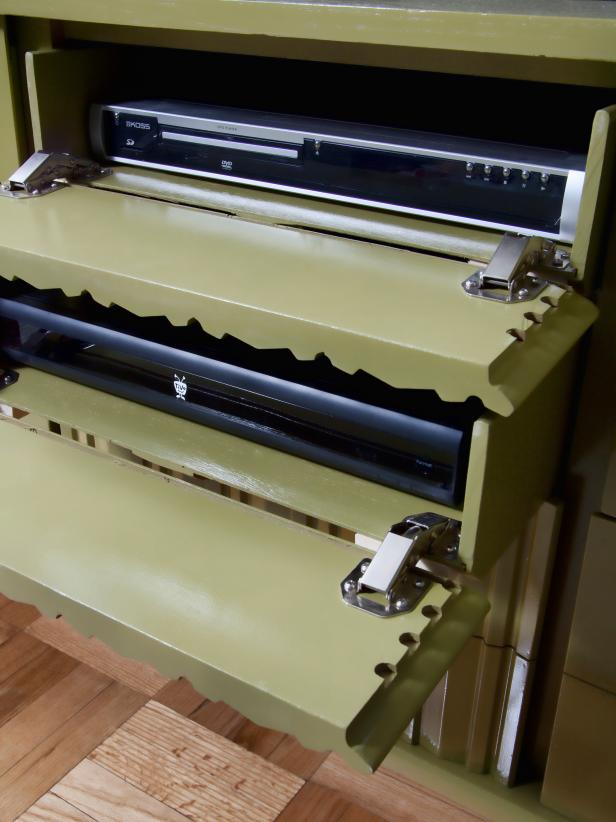
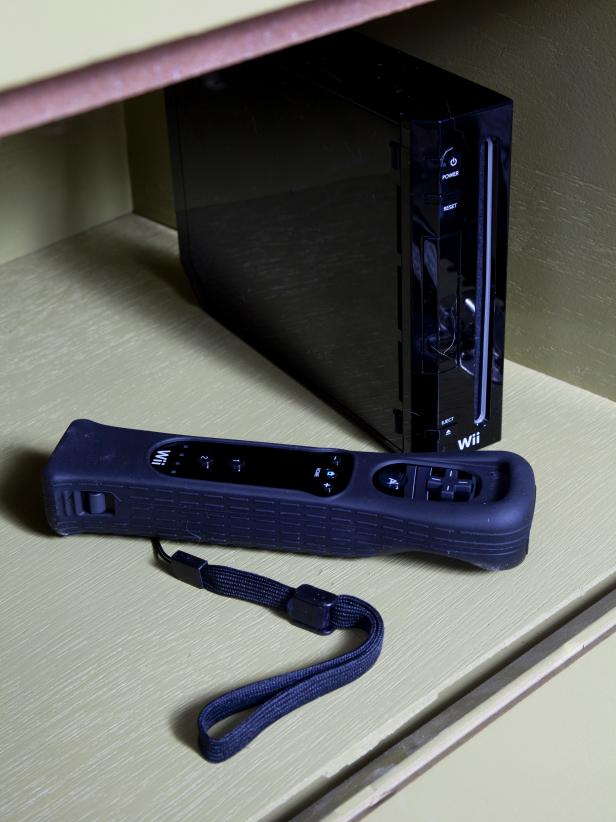
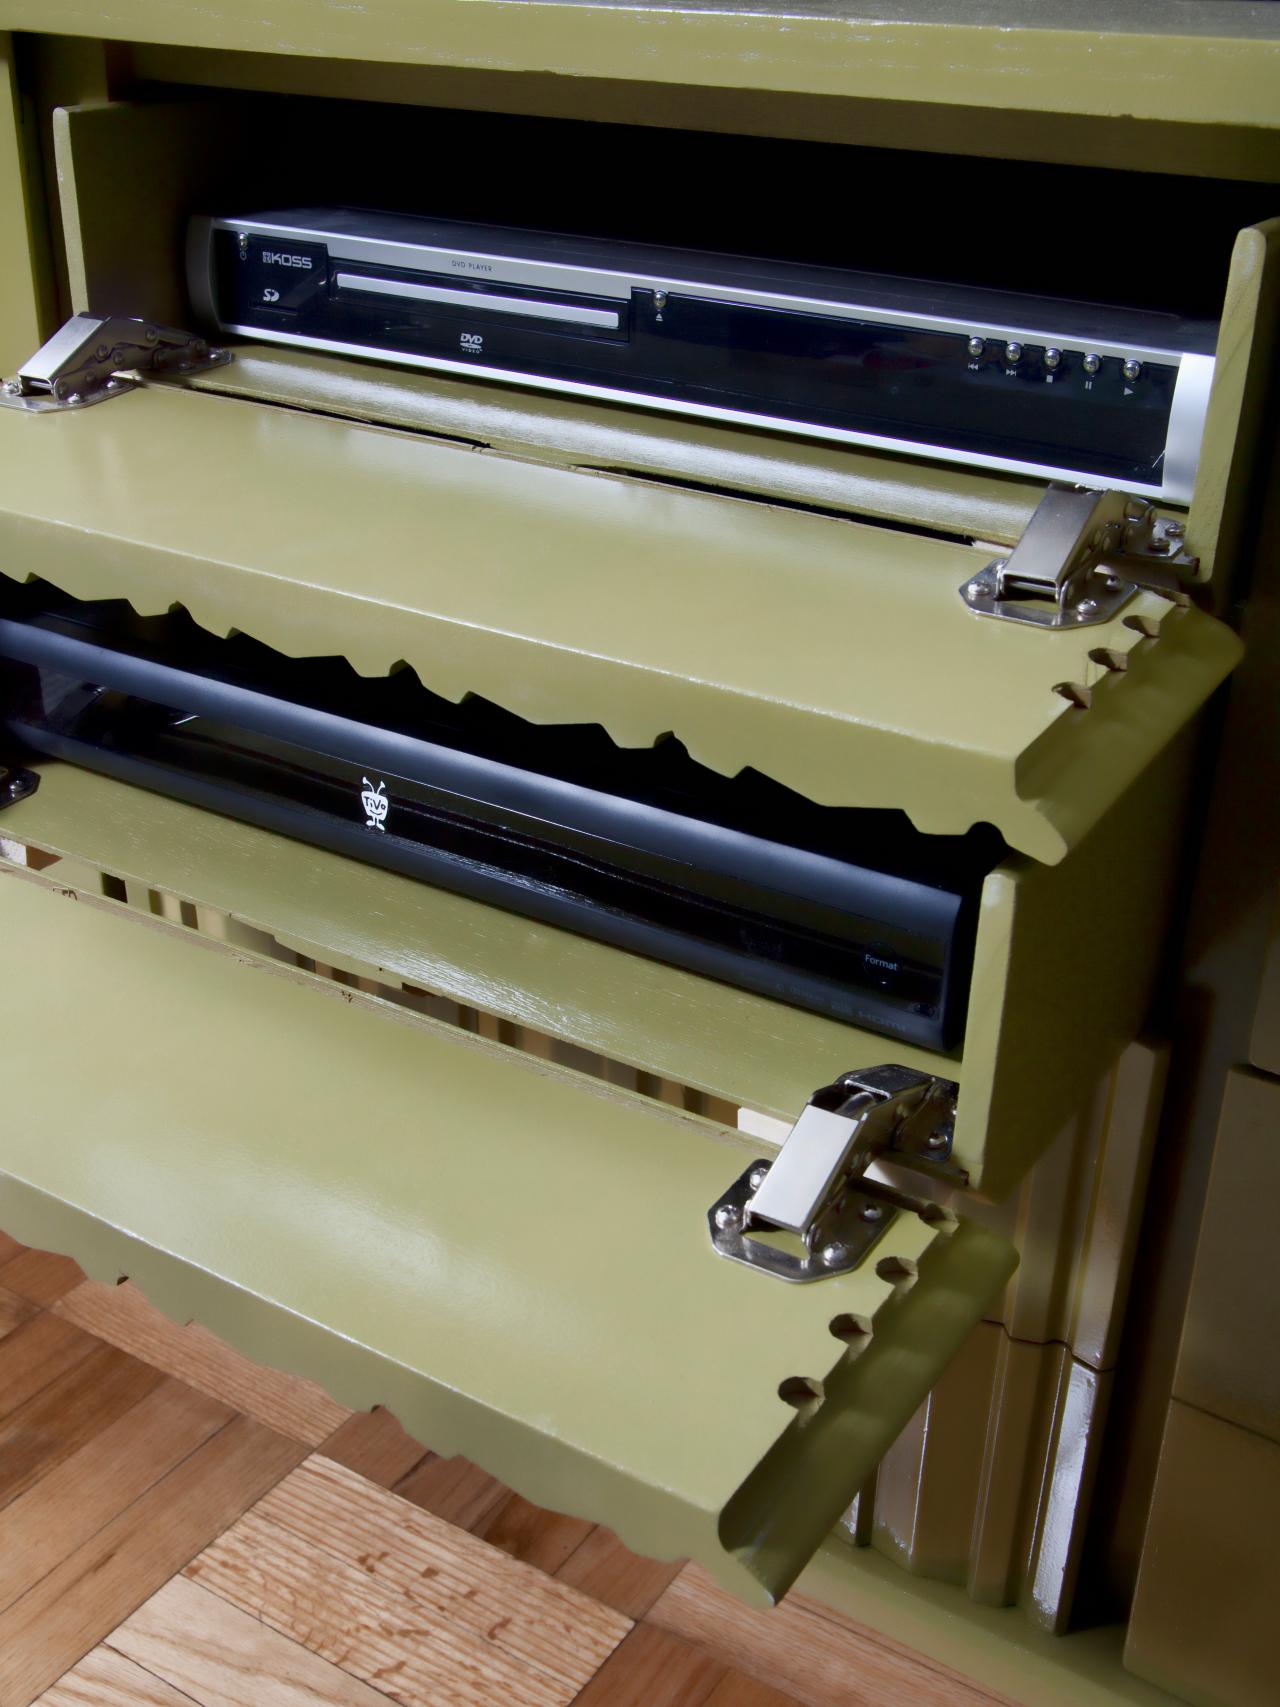
An old dresser was reinvented as a designer-grade media console by outfitting drawer fronts with hinges, and using a paint sprayer to add a high gloss finish (Image 1). This 1960s dresser was picked up from a flea market for $35. In its existing state, it sported a dark, worn-in, dated finish (Images 2-3). To transform a dresser into a concealed media console, the interiors of drawers need to be outfitted with hinges that allow the door fronts to flip open (Image 4), giving access to media components and remote controls (Image 5).
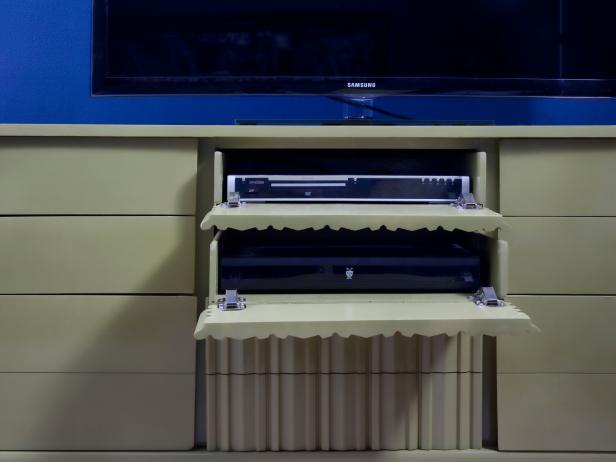


Multipurpose Media Console with Doors
An old dresser was reinvented as a designer-grade media console by outfitting drawer fronts with hinges, and using a paint sprayer to add a high gloss finish.

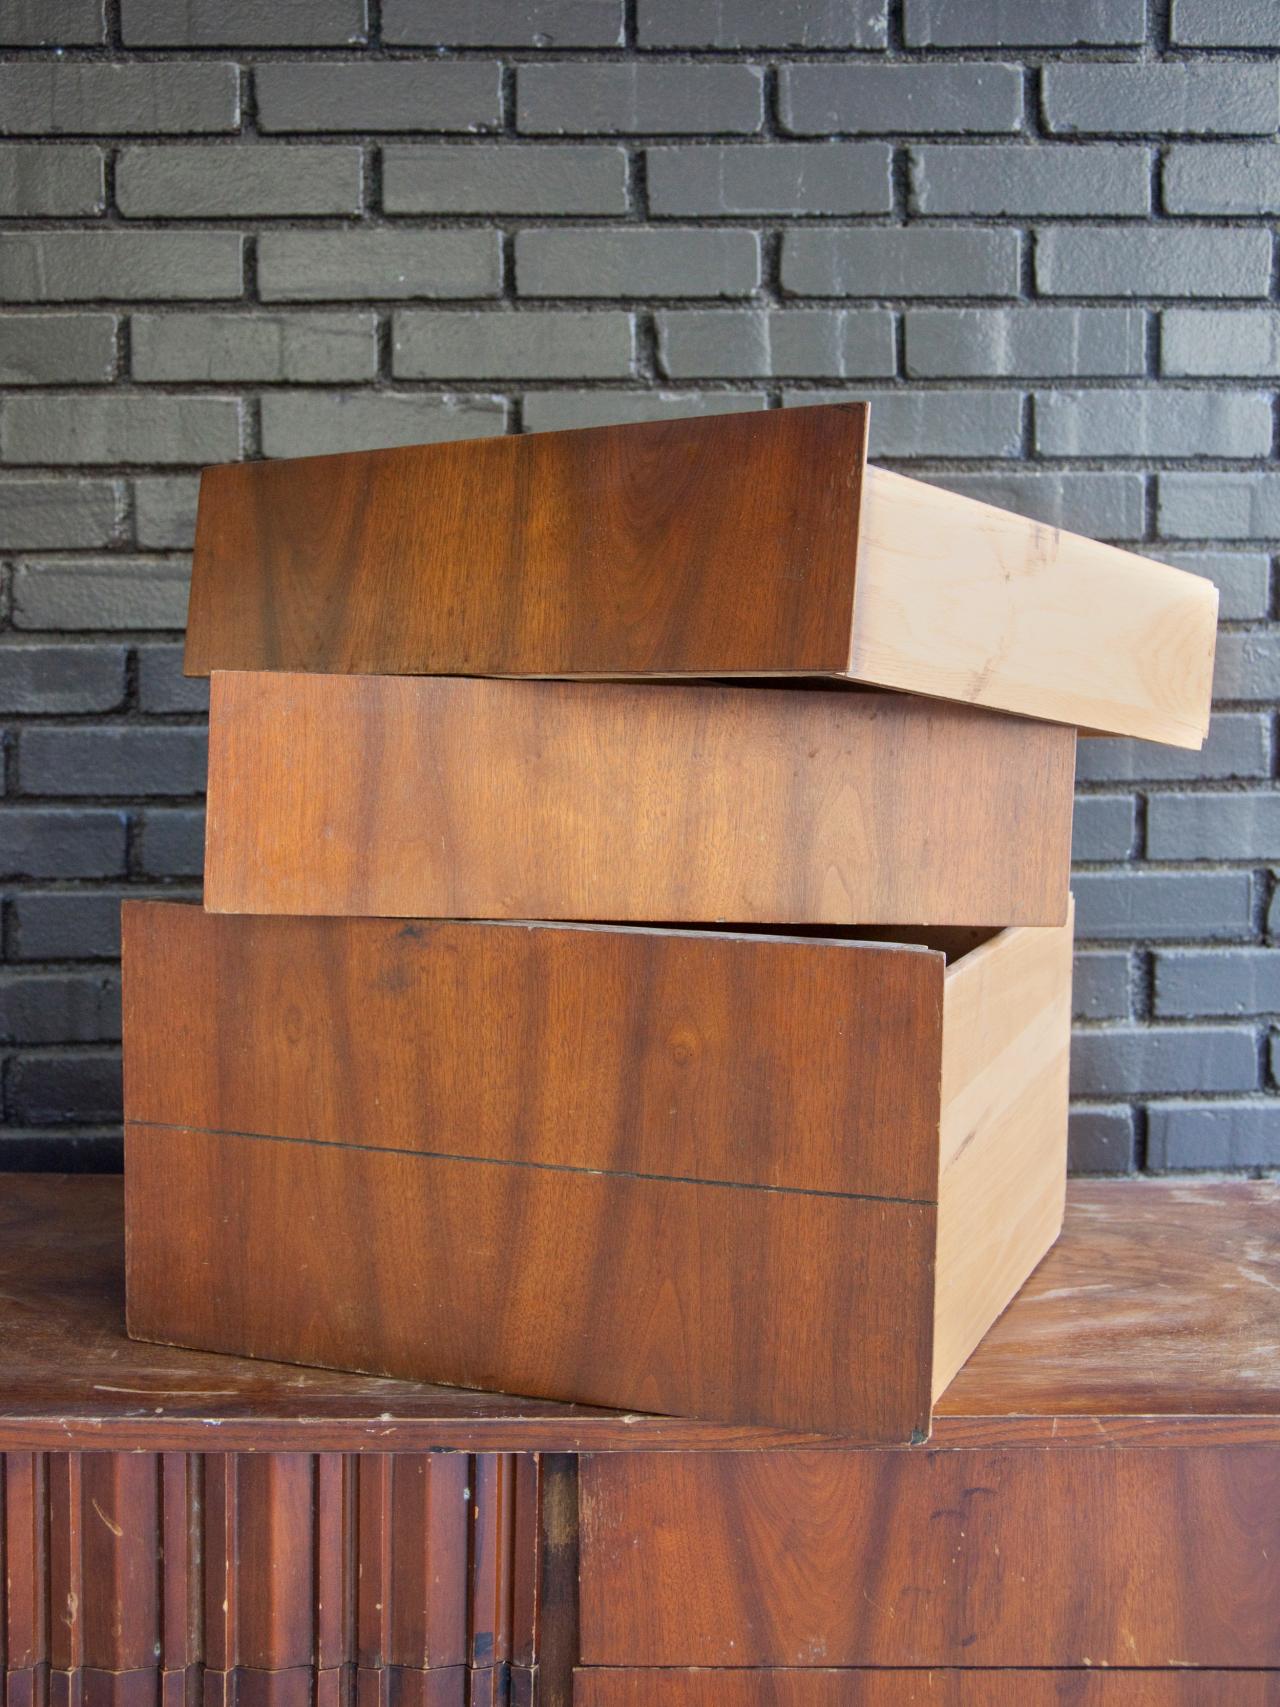
Vintage Dresser
This 1960s dresser was picked up from a flea market for $35. In its existing state, it sported a dark, worn-in, dated finish.
Inside the Vintage Dresser
This 1960s dresser was picked up from a flea market for $35. In its existing state, it sported a dark, worn-in, dated finish.
Multi Purpose Media Console
To transform a dresser into a concealed media console, the interiors of drawers need to be outfitted with hinges that allow the door fronts to flip open, giving access to media components and remote controls.
Concealed Media Console
To transform a dresser into a concealed media console, the interiors of drawers need to be outfitted with hinges that allow the door fronts to flip open, giving access to media components and remote controls (Image 5).
Step 1
Remove the drawers that need to be customized.

Step 2
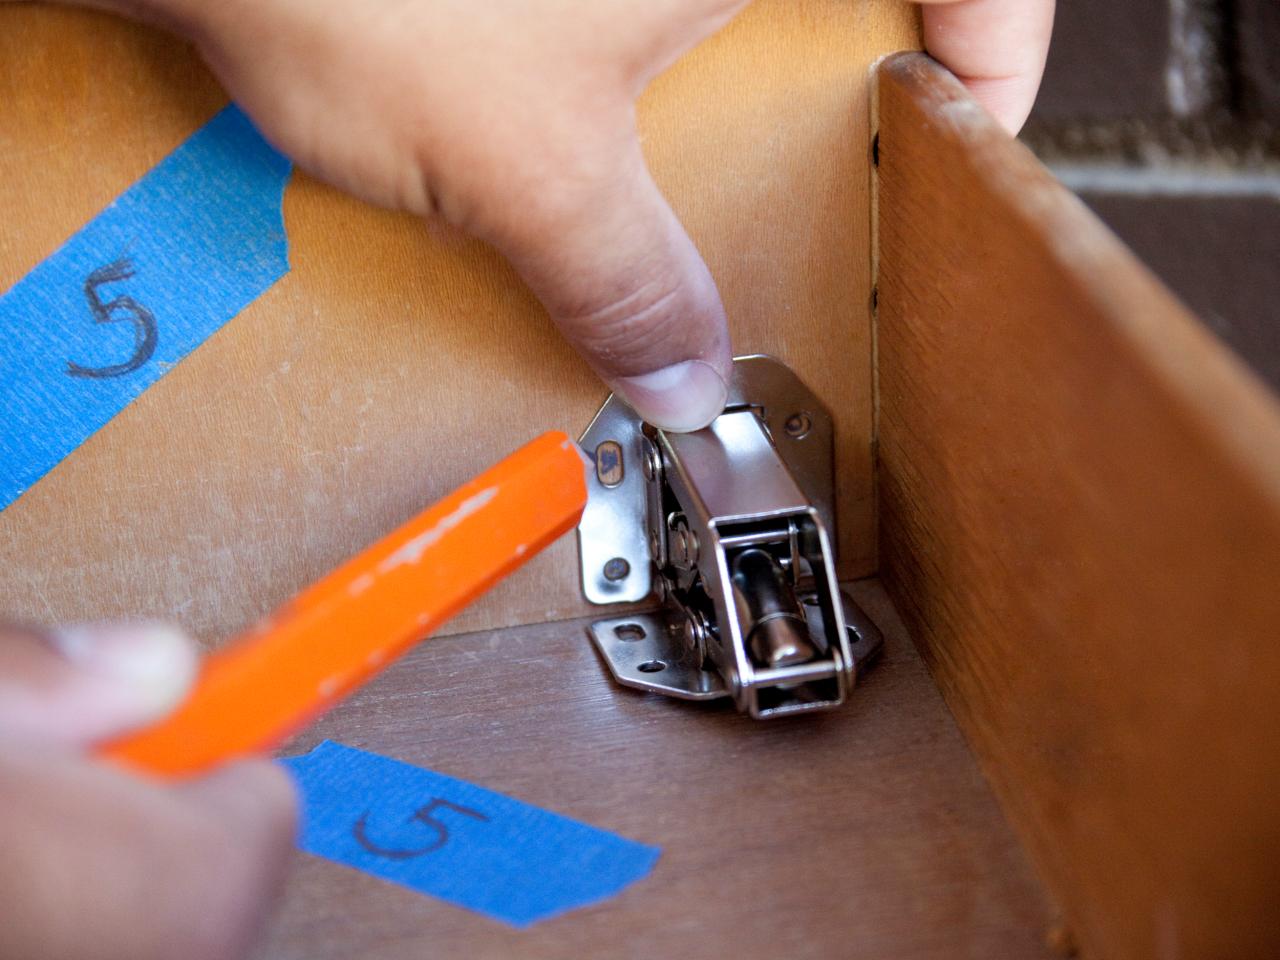
Assign a number to each drawer body and drawer front by marking the number on painter's tape, then sticking to drawer and drawer front.

Labeling With Tape
Assign a number to each drawer body and drawer front by marking the number on painter's tape, then sticking to drawer and drawer front.
Step 3
Place hinges inside drawer, then mark screw holes with pencil.

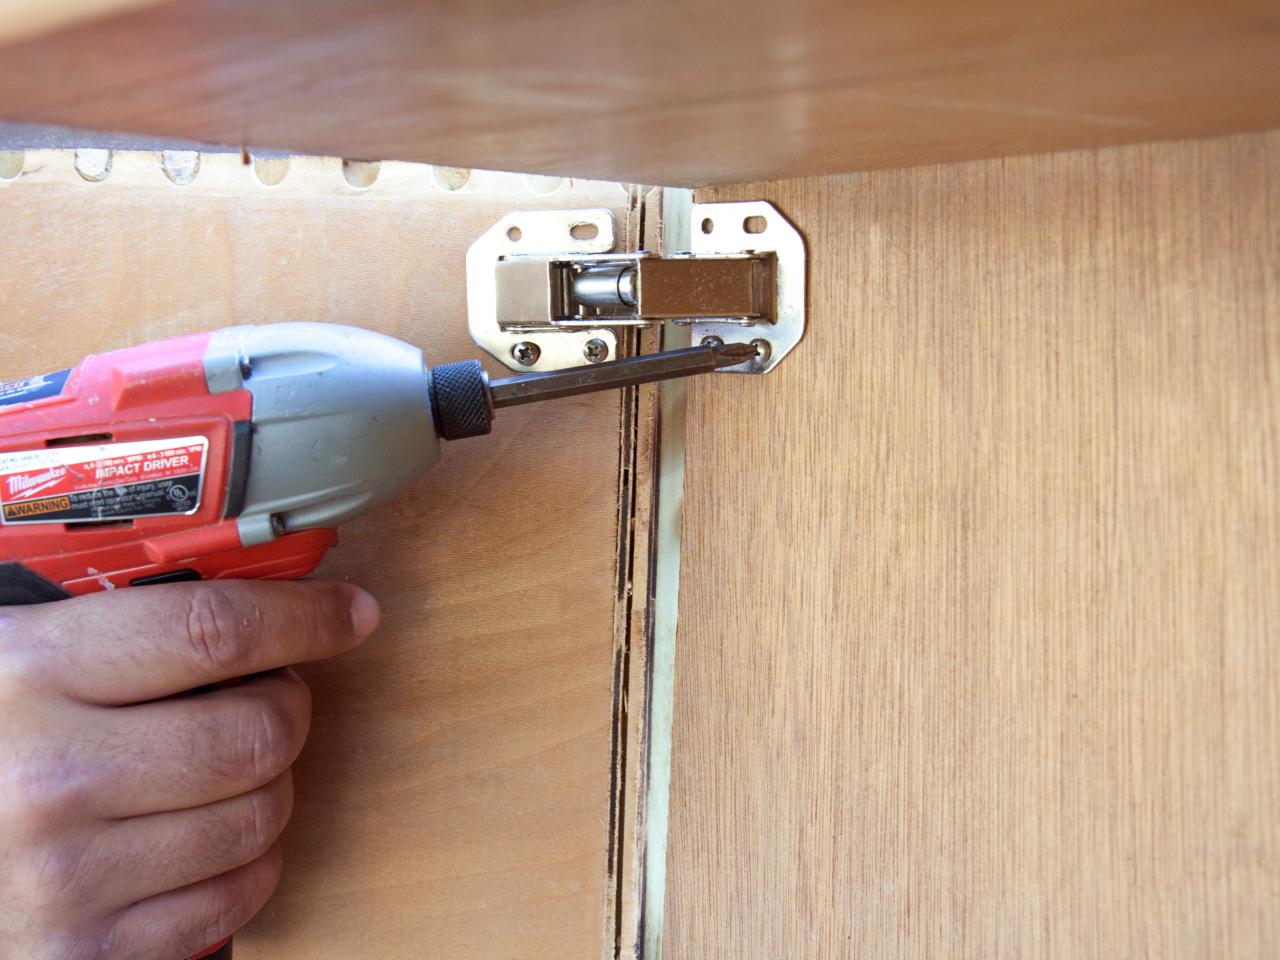
Step 4
Pre-drill pilot holes into drawer base and drawer front. This preparation will make it faster to attach the hinges with screws later.

Drilling Holes
Pre-drill pilot holes into drawer base and drawer front. This preparation will make it faster to attach the hinges with screws later.
Step 5
Use a jigsaw or table saw to remove drawer front from drawer base. NOTE: Table saws will create more precise cuts.
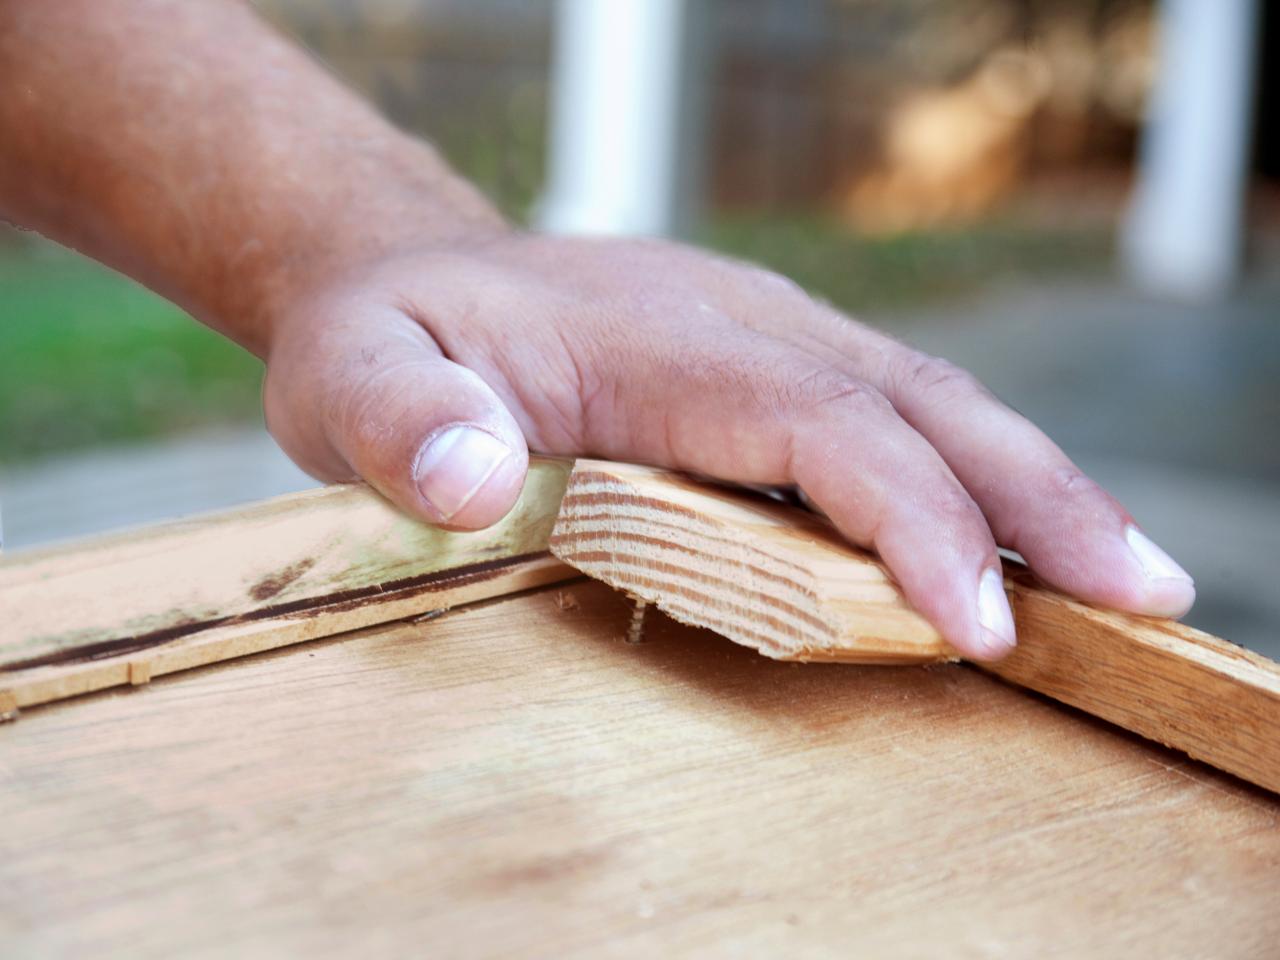
Step 6
Reinforce thick drawer bases with a small block of wood. NOTE: Two blocks of wood are needed for every drawer.

A Piece of Wood
Reinforce thick drawer bases with a small block of wood. NOTE: Two blocks of wood are needed for every drawer.
Step 7
Add screws through holes in hinges down through the block of wood.

Step 8
Using a paddle bit, drill holes in backs of drawers (Image 1) and back of dresser to account for cords.
Step 9
Use electric sander to remove existing finish of dresser.
Step 10
Use HVLP (high volume low spray) paint sprayer to add new finish.


