


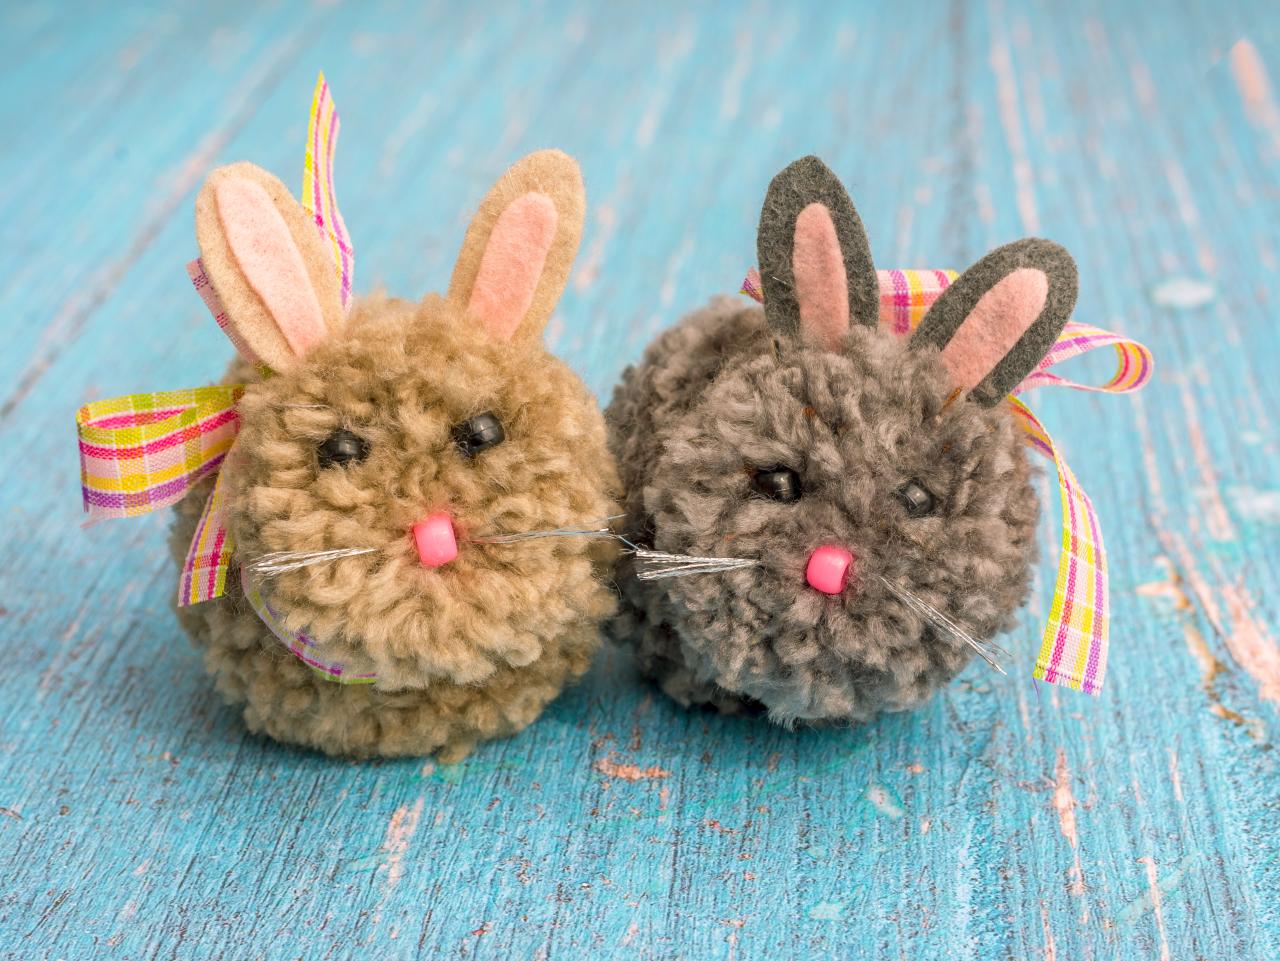
Spring Kid's Craft: Adorable Pompom Bunnies
Help kiddos craft these cute critters just in time for Easter.

Debbie Wolfe

Are you looking for a fun spring project to whip up with your little ones? These sweet pompom bunnies take just a few minutes to make and are so cute, your kids will want to craft one for all of their friends. You can use any color/texture of yarn for this project — it's a great way to use up that extra yarn stash you've been hoarding!
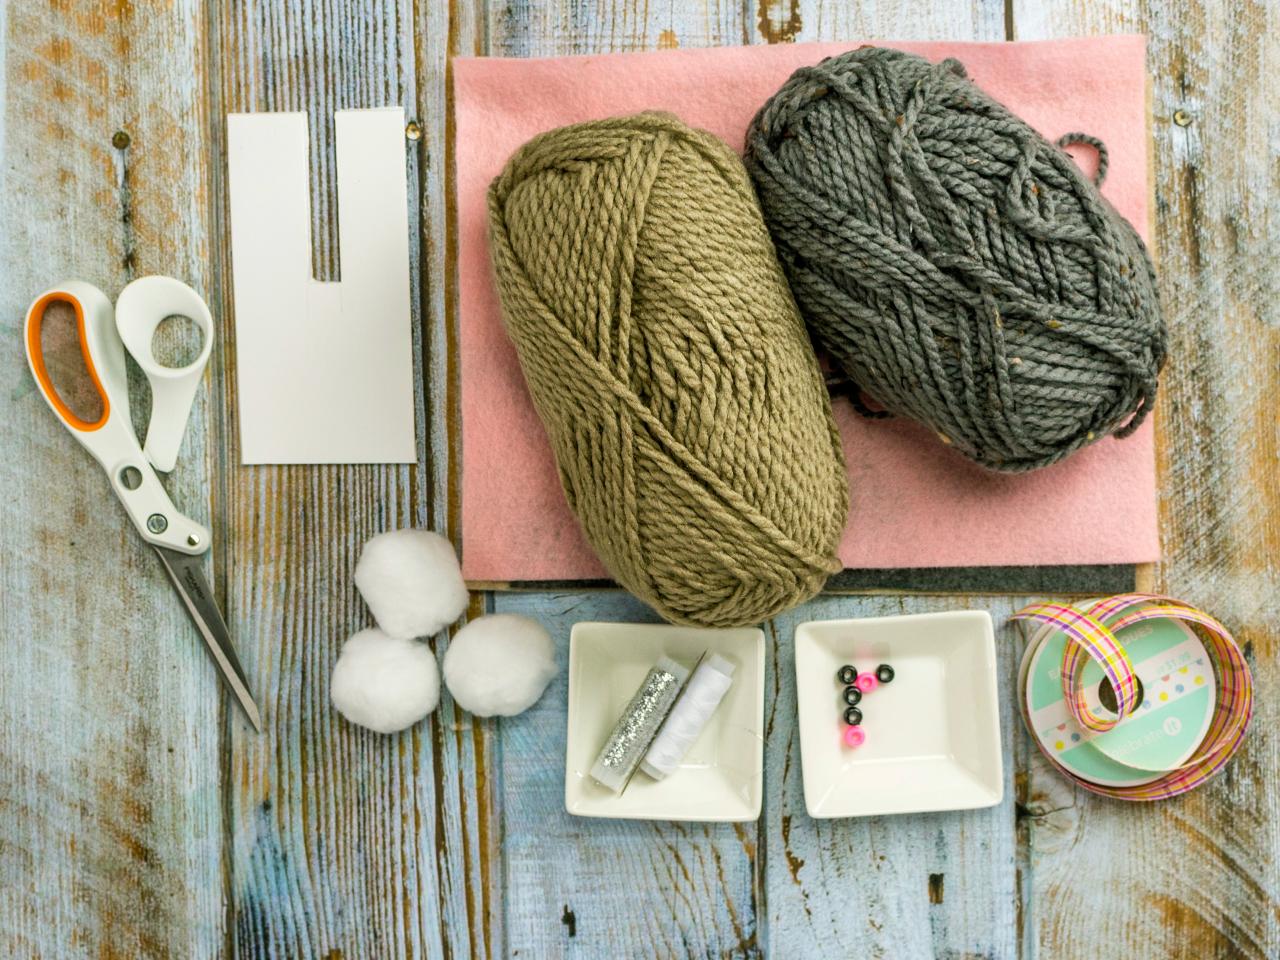
What You'll Need
- thick yarn (any color)
- felt (pink, and same color as yarn)
- sharp scissors
- cotton balls
- pony beads, pink and black
- thread
- pompom maker or piece of cardboard
- hot glue
- ribbon
- tapestry needle

Debbie Wolfe
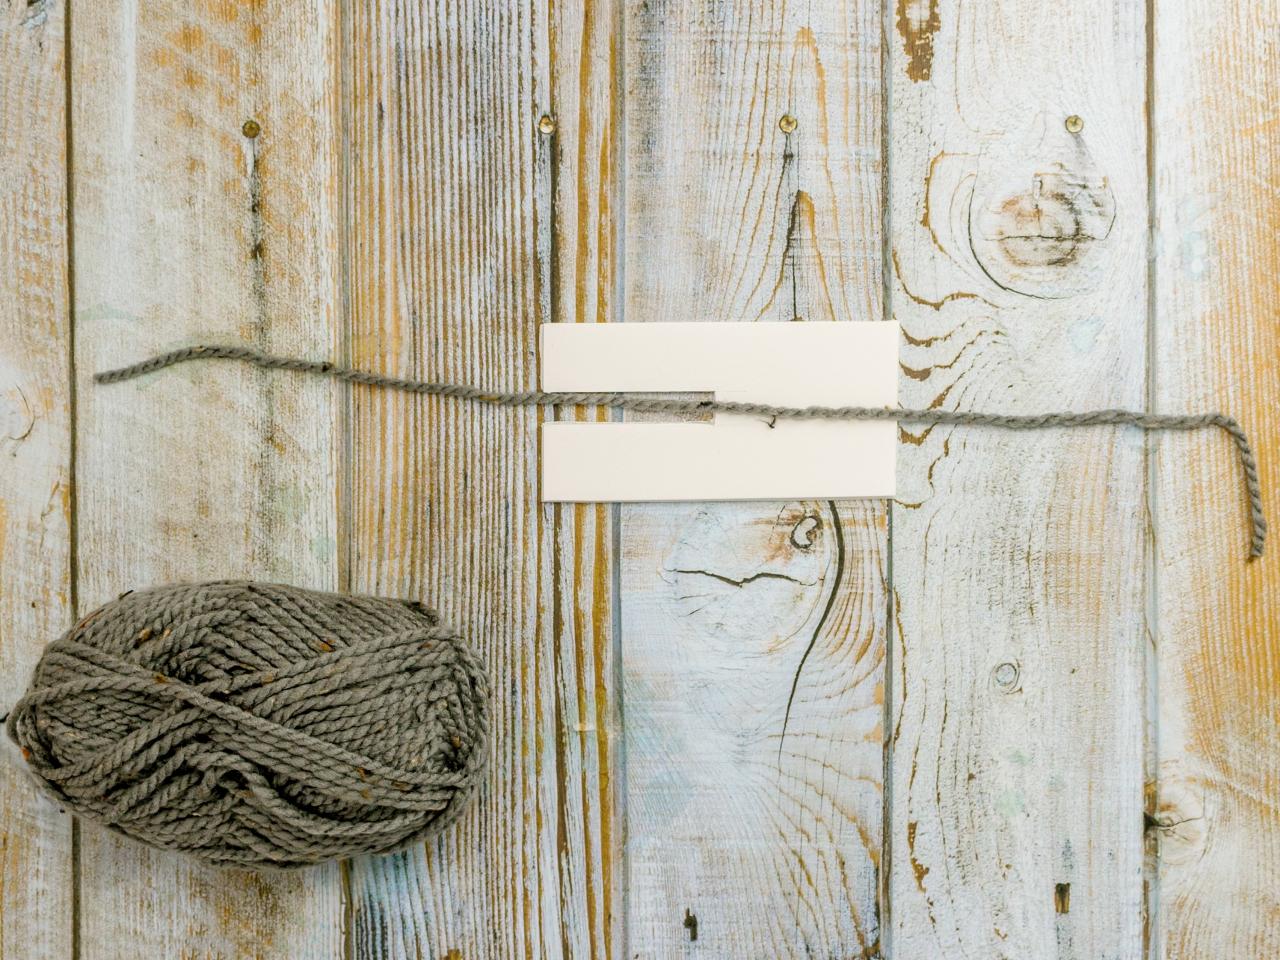
Create Pompom Maker

Debbie Wolfe
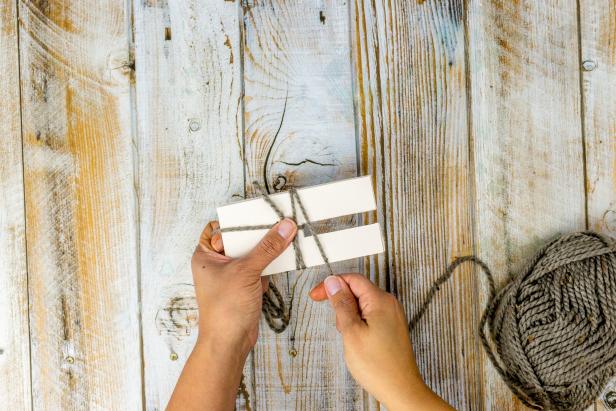
I created my DIY pompom maker with a spare piece of foam board. You can use cardboard, but it needs to be stiff. My foam board measured 3x5 inches. I cut about a half inch by 2.5 inch-wide slit at one end of the board. The slit is where you insert the spare piece of yarn that will tie the loops together to form the pompom. Cut a piece of yarn about 12 inches long and lay it across the pompom maker. This is the string that will bind the loops of the pompom later.
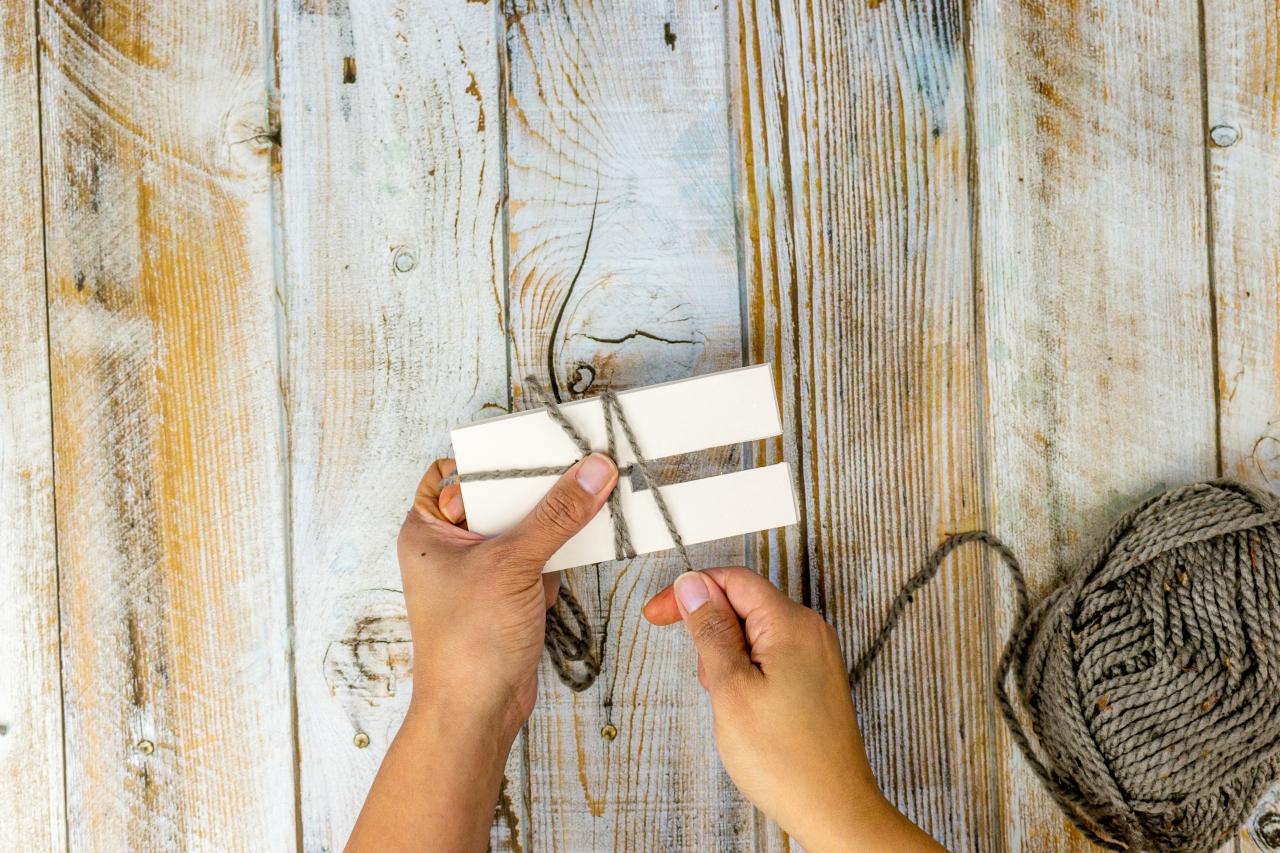
Start Pompoms
Debbie Wolfe
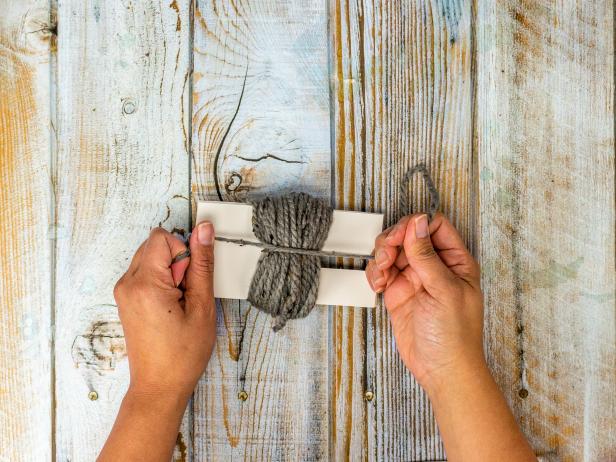
Fold the piece of yarn you put across the middle of the pompom maker underneath so that it's out of the way. Use one of your hands to hold it in place. Start wrapping a new length of yarn around the middle of the pompom maker, going the opposite direction of the first piece of yarn. Note: You will need to make two pompoms (one for the head and one for the body). I did 50 wraps for the head and 100 wraps for the body.
Tie It Off
Debbie Wolfe
After you complete the wraps, tie a double knot around the middle of the loops with the spare piece of yarn you placed in the middle of the pompom maker. Slide the bundle off and secure with another double knot on the opposite side.
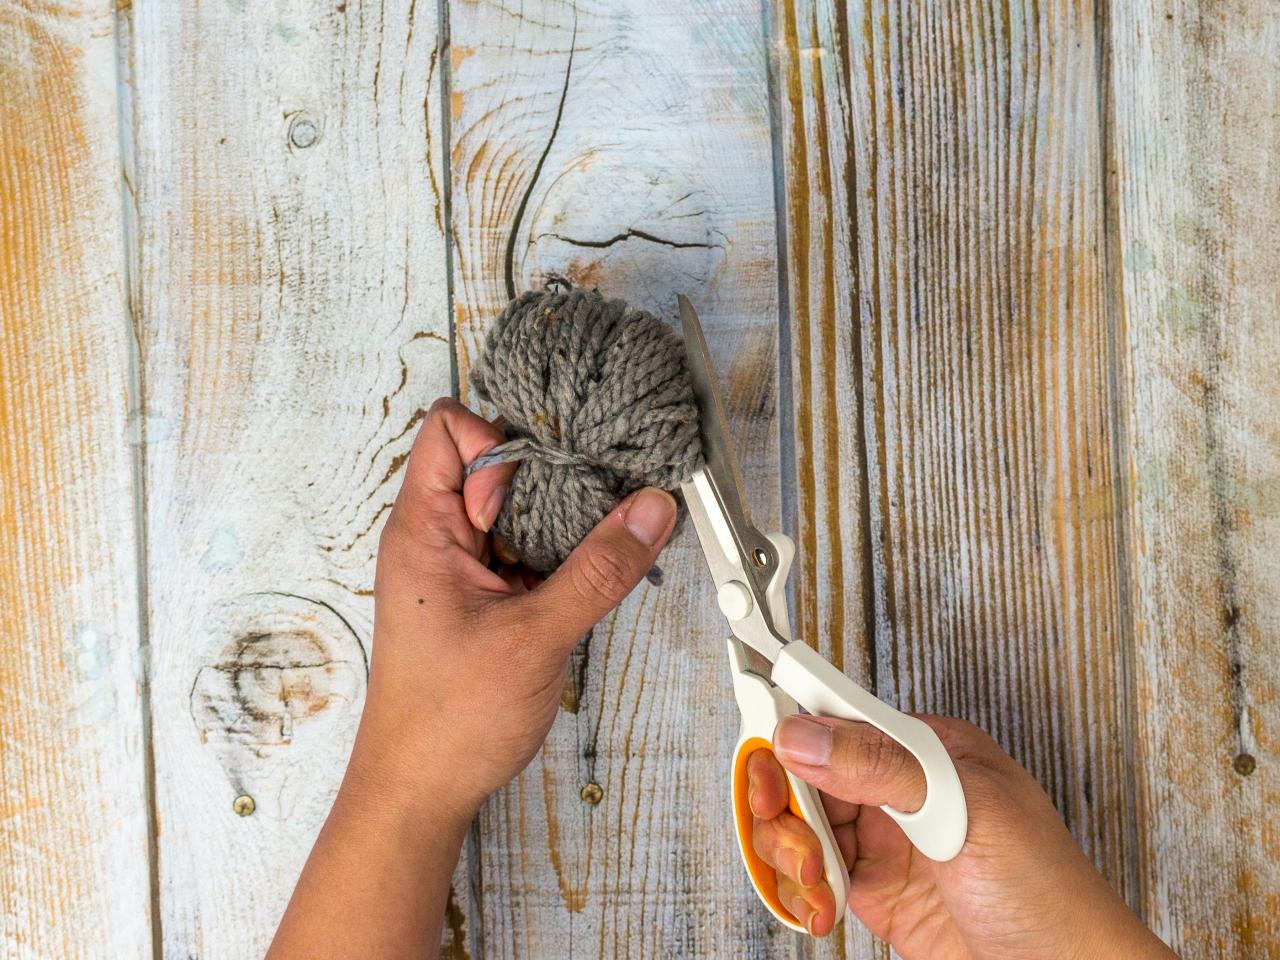
Cut Loops

Debbie Wolfe
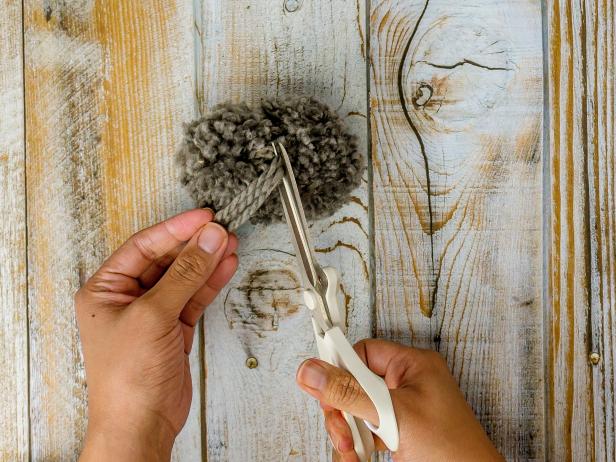
Hold the tails of yarn from the knot out of the way and cut open the loops on both sides.
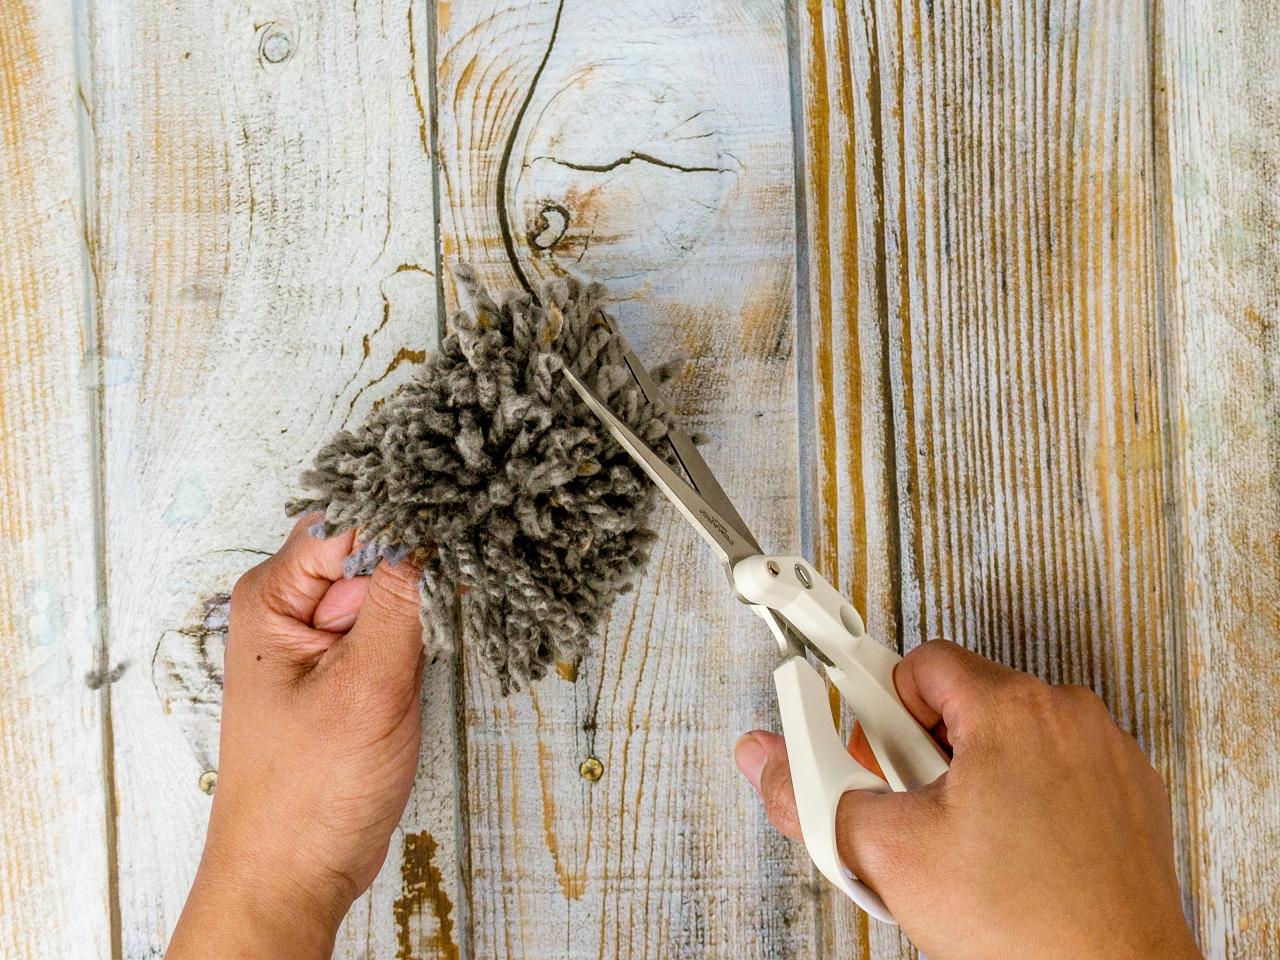
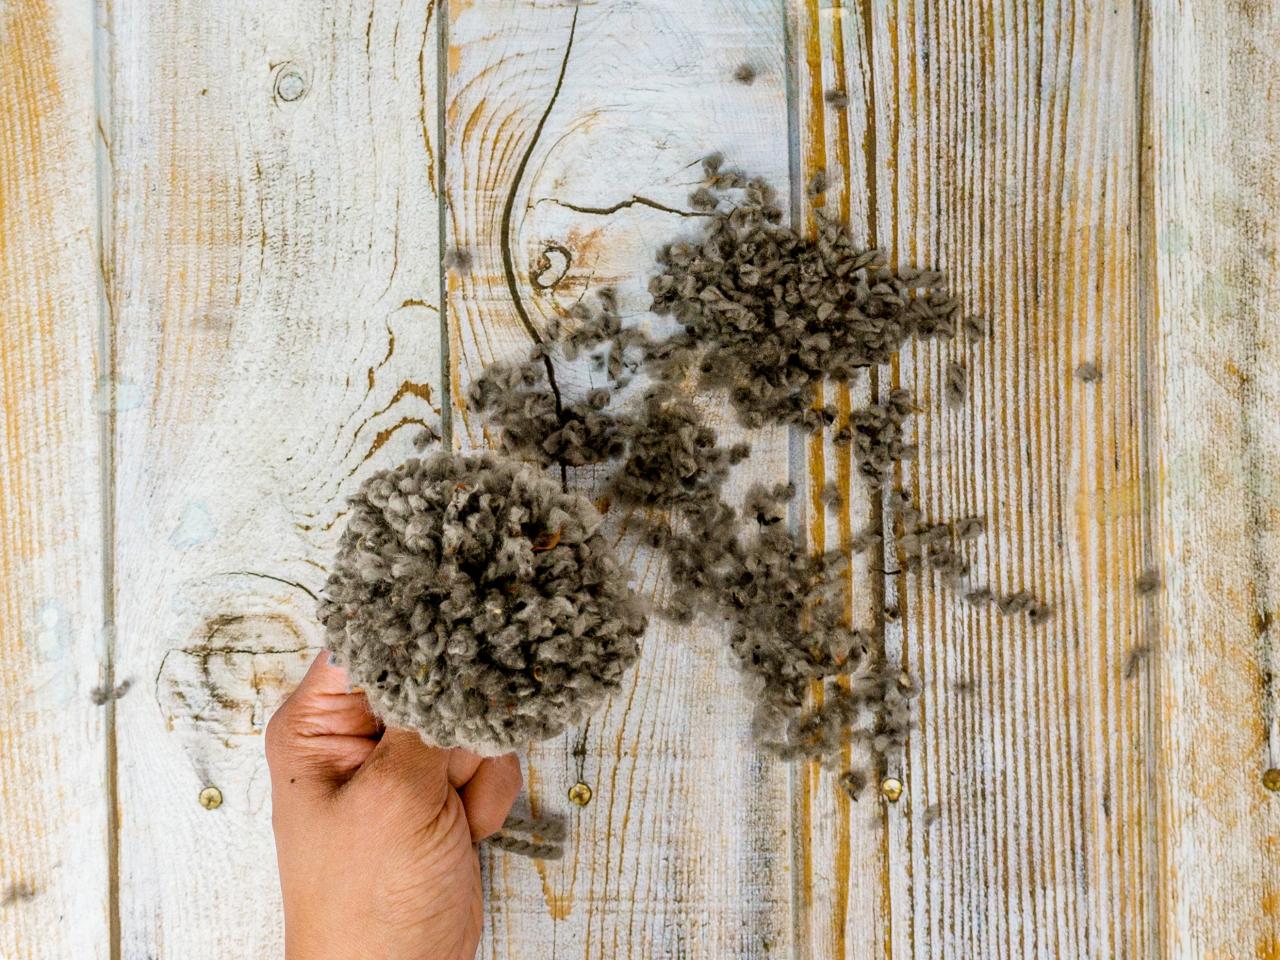
Trim + Shape

Debbie Wolfe

Debbie Wolfe
Trim down the pompom until it's the same size all around. I was going for a woodland bunny look, not a fancy angora bunny, so I kept the fur close-cropped. Rotate the pompom and trim until it looks like a sphere.
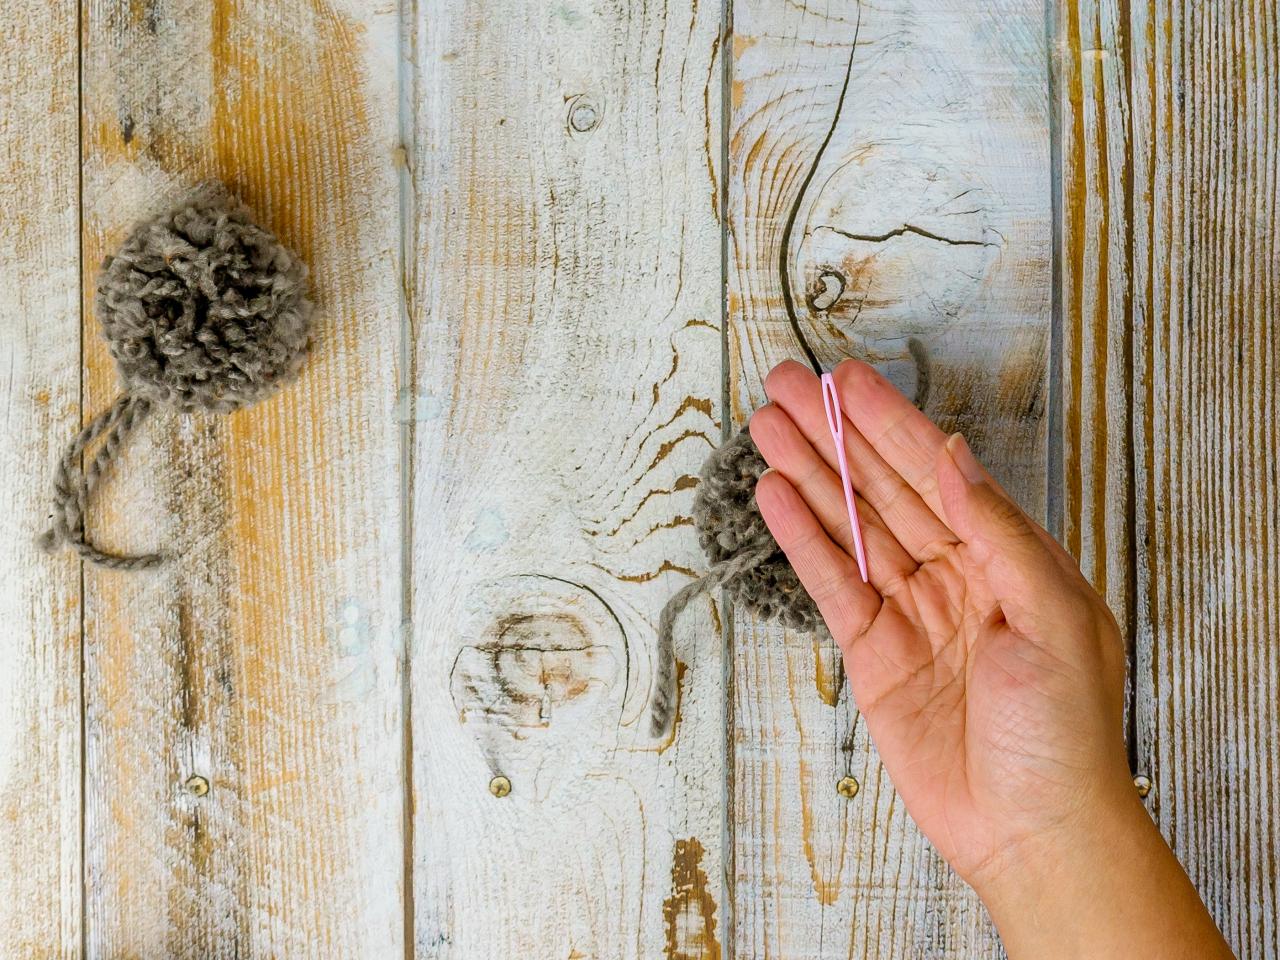
Tie Pompoms Together
Debbie Wolfe
Debbie Wolfe
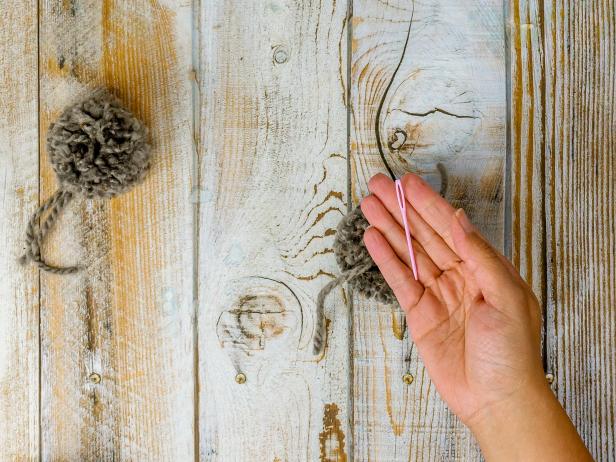
Thread one tail from one pompom through a tapestry needle. Insert the tapestry needle underneath the piece of yarn that is holding the other pompom together. Tie the two pompoms together with a double knot. Trim off the tails.
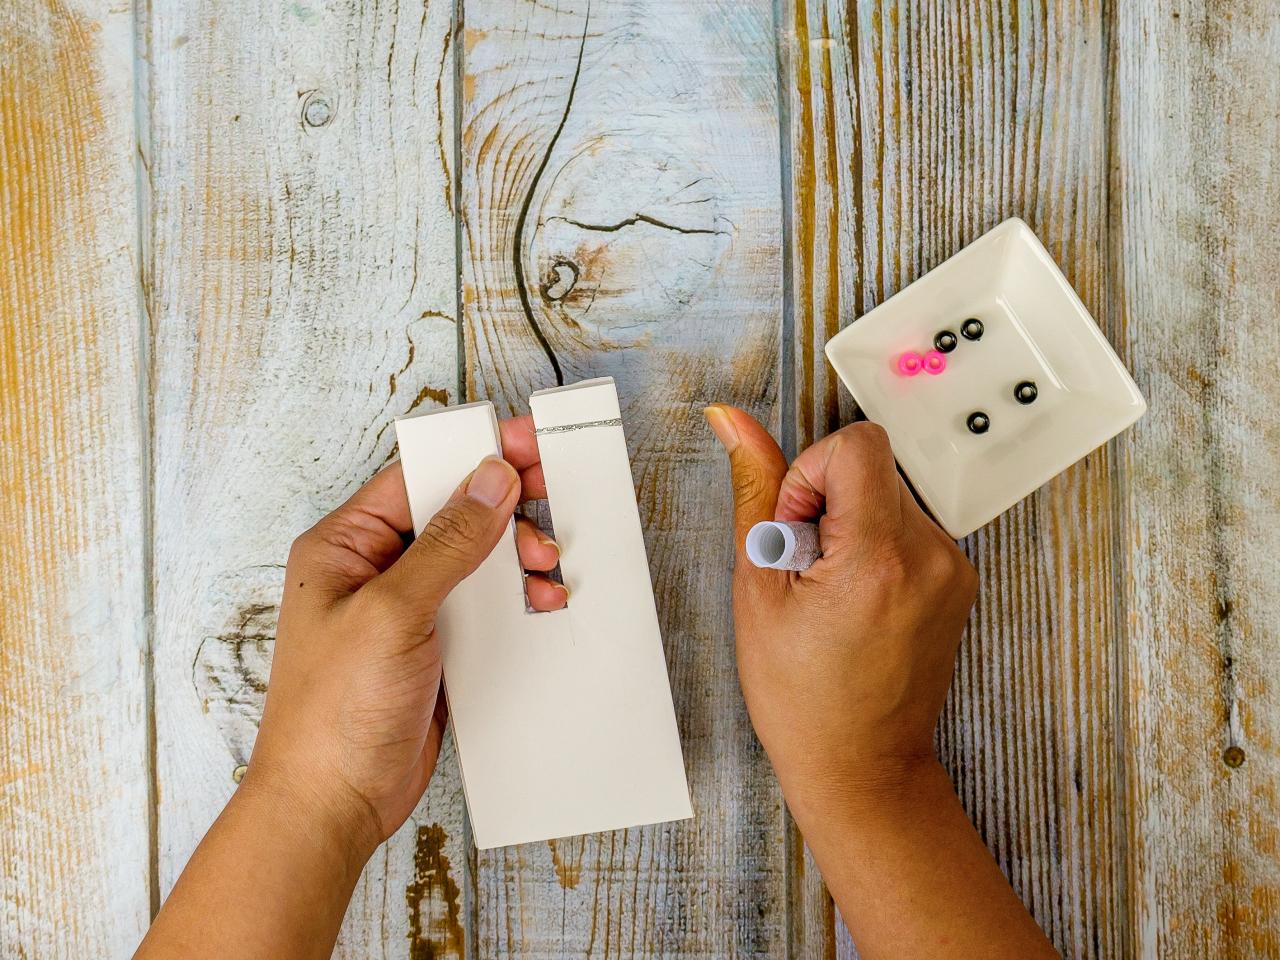
Make Whiskers + Nose

Debbie Wolfe
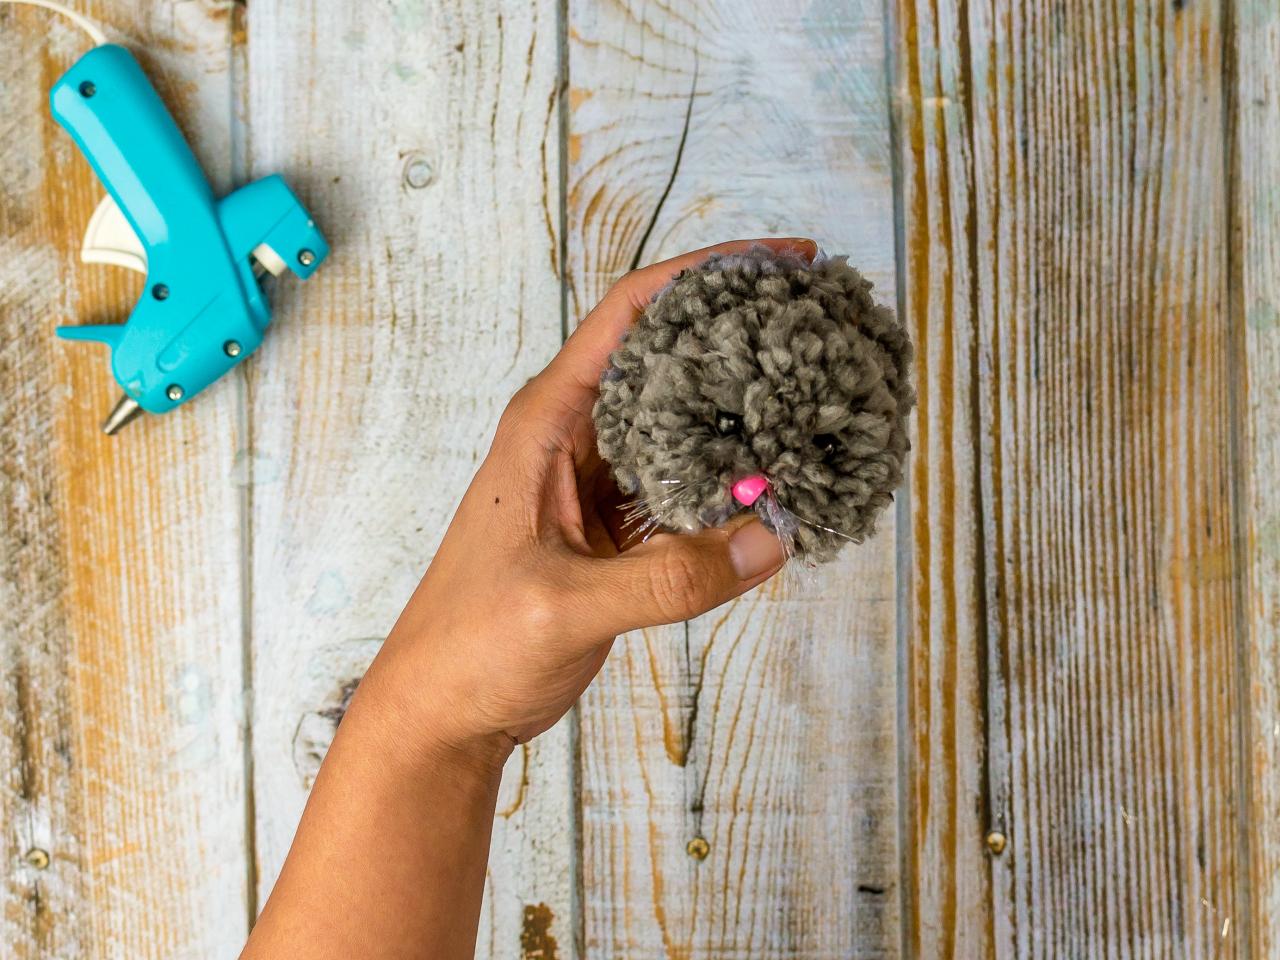
For the whiskers, wrap a piece of thread around a one-inch piece of cardboard or foam board about six times. Slide it off the board and tie it in the middle. Glue the whiskers behind a pink pony bead (this will become the nose). Trim off the loops at the ends.
Glue Eyes + Nose

Debbie Wolfe
Hot glue black pony beads on the smaller end of the bunny's body for the eyes. Glue the nose with the whiskers right below it.
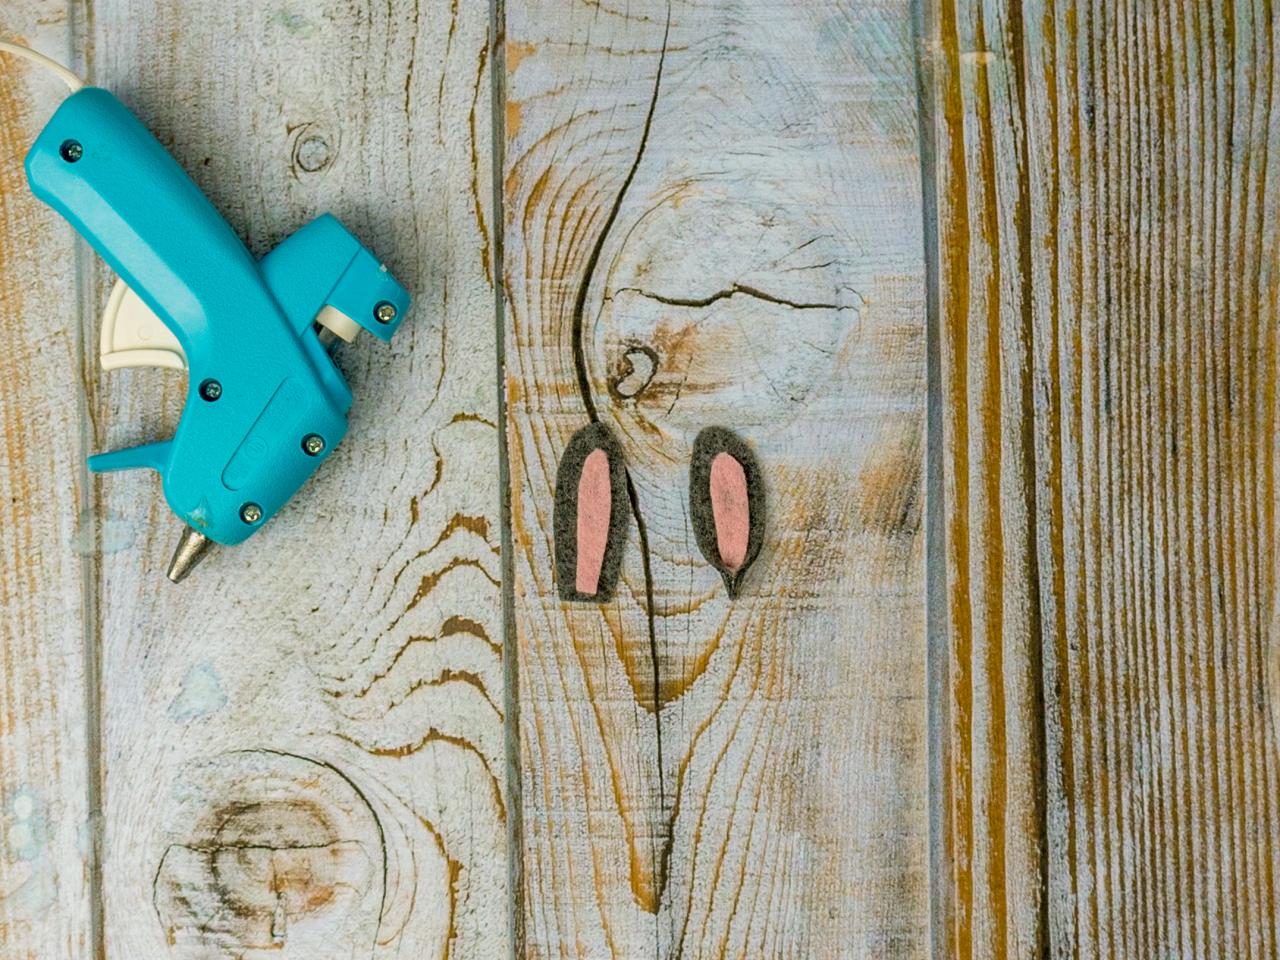
Make Ears

Debbie Wolfe

Debbie Wolfe
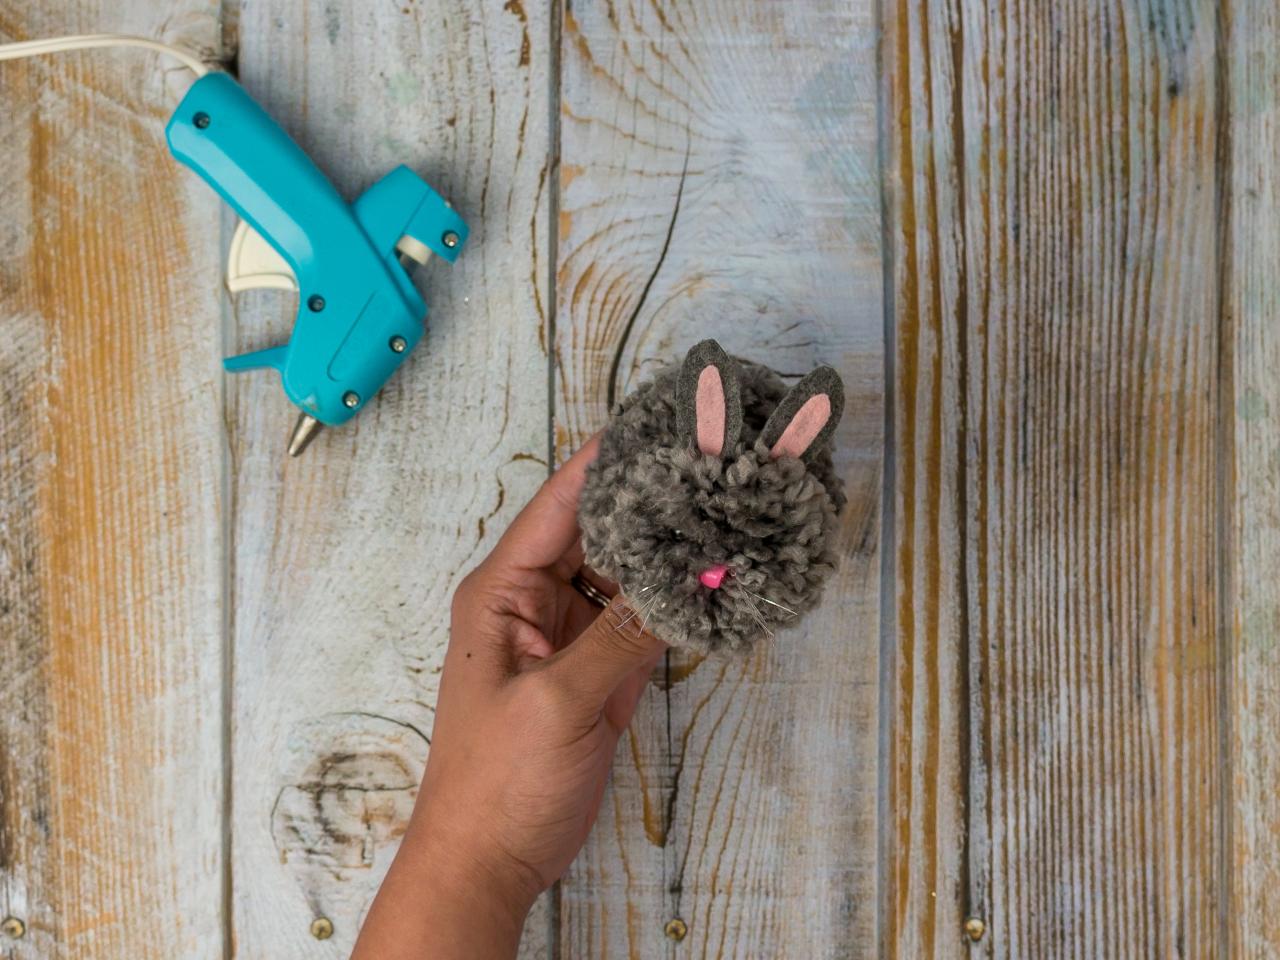
For the ears, cut out an oval shape with a straight bottom from the felt that's the same color as your rabbit. Cut out the same shape but smaller in pink for the inner ear. Glue the pink inner ear on top of the bigger piece of felt. Add a dab of glue at the base of the ears and pinch the bottom together to form the ear. Glue the ears on top of the bunny's head.
Add a Tail

Debbie Wolfe
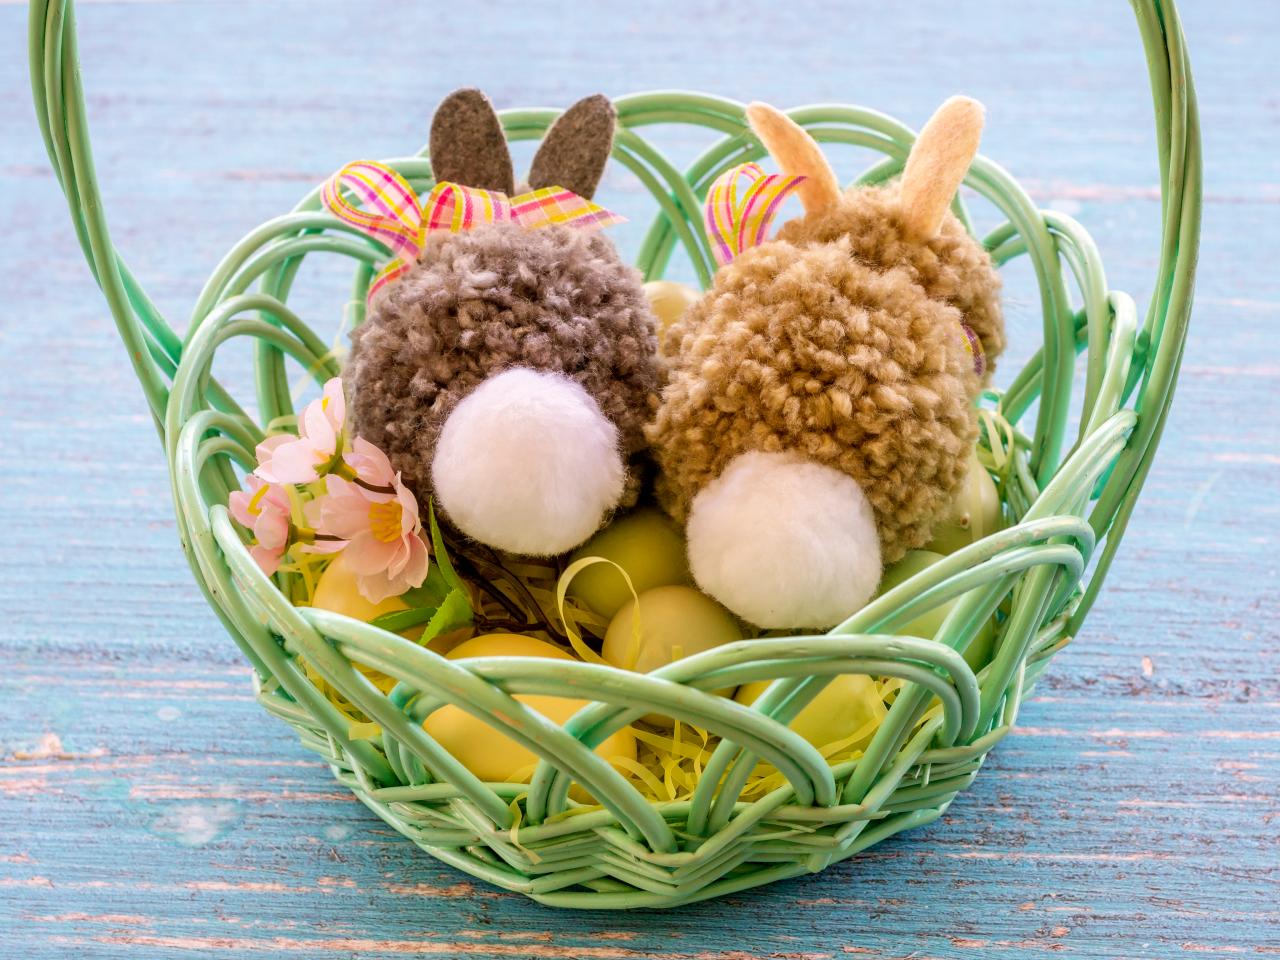
Glue a small white pompom or cotton ball to the bunny's backside to create a tail.
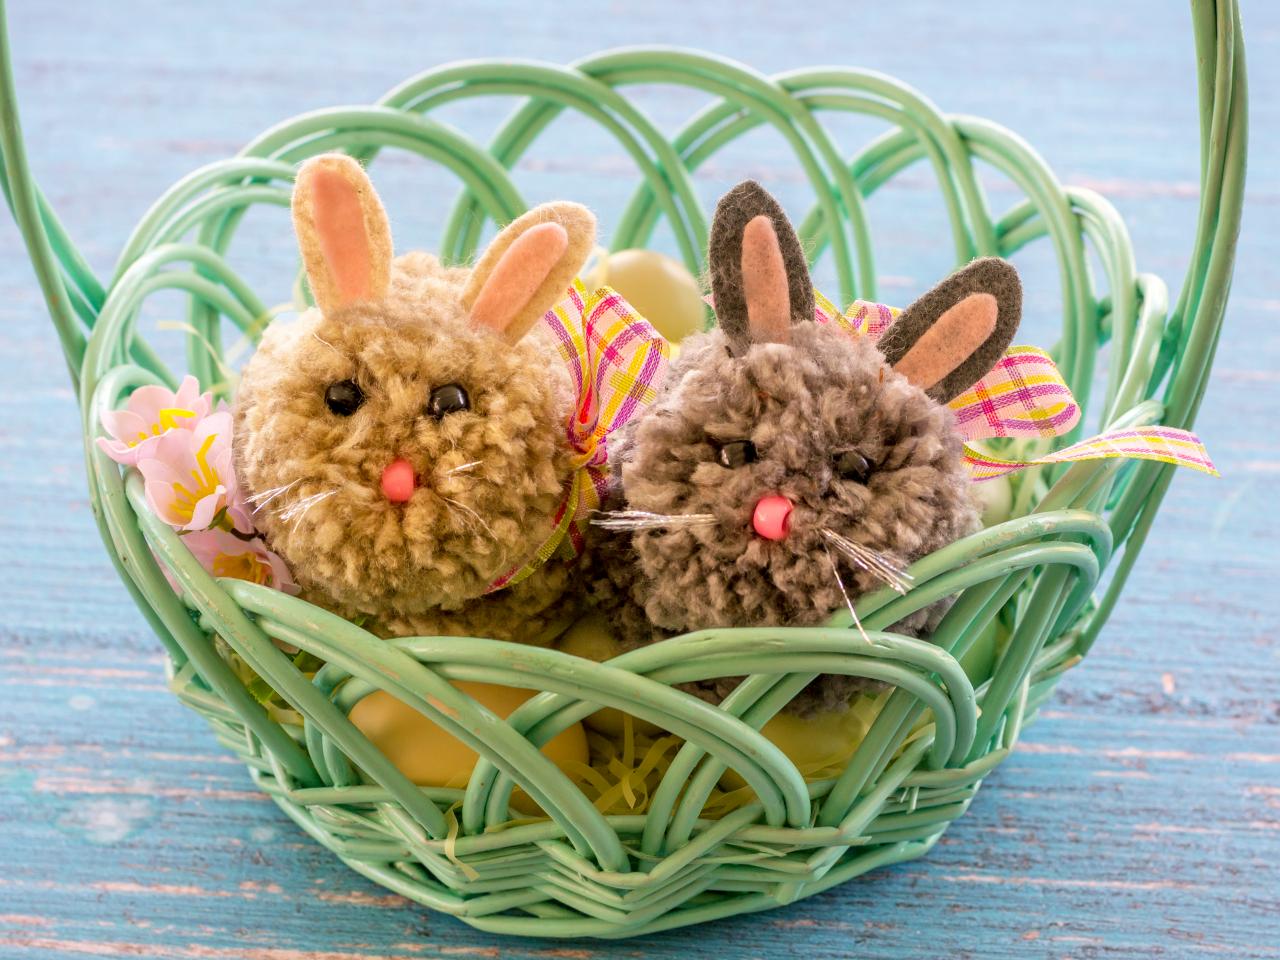
Make It Pretty

Debbie Wolfe
Tie a pretty ribbon onto the bunnies' necks and pop the cuties into a basket. The adorable little cottontails will be a hit with the kids.


