


How to Make a Wood Planter Box With House Numbers
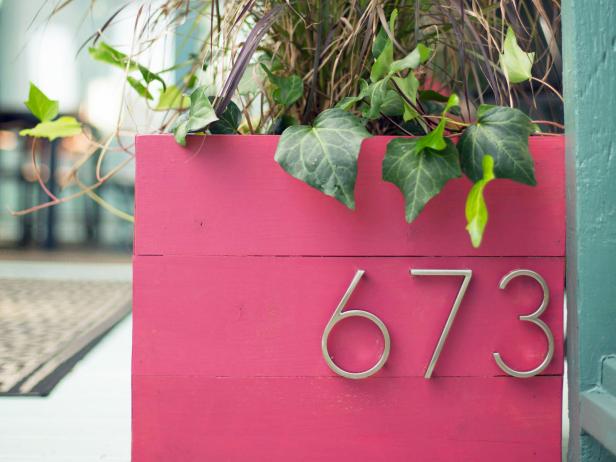
Up your curb appeal with this stylish planter featuring modern house numbers and a bold color.

Looking for a stylish way to display your house numbers? Or need to add more greenery to your entryway? Try this easy woodworking project that you can make in less than a day. You can customize the size of the planter box (ours is 20" wide x 21-3/4" tall, the color (ours is a bold fuschia) and the font of the numbers (we went modern).

Tools and Materials
- (1) 2x2 x 8' for framing
- (3) 1x6 x 8' cedar planks
- 5" tall house numbers (we used brushed nickel)
- 1 quart latex exterior paint
- paintbrush
- painter's tape
- drop cloth
- wood glue
- miter saw
- cordless drill with 1/8" bit
- hammer
- nail gun with 1-1/2" 18-gauge nails
- measuring tape
- pencil
- safety goggles
Measure and Cut Cedar Planks
You will need three planks for each side of the planter box, 12 in total. Use a tape measure and pencil to mark the 12 planks at 20” each. Use a miter saw to cut a 45-degree angle on all the ends so that when assembled the planks will neatly fit together.

Measure and Cut Support Pieces
Measure, mark, then use a miter saw to cut the 2x2 into four 15” pieces. These will be the interior, vertical corner supports for the planter box.

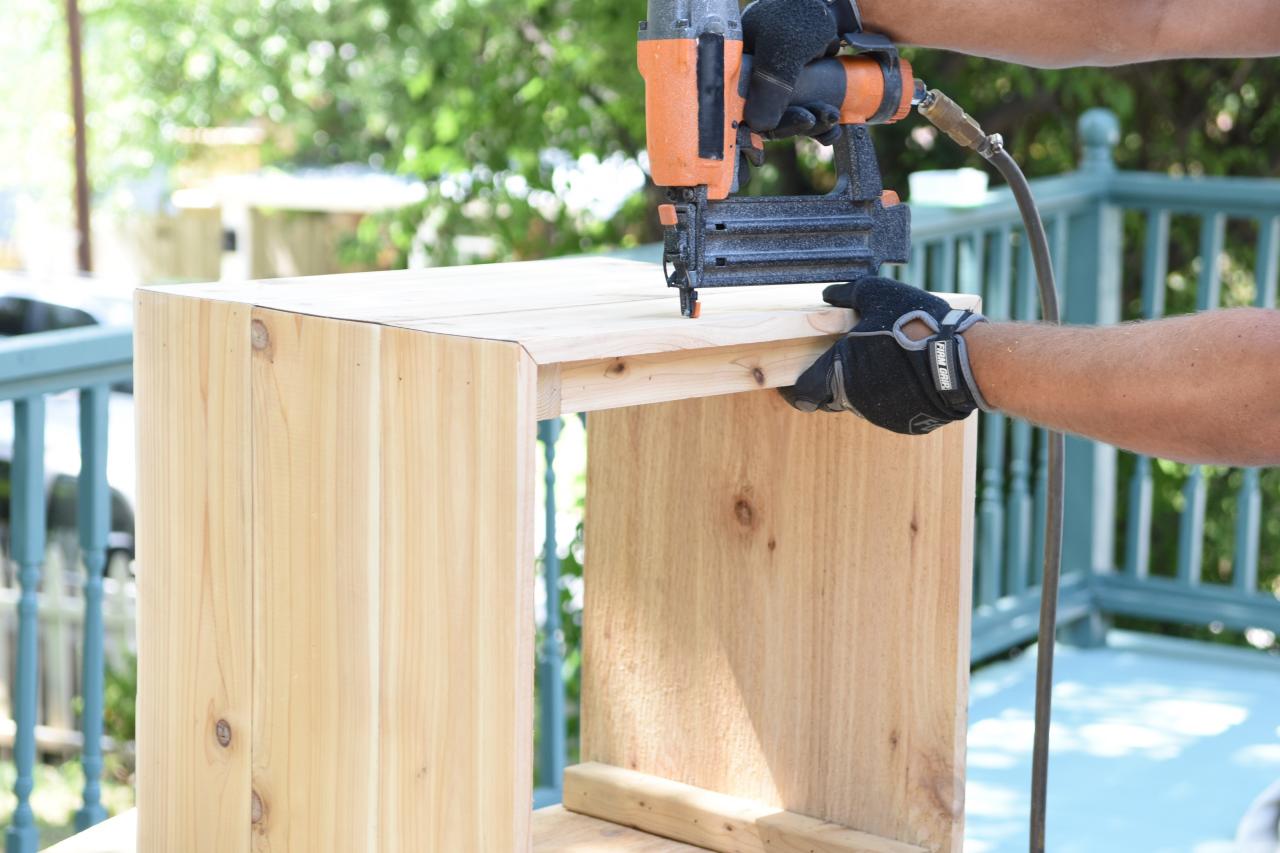
Assemble the First Side
To assemble the first side of the planter box, lay three planks side by side on a flat surface. Then lay two vertical support boards perpendicular along the inside of the mitered edge. Determine which side will be the bottom of the box — leave a 3/4" space on that side so you'll be able to fit the bottom planks within that space. Attach the support pieces to the planks using a nail gun. You can also run a bead of wood glue along the edge before nailing for extra strength.

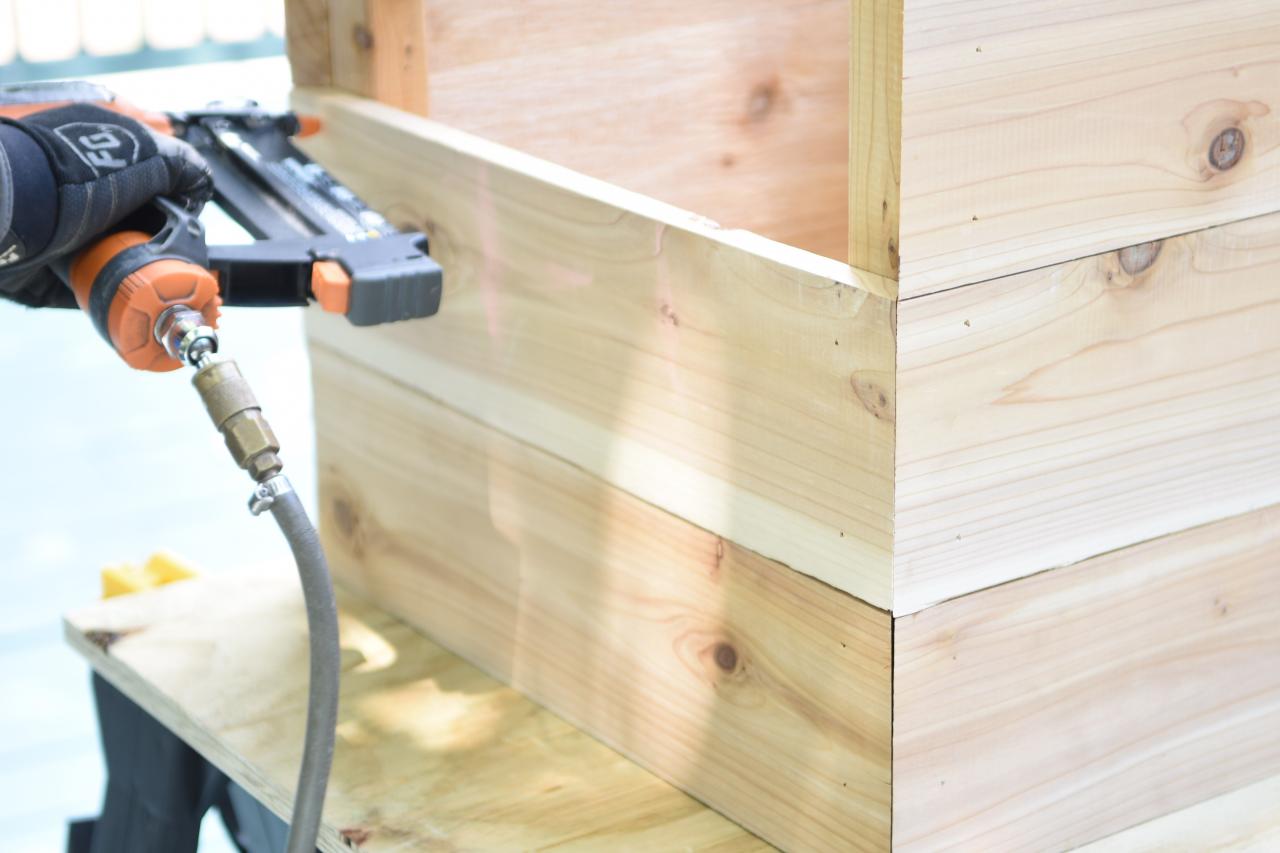
Assemble Remaining Three Sides
Working from the bottom of the box up, continue adding planks and 2x2s to build out the remaining sides. Fasten the sides together with a bead of glue and a nail gun until the box is complete.

Add Interior Bottom Rails
Measure, mark and cut two pieces of 2x2 to serve as bottom support rails. Flip the box on its side and secure these rails in between the vertical supports on the inside of the planter box 3/4" from the bottom of the box.

Attach Bottom Planks
Flip the box upside down and attach three planks to the bottom rails using a nail gun. Be sure to leave a little space between the planks for drainage.

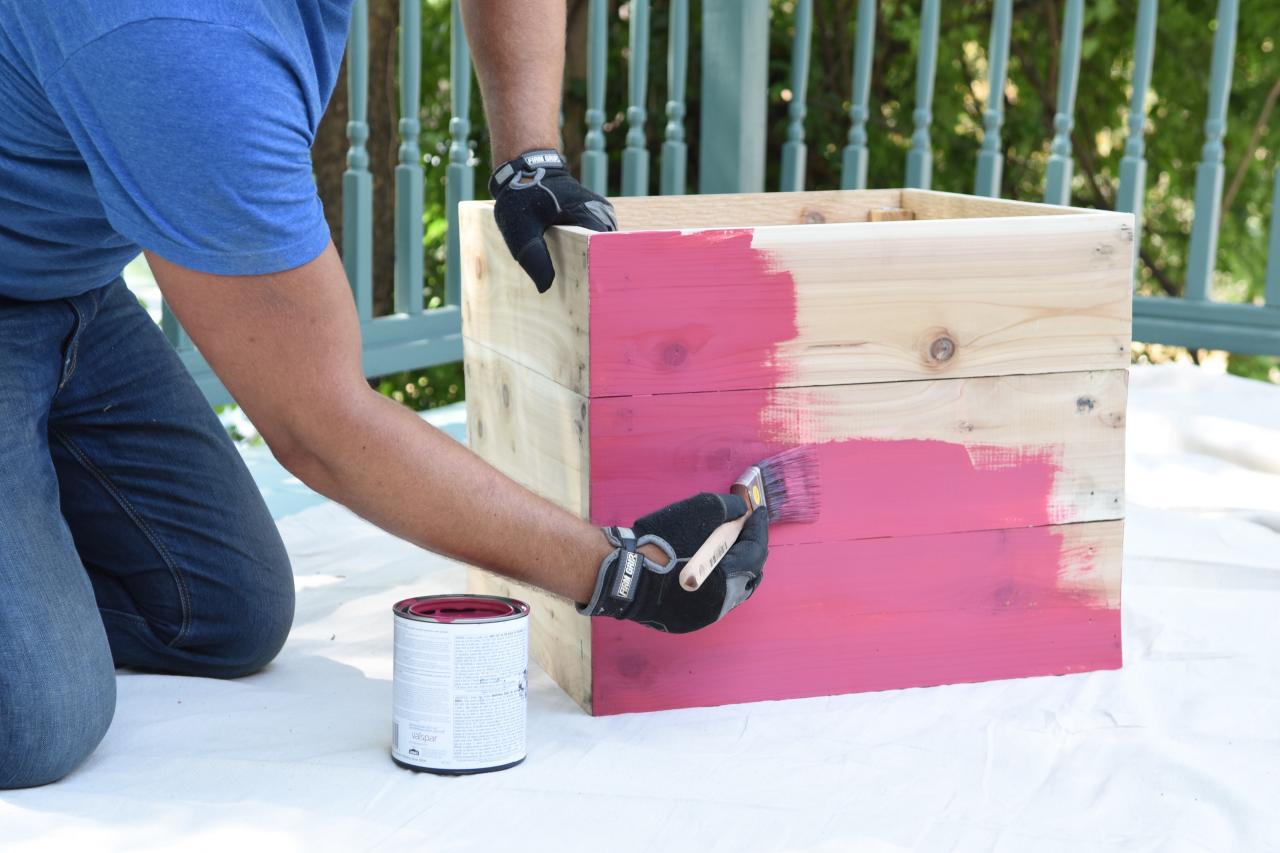
Sand and Paint Box
Once the bottom planks are in place, flip the planter box right-side-up and lightly sand with a fine-grit sandpaper. It’s best to paint or stain the planter box at this time. If painting, use an exterior paint that includes primer so the wood takes the paint well and is protected from the elements.

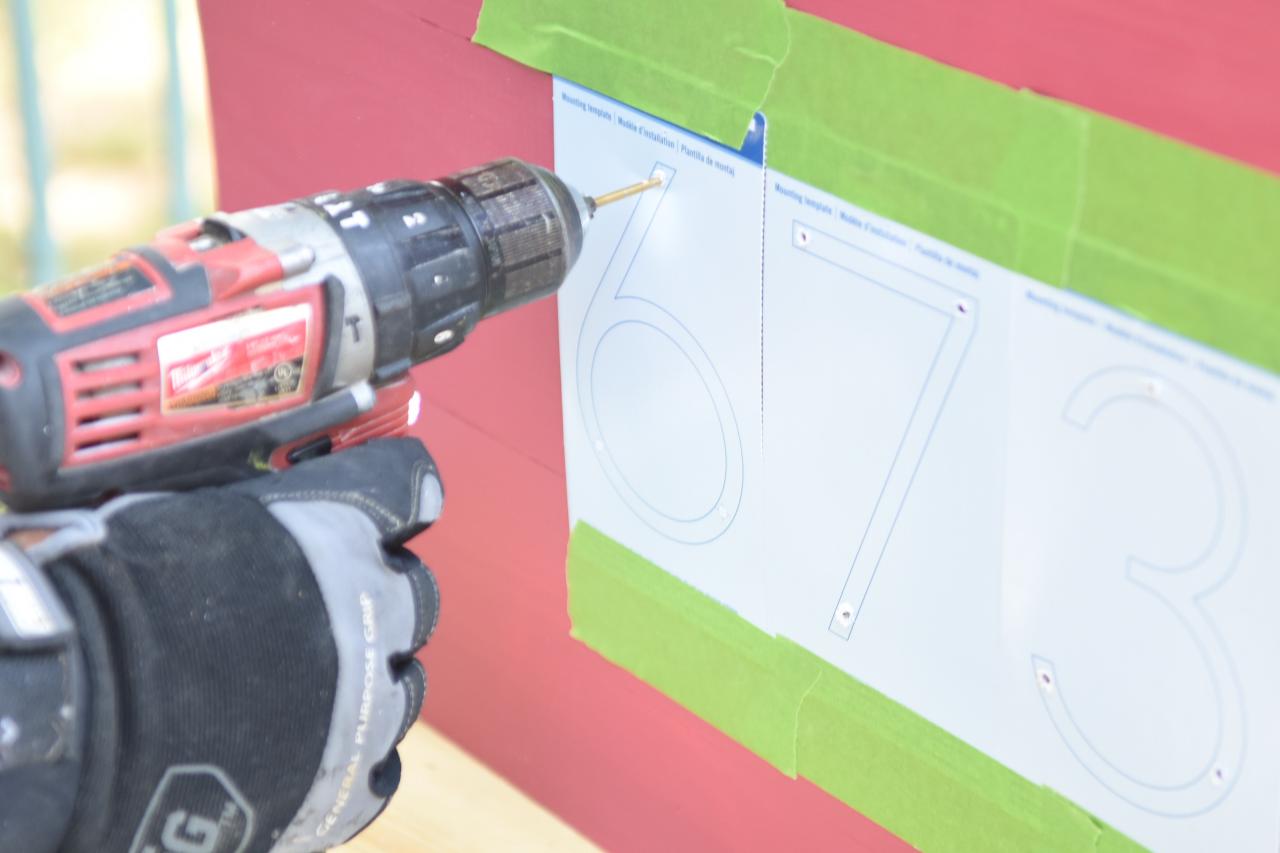
Prepare for House Numbers
Decide on the placement of the numbers. If they came with a template, affix it to the planter box using painter's tape for better accuracy. Then pre-drill all holes using a 1/8” drill bit or whatever size works with the fasteners you'll be using to attach the numbers.

Attach House Numbers
When all holes are pre-drilled, remove the template, then secure the house numbers to the planter box using a drill and the provided fasteners.

27 DIY Outdoor Planter Box Ideas 27 Photos
Give your outdoor living space a refresh with these inexpensive, easy-to-build planters, window boxes and container gardens.


