


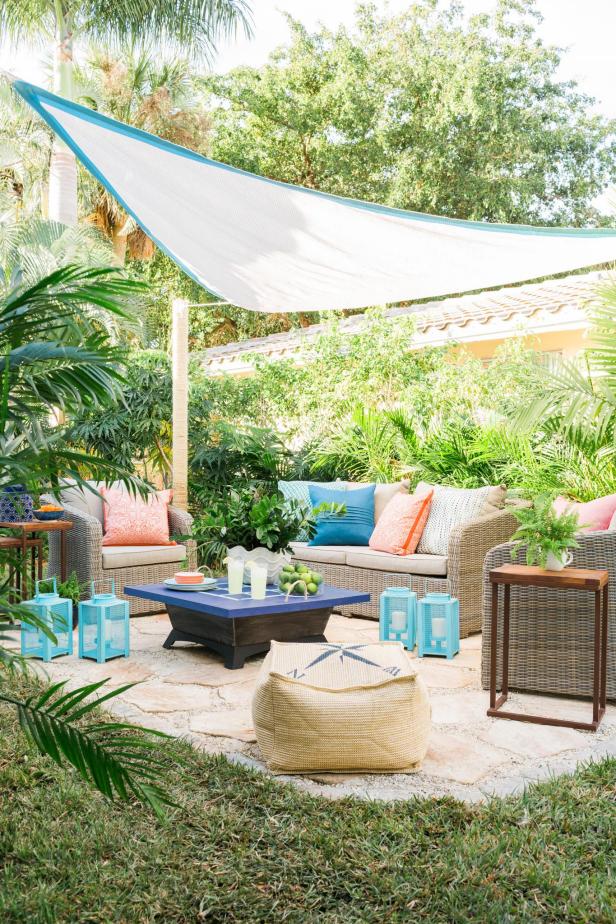
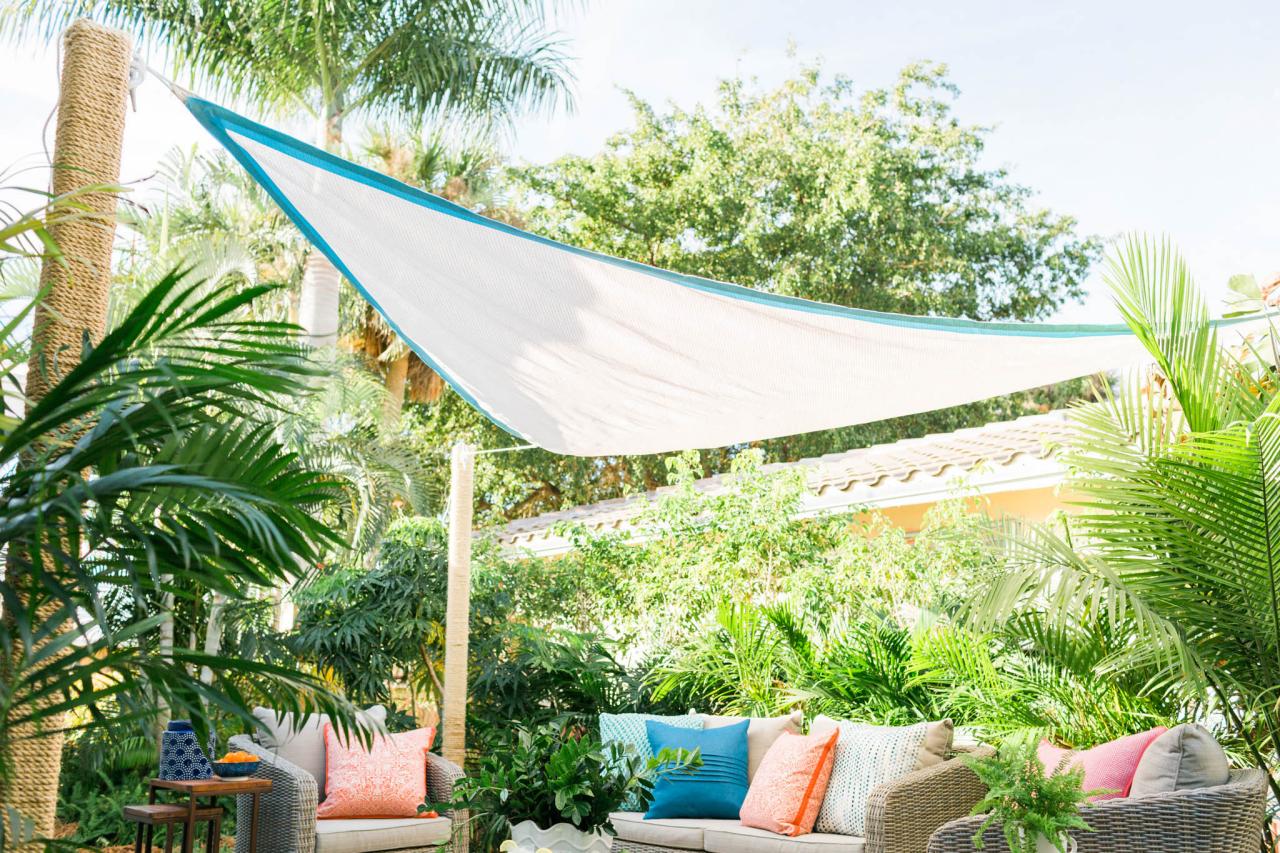
Beat the Heat and Add Privacy With an Embellished Shade Sail
Transform an over-exposed patio or deck into a shady oasis with this sophisticated shade sail. Just a few DIY details take this project from strictly functional to stylish and fun.

© Rustic White Photography, LLC

Materials Needed
4x4 pressure-treated post
post hole digger
fast-setting concrete mix
marking spray paint
spirit level
3/8" sisal or Manila rope
drill
3" wood screws
boat cleats
broomstick (optional)
triangular shade sail
2-1/4" grosgrain ribbon
heavy-duty, permanent, clear-drying fabric glue
scissors
wax paper (to protect surfaces)
Mark Post Location
Using a measuring tape and marking spray paint, determine placement and mark where the 4x4 posts that will support shade will be located.

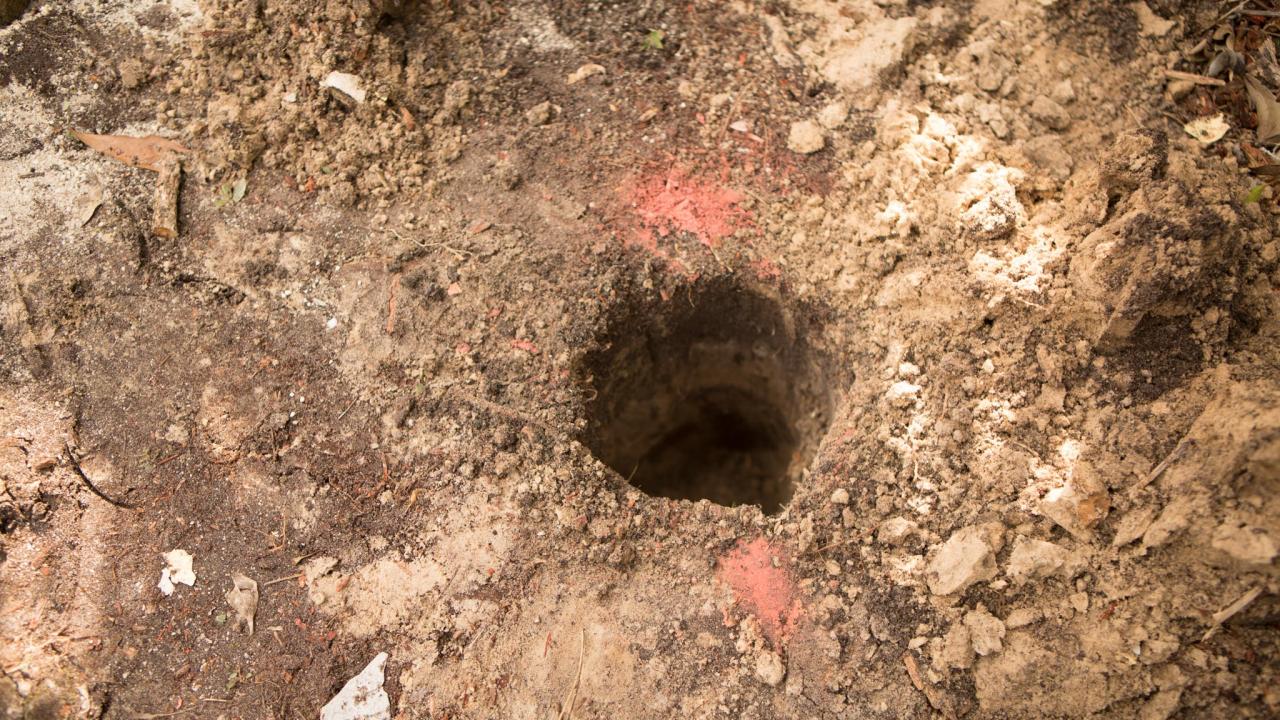
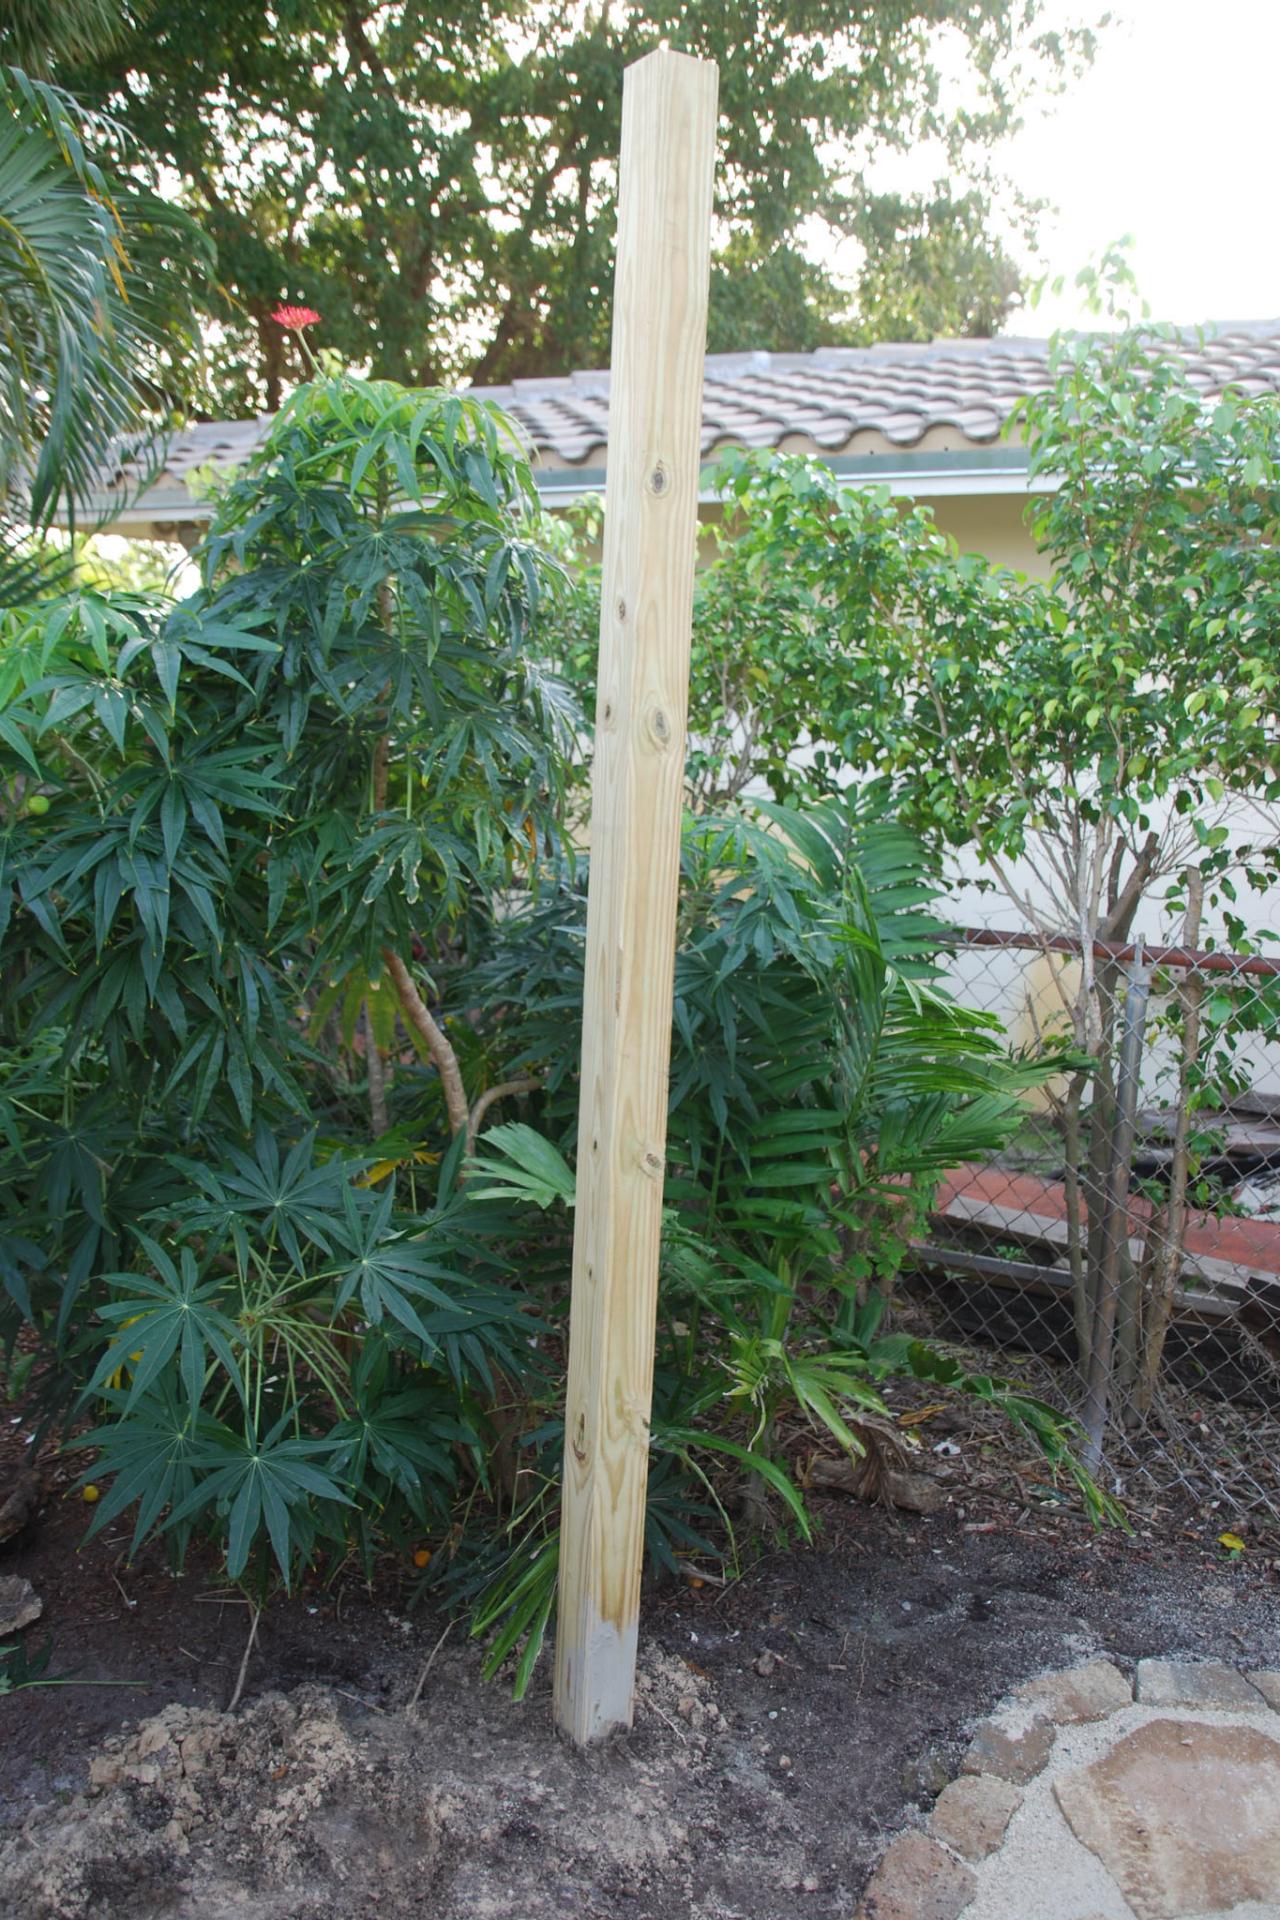
Set Posts
Next, using a post hole digger, dig down two feet to ensure post will have a proper footing (Image 1). Place the post in position, making sure it's plumb with the level. Next, pour the concrete mix into the hole around the post and add water, following the manufacturer's directions. Allow each post to set properly before moving on to the next step (Image 2).


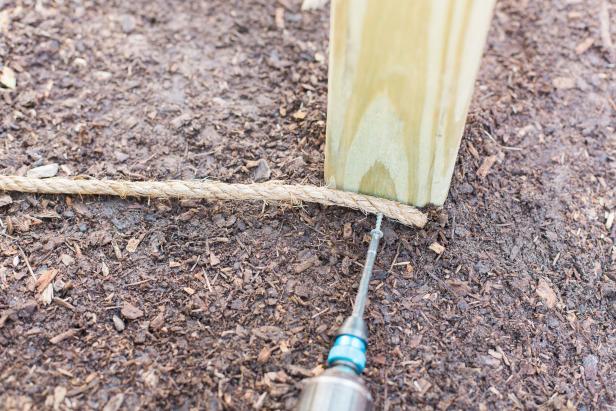
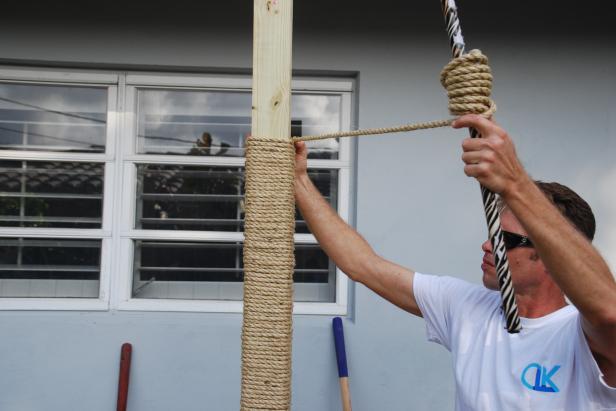
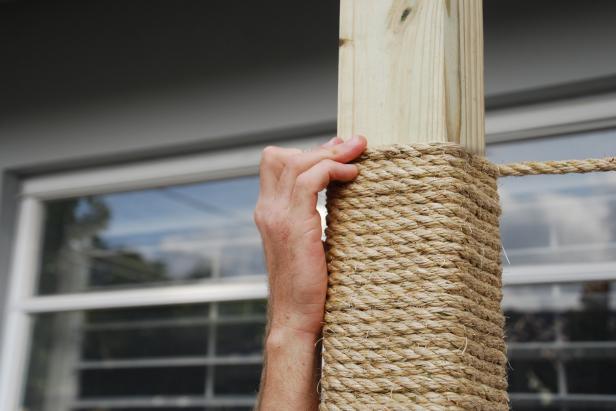
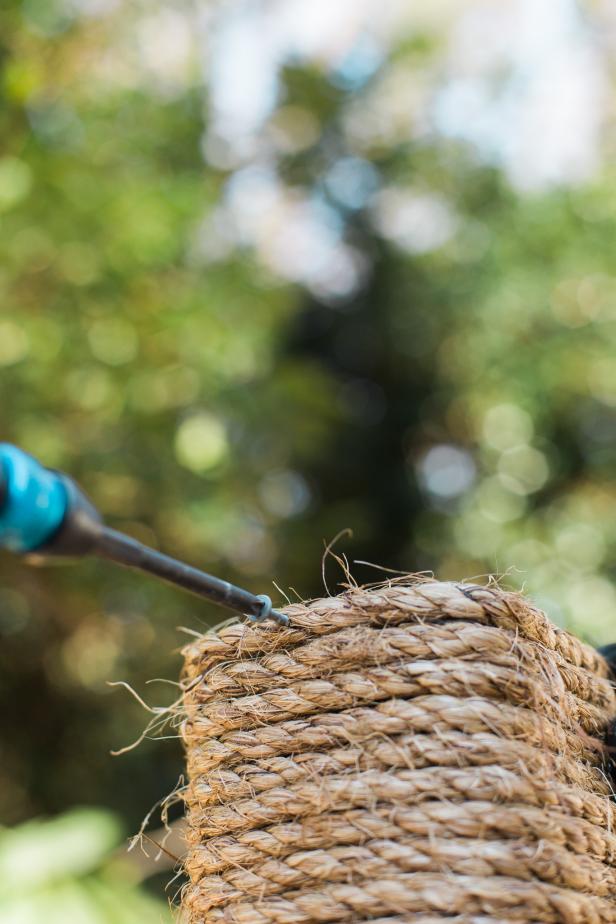
Wrap Posts
Give the posts a decorative update by wrapping them in rope. First, secure one end of the rope at the base of each post with a 2" wood screw (Image 1). Tip: In order to get a really tight wrap around the 4x4 post, you may find it helpful to wind the rope around a broomstick before you begin this process (Image 2). Wrap the post, overlapping the end of one piece and the beginning of another piece of rope as you work your way up (Image 3). Once you reach the top, secure the rope to the post with a screw (Image 4).
Tomas Espinoza
Tomas Espinoza
Add Cleats
Measure down about 6" from the top of each post and secure the boat cleat to center of the post with 2" wood screws.

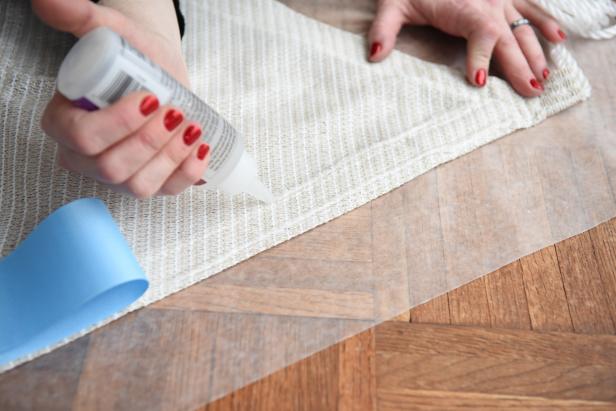
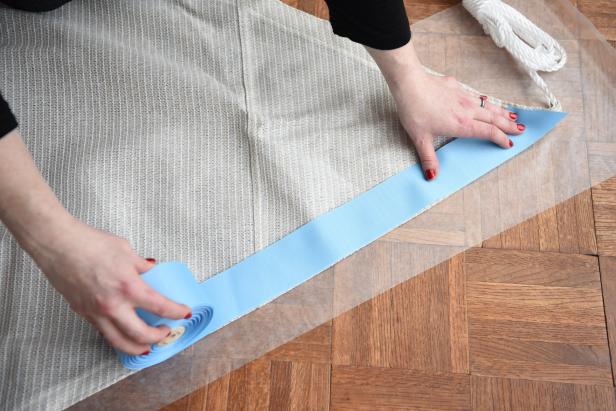
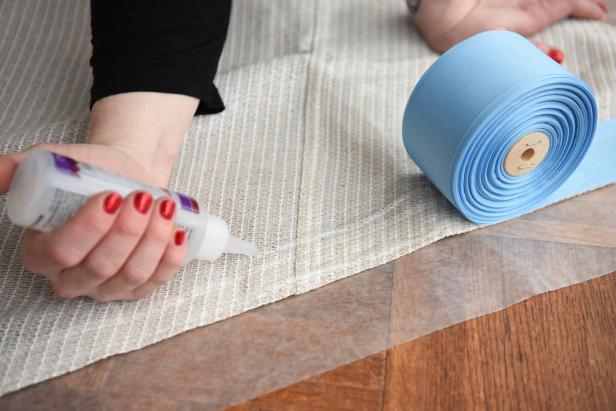
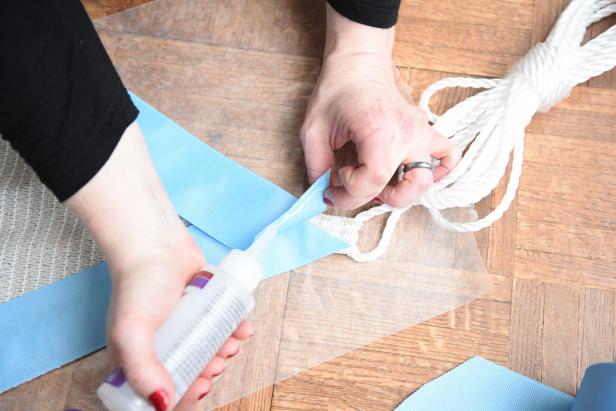
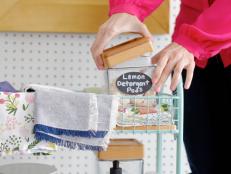
Add Ribbon Border
Dress up the edge of the premade shade sail with a colorful ribbon border. First, roll out wax paper to protect your work surface. Place sail shade's edge on top of the wax paper. Run two beads of fabric glue along the edge (Image 1), press ribbon into place (Image 2), then roll out ribbon working several inches at a time (Image 3).
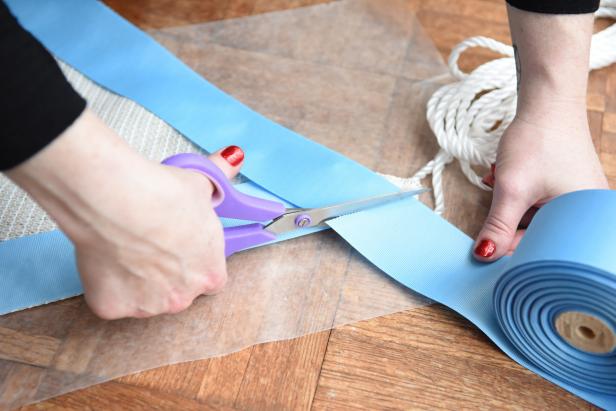
Finish Edges
Continue adding glue, then rolling ribbon into place. Cut neatly at edge and glue down (Images 1 and 2). Continue along each edge until the shade is complete.
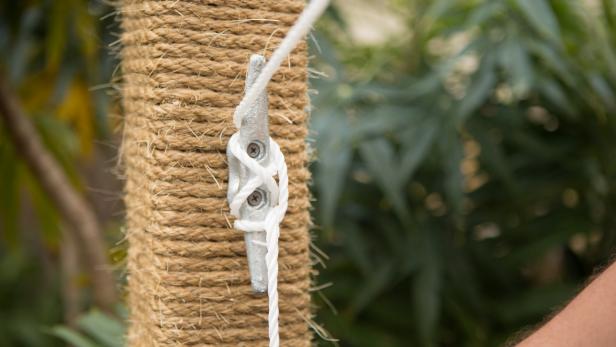
Install
Tie the shade to the post cleat using a simple cleat hitch knot (Image 1) and enjoy a cool break from the afternoon sun (Image 2).
Rustic White Photography, LLC


