


How to Turn a Maritime Flag Into a Beachy-Chic Pillow
These easy-to-sew DIY throw pillows are a splashy way to add a little nautical style to any outdoor space.

© Rustic White Photography, LLC

Materials Needed
- 24” x 24” outdoor-rated pillow insert
- rectangular maritime signal flag
- outdoor fabric in coordinating color (for pillow back)
- sewing machine
- needle and thread
- iron
- hook-and-loop tape (Velcro)
- scissors
- tape measure
- pen
- fabric glue
- buttons
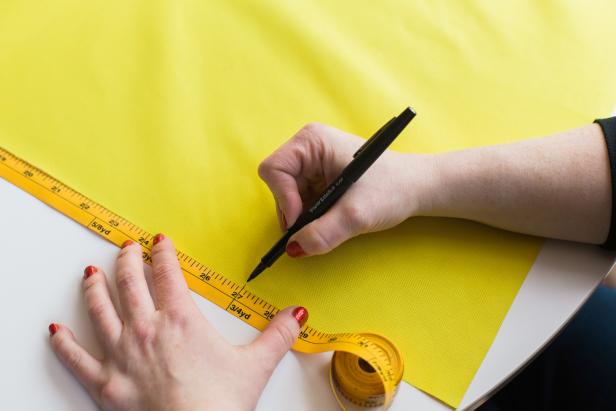
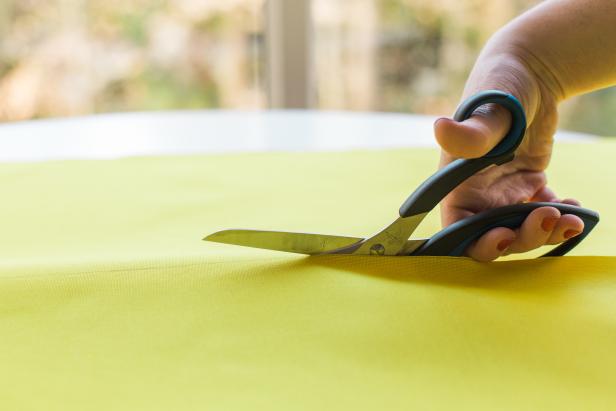
Cut Outdoor Fabric
Place the fabric face down on your work surface. Measure and mark your fabric 27" across to accommodate the 24" pillow insert; the extra 3" allows for an 1-1/2" inseam on each side of the insert (Images 1 and 2). Cut out.
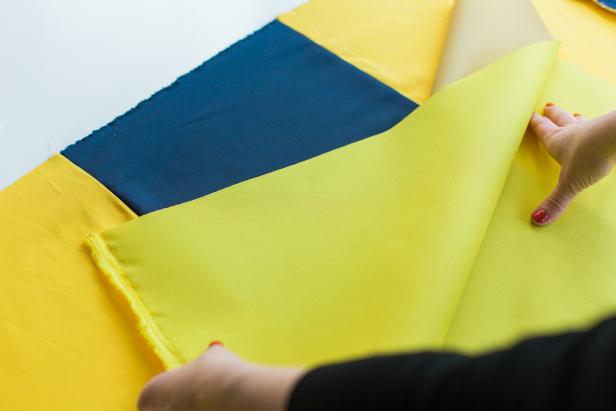
Cut Flag
Lay the flag face down on your work surface (Image 1). Being sure to center the flag's design, measure and mark the fabric at 27" and at 33" — this additional 6" on one side will be used to create a flap for the pillow. The flap will make it easy to remove the insert before laundering the pillow cover. Cut the flag to the proper dimensions (Image 2).
Tomas Espinoza
Tomas Espinoza
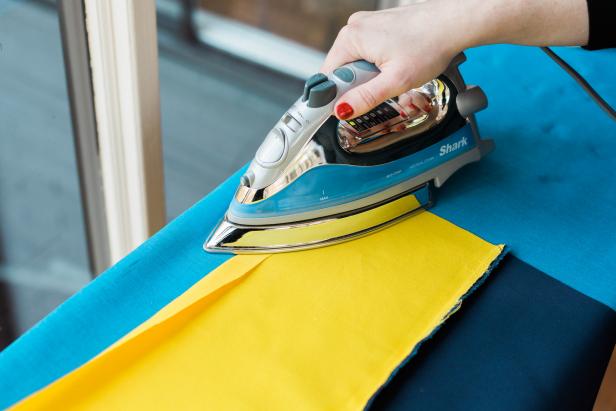
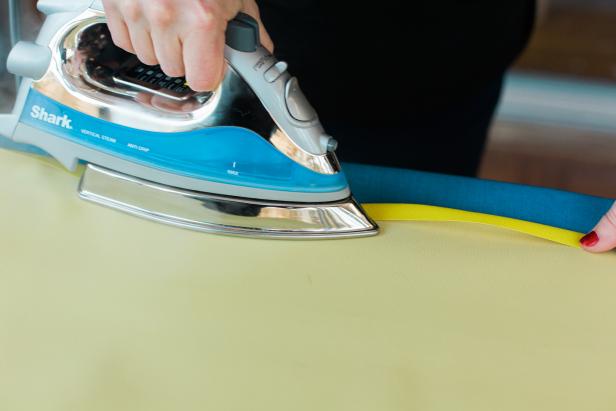
Hem Flag Edge
Fold, then iron a hem to the flag's flap edge (Image 1). Sew it in place, using a straight stitch (Image 2).
Tomas Espinoza
Tomas Espinoza
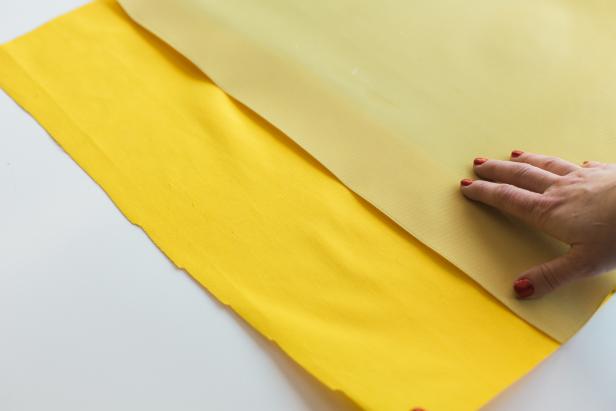
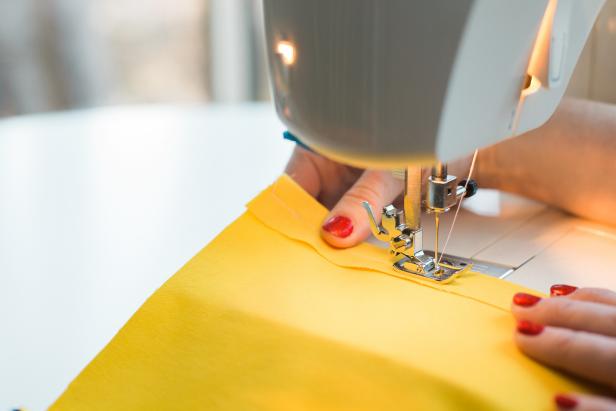
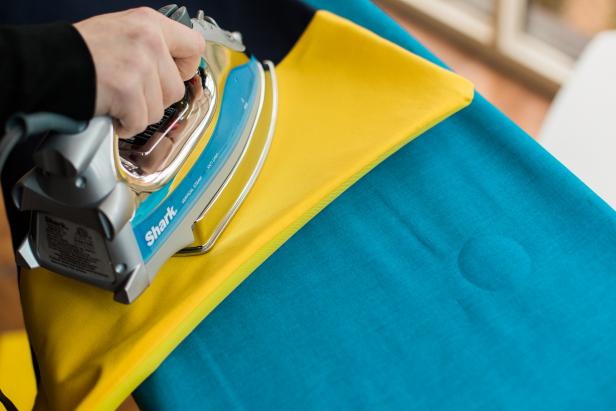
Hem Outdoor Fabric Edge
Next, fold and iron a hem on the outdoor fabric which will be the pillow cover's backside (Image 1). Using a straight stitch, hem the coordinating edges (Image 2).
Tomas Espinoza
Tomas Espinoza
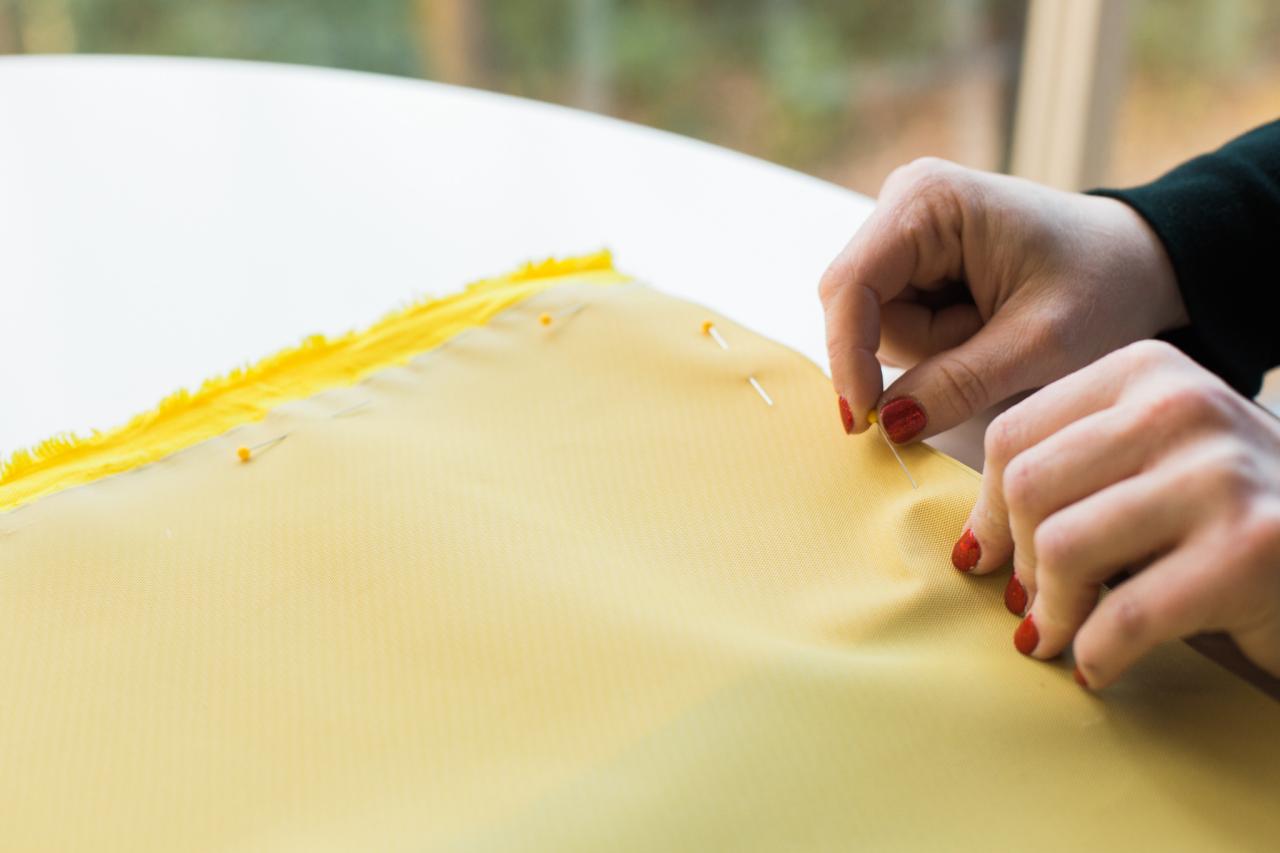
Pin Together
Once hemmed, place the two pieces of fabric together. Align the flag and the backing fabric, facing together and pin in place.
Tomas Espinoza
Tomas Espinoza
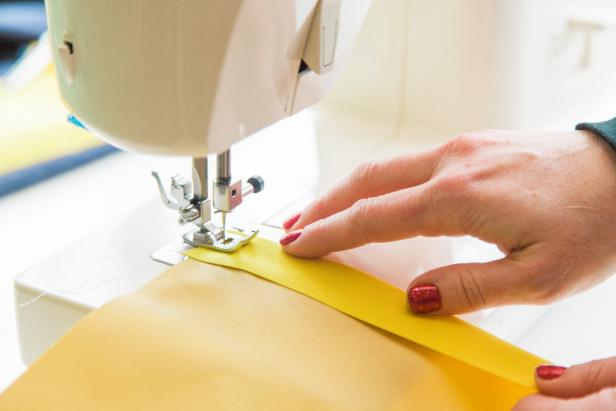
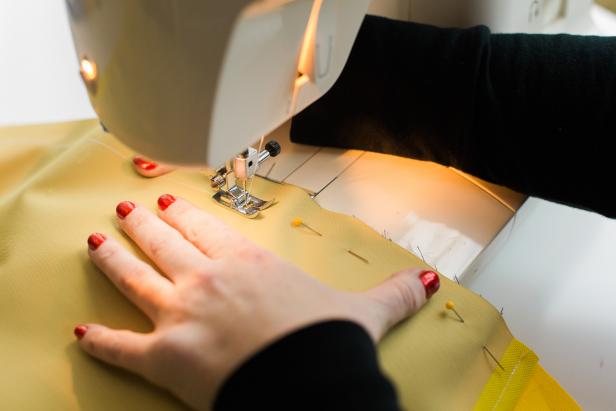
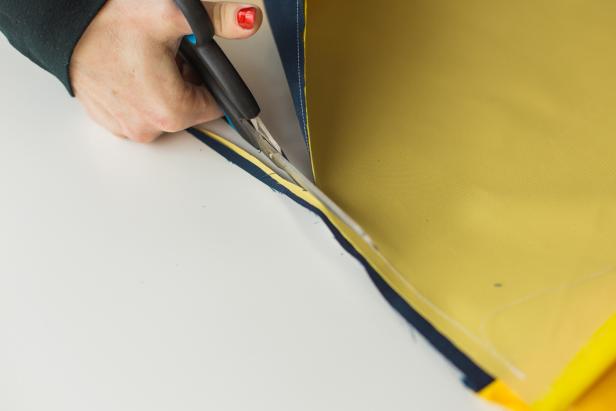
Sew Together
Leaving a 1" inseam, sew the three raw edges together (Image 1). Trim excess material (Image 2), then turn the pillow case inside out and iron (Image 3).

Tomas Espinoza
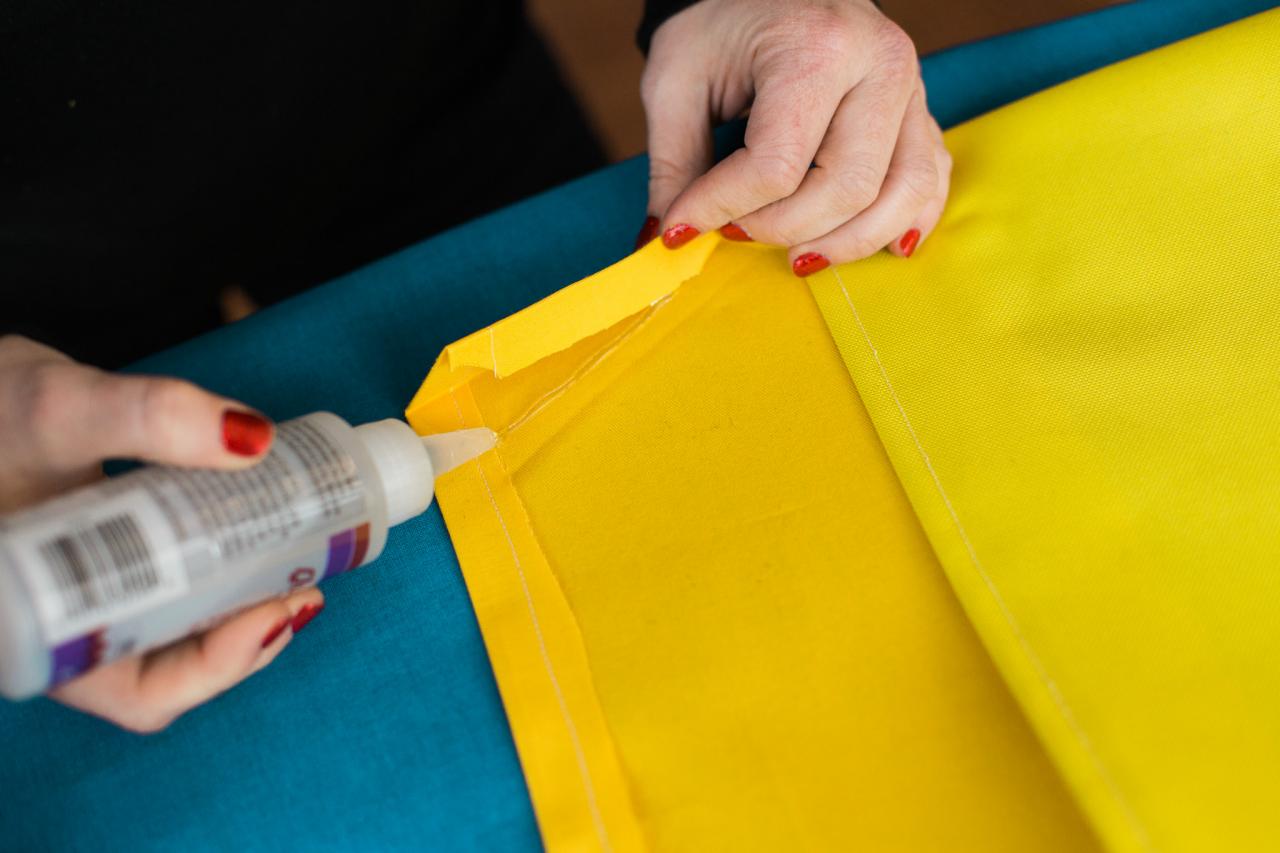
Contour Flap Edges
Fold the edges of the pillow flap inward about an inch and secure with a bead of fabric glue. Press down for a few seconds, then release.
Tomas Espinoza
Tomas Espinoza
Tomas Espinoza
Add Velcro
Position the hook-and-loop tape every 5 to 6 inches to ensure that the pillow cover will stay in place when the flap is closed.

Tomas Espinoza
Add Buttons
Using a needle and white thread, stitch a few buttons onto the flap for a little extra decorative flair.

Tomas Espinoza

Tomas Espinoza

© Rustic White Photography, LLC


