


How to Install Temporary Peel-and-Stick Wallpaper
From the bedroom to the living room to the dining room, give any space an easy (and totally removable!) transformation with temporary wallpaper.
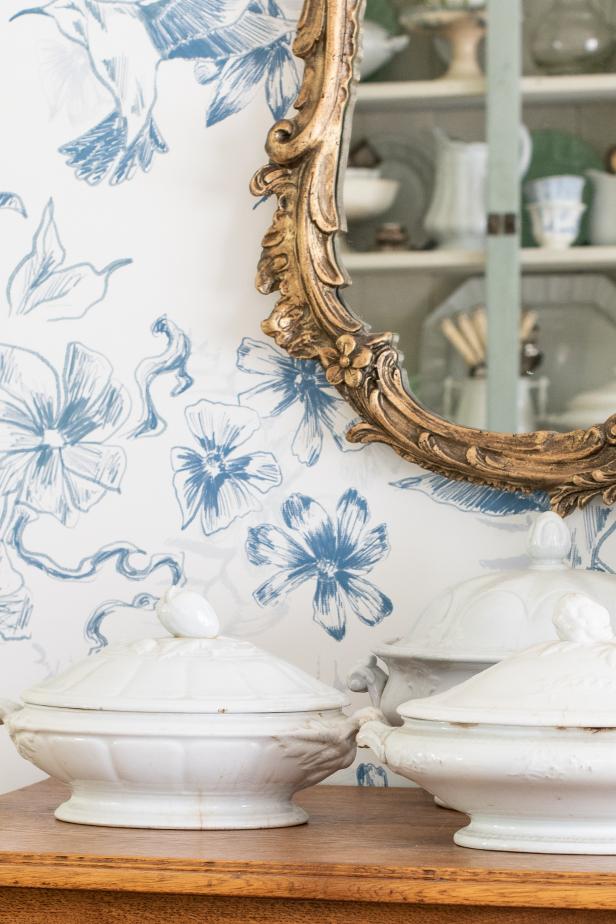

If you rent your home or apartment or just don’t like the semi-permanence of traditional pasted wallpaper, peel-and-stick wallpaper is a quick fix for adding pattern and interest to your walls. Easy to install, remove and reposition, temporary wallpaper has become so popular that it's widely (and inexpensively!) available in a wide array of patterns, colors and styles.
Materials Needed
- peel-and-stick wallpaper
- pencil
- spirit level
- yardstick or straight edge
- scissors, sharp craft or utility knife with extra blades
- stepladder
- sandpaper for smoothing walls, if necessary
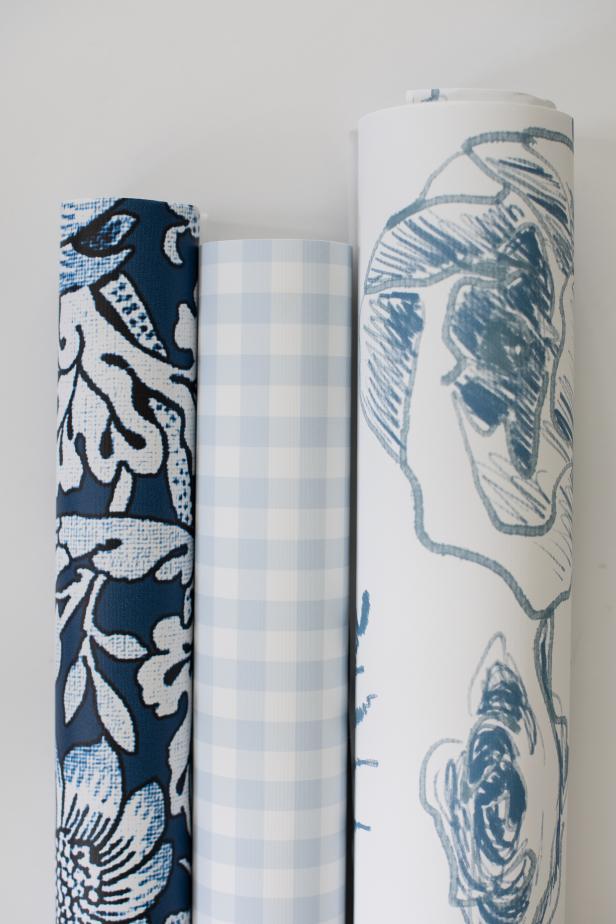
Select Paper and Prep Wall
Select the peel-and-stick wallpaper pattern to use in your room. Keep in mind that geometric patterns with straight lines (plaids, checks and stripes) will show mistakes more than all-over patterns. Prepare the wall by making sure it's smooth and clean — sanding any rough areas, if necessary. If walls have been freshly painted, make sure the paint has cured for about a month prior to applying temporary wallpaper.
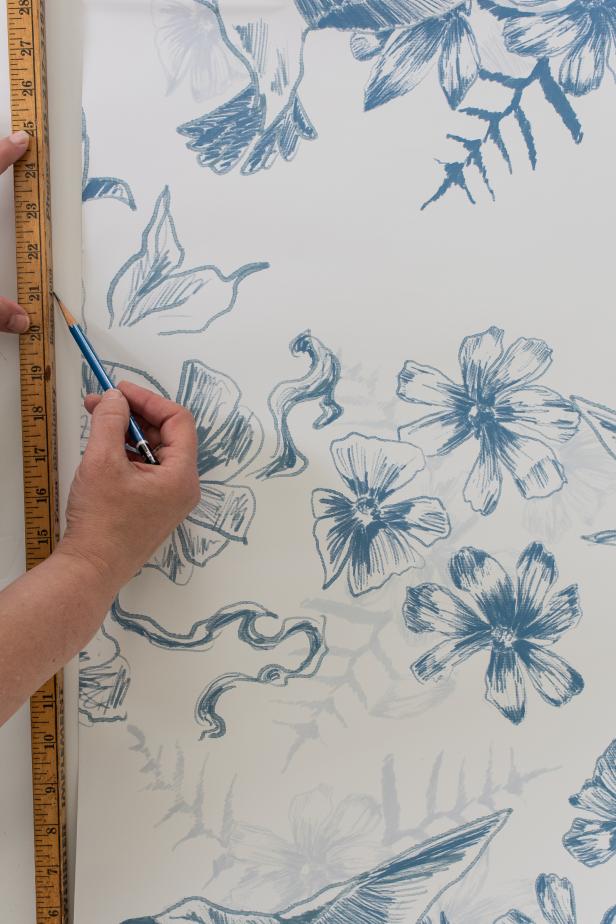
Plan the Design and Draw a Plumb Line
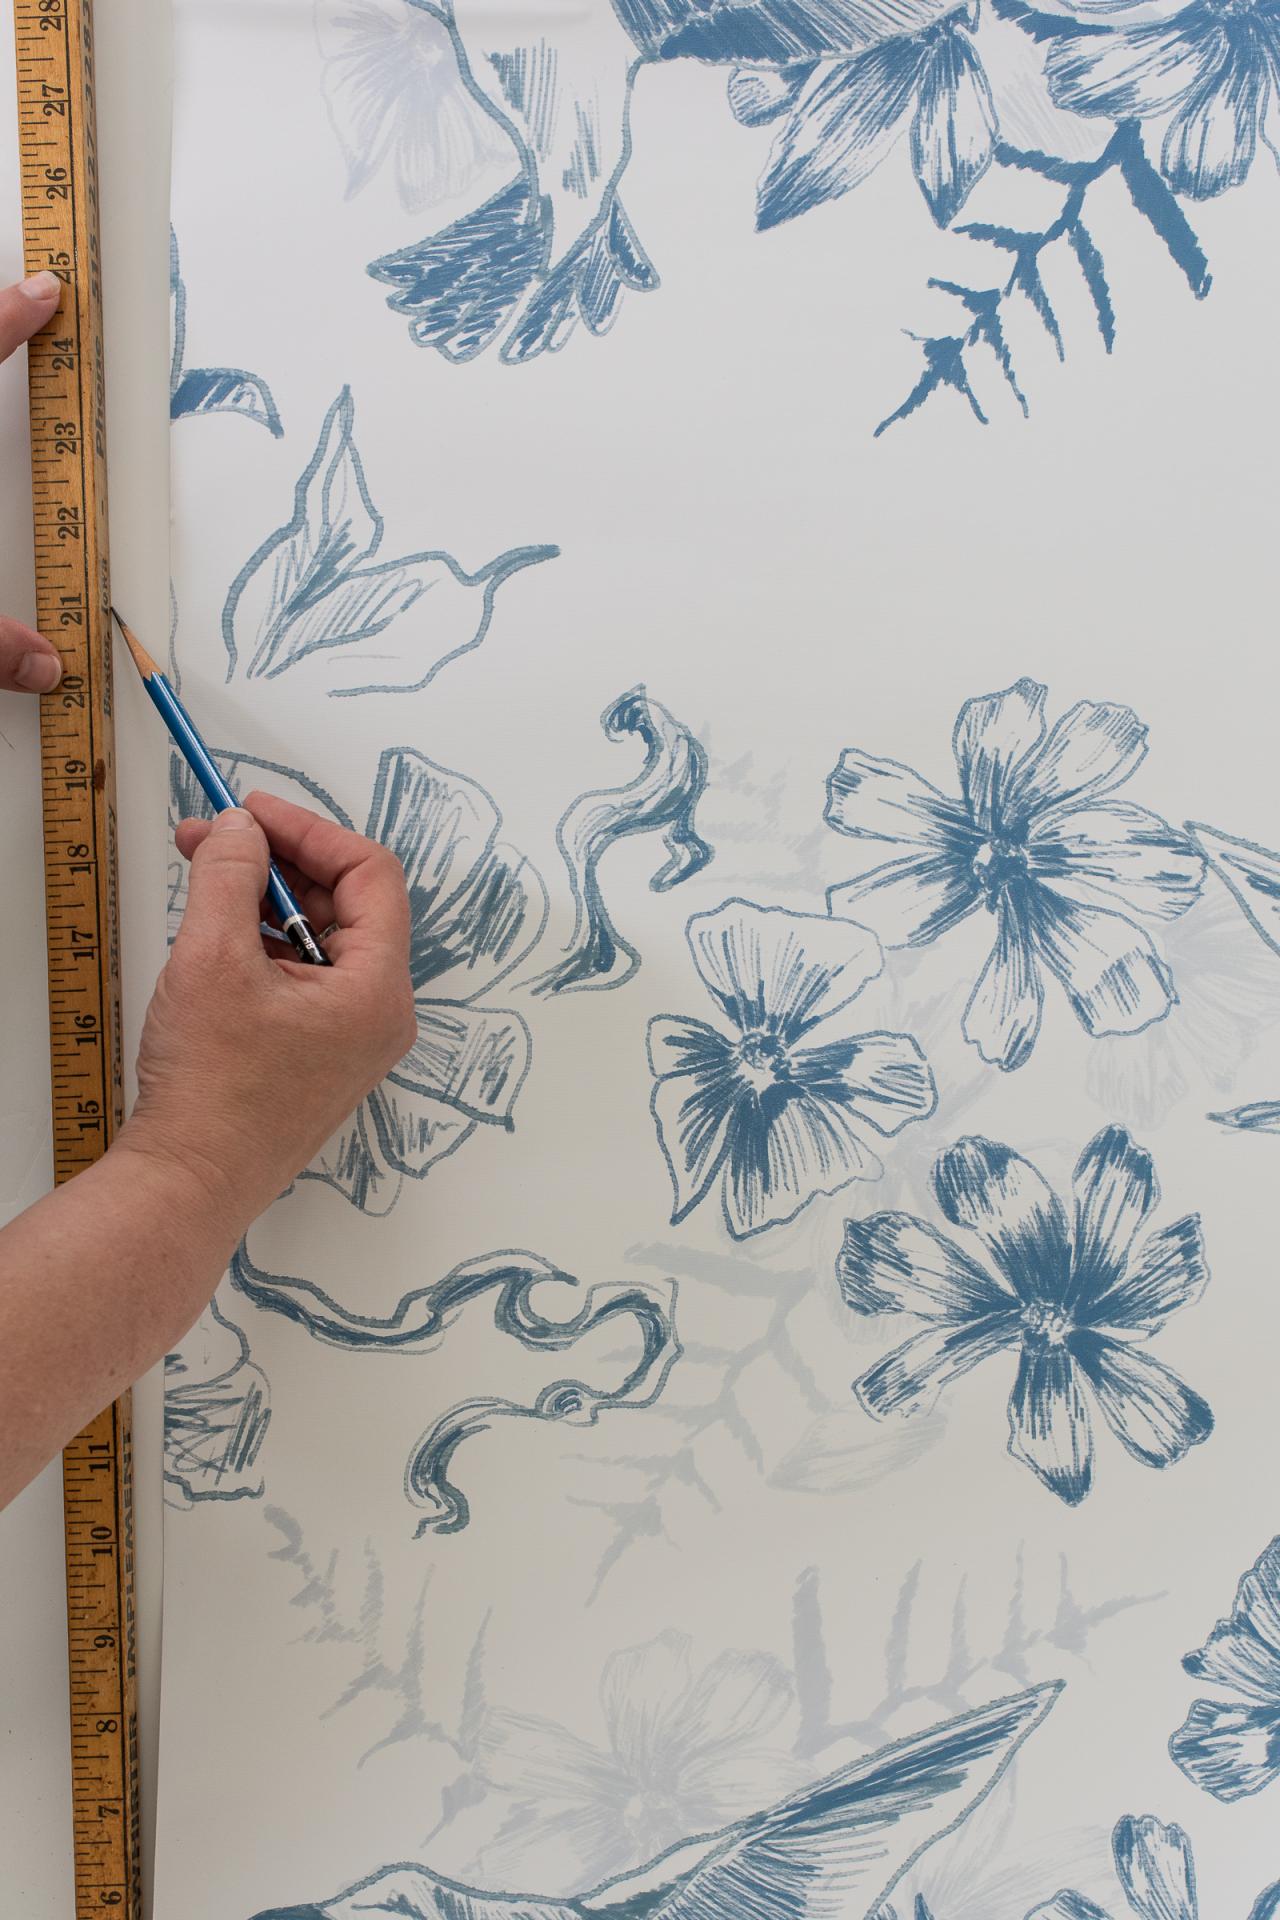
Start in a corner of the room or a wall that's least noticeable, like behind a door. Work from left to right, top to bottom. If applying around a corner, make sure the first piece of paper folds around that corner, so there isn’t a seam in the corner. Once it’s determined where the first piece will be hung, draw a faint pencil plumb line on the wall where the right edge of the paper will be to use as a guide to ensure that the first piece of paper is straight.
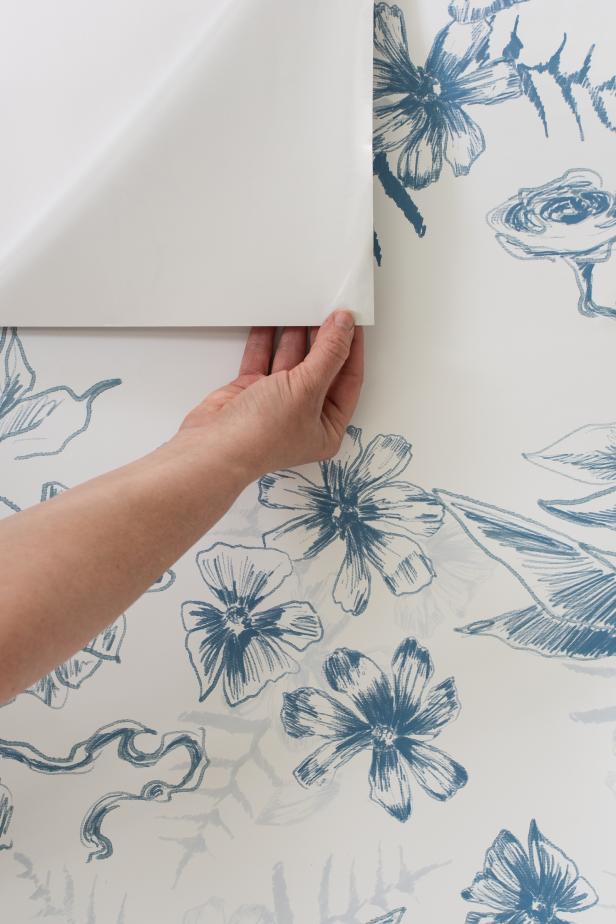
Hang the First Piece (or Row) of Paper
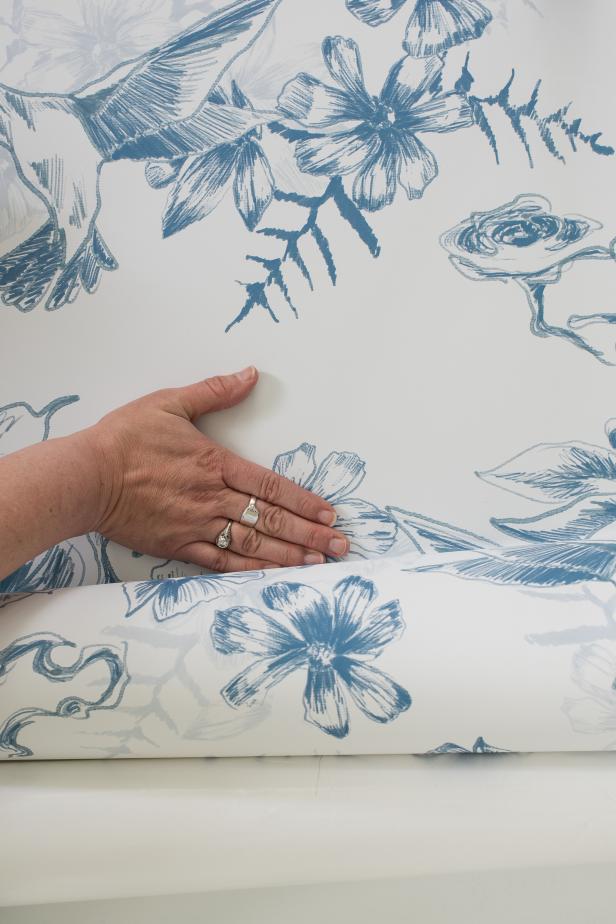
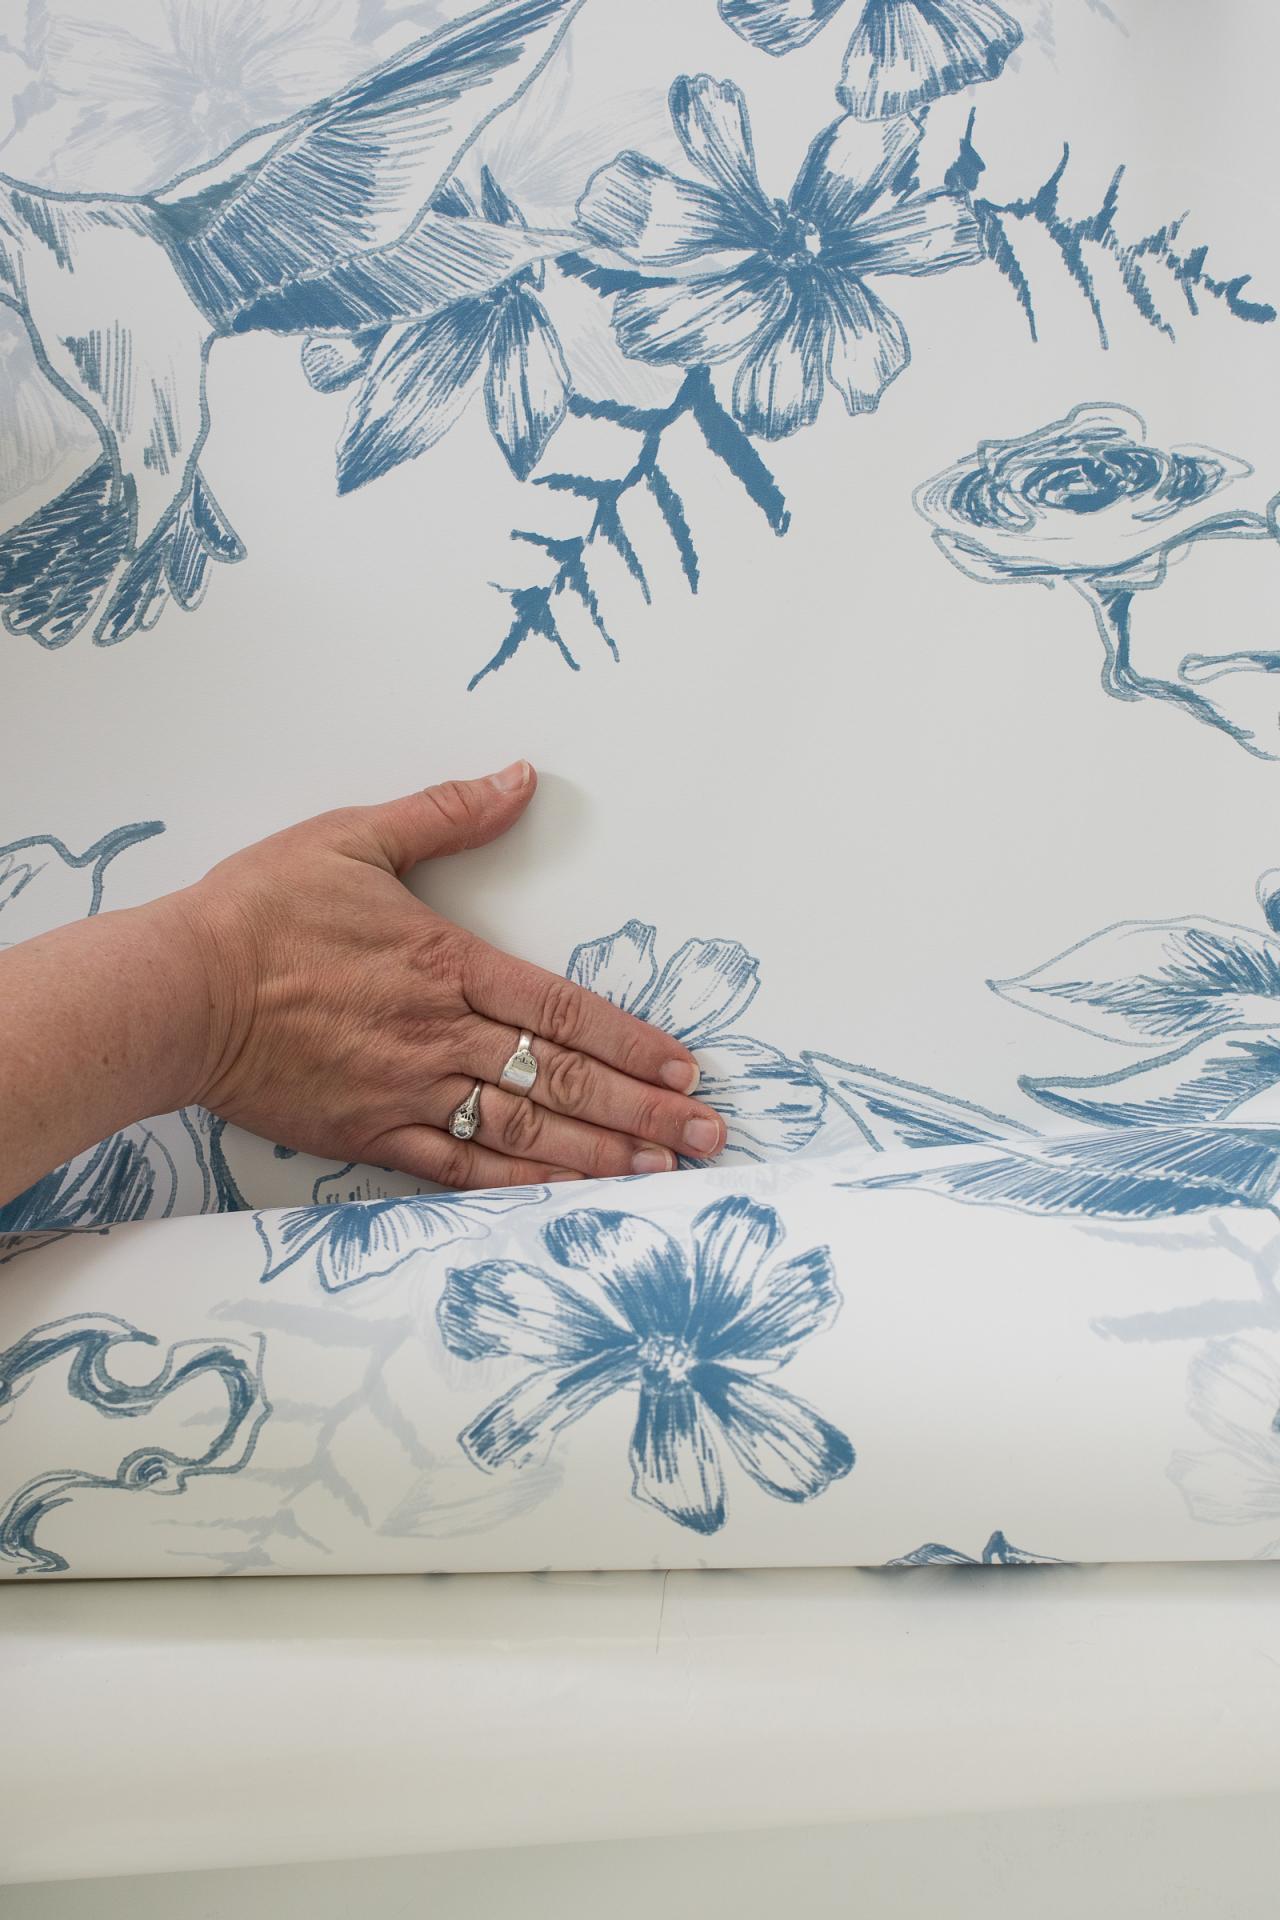
Peel away the first few inches of the paper backing and stick paper in place (Image 1), lining the right edge up with the plumb line and leaving an inch or two extra at the ceiling. Most brands of peel-and-stick wallpaper are repositionable, so just pull the paper away and start over if it’s crooked or bubbled. (Tip: If you’re covering a small area, cut away excess bulk from the paper first to make it easier to work with.) Once the top of the paper is in place, peel away the next few inches of backing and continue to stick the paper in place, smoothing the paper from the inside to the outer edges, pressing out any air bubbles (Image 2). Gently use a smoothing tool (or plastic credit card), if necessary, but bubbles can be easily worked out with just your fingers in most cases.
Trim Off Excess and Enjoy Your New Space
Cut off the excess paper at the ceiling and molding (baseboards, chair rail, countertop, etc.) with a sharp utility or craft knife. Use a straight edge or ruler to keep your cuts straight and prevent the paper from tearing. Apply the second piece following the manufacturer’s instructions for matching the pattern. (Most allow for an overlap.) Tip: To remove peel-and-stick paper, start at the top corner of the last paper row applied and peel away like a sticker.


