


How to Create the Ultimate Plate Wall
A gorgeous plate wall is a perfect way to create a bold focal point in any room, no matter your style. Here’s an easy layout that’s large in scale, elegant and most importantly, doesn’t require a measuring tape.

Brian Patrick Flynn, Flynnsideout.com

Materials Needed
- plates in various sizes
- plate hanger sets (sized to match plates)
- pencil
- hammer
Gather Plates
Gather the plates you want to use, and vary the size, color and pattern for visual interest. Here, we used about two dozen plates and kept our color palette to shades of light green and white to play off the bold wall color. Note: You’ll need a plate hanger set for each plate you plan to hang. These vary in size and weight ratings and include a nail.

Brian Patrick Flynn, Flynnsideout.com
Affix Plate Hangers
Place the plate hangers on several plates so they’ll be ready to hang once you’ve decided on their wall placement.

Brian Patrick Flynn, Flynnsideout.com
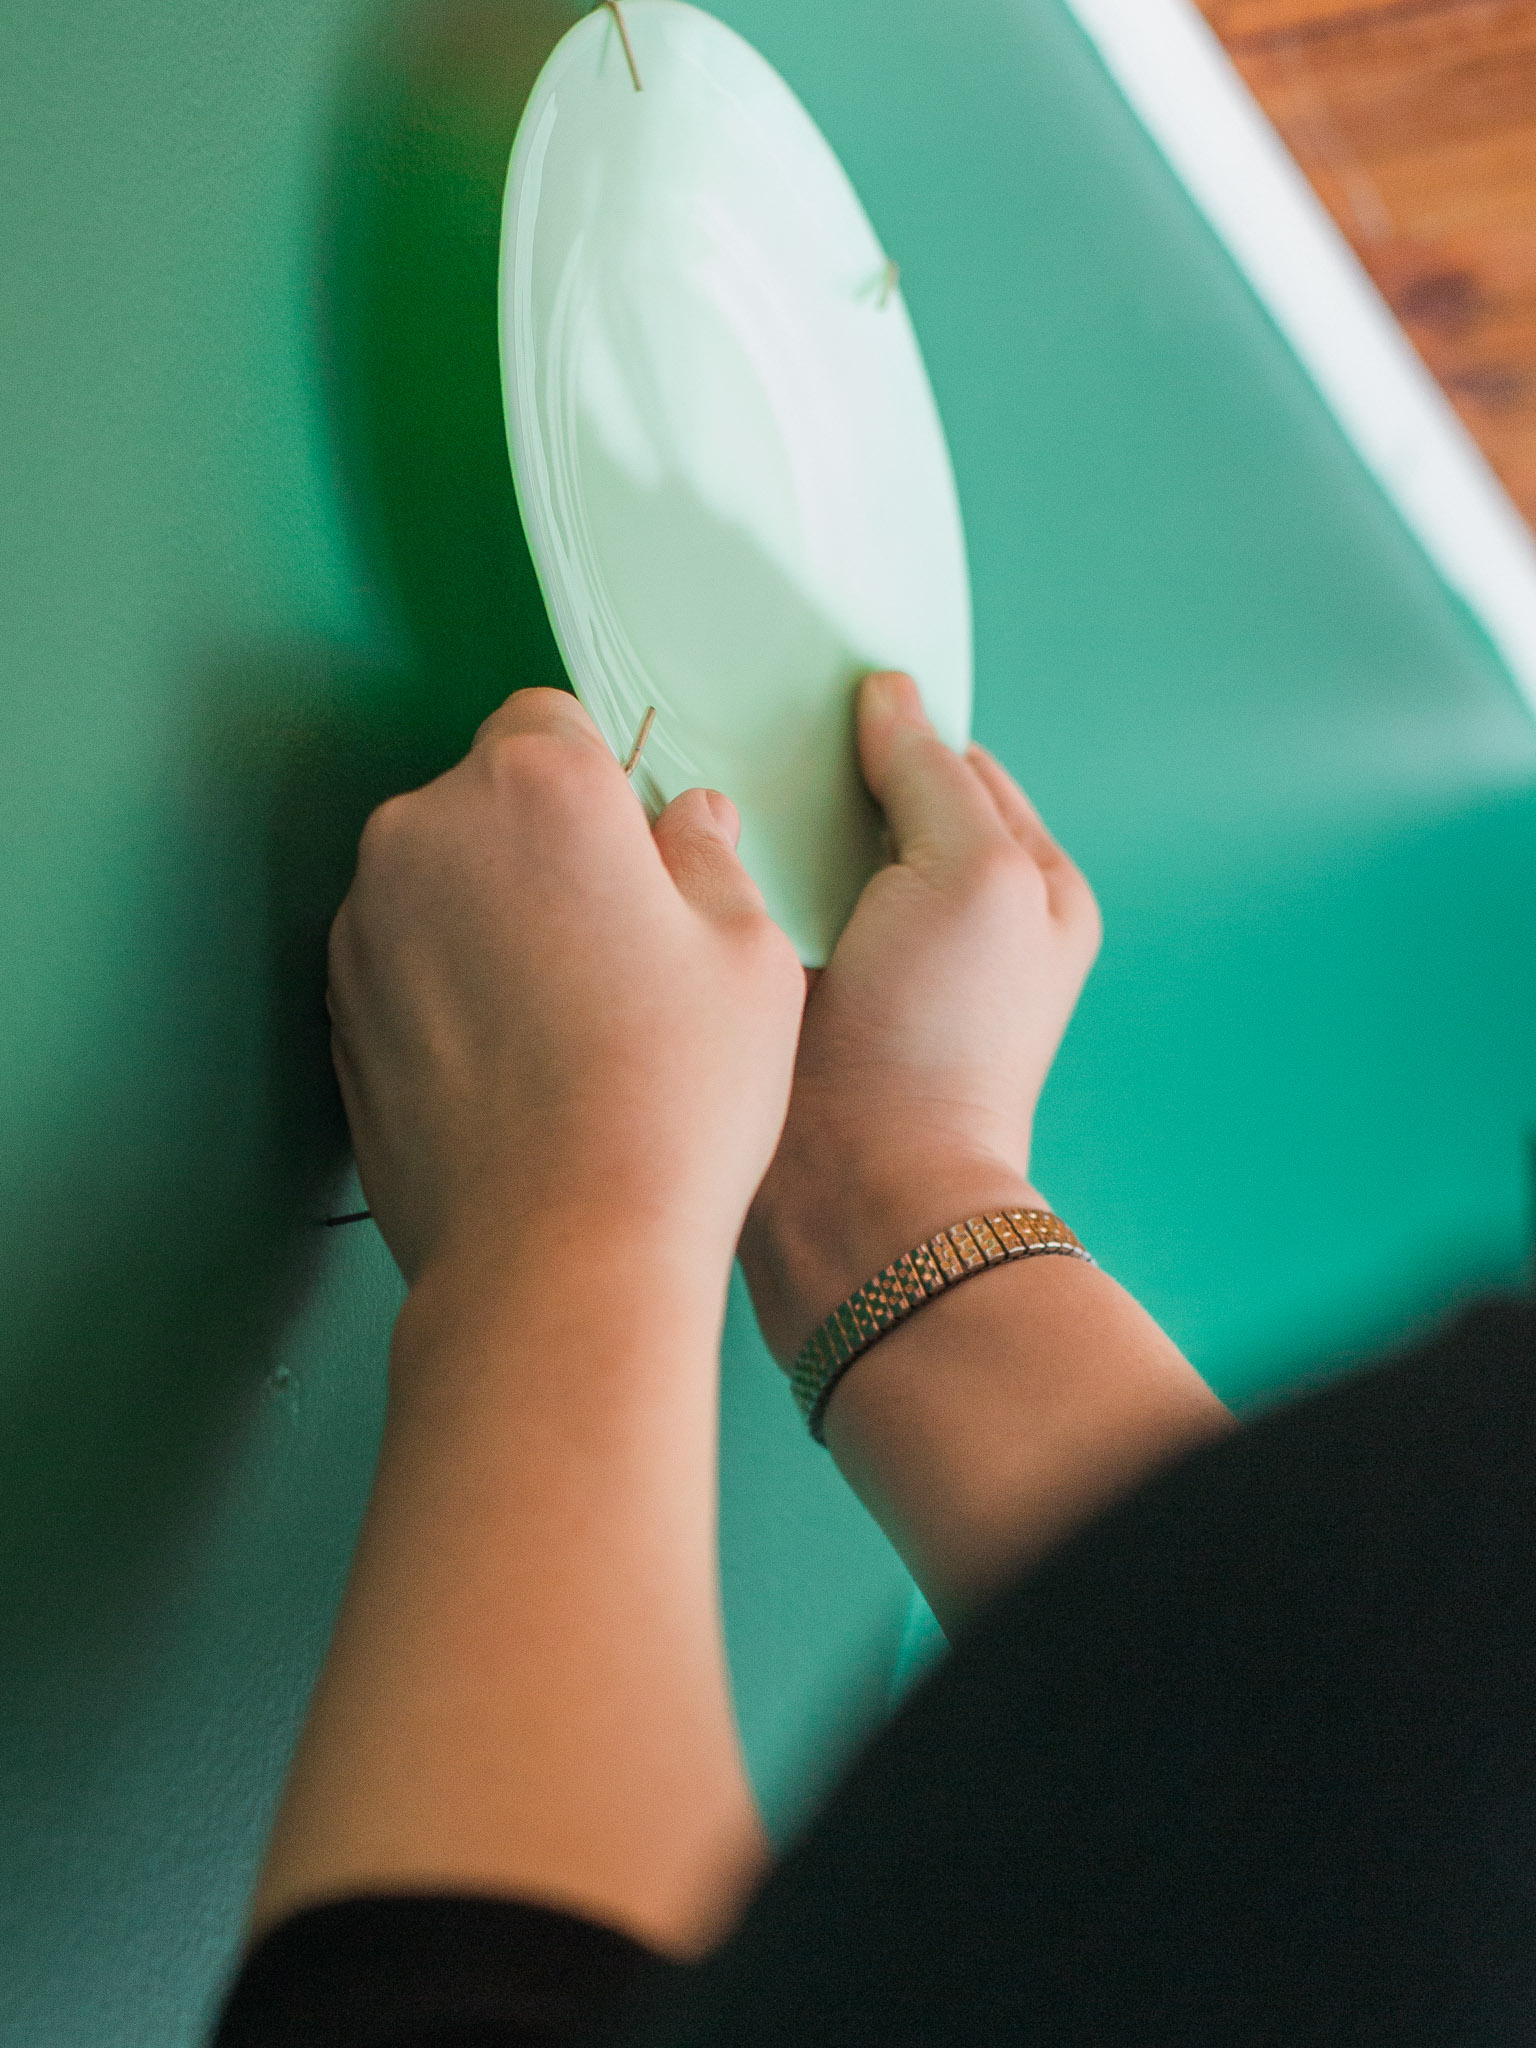
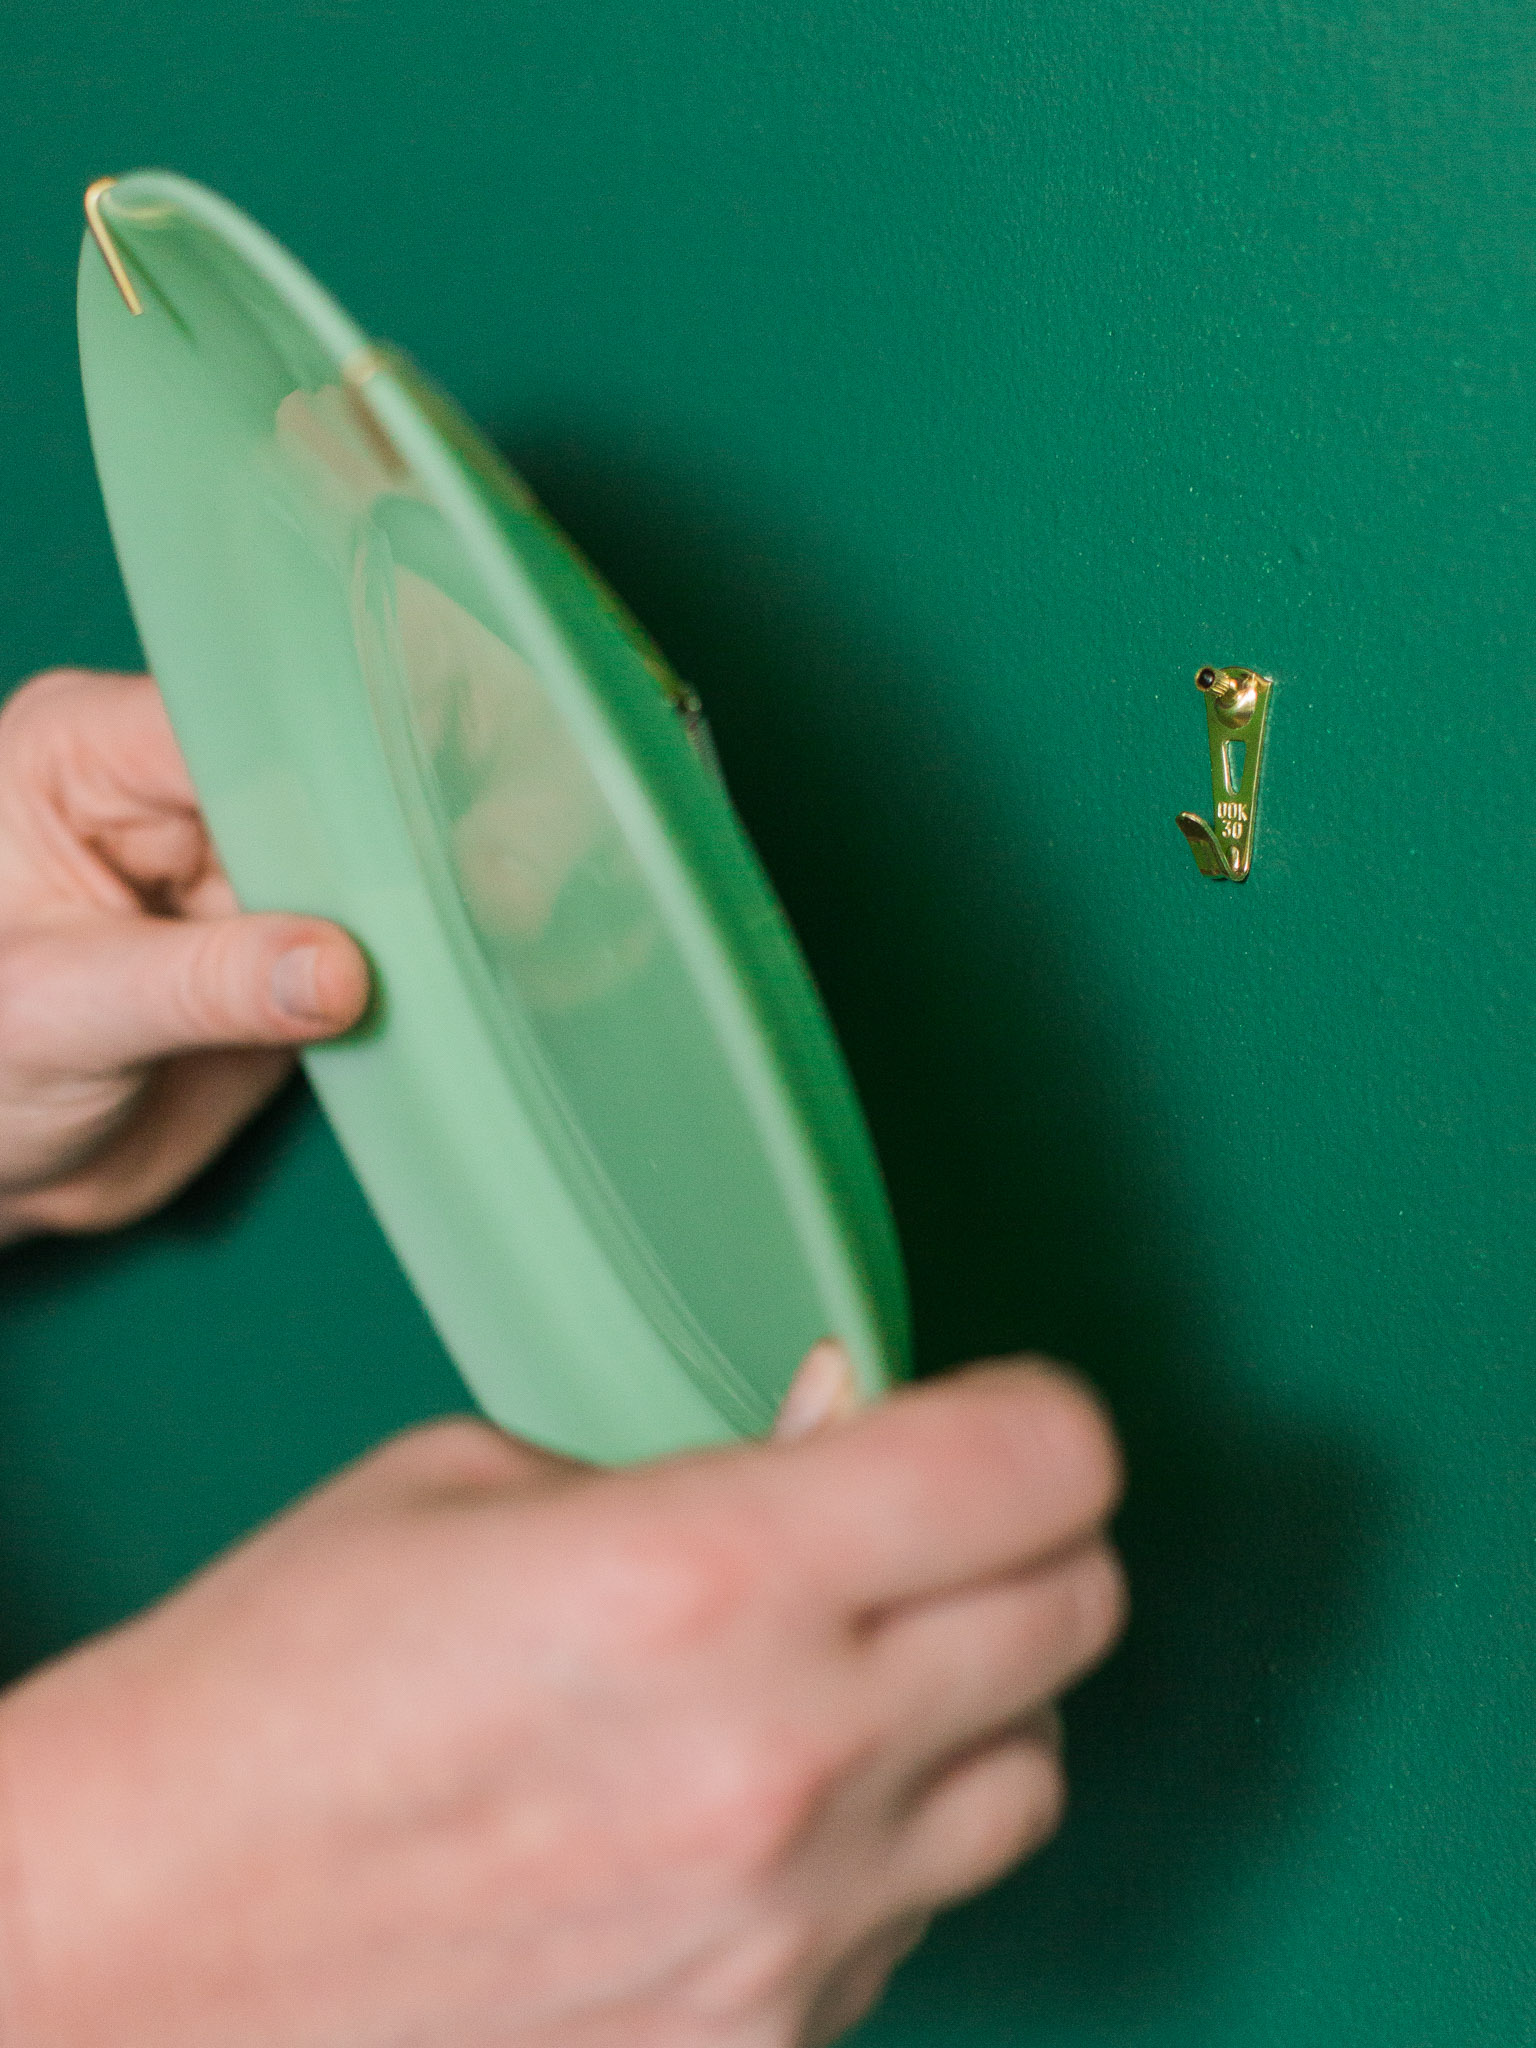
Hang the First Plate
For our layout we wanted a really organic feel, so we started at the top right corner of the wall. Once you determine the location of the first plate, mark where the hanger will go on the wall. Then, using your hammer, tap the nail through the hanger holder and into the drywall (Image 1). Next, hang the plate hanger onto the hanger holder (Image 2).

Brian Patrick Flynn, Flynnsideout.com
Image 1
Brian Patrick Flynn, Flynnsideout.com
Image 2
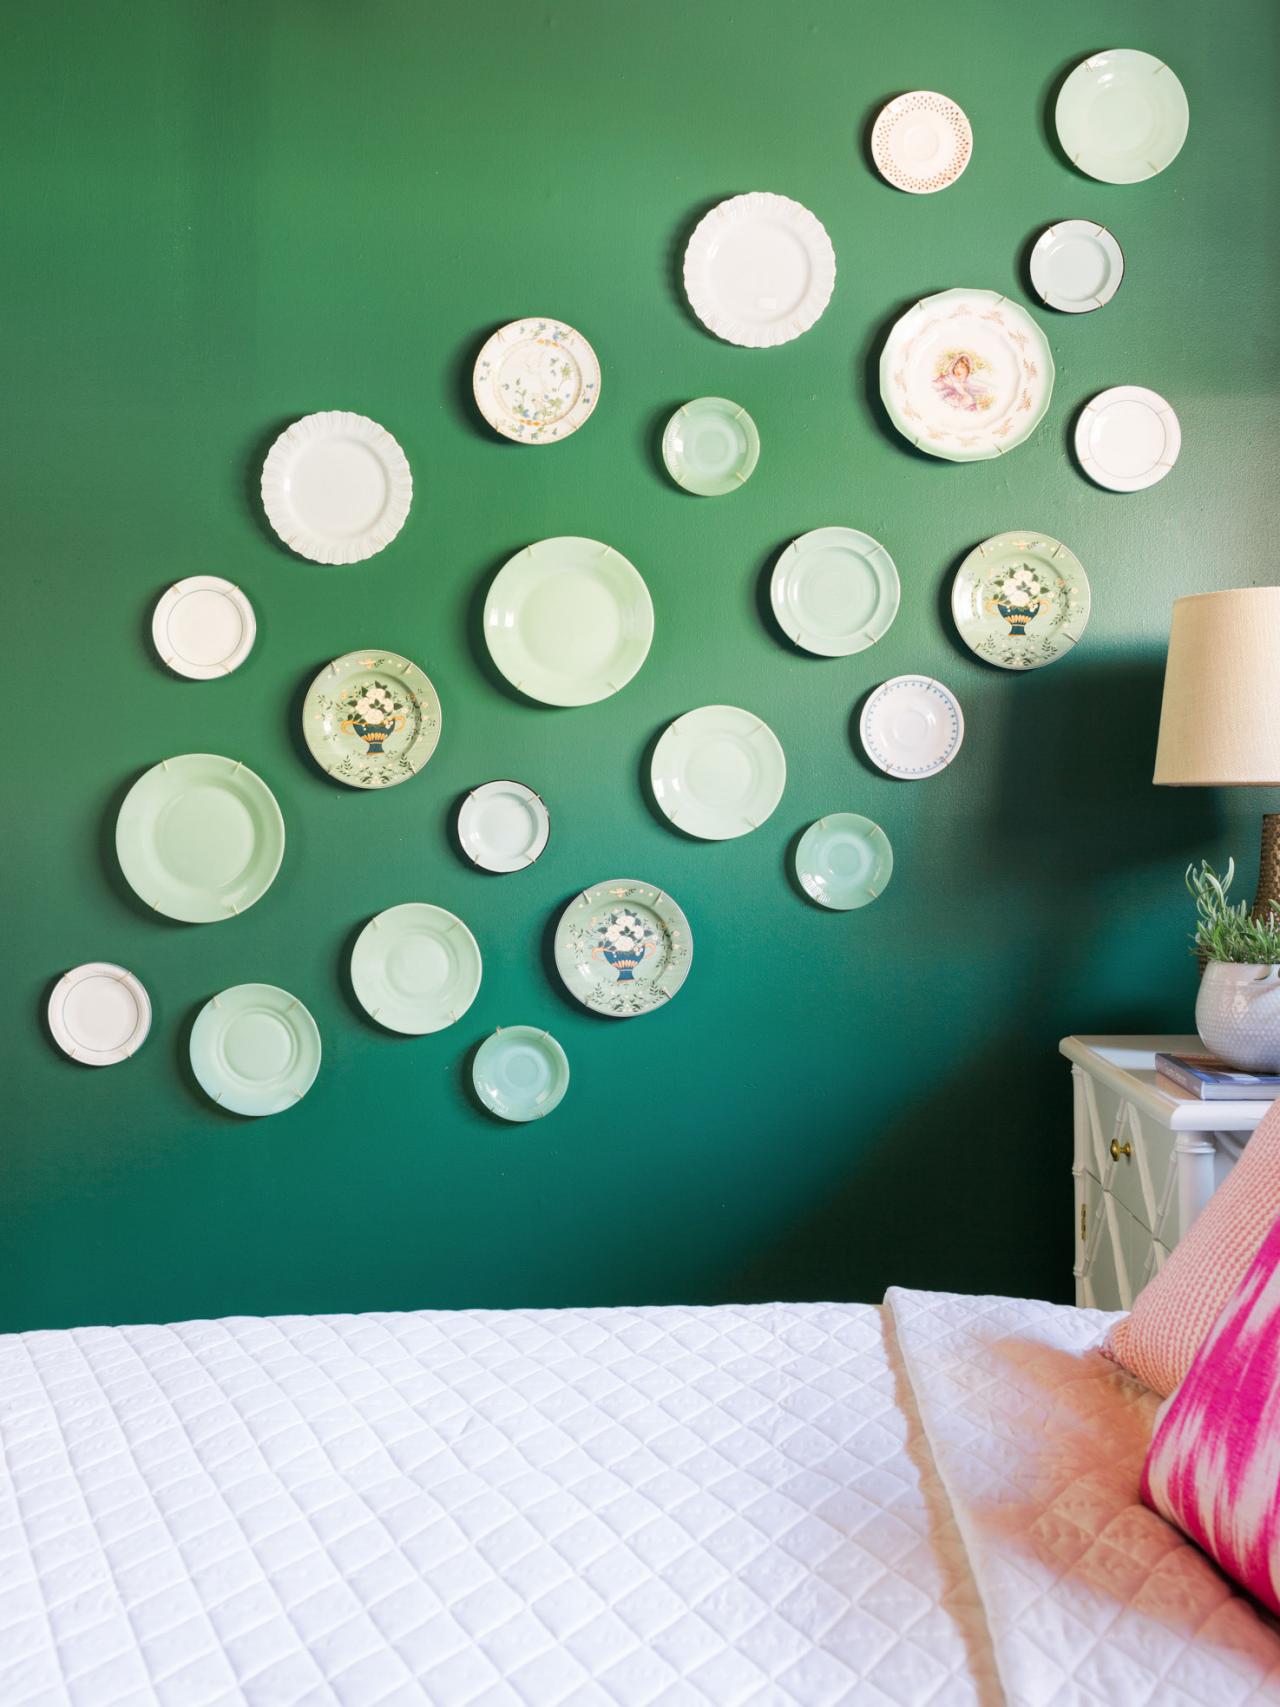
Continue Down the Wall
Hang the plates one at time, stepping back every so often to make sure you like how the design is coming together. Work your way down the wall, right to left (Image 1, 2). Before you know it, you will have the ultimate plate wall that’s a beautiful focal point in your favorite space (Image 3).

Brian Patrick Flynn, Flynnsideout.com
Image 1
Brian Patrick Flynn, Flynnsideout.com
Image 2

Brian Patrick Flynn, Flynnsideout.com
Image 3


