


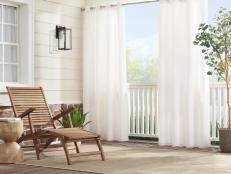
Add Shade + Privacy With Outdoor Drapery Panels


Materials Needed:
- outdoor drapery panels
- measuring tape
- pencil
- notepad
- chalk
- drapery hooks
- plastic or metal drapery rings
- outdoor drapery hardware
- galvanized metal pipe
- galvanized metal flanges
- galvanized metal elbows
- galvanized metal threaded nipples
- exterior screws
- drill
- extension cord
- fabric steamer
Measure Height of Space
Use a measuring tape to determine the necessary height for the panels. Jot this measurement down to ensure ready-made panels with the proper length are chosen.

Sarah Dorio Photography
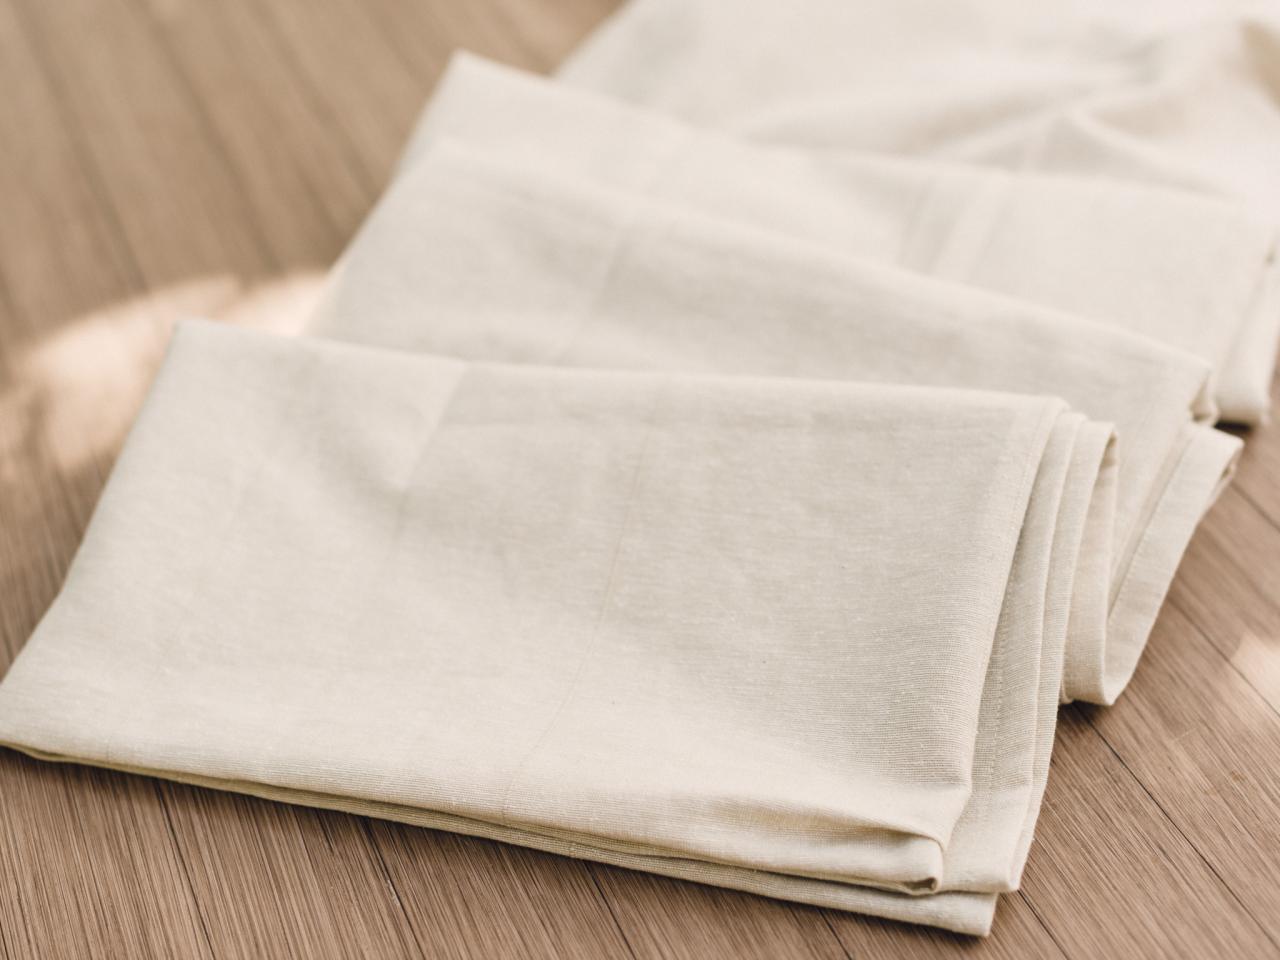
Choose Drapery Panels
Outdoor drapery panels are commonly available in acrylic, linen and polyester construction. Depending on the intended look for your outdoord, keep in mind that linen will naturally wrinkle and appear more relaxed; acrylic is the most stiff and is likely to look more utilitarian; and polyester can look more tailored.

Sarah Dorio Photography
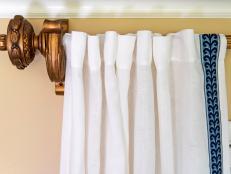
Measure and Mark Hook Placement
To properly outfit ready-made panels with drapery hooks, use a measuring tape to space each hook 6 inches apart and approximately 2 inches down from the top. Once all hooks are laid out, mark their placement with chalk.

Sarah Dorio Photography
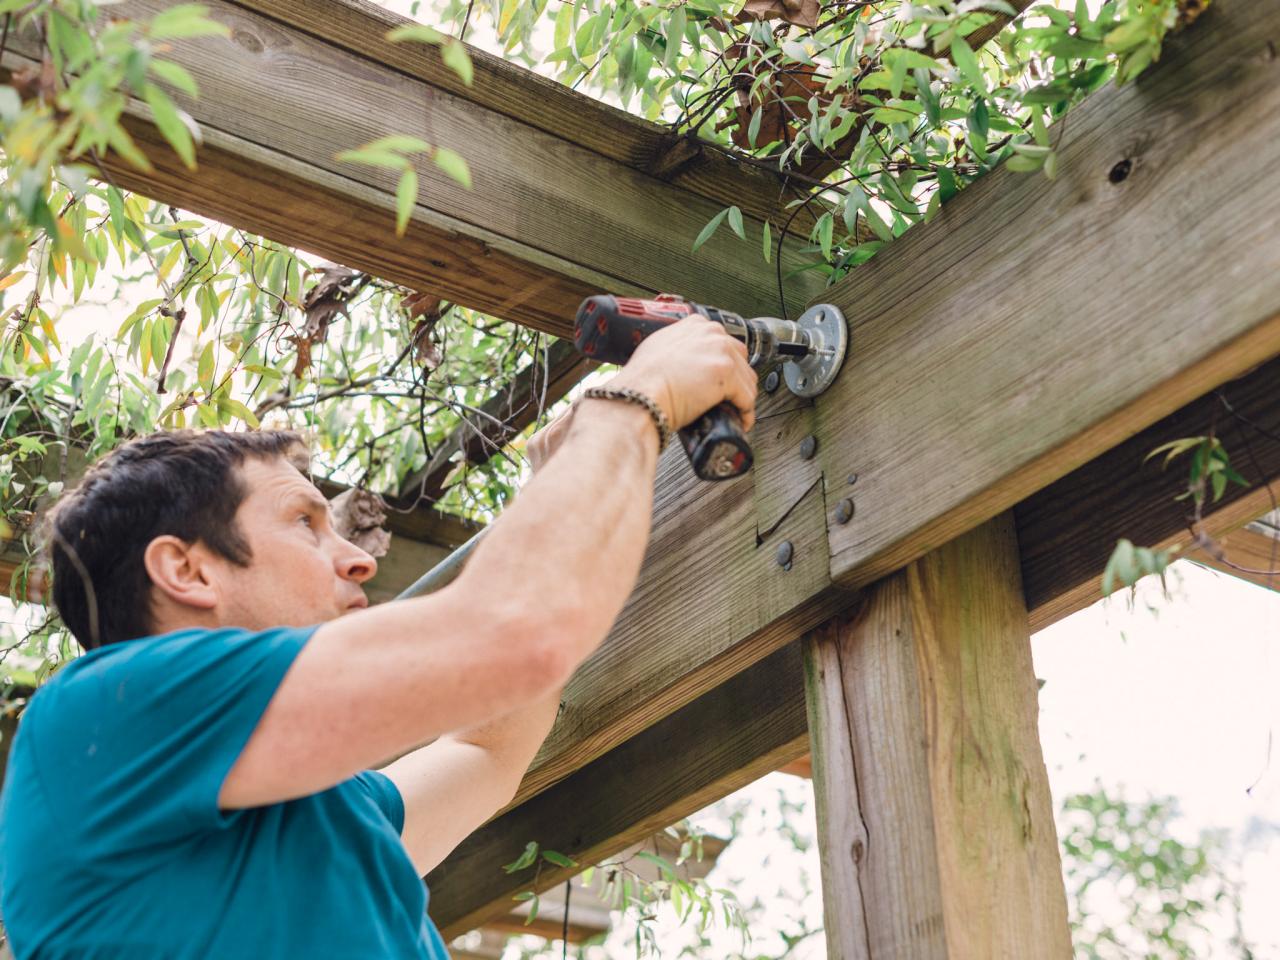
Install Hardware
Use a drill and exterior screws to install the galvanized metal pipe, flanges and elbows or exterior drapery hardware. Once the hardware is installed, slide the drapery rings in place.

Sarah Dorio Photography

Sarah Dorio Photography
Add Hooks
Referring to the chalk marks you made, attach the drapery hooks to the back of each panel.

Sarah Dorio Photography
Attach Panels to Rings
Place the hooks inside each drapery ring of every panel that you're hanging. The more panels that you use, the more snug a fit. Once all panels are hung, use a steamer to remove any wrinkles.


