


How to Make a Simple Watercolor Gift Box
Up your gifting game with gorgeous DIY packaging. Even if you haven’t picked up a paintbrush since kindergarten, you will feel like a master artist with this photo-worthy project.
Tools + Materials

- heavy-weight watercolor paper (no smaller than 10.5" x 11.5")
- cutting mat
- tape
- food coloring
- paint palette (or plate)
- (2) glass jars filled with water
- paint brush
- rag
- craft knife
- pencil
- ruler
- pen (or scoring stylus)
- tissue paper
Paint
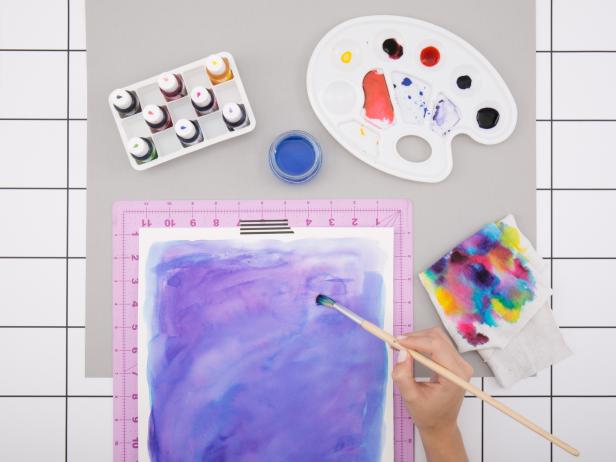
Instead of traditional watercolor paint, this project calls for food coloring. It works like a charm and you probably have it on hand.
Tape a heavyweight watercolor paper onto the cutting mat. This keeps the paper from buckling while it dries and holds it in place while you’re painting.
Add one to three drops of food coloring onto the paint palette. Then, add a couple drops of water and mix with paintbrush to form your watercolor. Begin painting. You can leave a small white border around the outside of the paper so as to not get dye on the self-healing mat. This blank space will get trimmed away later. As you go, add water to create contrast as you move down the page. Use the second water jar to wash out your brush before using new colors. Use the rag to remove excess paint or water from the brush between strokes as needed.
TIP: A little food coloring goes a long way. You can cover an entire sheet of watercolor paper by using just a few drops of paint at the top of the page, then adding several strokes of water to move the color around the page.
Once you’re done painting, leave the paper to dry flat.
Cut

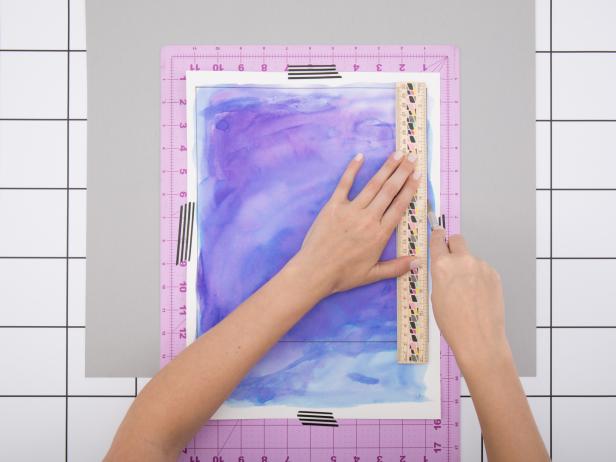

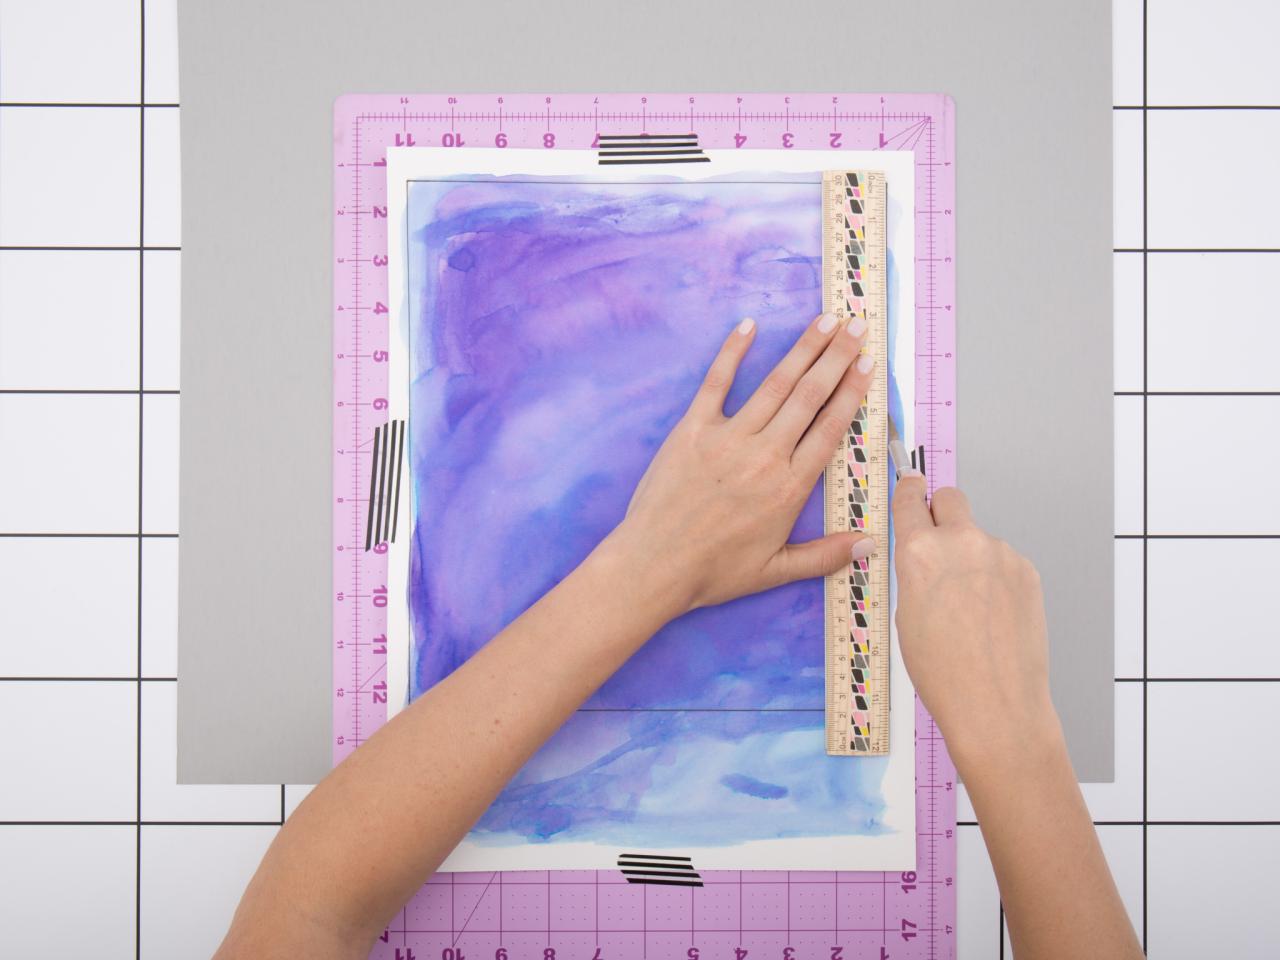
Once completely dry, flip your paper to the blank white side. Tape the paper back down lengthwise on the self healing mat. Utilize the inch markings and place a corner of the paper in the corner of the mat. TIP: Use the pencil and ruler to sketch out lines before cutting.
With the craft knife, cut the paper to its new dimensions: 11” x 10”. Make sure the top and bottom are 11”.
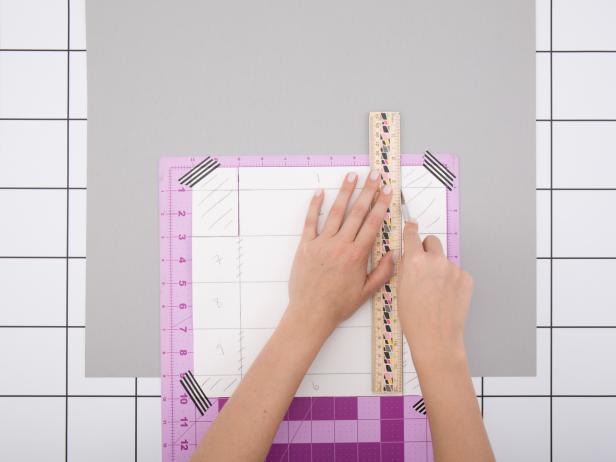
On both sides going down, use the pencil to mark at 1”, 3”, 5”, 7” and 9”.
On the top going right to left, mark at 2” and 9”.
The next step involves cutting out boxes: The bottom two boxes (1" x 2") and the top four boxes (1" x 2" and 2" x 2").
Now cut four vertical lines. At inch 2 and inch 9, cut the top and bottom border leaving the center box untouched.
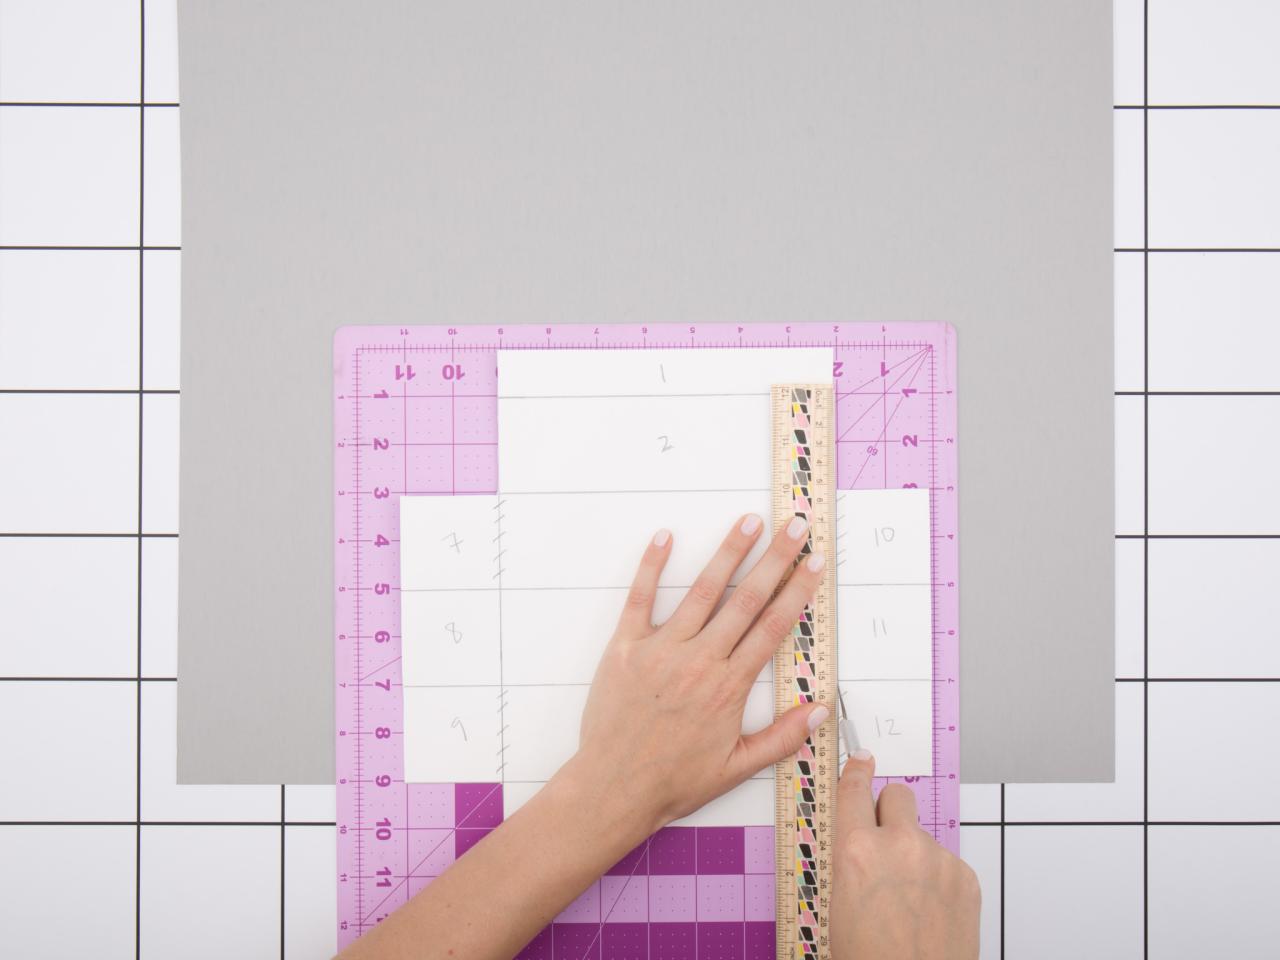
Fold


TIP: Use a pen or stylus to score the folds. Scoring first helps the paper fold beautifully straight later.
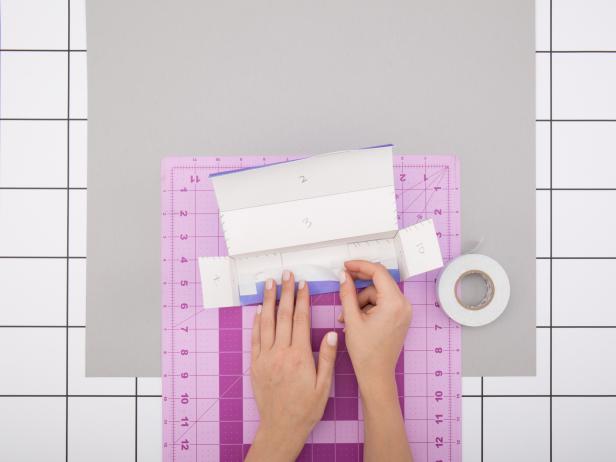
To help make the folding instructions more clear from here on out, label the boxes. First, label the center column 1-6 from top to bottom. Then, label the left side 7-9 from top to bottom. And on the right side, label 10-12 from top to bottom.
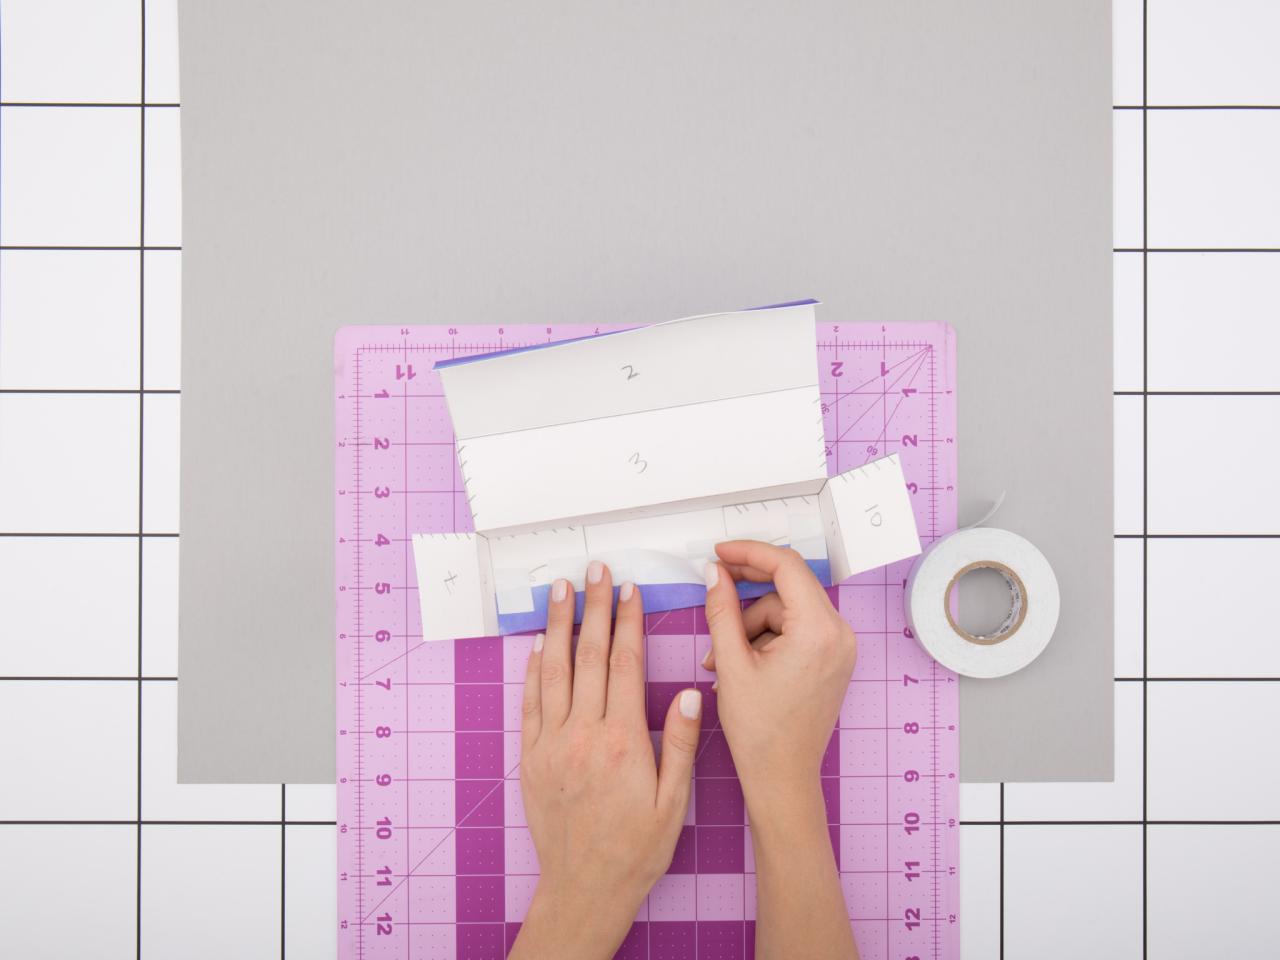
Take 7, 9, 10 and 12 and fold along the score lines, always folding into the center of the unpainted side. Boxes 8 and 11 will follow to create the beginning of a box.
Fold 5 and 6 over and down, securing with tape.
Fold 3 down and secure the inside flaps with tape.
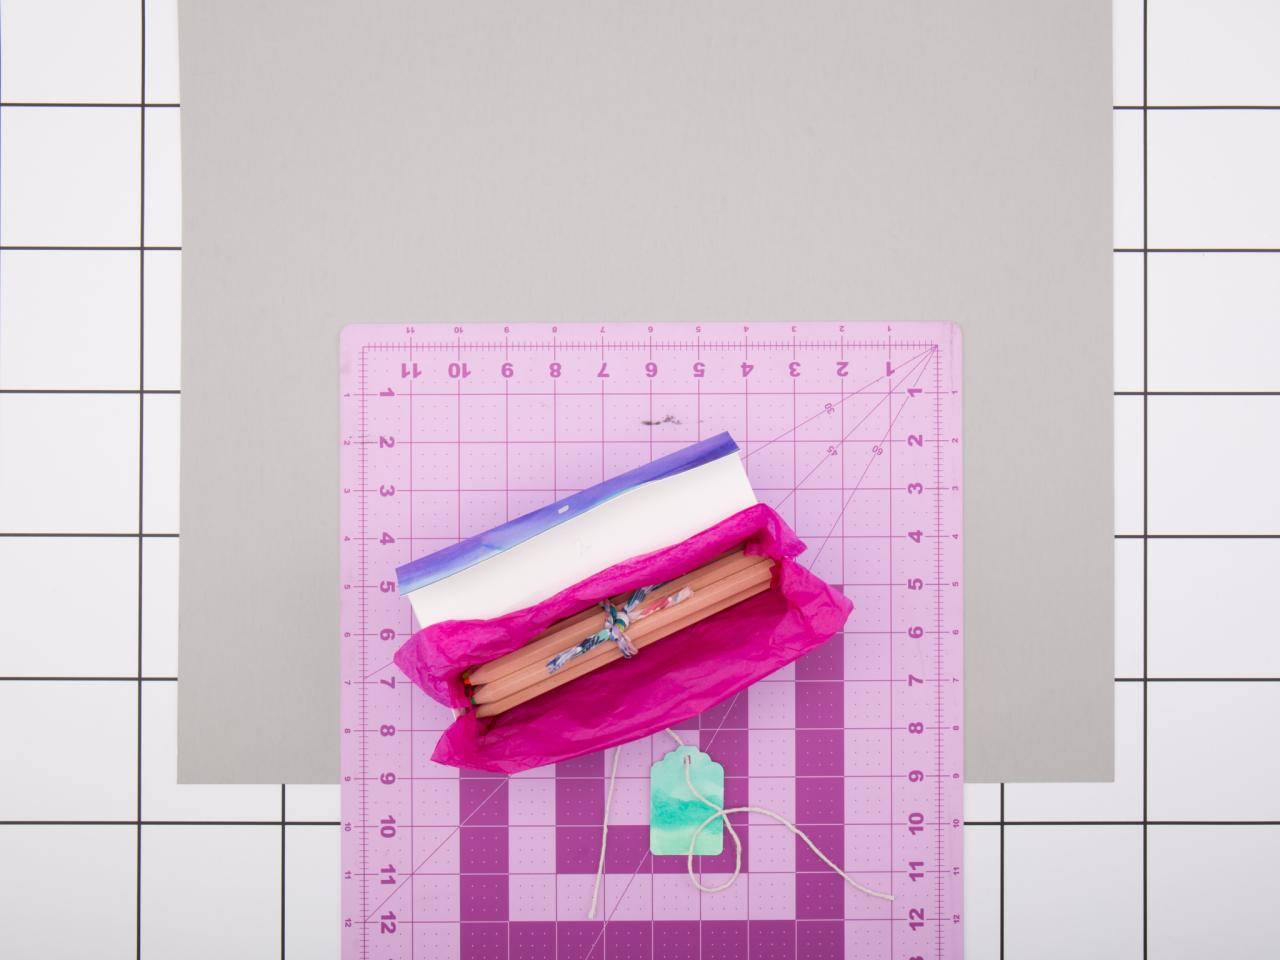
Wrap


Use the craft knife to cut small holes in 1 and 5. Now string twine or ribbon through the holes to shut the box securely. Alternatively, you could use decorative tape to secure the box.
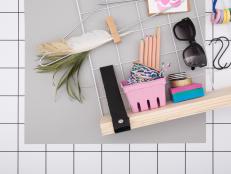
Show a little personality with colorful tissue paper. Line the box nicely before placing the gift inside. You can also make your own gift tag or add other embellishments. Express yourself!
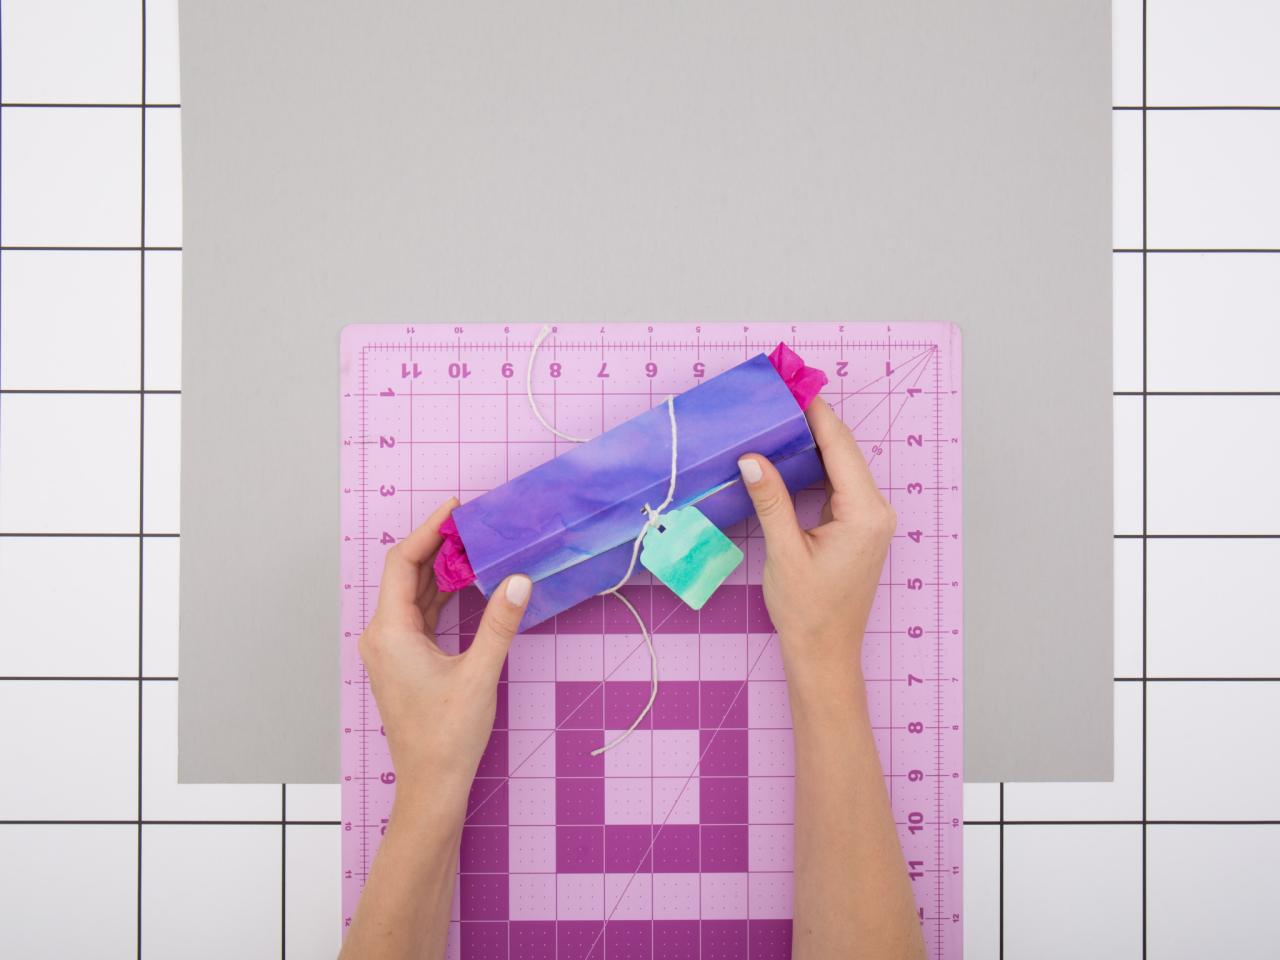
Enjoy

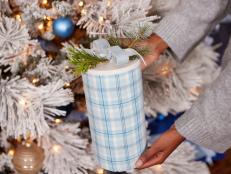
This is how you up your gift wrap game. You’ll probably have so much fun making these that you’ll want to make an entire batch! You could use the same folding concept to create boxes of various sizes. The size we made is great for jewelry, art supplies and more.


