


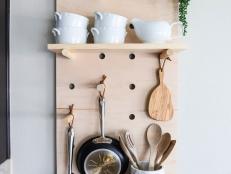
How to Make a Clean, Classic Pegboard
Staying organized is essential, but not always easy. Put the “fun” in functional with a DIY peg board that will organize your room, your home — and your life!

Materials Needed
- 6' x 3' plywood (1/2" thick)
- 6' x 3' oriented strand board (1/2" thick)
- 5" long wood pegs (1/2" thick)
- scrap wood
- construction screws
- wood glue
- T square
- pencil
- drill
- 1/2" drill bit
- 1/16" drill bit
- clamps
- paint
- paint brush
- paint pan
- shelves (see below)

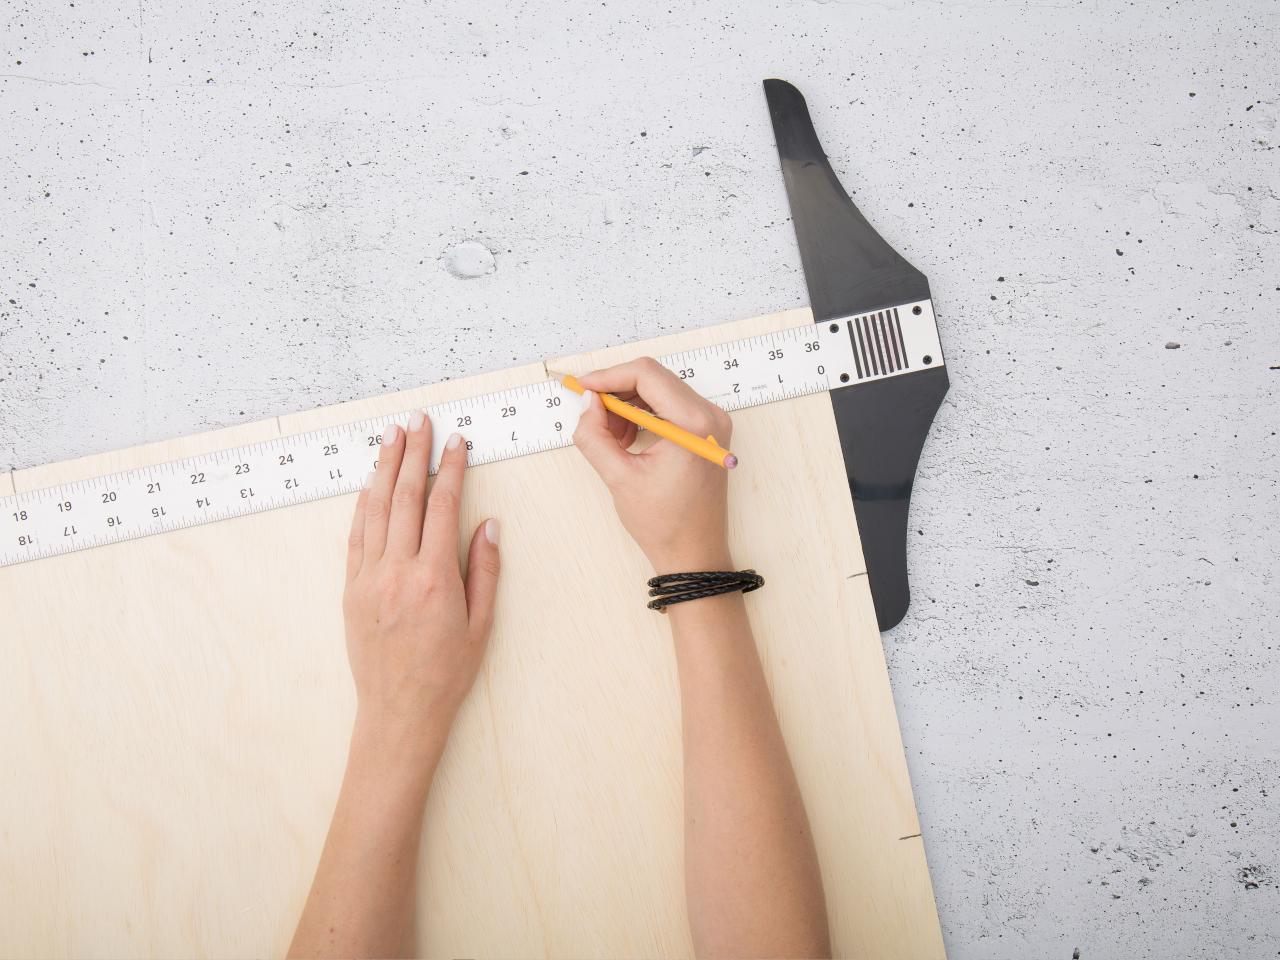
Step 1


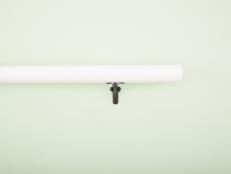
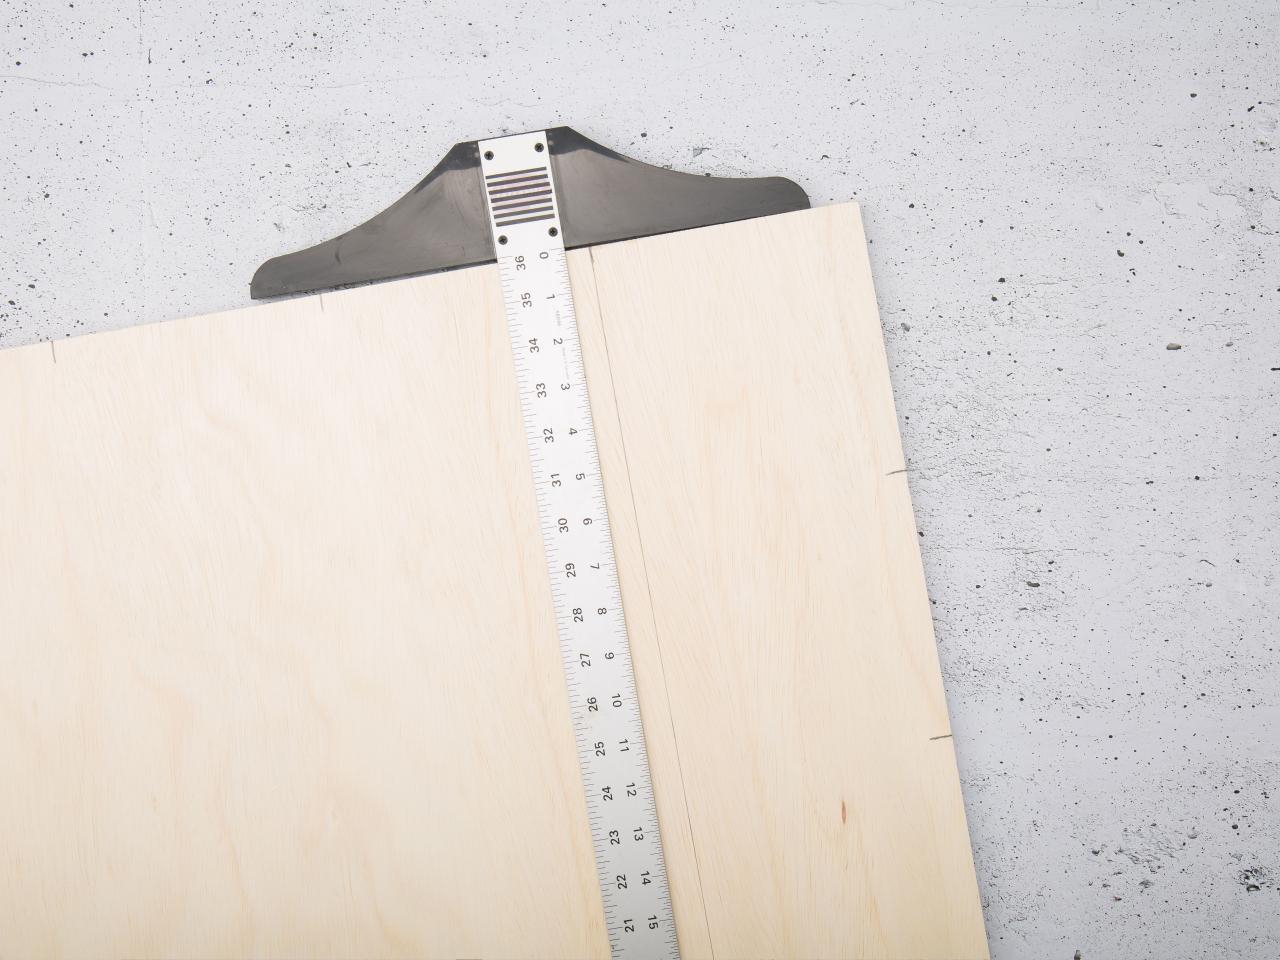
Using a T square and pencil, make marks 6 inches apart on the top and side of the plywood.
Step 2


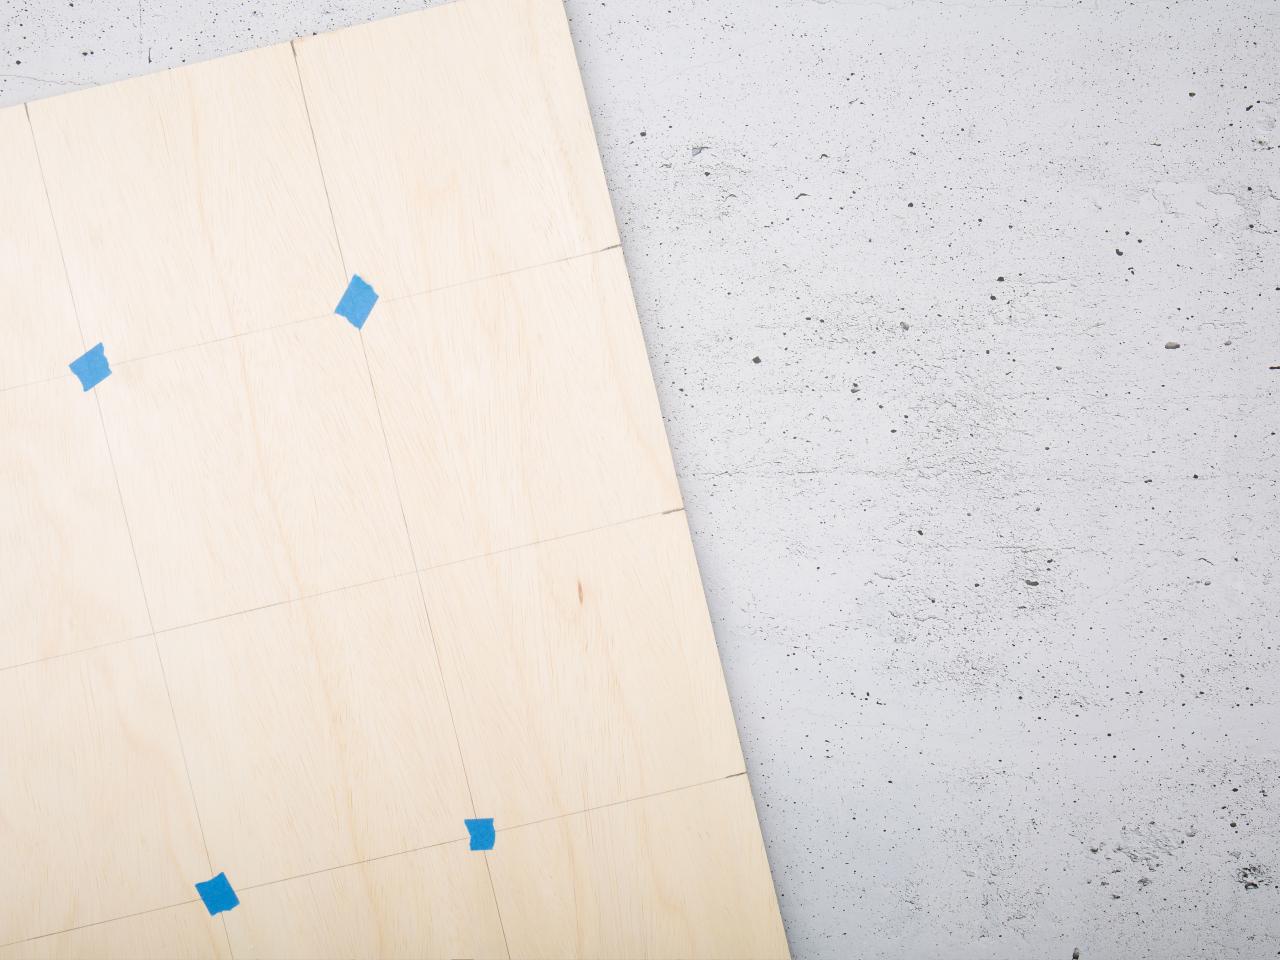
Use a yardstick or other straight edge to continue those lines to make a grid.
Step 3

You may want to mark intersecting lines with painter's tape to make them easier to see.
Step 4


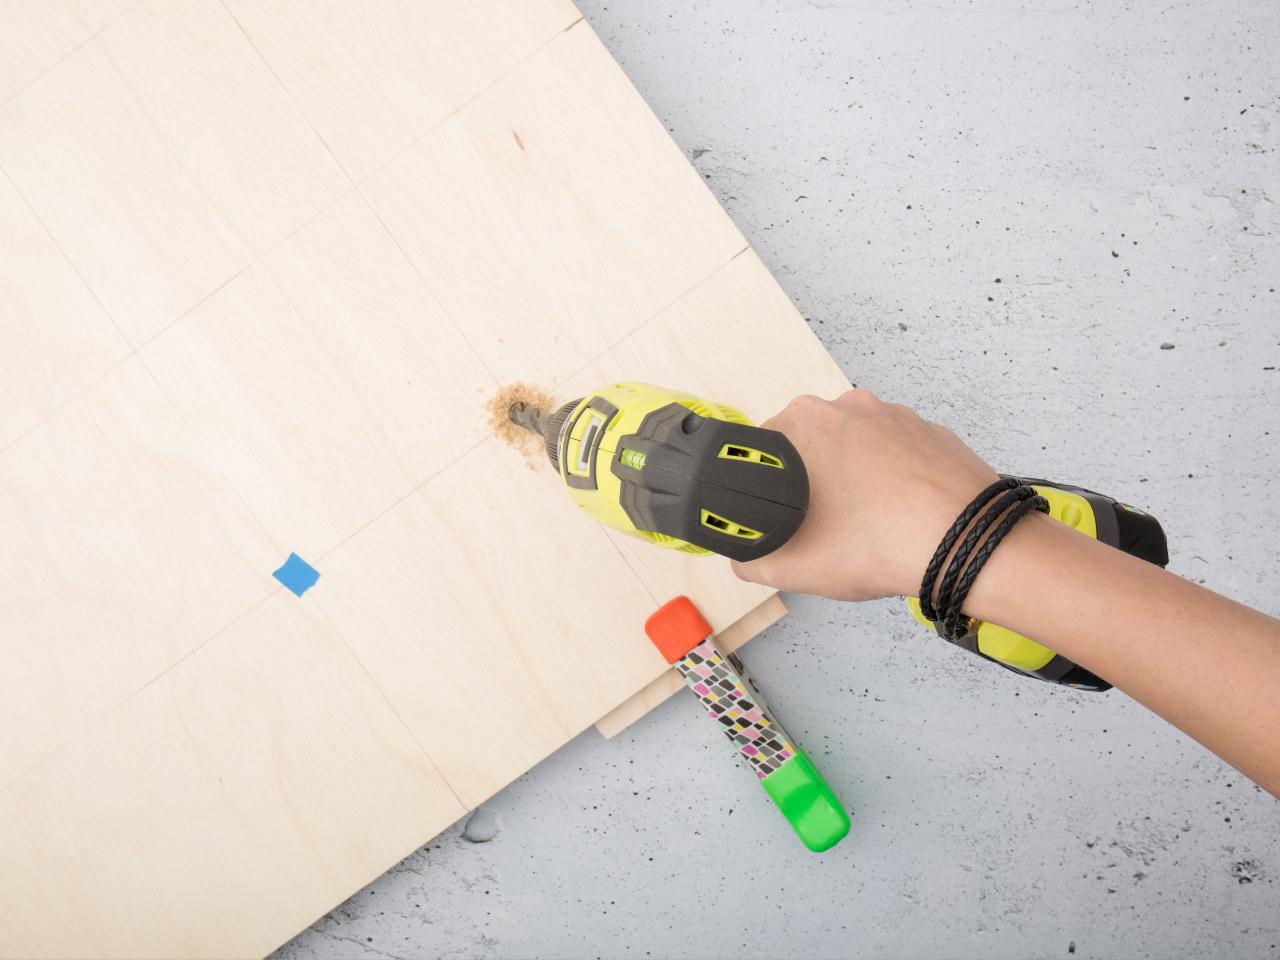
Place the scrap wood underneath the plywood and clamp the two together. The scrap wood will insure that the drilled holes are clean (and that you remain injury free). With the ½” drill bit, drill where the lines intersect on the grid.
Step 5


Now that the plywood is drilled, get rid of the scrap wood and place the OSB underneath. Clamp the two together. This is where the construction screws and wood glue come into play. The construction screws will keep the two pieces of wood together while the glue is drying. With the 1/16th” drill bit, drill pilot holes where you want the screws about every 18 inches or so. Once you have your pilot holes, apply a generous amount of glue down between the boards (enough so that it properly sticks but not so much that the glue drips over the edges or through the holes). Then screw in the construction screws to lock it all in place. Let your project lay flat for 24 hours.
Step 6

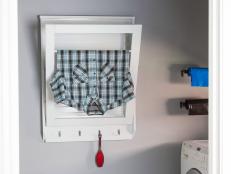
Sand the board. Paint the board and pegs in your disired color. Once both are dry, add pegs to board. Add shelves and other decor if desired, and enjoy!


