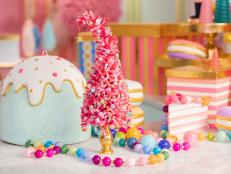
Modern Felt Kissing Ball
Create your own holiday kissing ball for the perfect place to steal a smooch.

Sam Henderson

This holiday kissing ball makes a great addition to your Christmas decor. The color is up to you and, unlike the live versions, this one will last for many years to come.
Materials Needed:
- 6 inch foam craft ball
- 1/2 inch ribbon
- hot glue and glue gun
- kissing ball template
- marker
- scissors
- 4 felt craft sheets or about 1 yard of felt
- straight pins
- tiny white pompoms
Attach Ribbon to Ball
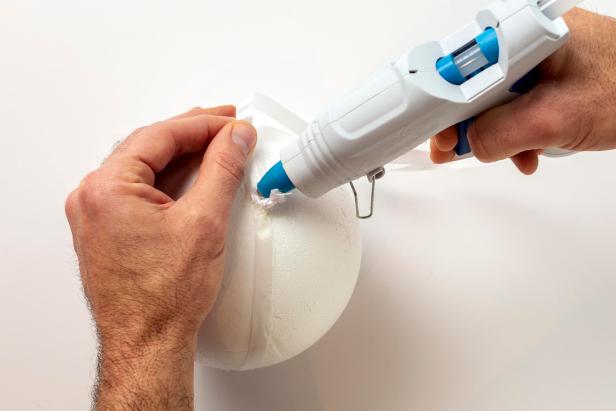
Cut ribbon to 43" and tie a knot in the loose ends. Use hot glue to glue the ribbon around the center of the ball starting with the knot pressed to the ball. When you have wrapped the ribbon all the way around, glue the two pieces of ribbon together at the knot, leaving a long loop about 11" long for hanging.
Sam Henderson
Cut Out Felt
Print the kissing ball template onto card stock. Cut out the pieces. Use them to make outlines on the felt to create a circle cover for the bottom and at least 30 small ovals, 50 medium ovals, and 22 large ovals. You may need a few more depending on how much you make them overlap.

Sam Henderson
Cover Ball's Bottom
Using hot glue, glue the circle cover to the bottom of the ball opposite the knot in the ribbon. Press the wedges of the felt circle together to create a seamless circle for the bottom.

Sam Henderson
Add Felt Petals to Base
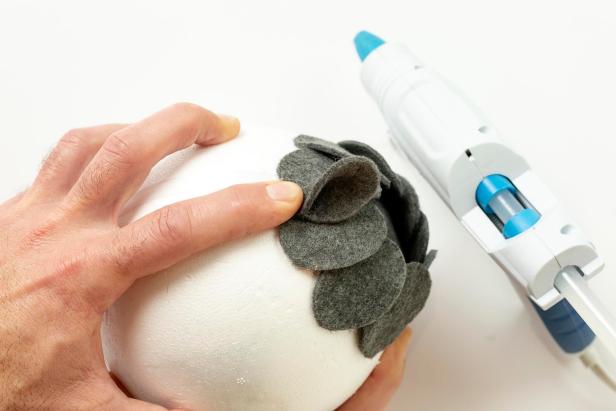
Starting about 1" above the circle, use hot glue to attach one end of the smallest ovals around the base, overlapping them slightly. Next, add a bit of hot glue at one end of another small oval. Fold the oval in half lengthwise with the glue on the inside. Press together to keep the oval folded until glue sets. With hot glue, attach 3 of these folded ovals on top of the row of flat ovals you have already attached, distributed evenly.
Sam Henderson
Continue Adding Felt Petals
Starting about 1" above the first row, add 1 more row of small ovals and 5 folded ovals on top, distributed evenly. Repeat the process for three rows of medium ovals, also increasing the number of folded ovals to 7 or 8. Each row of medium ovals should start about 1-1/2 inches above the previous row. Repeat the process with the large ovals adding a flat row and 5 or 6 folded ovals on top for one row of large ovals. This row should start about 2 inches above the previous row of medium ovals. For the last row of large ovals, hot glue the ovals in place very close to the hanging ribbon, covering the knot. Tip: You can push the knot into the foam ball a bit to make sure it doesn’t cause a bump in the felt ovals.

Sam Henderson
Create Mistletoe 'Berries'
Dip the head of a straight pin into hot glue. Immediately press the pinhead to a tiny pompom. Set aside and allow the glue to harden.

Sam Henderson
Add 'Berries'
Place the pins with pompoms randomly around the ball. Press them through the felt ‘leaves’ and into the foam ball beneath.

Sam Henderson
Add Ribbon
Use another long piece of ribbon to tie a knot and bow around the base of the hanging ribbon. Trim the ends to the desired length, making them even.

Sam Henderson
Proudly Display
Hang the kissing ball by the hanging ribbon in a doorway where holiday guests will gather.

Sam Henderson


