


A Charming, Easy to Craft Little Bo Peep Costume
Create this simple costume even with minimal sewing skills.


Debbie Wolfe
Disney's Toy Story 4 gave a beloved character a major makeover. In the original movie, Bo Peep looked like your stereotypical shepherdess. However, ever since she's been on her own, forging a new life in the wilds and protecting the "Lost Toys," Little Bo Peep's look has morphed into something more practical and exciting. This DIY costume is easy to replicate at home with minimal sewing.
Materials Needed
- T-shirt
- leggings/pants
- 2 yards of cotton eyelet lace trim
- 1 roll of 2-inch lace ribbon
- hemming tape
- 1 yard royal blue or purple cotton fabric
- 1/2 yard pink satin fabric
- 1 yard of 1/2 inch velvet blue ribbon
- large plastic candy cane
- light blue spray paint
- safety pin
- iron
- hot glue
- aquamarine fabric dye
- sewing machine/hand sewing needle and thread, optional
Shirt
Bo Peep's outfit is primarily light blue. If you are able to find a tee and leggings in that color, then go for it. However, I used aquamarine fabric dye to color a white tee, leggings and a yard of the cotton eyelet trim into a matching blue. Follow the directions given by the dye's manufacturer. You will need the eyelet trim in both blue and white. Also, I used hemming tape to make this project easier. However, you can hand stitch or sew instead of using the tape (Image 1). Cut the lace ribbon in 4-inch lengths (longer if the shirt is larger). The goal is to leave about 2 inches of space between the ends of the ribbon and the edge of the shirt. Cut a 4-inch length of hemming tape. Center the ribbon in the middle of the chest. Lay the hemming tape underneath and lightly press with an iron on a low heat setting. Make sure the iron is not too hot, for this may cause the lace to melt. Lay another 4-inch length of ribbon underneath the first, slightly overlapping the bottom of the previous ribbon. Place another piece of hemming tape underneath and press in place (Image 2). Repeat until you have enough lace ribbon to fill in the chest area (Image 3). Cut two pieces of ribbon long enough to cover the ends on the ribbon. Lay them over both edges of the rows of ribbon along with a matching length of hemming tape. Press the ribbon in place (Image 4).

Debbie Wolfe

Debbie Wolfe

Debbie Wolfe

Debbie Wolfe
Pants
All the pants need is a lace trim at the bottom. Start by overlapping the blue lace trim on top of each other. You can use the hemming tape to secure it in place or sew it (Image 1). Then, use the hemming tape or sew the doubled up lace trim to one of the pant leg bottoms (Image 2). Repeat on the opposite pant leg (Image 3).

Debbie Wolfe

Debbie Wolfe

Debbie Wolfe
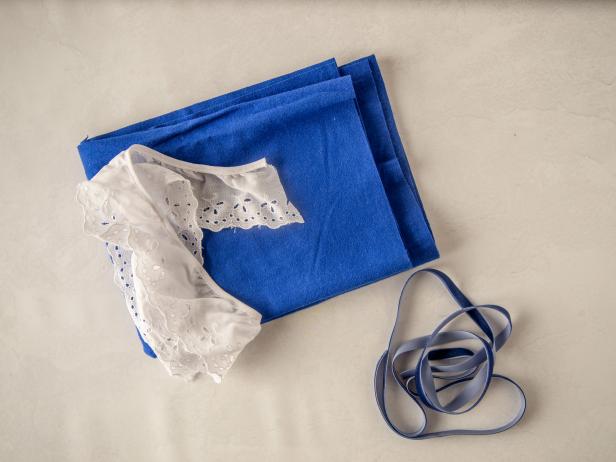
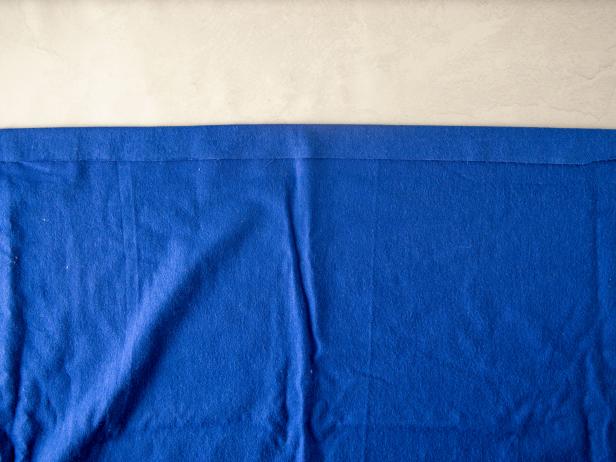
Cape
You will need a yard of cotton fabric (the one I used is 44 inches wide), a yard of white eyelet trim and a yard of 1/2-inch blue velvet ribbon to make the cape (Image 1). Lay the fabric lengthwise. Fold down the top side about 1 inch and press with an iron. Use hemming tape to secure the edge in place or sew along the edge with a 1/4-inch seam allowance (Image 2). This will create a channel that we will use to thread the 1/2-inch ribbon through later. On the opposite side, use hemming tape or sew the yard of white eyelet trim along the edge (Image 3). Insert a safety pin at one end of the 1/2-inch velvet ribbon. Use it to thread the ribbon through the channel at the cape's top (Image 4). Pull the ribbon through. Now the cape is ready to wear (Image 5).
Debbie Wolfe
Debbie Wolfe

Debbie Wolfe

Debbie Wolfe

Debbie Wolfe
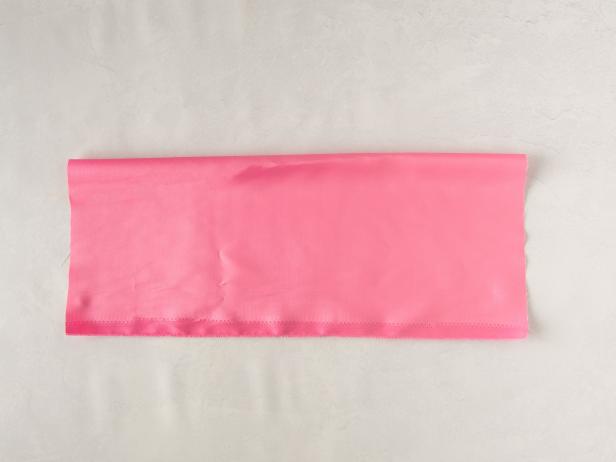
Waist Sash
The sash and bow are made in a similar manner and with the same supplies (Image 1). Start by measuring your child's waist plus 6 inches (so you have plenty of room to pin or tie it around your child's waist). You can make the sash as wide as you want but keep it at least 8 to 10 inches. Cut a piece of pink satin fabric, doubling the desired width by the waist length. My sash was cut 16 inches by 24 inches. Once cut, fold the fabric in half lengthwise with the shiny sides of the fabric touching (Image 2). Sew along the open, long edge to make a tube. After the edge is sewn, turn the fabric right side out (Image 3). The sash is complete. Set it aside.

Debbie Wolfe

Debbie Wolfe

Debbie Wolfe
Bow
Bo Peep wears a large pink satin bow pinned to the side of her head. For the bow, cut a piece of pink satin fabric that's 8 inches wide by 16 inches long. Fold the fabric in half lengthwise with the shiny side of the fabric touching (Image 1). Sew along the open, long edge to make a tube. Turn the fabric right side out. Lay it flat with the seam running down the center and facing up (Image 2). Fold the tube in half with the seam facing out (Image 3). Sew a 1/4-inch seam across the open edge. Turn the tube right side out. You should have a small rectangle (Image 4). Fold the tube in thirds to form three pleats with the seam facing the back. Use clips or pins to form a bow shape (Image 5). Use hot glue to secure the pleats in place.
Debbie Wolfe

Debbie Wolfe

Debbie Wolfe

Debbie Wolfe

Debbie Wolfe
Finishing the Bow
Cut another piece of fabric about 2 inches wide by 4 inches long. Sew into a tube in the same way as you made the sash and bow. This tube will be the center of the bow (Image 1). Wrap the center fabric tube around the middle of the bow and glue it in place (Image 2). Make sure it is tight — you will have extra fabric. Trim away any excess fabric and secure the edges down with more hot glue (Image 3). Slip a large bobby pin through the loop and then pin it into your child's hair.

Debbie Wolfe

Debbie Wolfe

Debbie Wolfe
Shepherd's Hook
To make the shepherd's hook, all you need to do is spray paint a large plastic outdoor candy can light blue. It will take at least two coats of paint to cover the stripes. Let it dry competely before use.

Debbie Wolfe
This costume is perfect for Halloween or everyday dress up! Pair the look with a friend or sibling dressed like a little lamb for a fun group costume idea.

Debbie Wolfe


