


Hanukkah Kid's Craft: Paper Menorah
Who doesn't love a holiday handprint craft? It's the perfect way to get the kids involved and teach them about the Hanukkah season.

Rebekah Lowin

Handprint crafts are among the sweetest and easiest ideas for keeping your kids busy, engaged and imaginative, no matter the season. In this adorable take on the classic technique, two tiny handprints are used to create the shape of a traditional menorah, the nine-branched candelabrum lit during the Jewish holiday of Hanukkah. The overlapping thumbs together make up the 'shamash,' or lighter candle. It’s a fun, simple way to make the holiday’s themes tangible and interactive for kids, and it requires only a few simple materials.
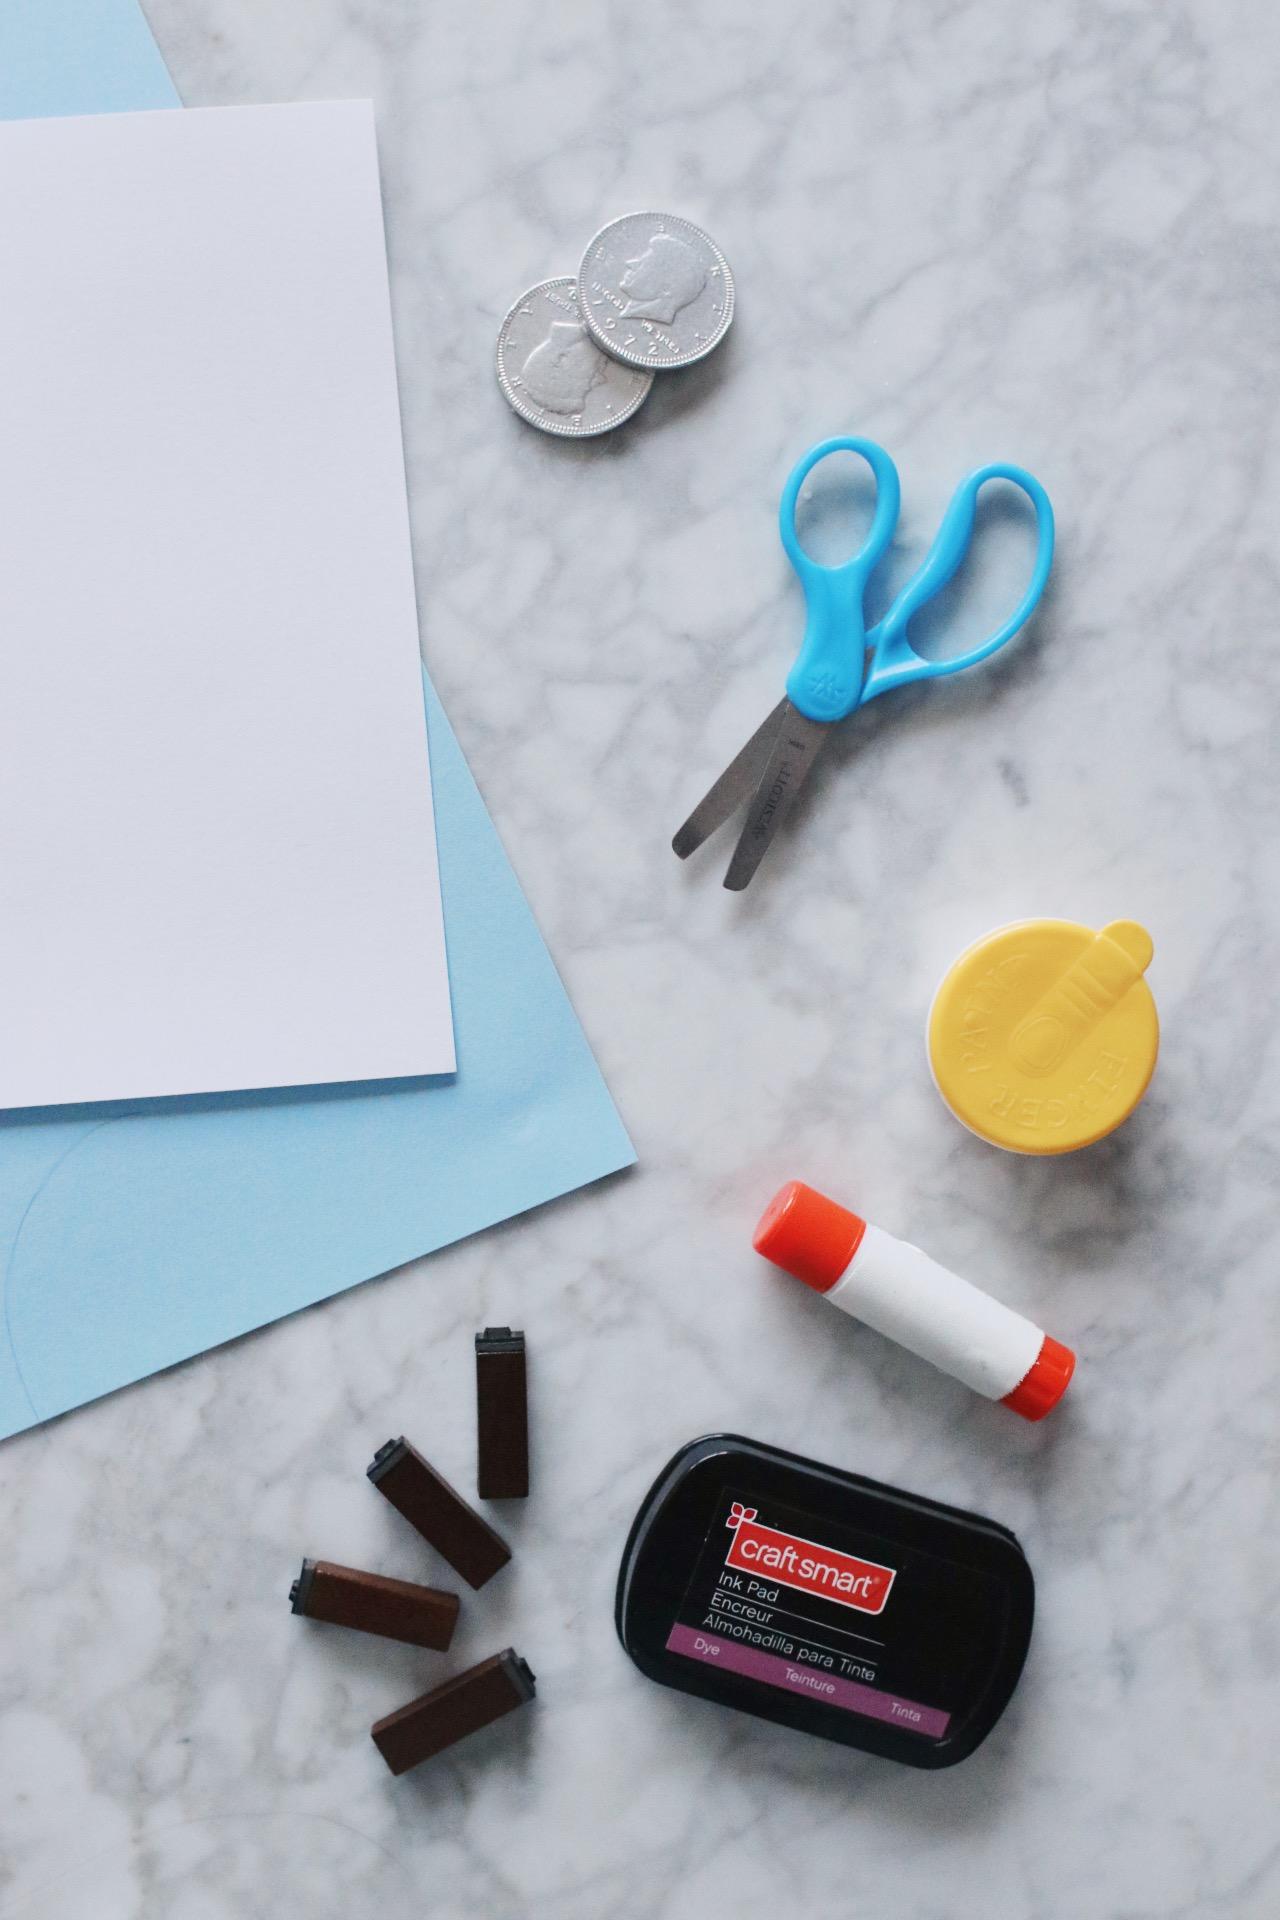
Materials Needed
- white printing paper or card stock
- blue construction paper
- pencil
- child-safe scissors
- glue stick
- yellow finger paint
- mini alphabet stamp kit and ink
Trace Hands and Cut Out
Using a pencil, trace your child’s hands onto the blue construction paper with thumbs overlapping. If you choose instead to trace each hand one at a time, remember to stop short of tracing the outer edge of each thumb so the hands connect without a boundary line. Next, cut out the menorah shape.

Rebekah Lowin
Note: If your child is old enough to use the child-safe scissors, let them cut out the blue paper hands themselves with proper supervision. Just be sure to remind them to keep the two shapes intact. If they forget, you can always glue the shapes back together.
Attach to Background and Add Flames
Use a glue stick to create an adhesive backing on the paper hands, then help your child press it firmly onto the middle or bottom of the white paper background. Remember to leave room at the top of the paper for your fingerprint flames. Next, assist your child in dipping one of their fingers into the yellow paint before pressing it above each paper candle.
Final Steps
Use the mini stamping kit to add “Happy Hanukkah” or any message of your choice. You can do this before the activity, then cut out each letter and assist your child in arranging them in the correct order before gluing them down. Or children can simply stamp and arrange the letters themselves. Finally, use a glue stick to affix each letter to the bottom of the craft as shown. Let the paint and glue dry, then admire and hang or share this cute kids' craft with family or friends.

Rebekah Lowin


