


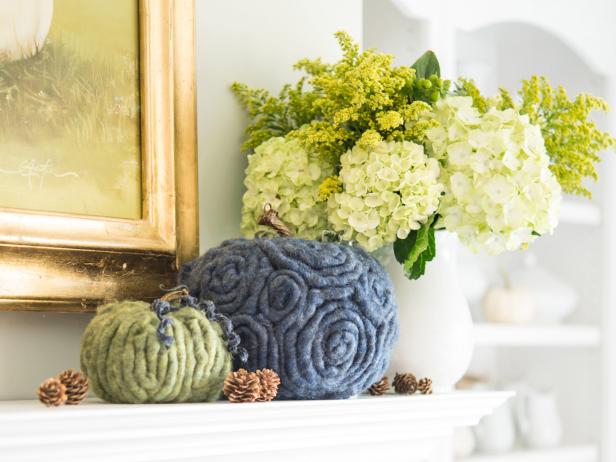
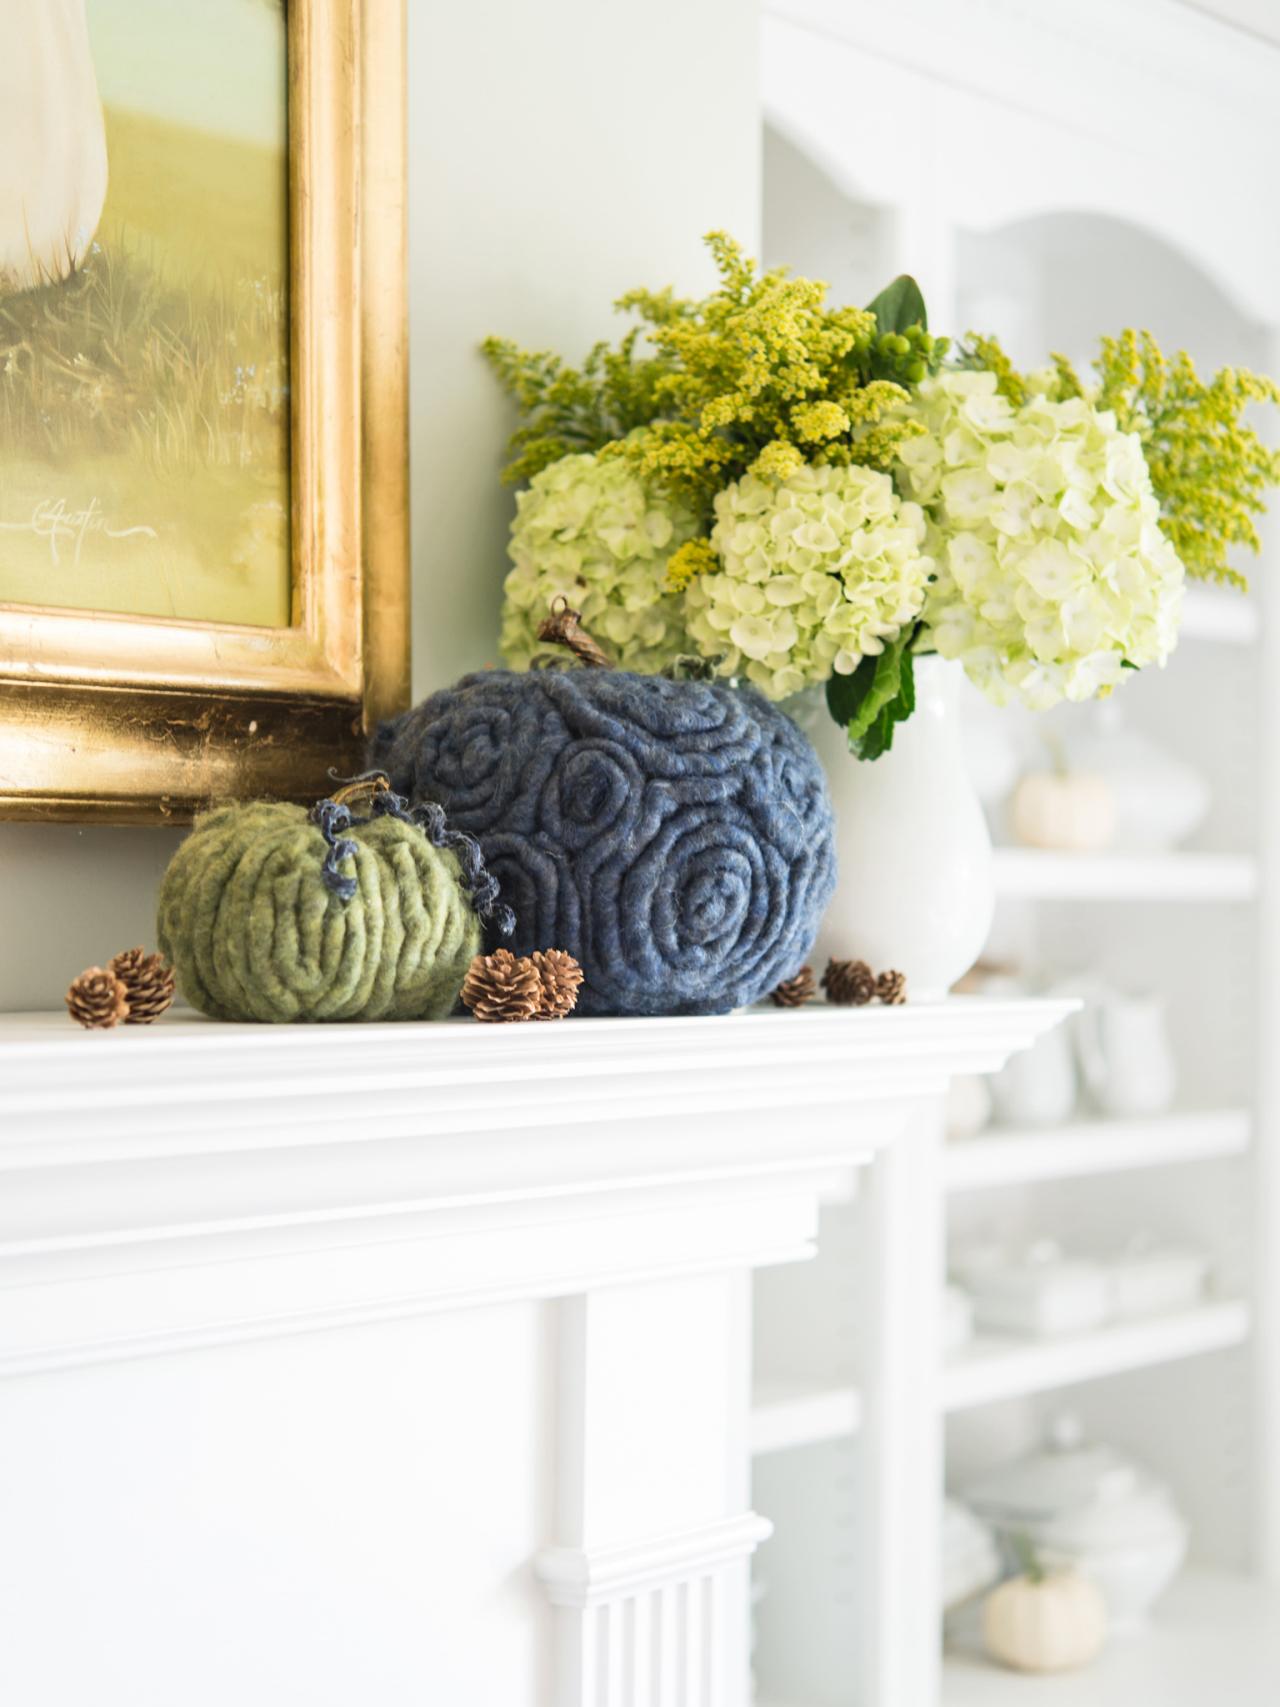
Easy-to-Craft Yarn Pumpkins
Spruce up plastic or foam pumpkins with the warmth and texture of chunky wool yarn. This easy project is a great way to craft fashion-forward Halloween or Thanksgiving decorations.

Marian Parsons Mustard Seed Inte

Materials Needed
- faux pumpkins in varying sizes
- wool or acrylic yarn in desired thickness, texture and color
- hot glue gun and glue sticks
- fabric decoupage glue
- sharp scissors
- pencil or dowel
- paper bowl or plate
- popsicle stick (optional)
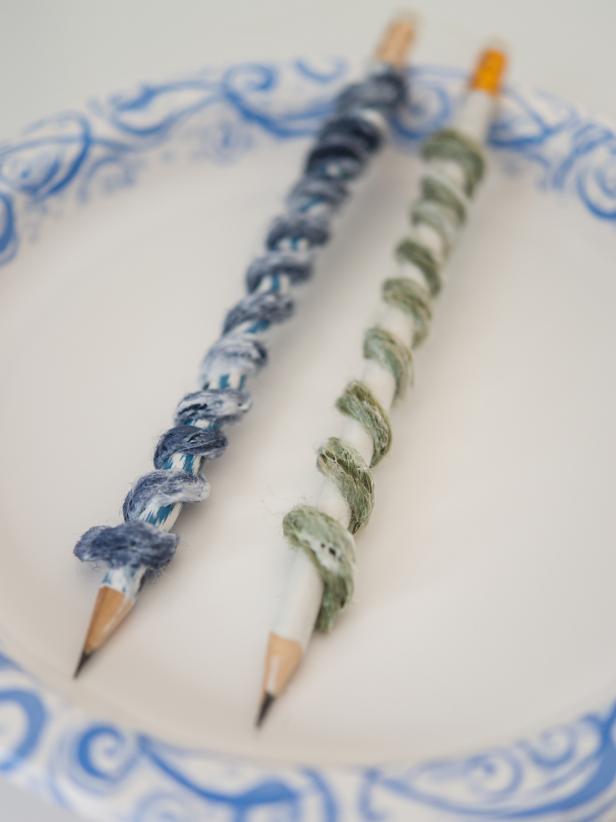
Create Curly Vines
Cut a 12” length of yarn for each pumpkin in desired colors. Thinner yarns work best for this step of the project. Pour fabric decoupage glue into a disposable bowl. Dip length of yarn into glue and squeeze out the excess (Image 1). Wrap yarn around a pencil or dowel and set to dry for 4-6 hours on a paper plate (Image 2). Balance pencil end on rim of plate to prevent glue or yarn from sticking to plate.

Marian Parsons Mustard Seed Inte
Marian Parsons Mustard Seed Inte
Create Design and Affix Yarn
Yarn can be positioned on the pumpkin in a variety of patterns. In this example, the yarn is wrapped in swirls and “S” shapes. Apply hot glue to surface of plastic pumpkin and immediately stick yarn in place (Image 1). Hold yarn for 3-5 seconds until glue cools (Image 2). When pattern is complete, cut off excess yarn, add a dab of glue to end and tuck into yarn pattern to hide (Image 3). Continue in this manner until pumpkin is completely covered. Tip: To prevent finger burns from hot glue, use a wooden popsicle stick to hold down yarn as it’s cooling.

Marian Parsons Mustard Seed Inte

Marian Parsons Mustard Seed Inte

Marian Parsons Mustard Seed Inte
Finish Pumpkin Base
Since the bottom of the pumpkin will not be visible, fill with yarn in a random pattern, holding in place with hot glue. Trim off excess yarn. Clean off glue gun strings and check for places where pumpkin is visible. Small piece of yarn can be cut, glued and positioned to fill in gaps.

Marian Parsons Mustard Seed Inte
Create Alternative Designs
Yarn can also be affixed in the direction of the lines of the pumpkin (Image 1). For this design, cut and glue pieces of yarn along the natural recessed lines of the pumpkin. Fill in with smaller pieces of yarn until pumpkin is covered (Image 2).Once dry, gently unwind yarn from

Marian Parsons Mustard Seed Inte

Marian Parsons Mustard Seed Inte
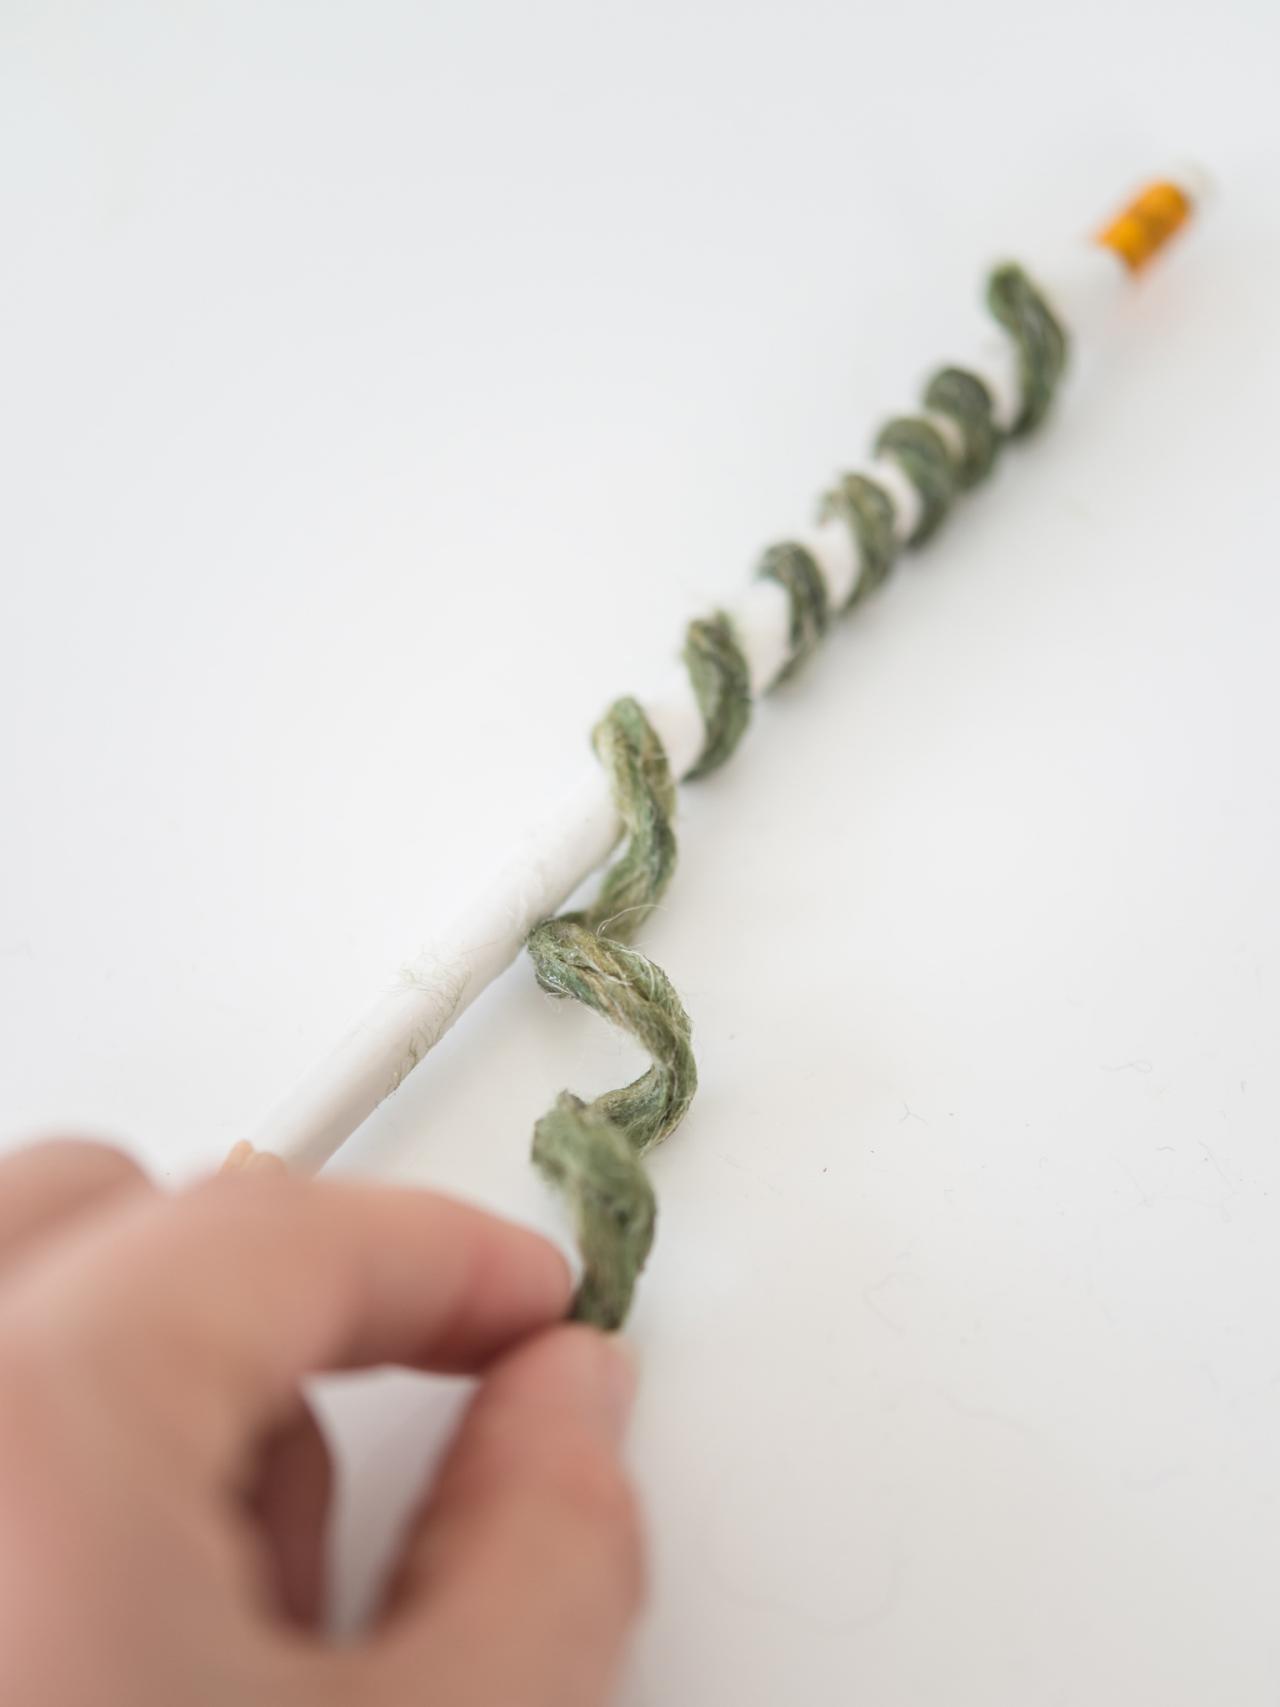
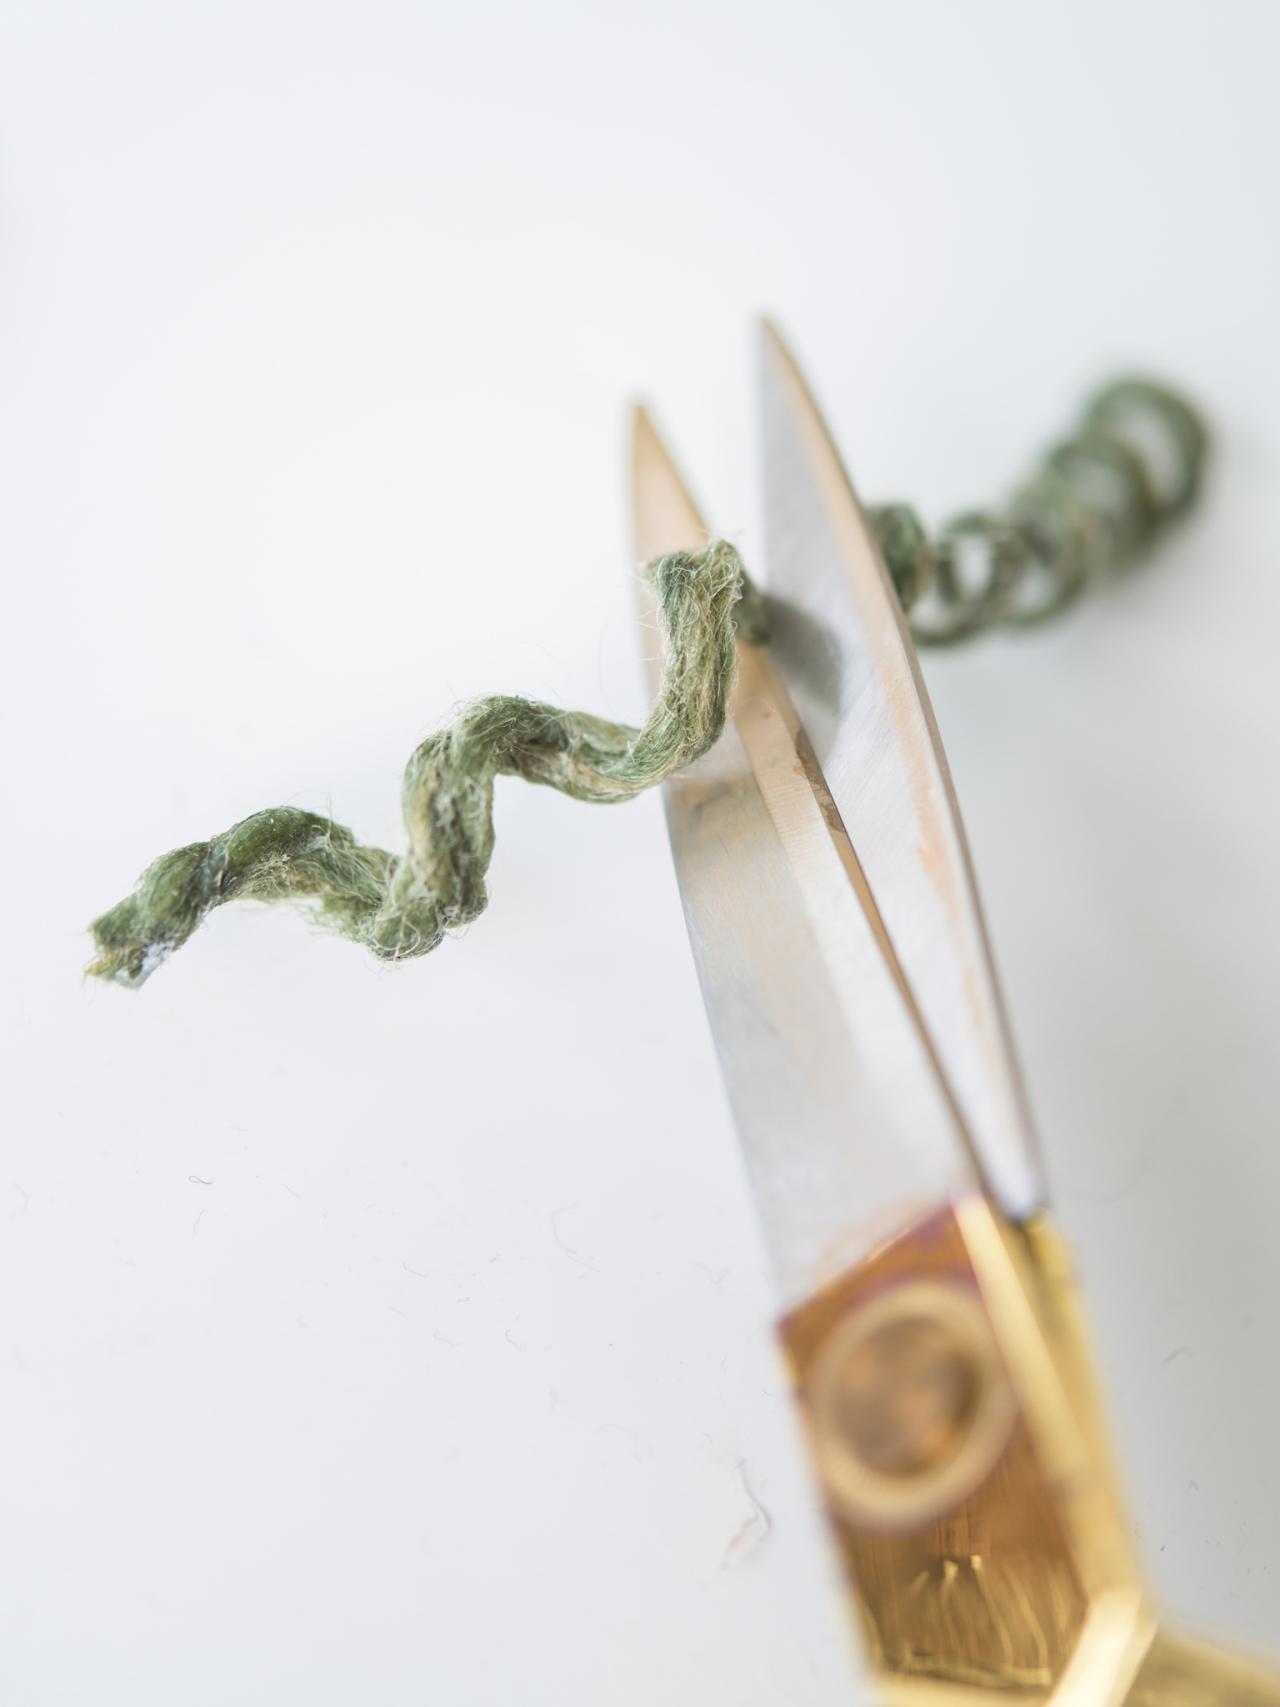
Cut and Glue Curly Vines to Pumpkins
Once dry, gently unwind yarn from pencil (Image 1). Trim ends and cut into two pieces, one slightly longer than the other (Image 2). Affix with hot glue at the base of pumpkin stem (Image 3). Display your completed pumpkins indoors or in a well covered outdoor area to add a rustic touch to fall displays (Image 4).

Marian Parsons Mustard Seed Inte

Marian Parsons Mustard Seed Inte

Marian Parsons Mustard Seed Inte
Marian Parsons


