


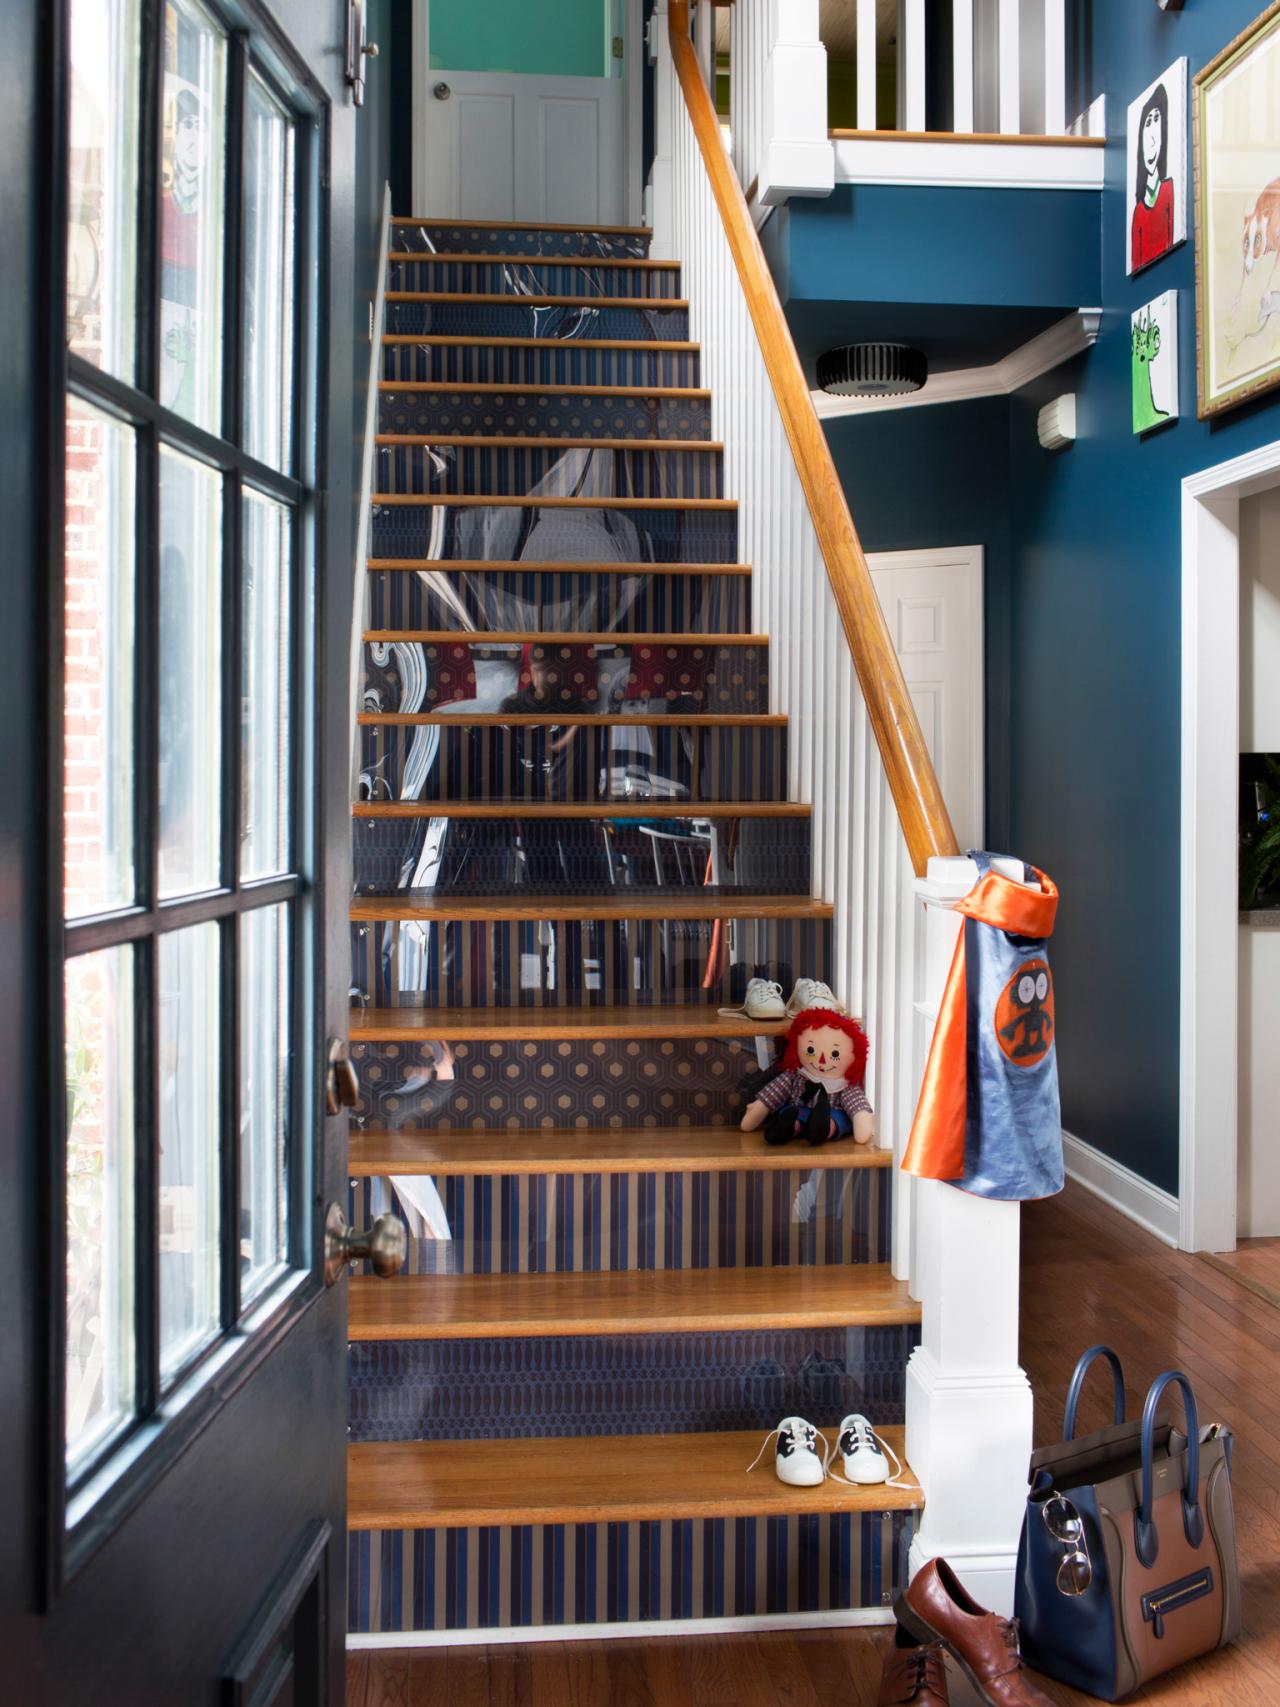
How to Step Up Your Stair Risers With Wallpaper


Materials Needed:
- 3 different rolls of wallpaper in coordinating styles and colors
- wallpaper paste
- wallpaper smoothing tool
- utility knife or scissors
- stainless steel washers
- stainless steel screws
- drill
- 1/4" drill bit
- paintbrush
- one 4X8' sheet of 1/8" thick acrylic for every 12 stairs
- measuring tape
- pencil
- notepad
- painter's tape
- safety goggles or other eye protection
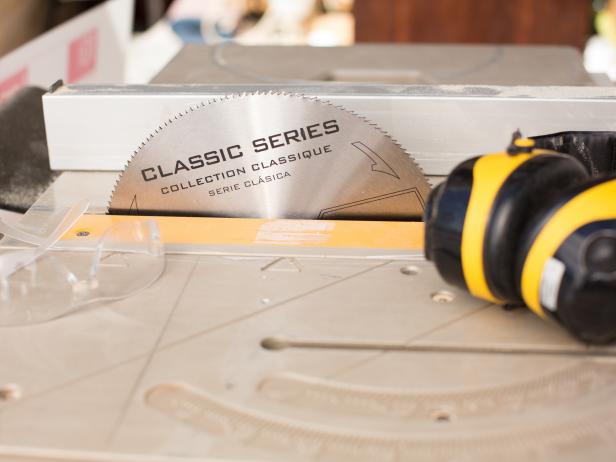
- earmuffs or other ear protection
- table saw
- L-square
Count Stairs and Take Measurements
Count the number of risers along the staircase, jotting total down on notepad with pencil. Next, use measuring tape to get proper height and length of all stairwell risers.
Tip: Although all stairwell risers may appear to be the same exact size, many will vary as slightly as 1/8” off from one another. Be sure to take accurate measurements for each stairwell riser.

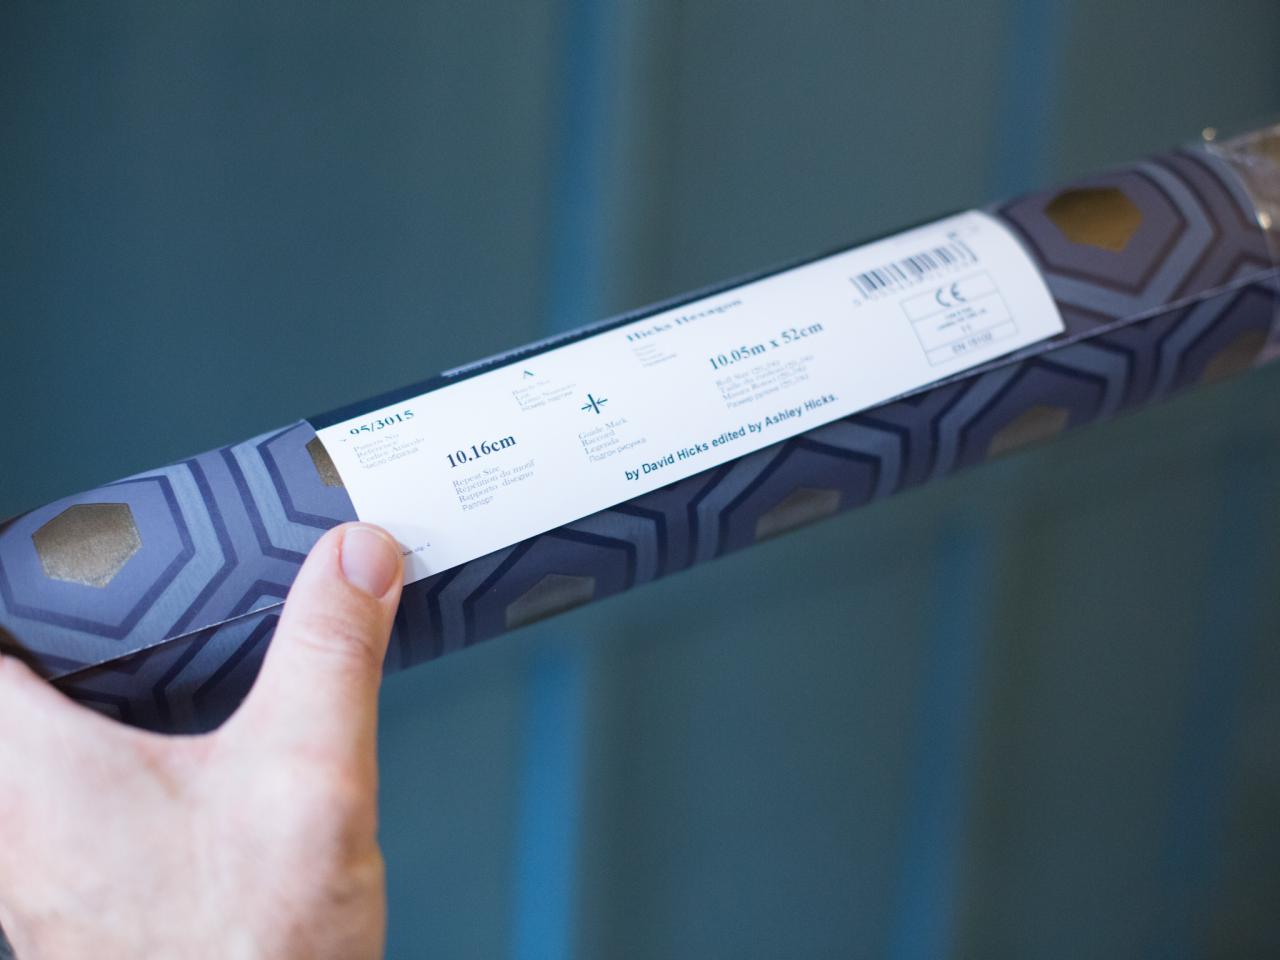
Determine Pattern Repeat
To ensure proper positioning of each style of wallpaper onto the stairwell risers, read the label to determine the pattern repeat.
Tip: Keeping the placement of pattern consistent will result in a more symmetrical look. If the patterns are fractured, the effect can become busy.

Cut and Place Wallpaper
Referring to the pattern repeat, cut paper to size with utility knife or scissors, then place along staircase riser.

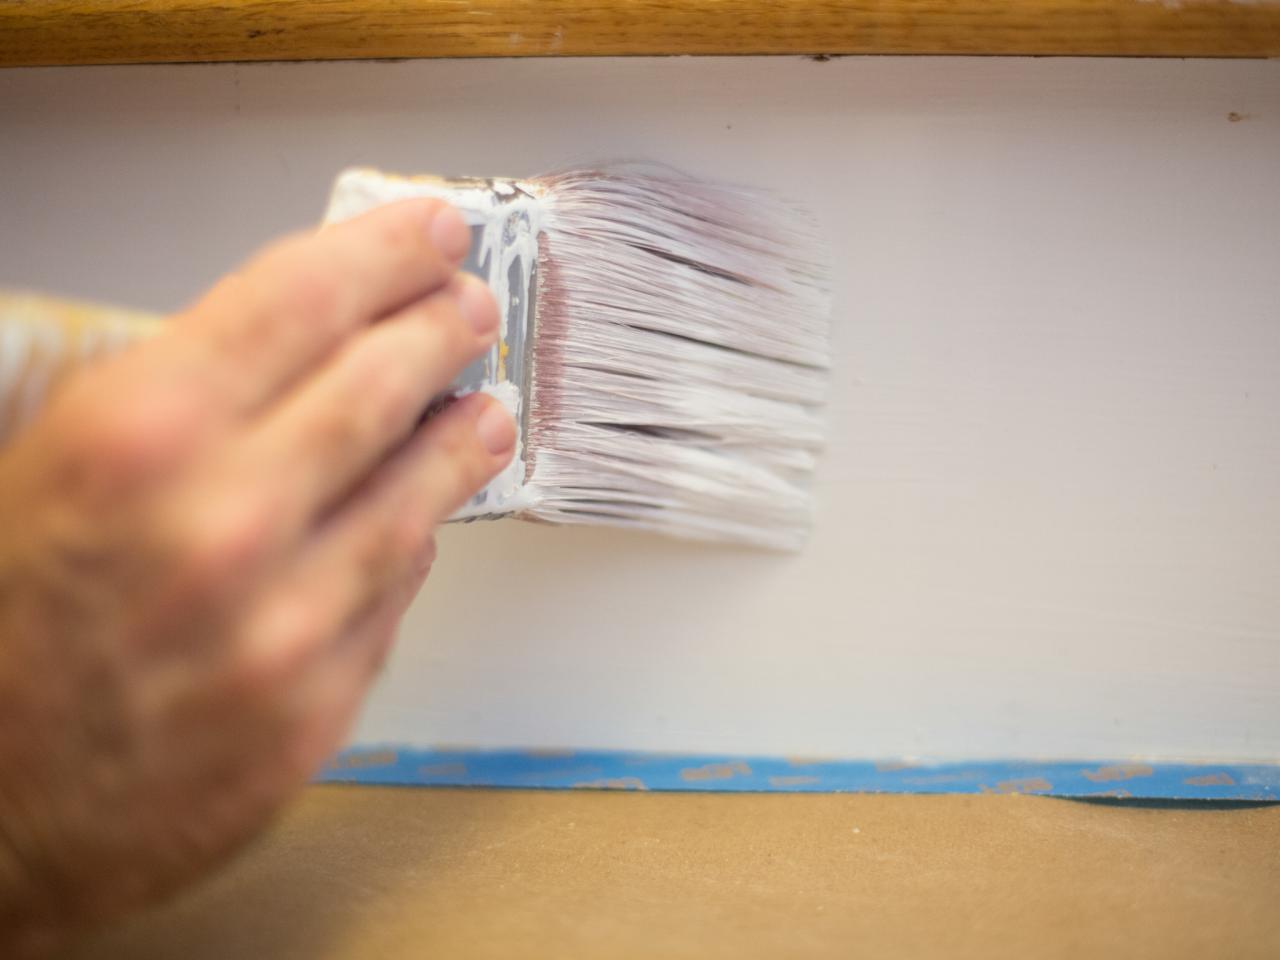
Add Wallpaper Paste to Staircase Riser
Protect stair by placing painter’s tape along the inside edge where the stair meets the riser. This will keep wallpaper paste from getting onto the stair tread. Use a paintbrush to add wallpaper paste directly to the surface of the stair riser.

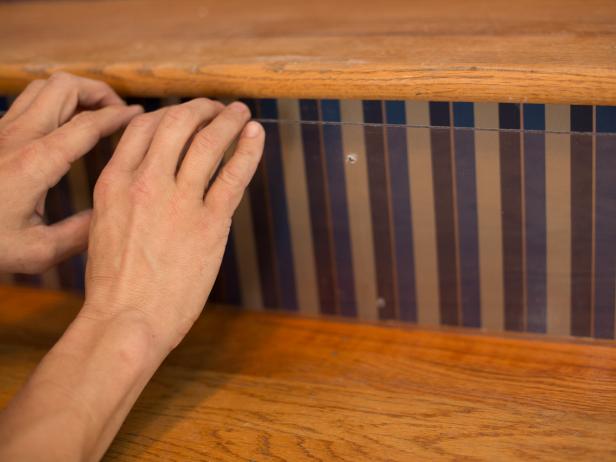
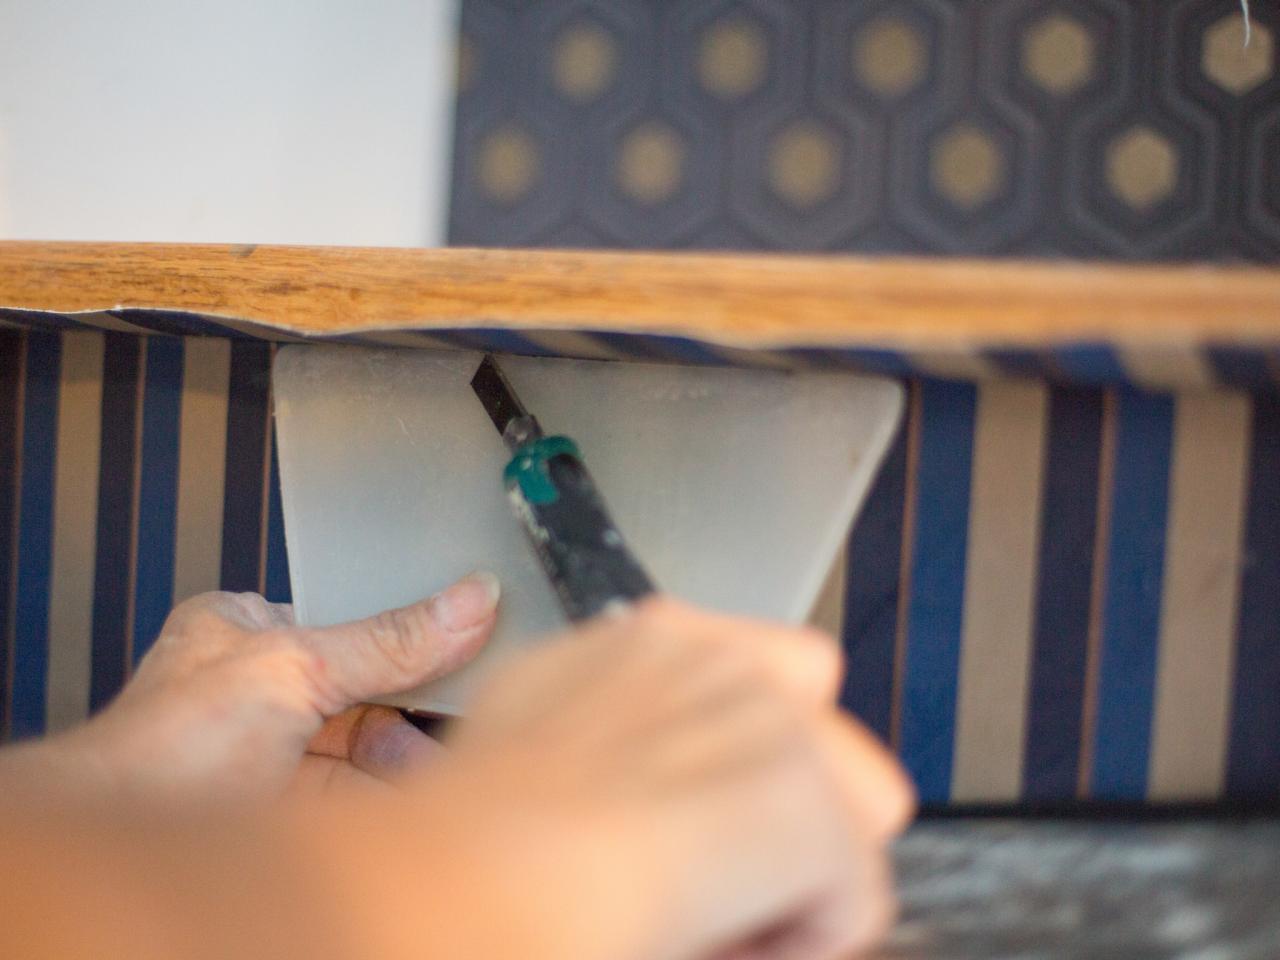
Trim Top and Bottom Edges of Wallpaper
Place wallpaper up against the glue-covered riser. Use utility knife against straight edge of wallpaper smoothing tool to trim excess wallpaper from top and bottom edges of each staircase riser. Next, remove painter’s tape from each stair.

Alternate Wallpaper Styles
Repeat Steps 3, 4 and 5 for all staircase risers, alternating wallpaper styles.

Measure Each Riser for Acrylic Sheeting
To protect the wallpaper from scuffing, it’s best to add a protective layer of acrylic sheeting directly to the front, secured into the wooden riser. In order to ensure the proper sizing of the acrylic, take the measurement for each riser’s height and length individually.

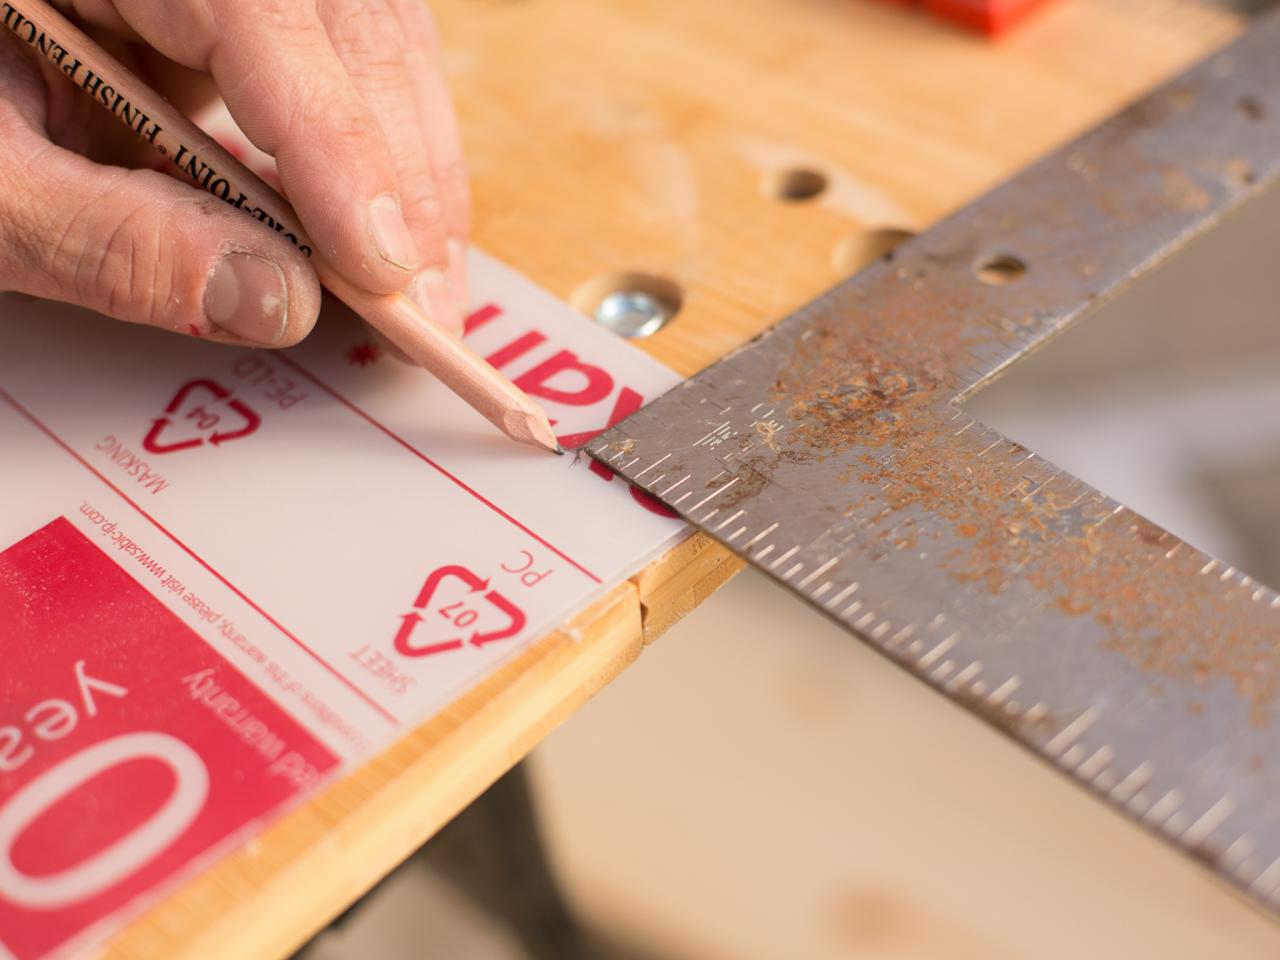
Mark and Measure Acrylic Sheeting
Referring to measurements taken for each individual riser, mark each 4X8' acrylic sheet to size with pencil.

Cut Acrylic Sheeting (With Protection!)
Protect eyes with safety goggles and protect ears with earmuffs. Place acrylic sheeting onto table saw, then cut along marked lines.

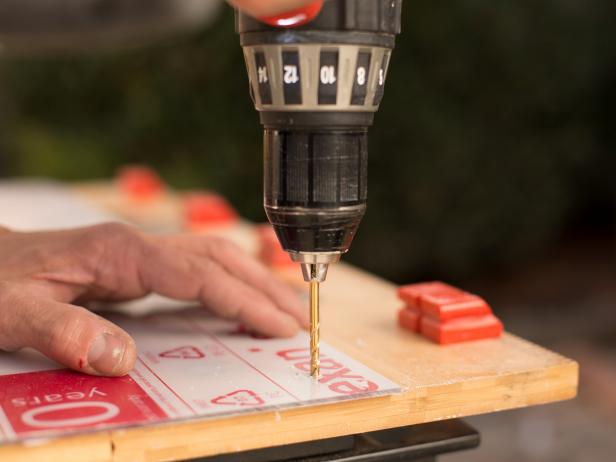
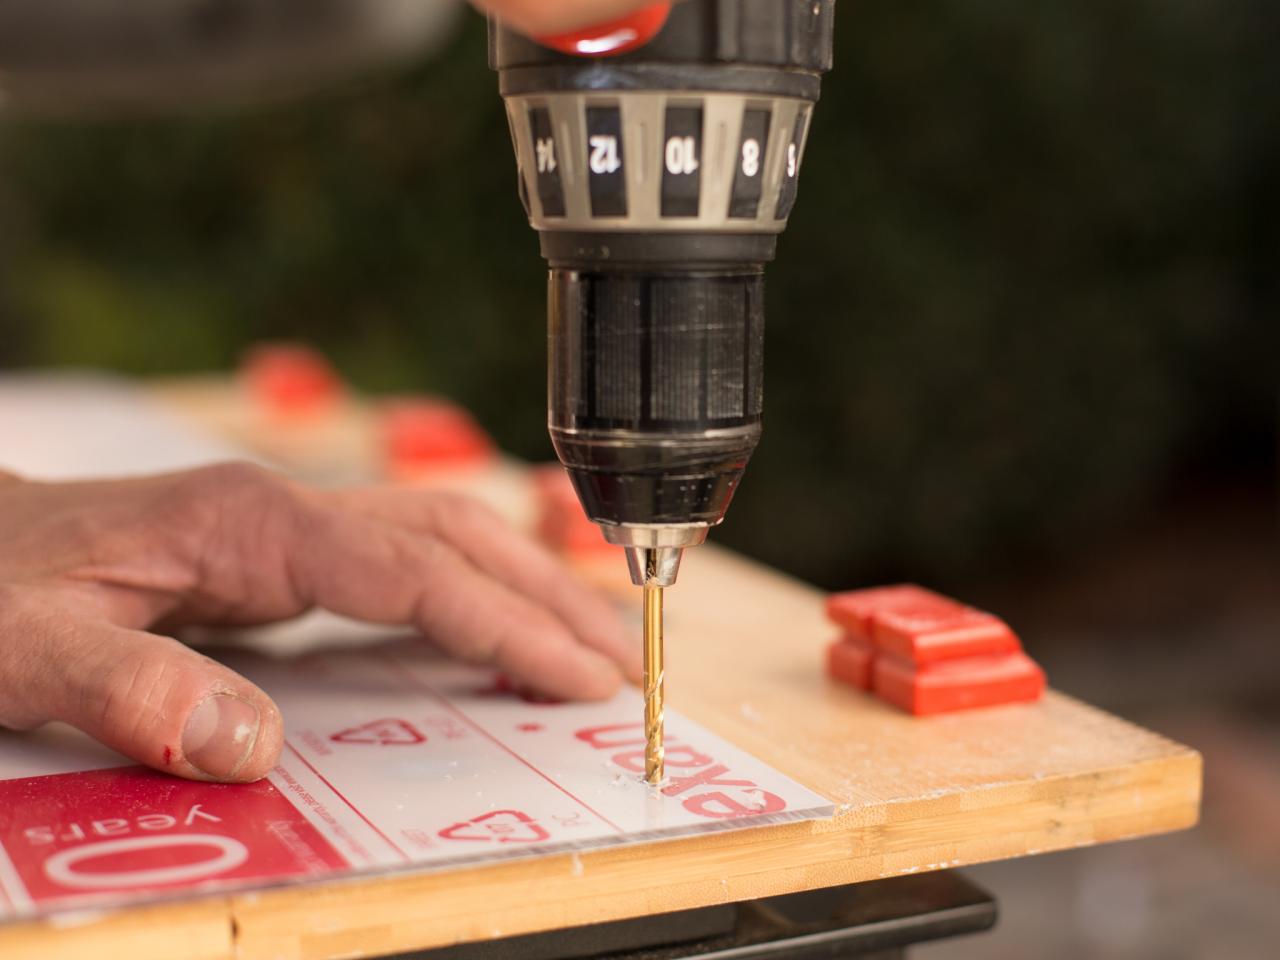
Mark and Drill Holes for Hardware
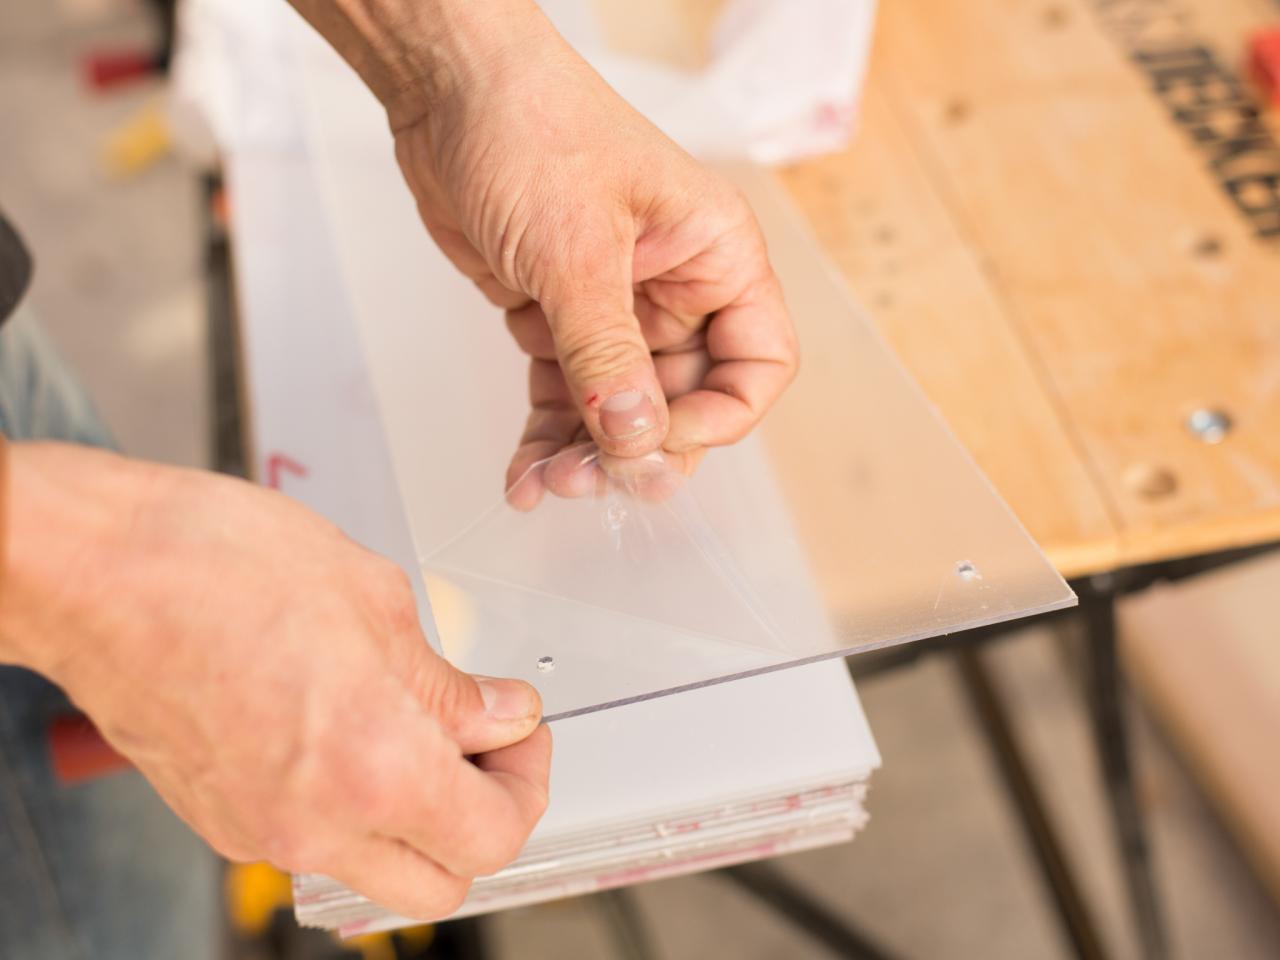
Place cut panel of acrylic sheeting on flat, level surface. Using L-square and pencil, create a mark 1" in from each of its four edges. Referring to this mark, use 1/4" drill bit and drill to add four holes through each cut panel of acrylic sheeting. Next, remove protective film from acrylic.


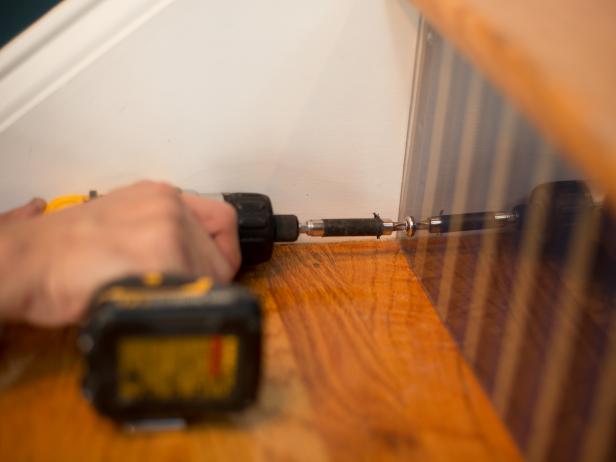
Attach Acrylic Panels to Risers
Place each individual acrylic panel up against the riser, ensuring a snug fit. Next, attach in place using decorative screws and washers.
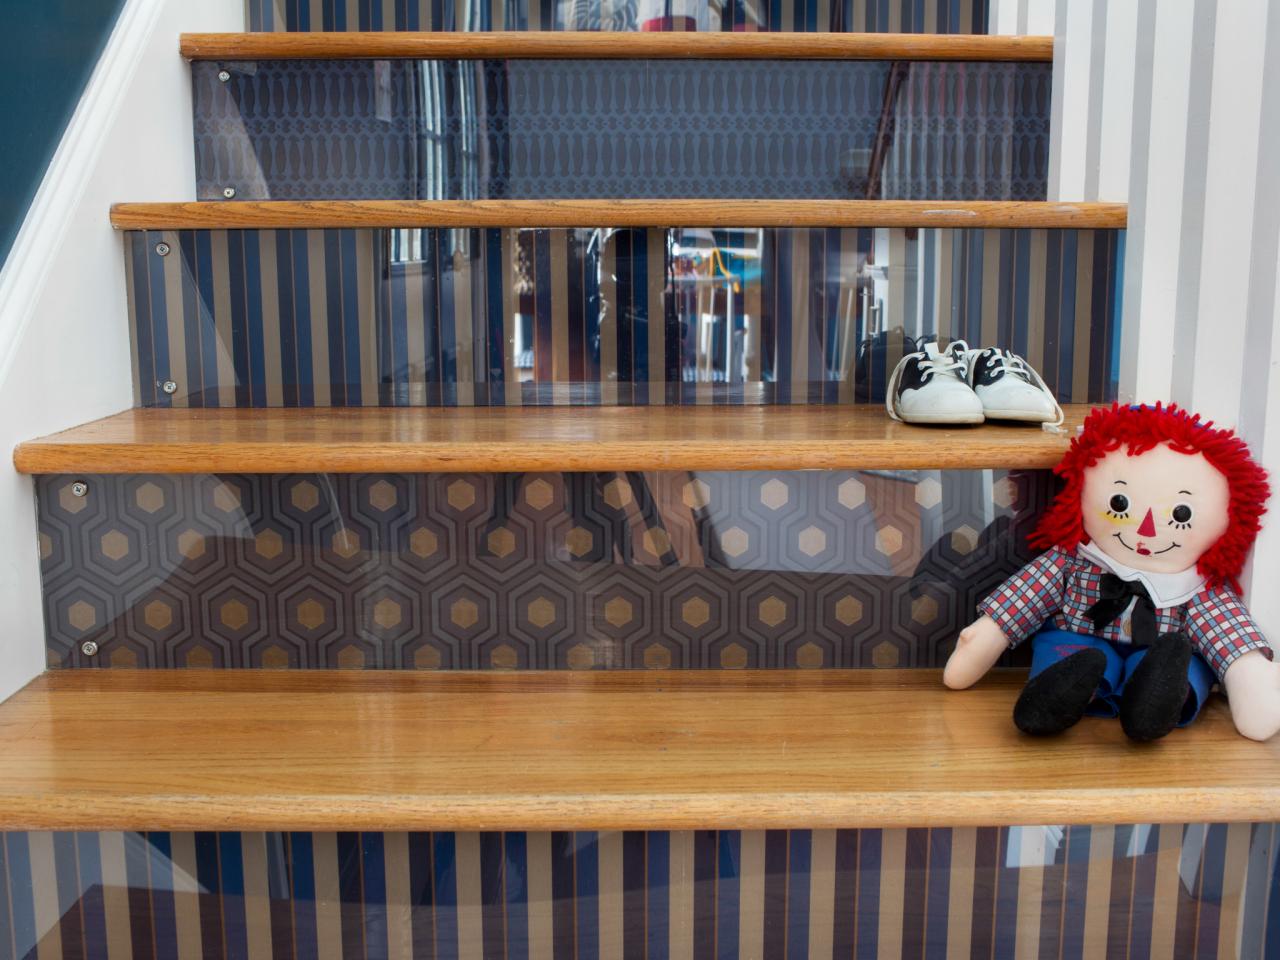
Step Aside, Boring Stairs!
The bold pattern and glossy, protective acrylic sheeting will perk up any living room's style.


