


How to Paint a Staircase
Learn how to paint a decorative runner on a wooden staircase.

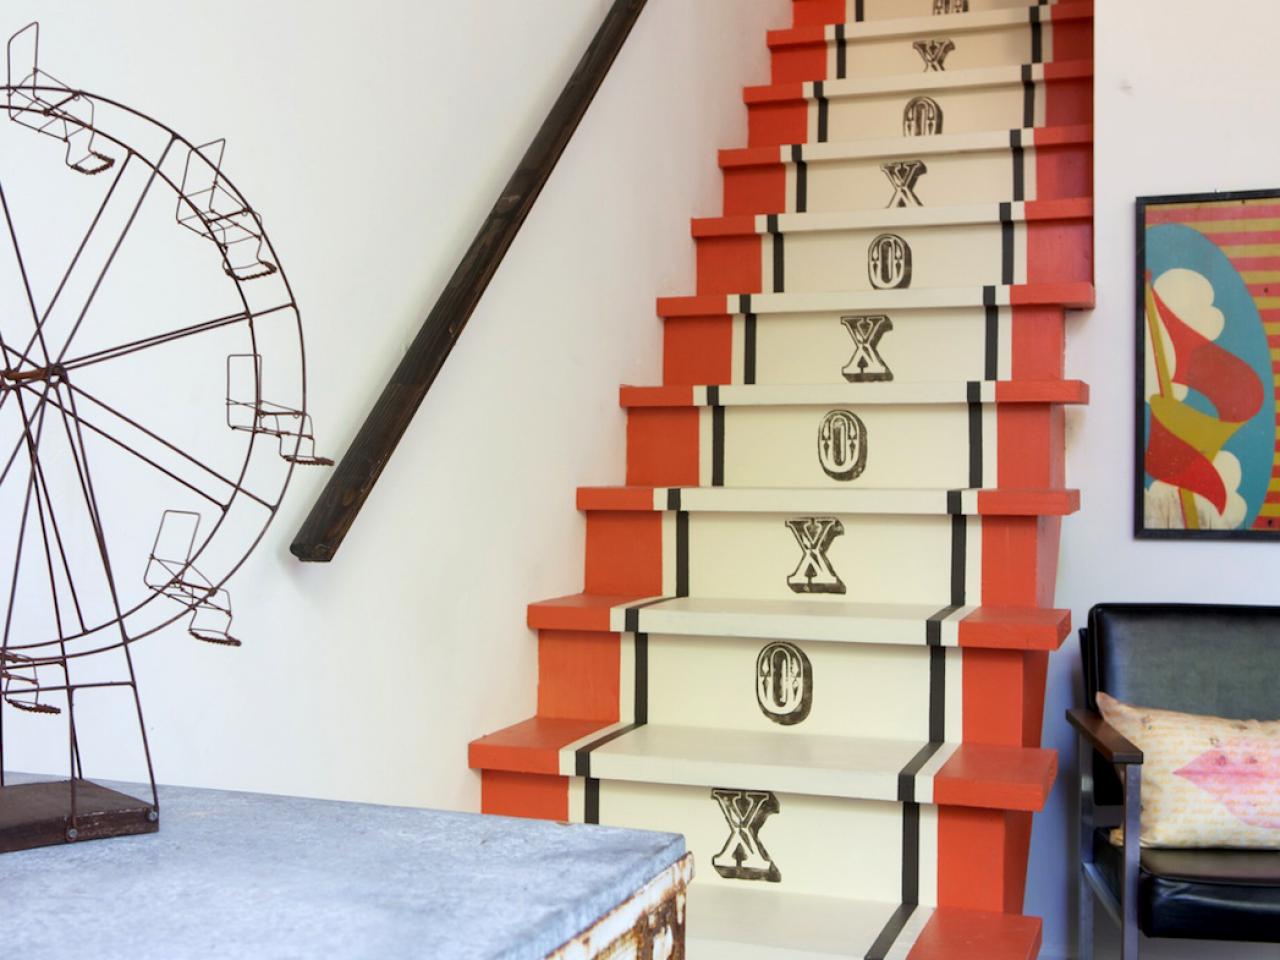
We painted a plain wood staircase in three different colors then used stamps to add a fun X-and-O pattern on the risers. We used stamps, but stencils could also be used to create the pattern. We used straight lines and stripes on our staircase to make the project easier. Using a carpenter’s square and a good ruler to create even lines is highly recommended. If your staircase is bare wood or painted a darker color, apply a coat of primer first.
Tools and Materials
- floor & patio paint satin finish (we use Sherwin-Williams #6619 Sockeye, #6879 Daring, #7020 Black Fox and #6336 Nearly Peach)
- paint rollers
- square paintbrush
- paint trays
- ruler
- tape measure
- carpenter's square
- painter's tape
- utility knife
- stamp(s)
- cardboard
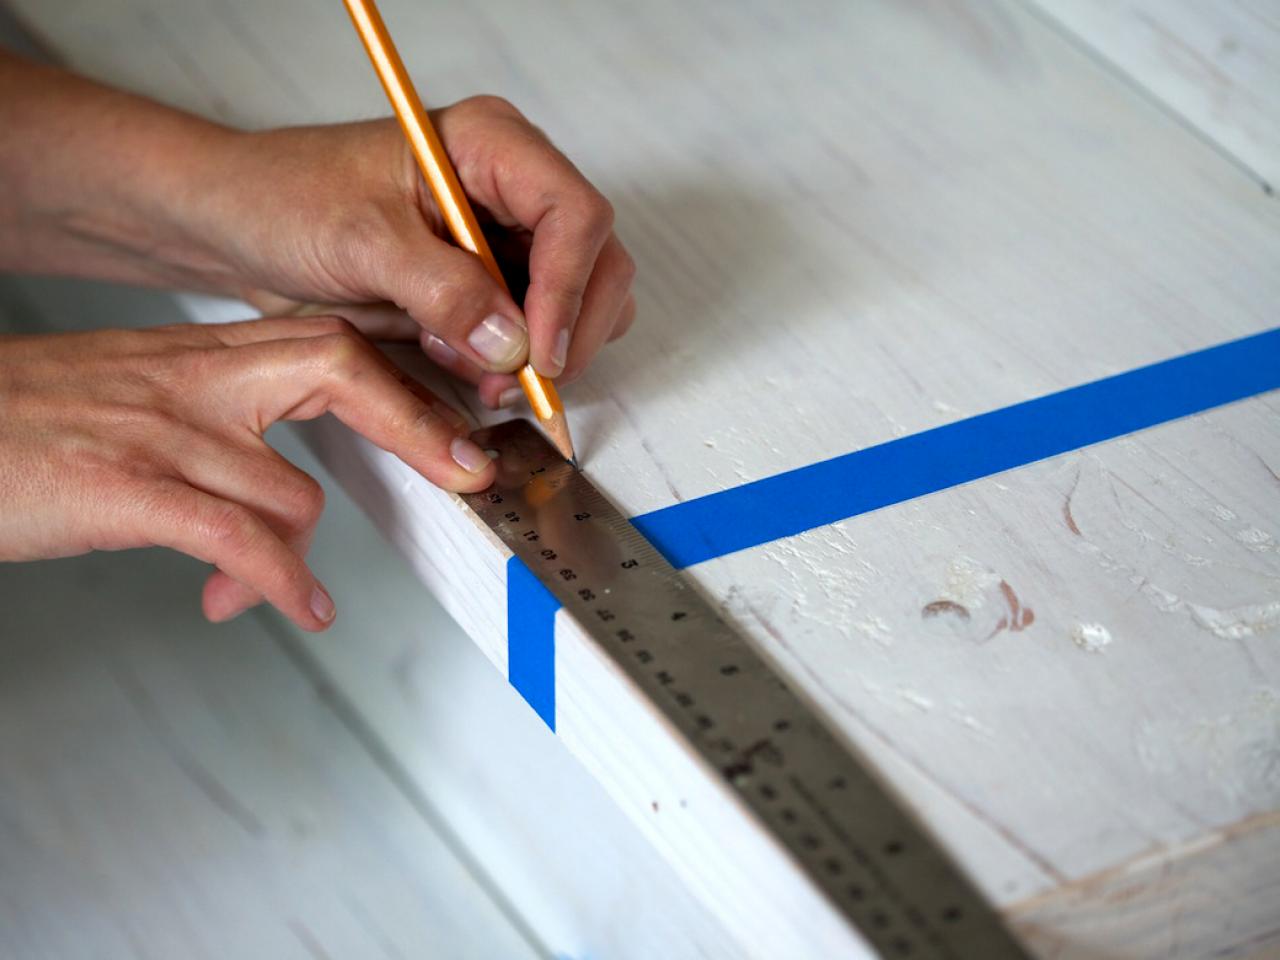
Step 1: Measure and Mark the Outer Color Blocks
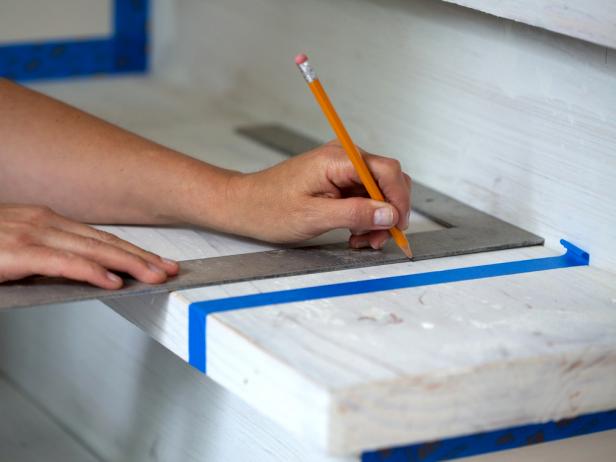
Measure about 6 inches in from each side of the treads. Use a carpenter's square to draw straight lines on the treads and risers. Adhere painter's tape to mark your lines.


Step 2: Lay Out the Stripe
Measure 1 inch out from the painter's tape, toward the center of the tread. Use a carpenter's square to draw another line to create a stripe.

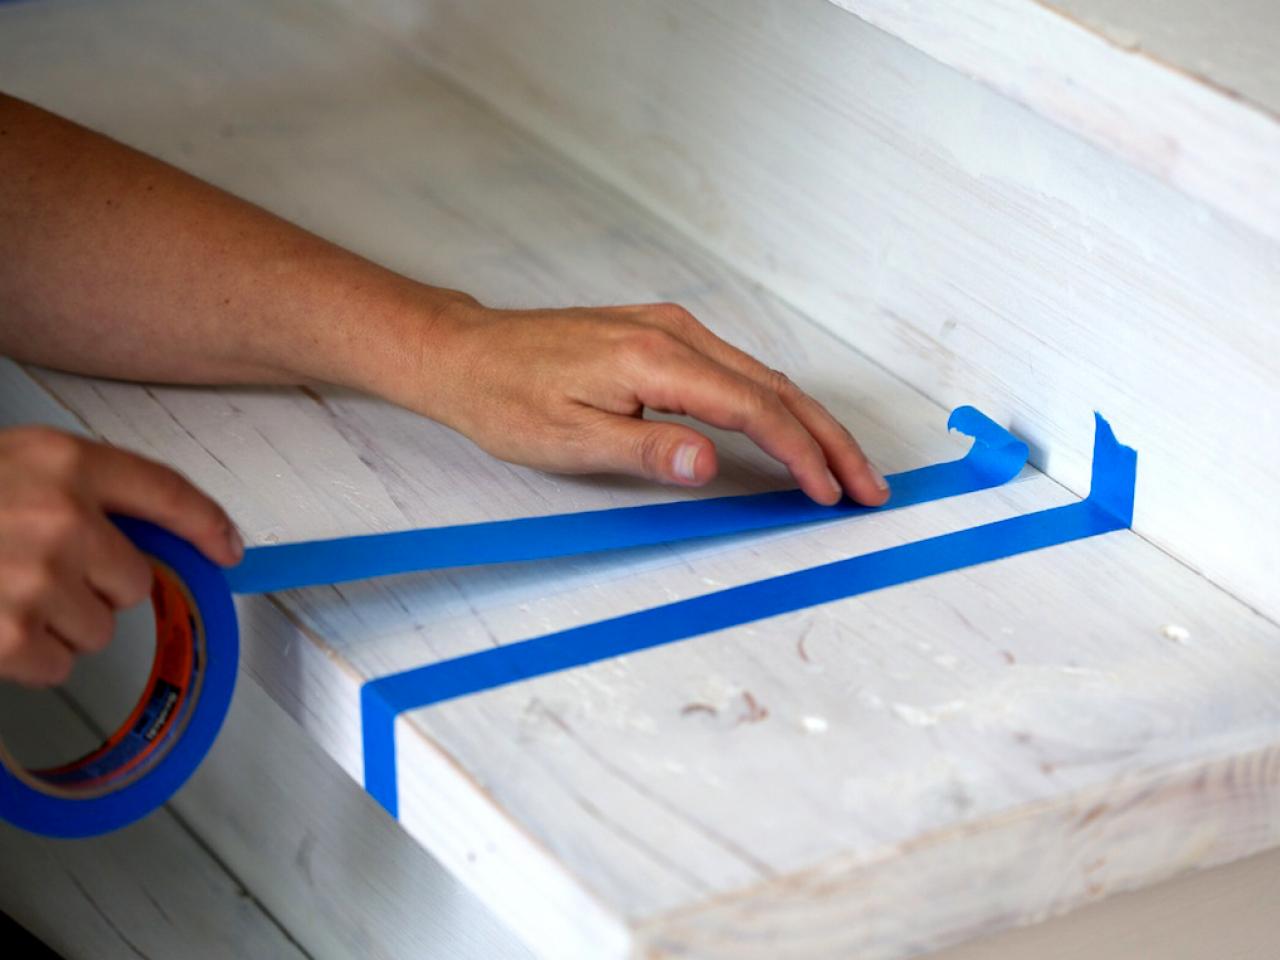
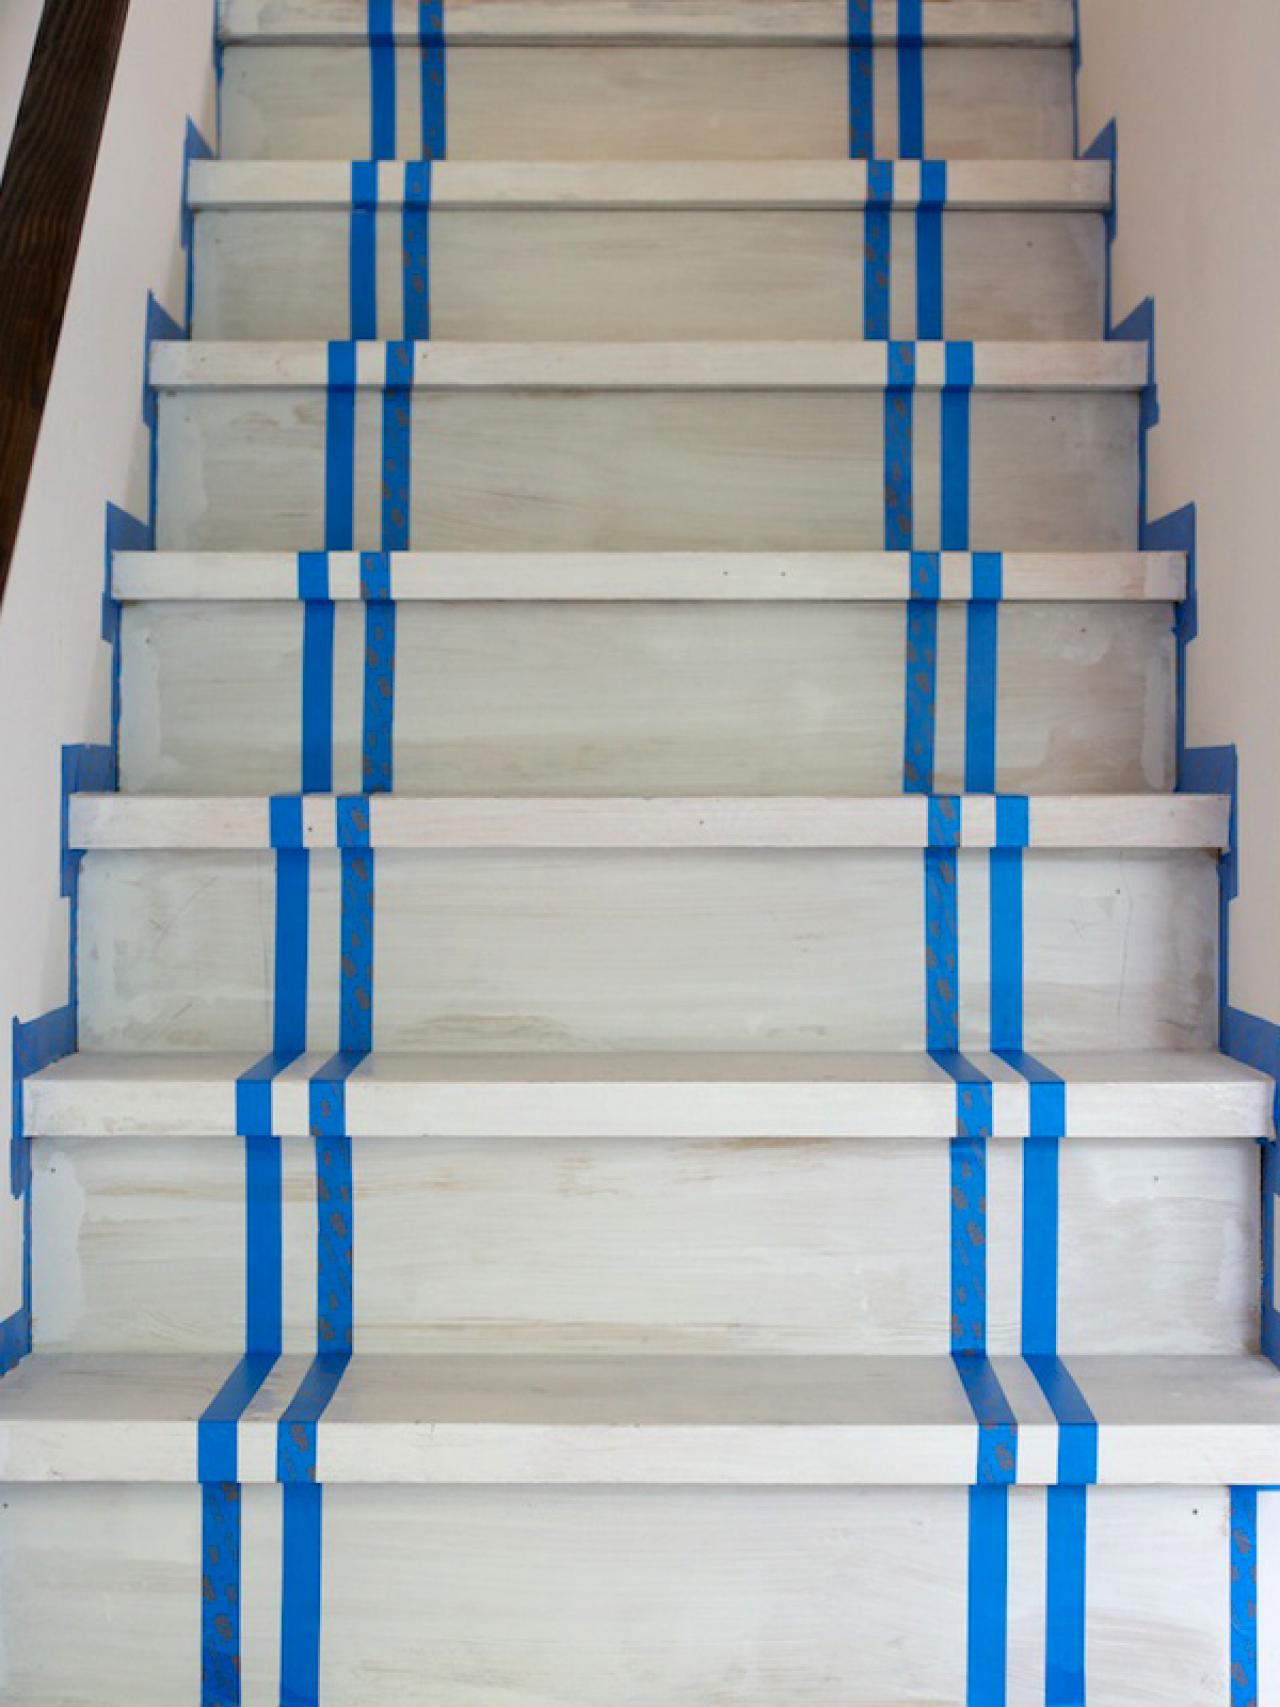
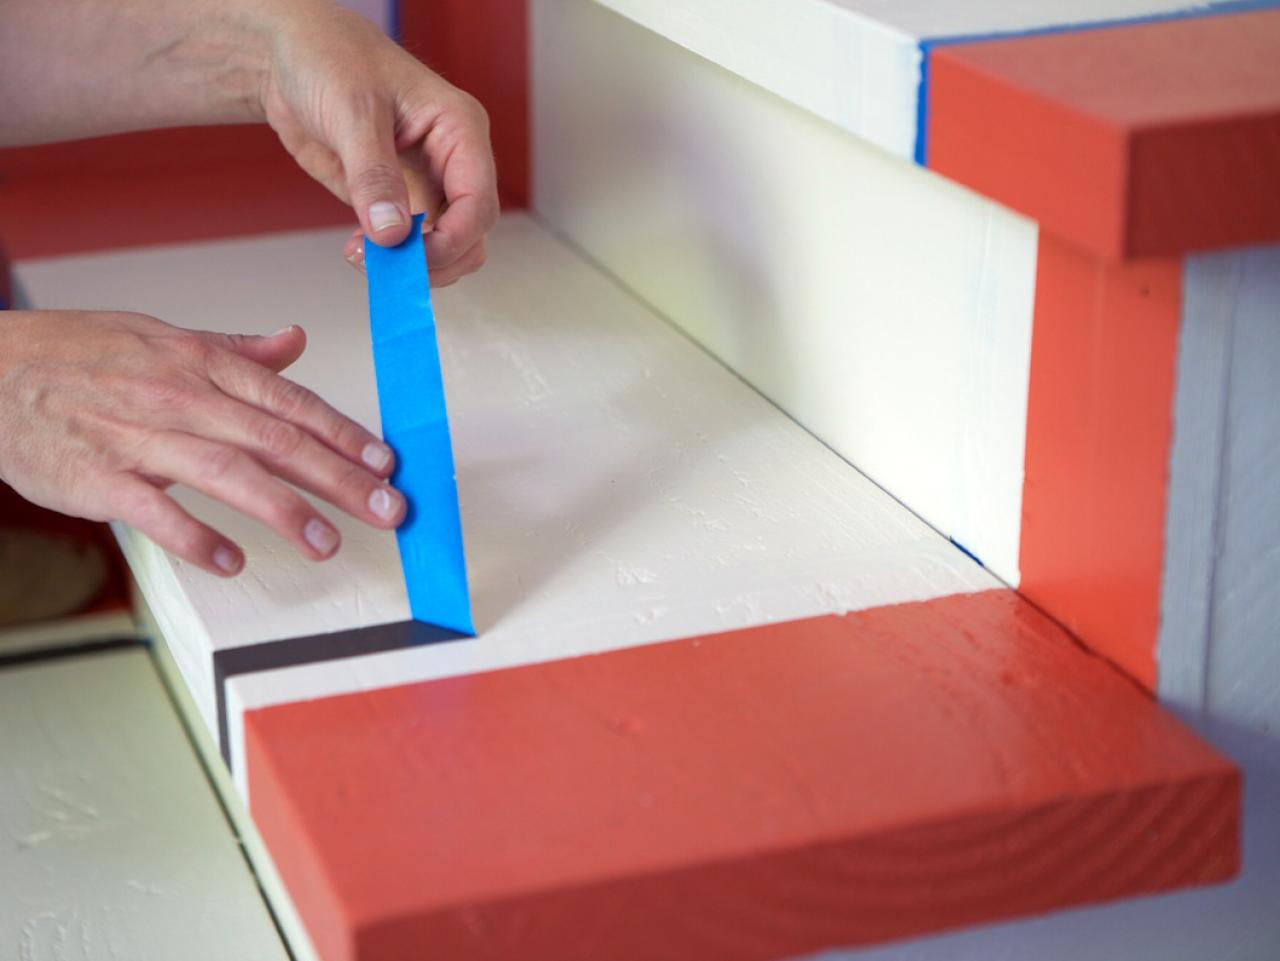
Step 3: Continue Taping
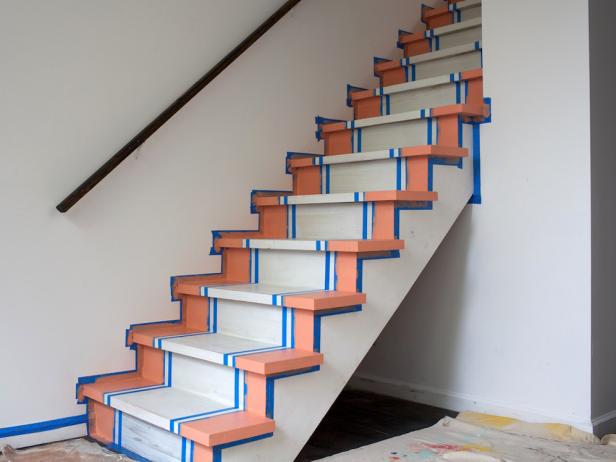
Tape the outer edges of the 1-inch stripe. Lay the tape up the risers onto all of the treads until you have the two stripes marked on the entire staircase taped. If necessary, tape the walls and stringers if you're not painting them.

Step 4: Apply Paint to Outer Edges
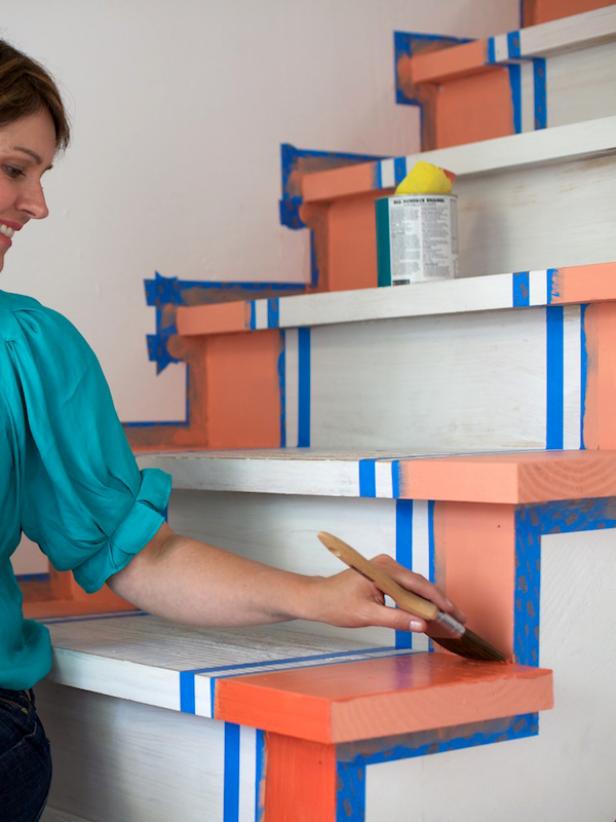
Paint the outside areas of the treads and risers. If necessary, apply two coats. We did our first coat in a coral undercoat, then came back and topped it in a coat of red.
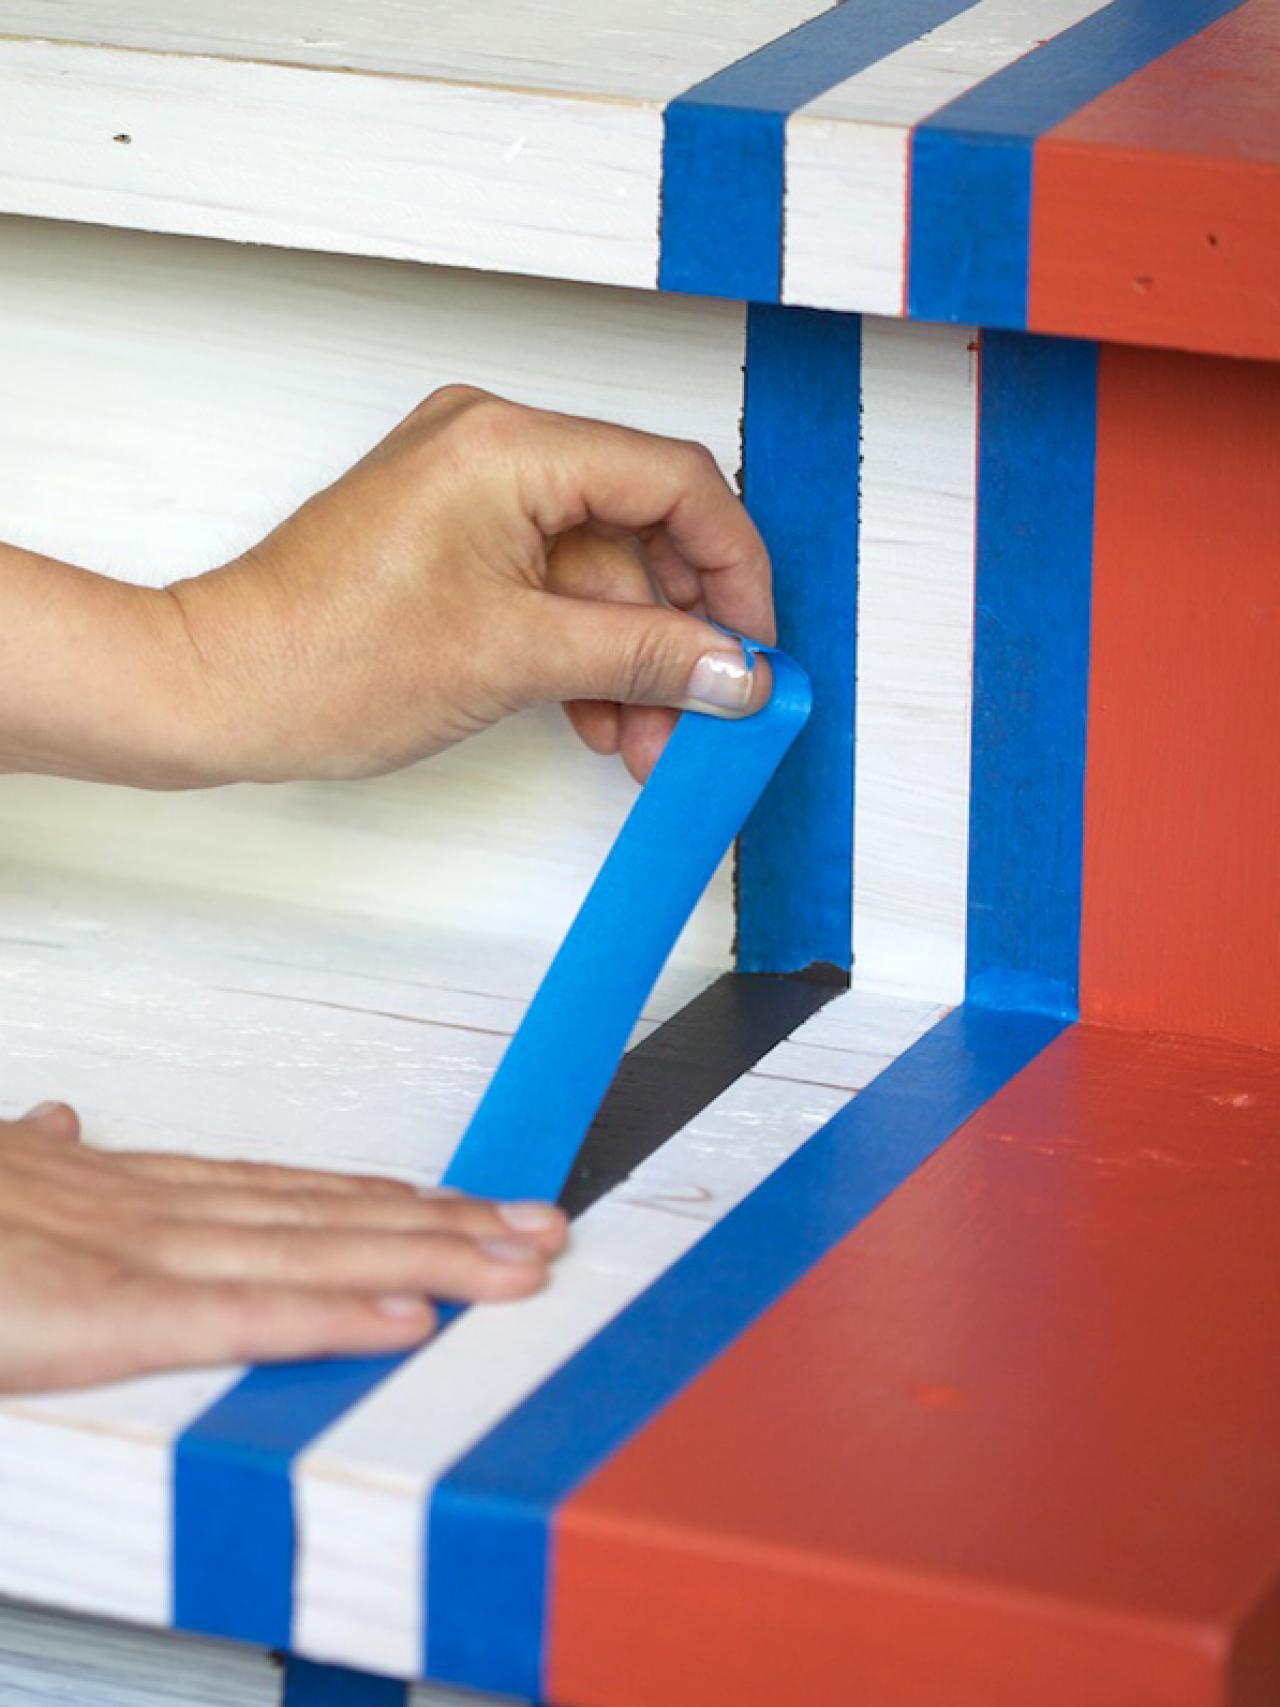
Step 5: Paint the Black Stripe
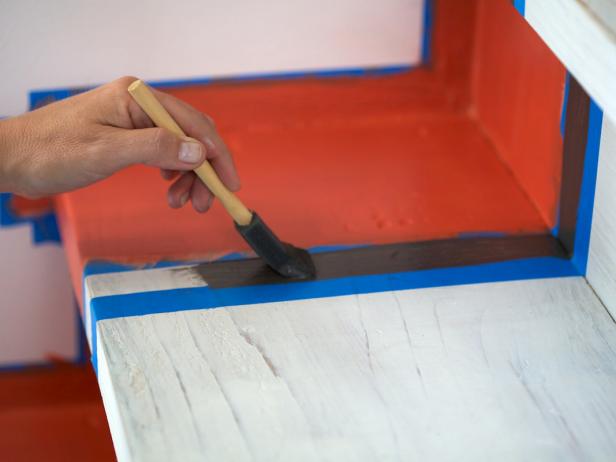
Paint the 1-inch stripe. We used black paint and applied it with a foam brush. Remove the tape and let these sections dry thoroughly.

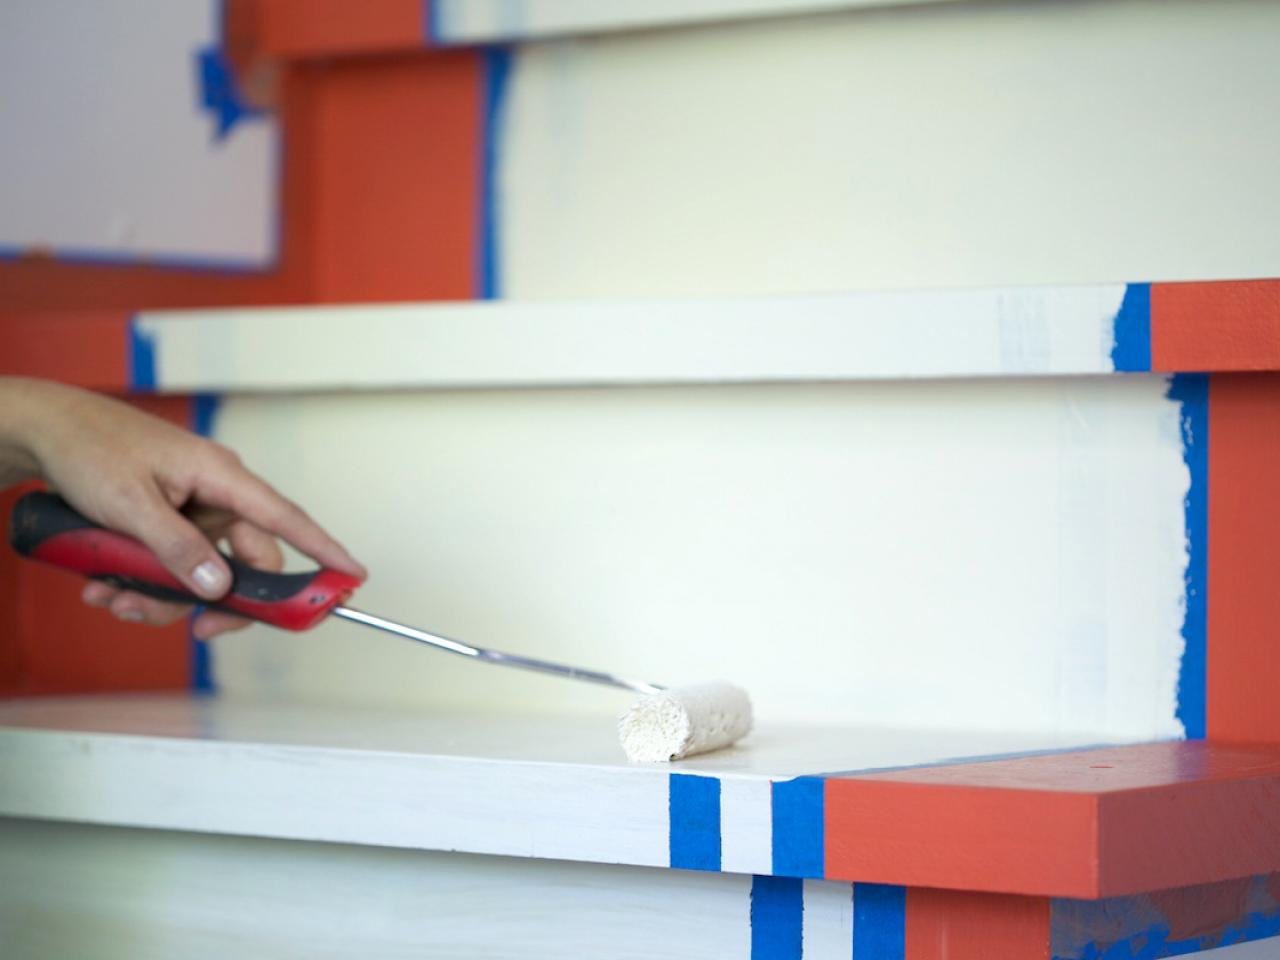
Step 6: Paint the White Stripe and Center Section
When the paint is totally dry, tape off the black stripe and red section. Paint the remaining areas — the center of the tread and riser, as well as the 1-inch stripe between the black and red.


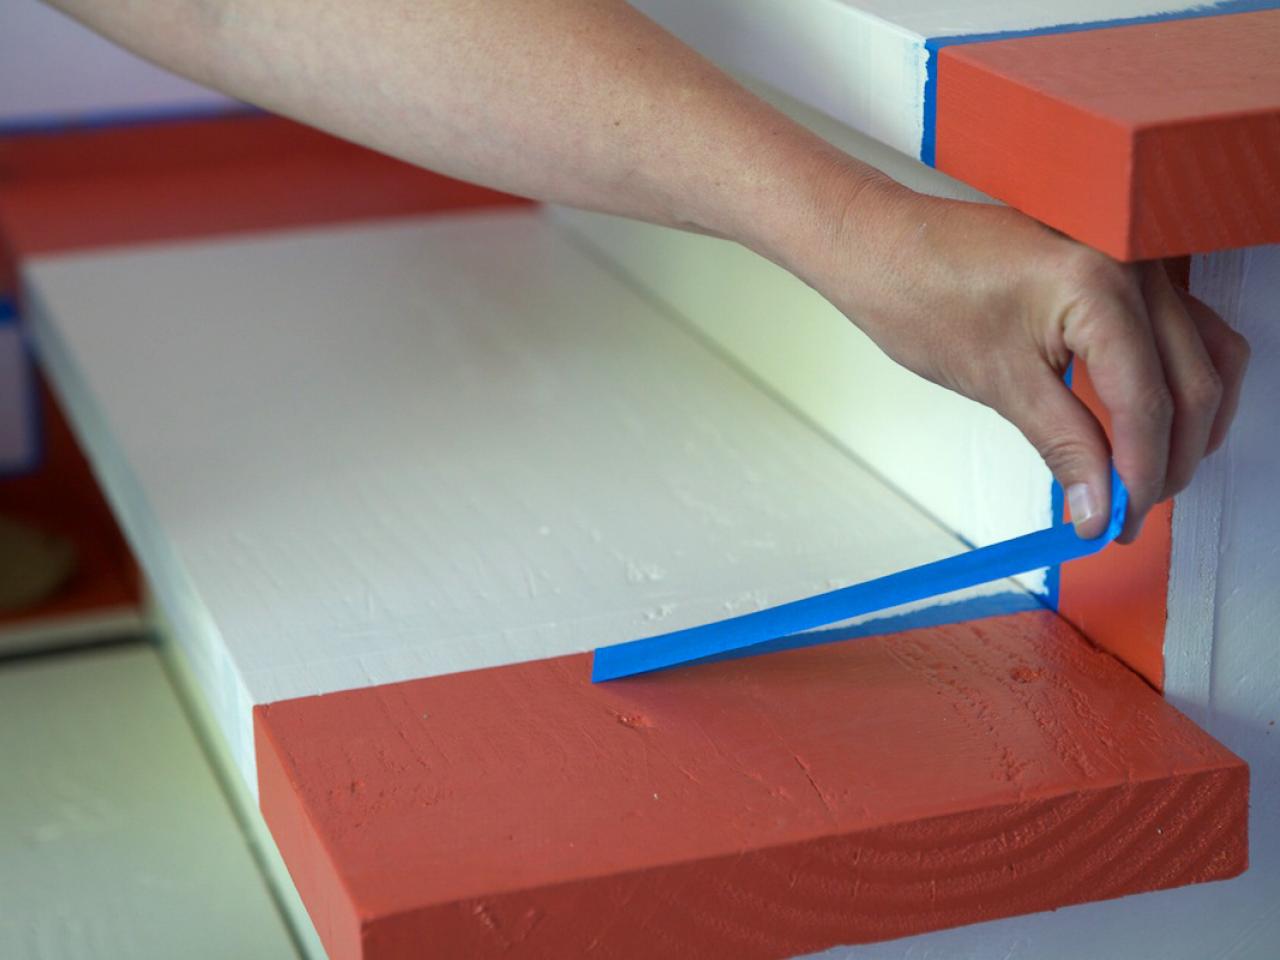
Step 7: Let Dry
Remove the tape and let these sections dry thoroughly.


Step 8: Stamp the Risers
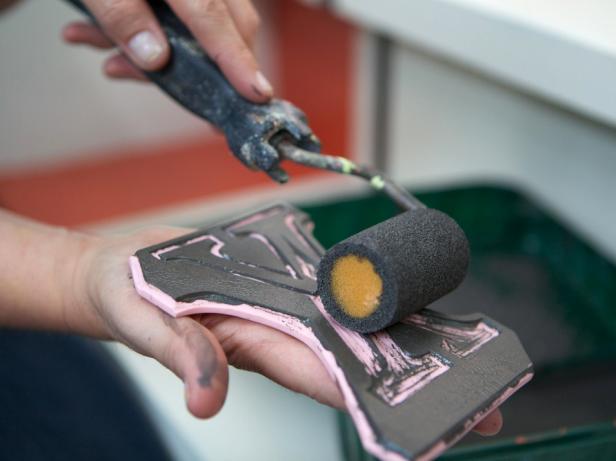
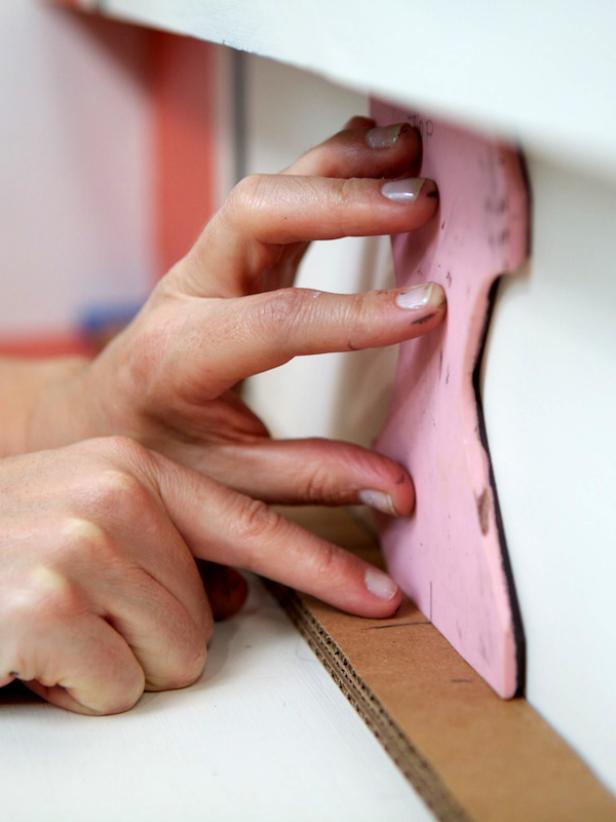
Make a template so your stamps or stencils will be uniformly spaced on the risers. To make our template, we stacked cardboard about 1/2 inch thick and made it the length of the stair treads. Make a strong pencil mark on the cardboard at the center point of the stair trend to help you line up your stamp or stencil on every riser. Place the template on the tread to support the stamp and provide the center mark for the riser.
Use a mini foam roller to apply black paint to the stamp. Line up the center of the stamp with the center mark on the template and press it into place, pushing evenly on all areas of the stamp.
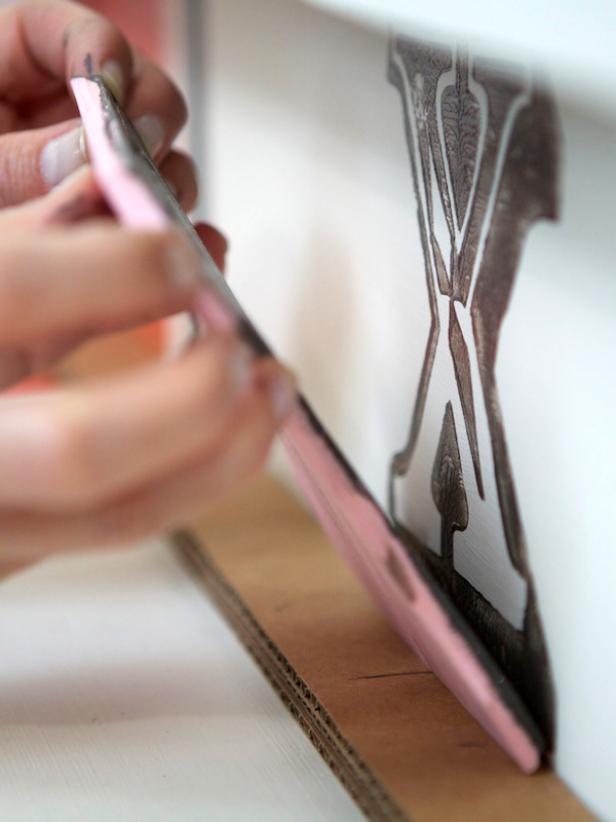
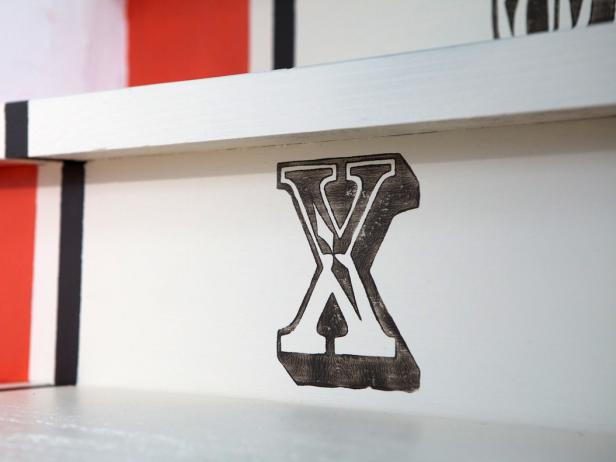
Step 9: Finish the Risers
Repeat until all risers are stamped


Staircase Know-How and Design Ideas 28 Photos
Planning a staircase update? Know your options and learn the lingo before you talk to a contractor or a designer.


