


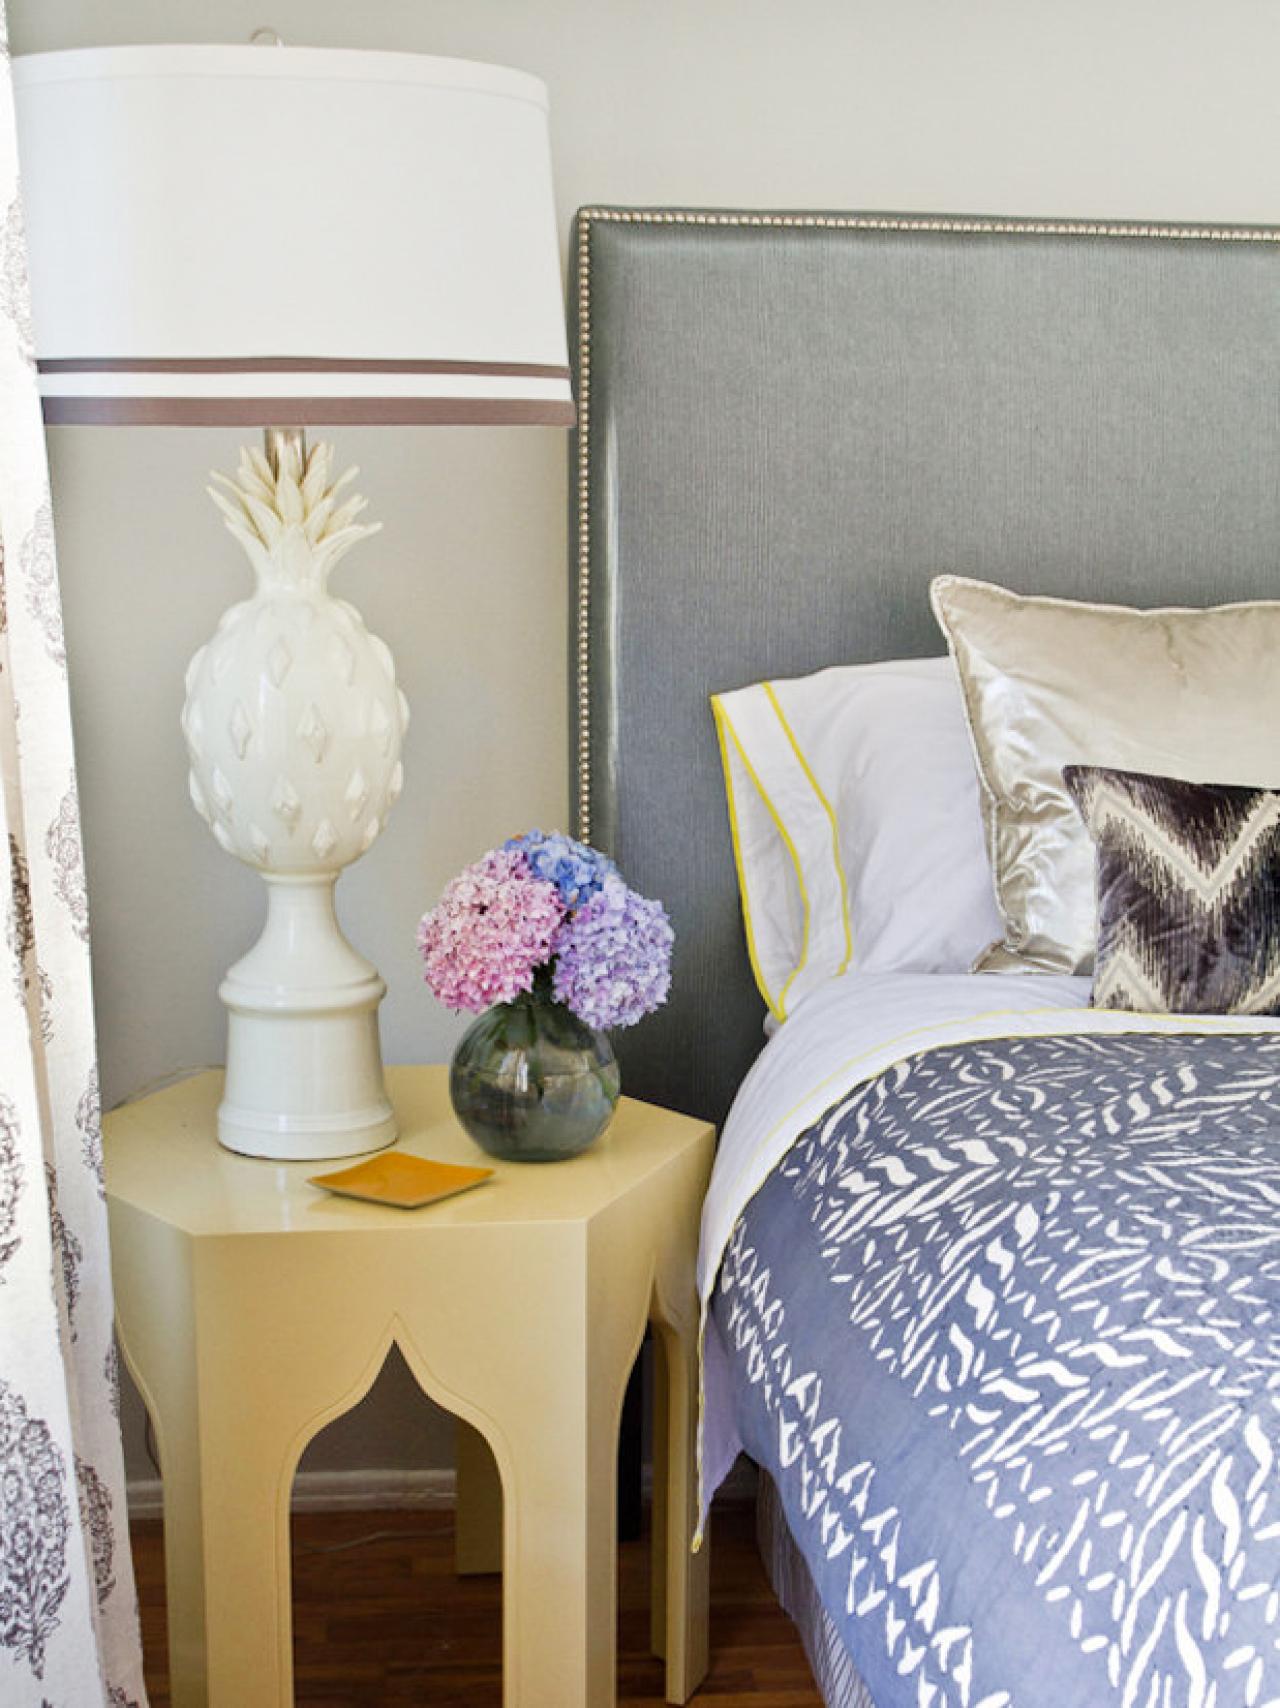
How to Upholster a No-Sew Headboard

Materials Needed:
- decorative fabric (about 2-1/2 yards for queen, 3 yards for king)
- backing fabric (about 2-1/2 yards for queen, 3 yards for king)
- upholstery webbing
- felt padding
- webbing pull
- staple gun and upholstery staples
- polyester fiber
- foam and fabric spray adhesive
- upholstery tack strips
- yardstick
- hammer
- 2x4 wood boards
- 4x4 wood post
- radial arm saw
- wood stain
- wood screws
- electric screwdriver
- decorative nail head trim
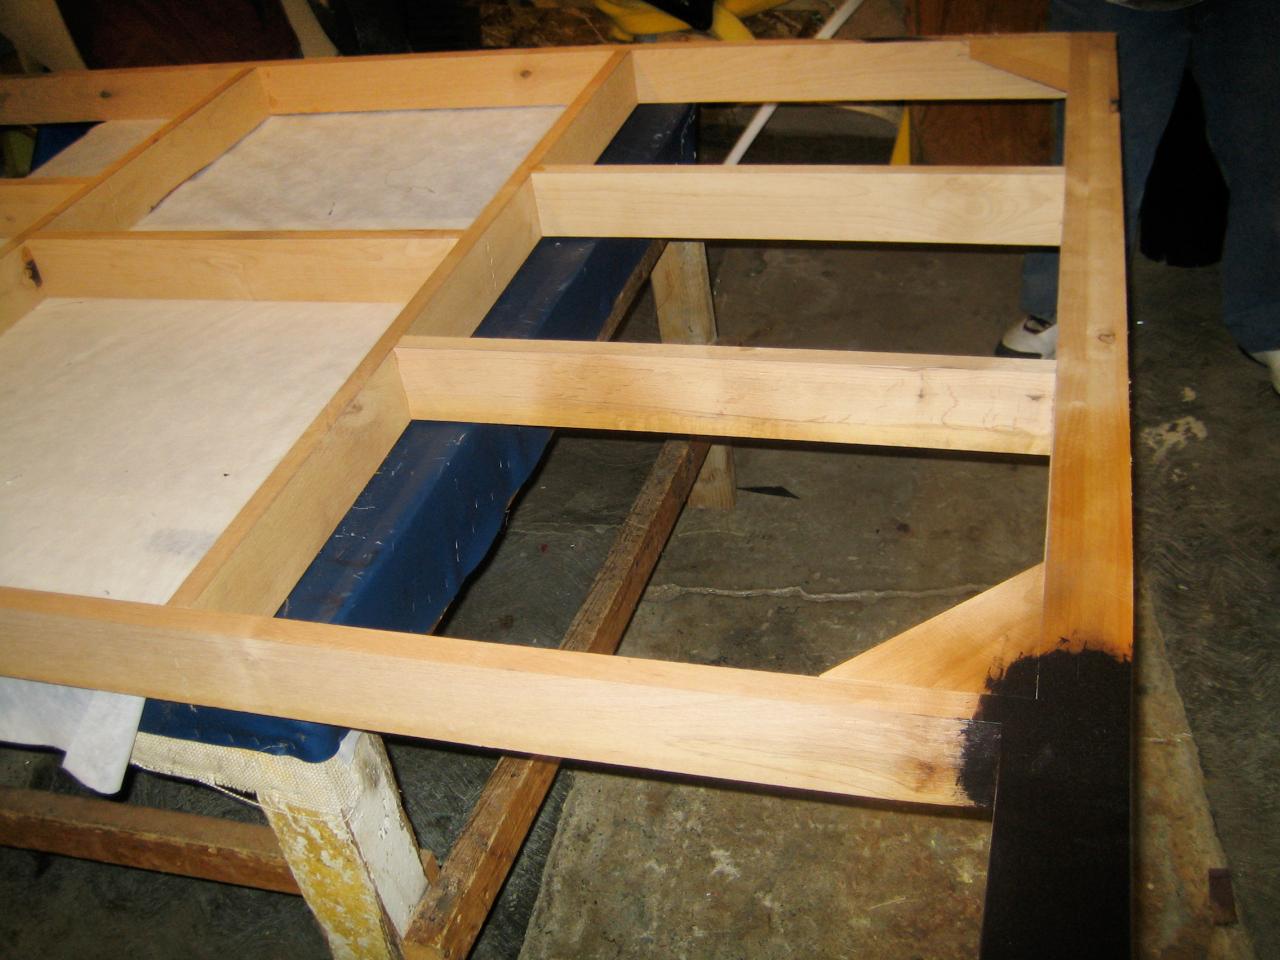
Construct Wooden Frame
Determine necessary size of headboard frame, which is dependent on mattress size (queen-size headboards are approximately 64x50 inches tall, kings are 80x50 inches tall). Next, determine how tall and thick you want the headboard — our headboard is 50x4 inches with 10-inch tall legs made from a 4x4 post. Cut 2x4 wood boards to size for constructing the size headboard you need. Add two vertical supports every 24 inches or evenly spaced across the headboard. Place two horizontal supports on each side of the headboard, and one horizontal support in the middle. Cut two 4x4 wood posts to the preferred leg height then attach them to the bottom of the frame with wood screws. Stain the legs to your color preference; we used a satin-finish espresso stain.

Cut Upholstery Webbing
Cut six strips of webbing allowing for three strips to be placed one foot apart horizontally and three strips to be placed one foot apart vertically.
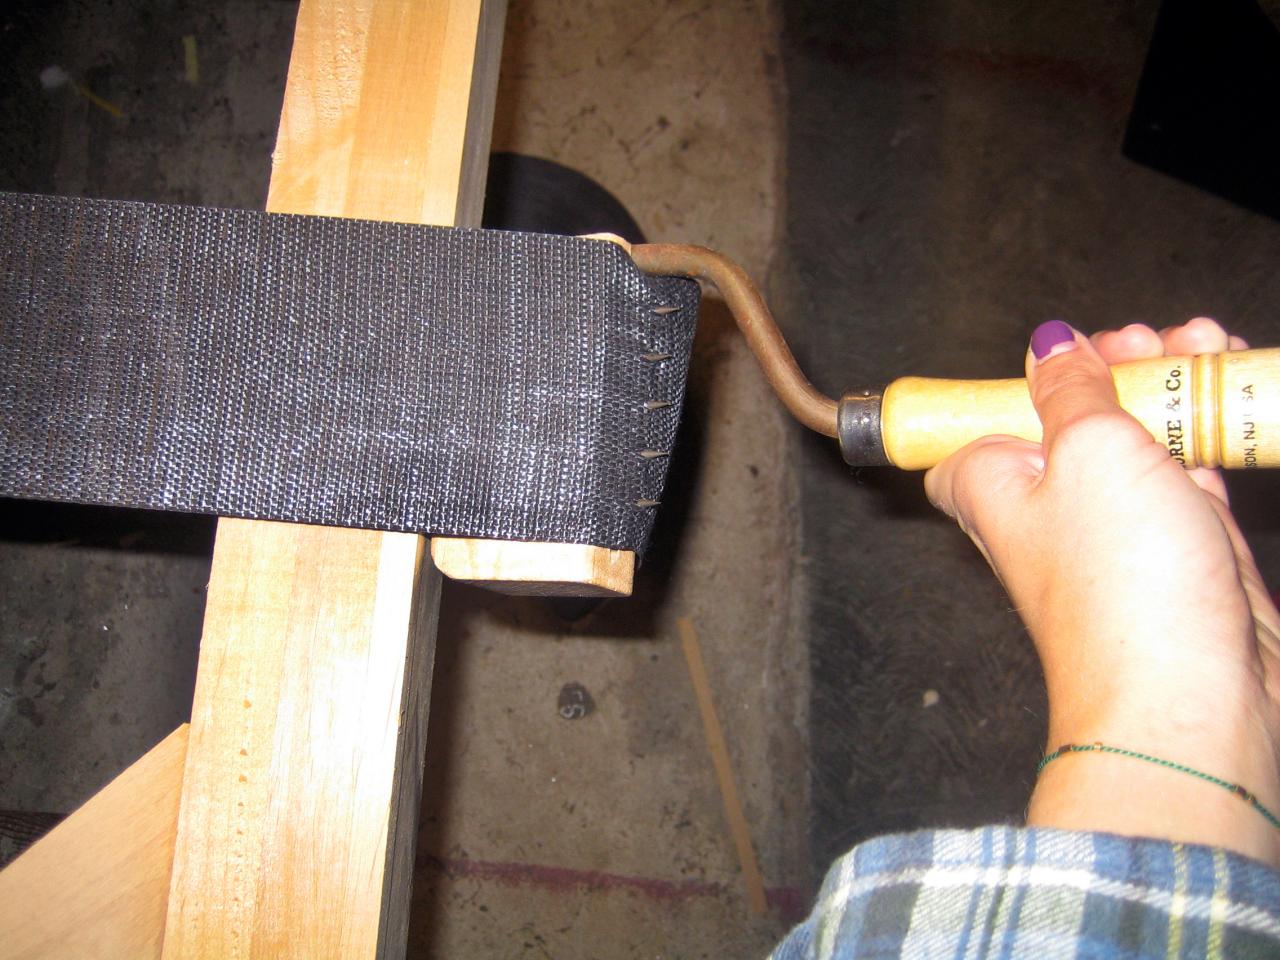
Staple Webbing
Starting at the top left corner of the headboard, staple one end of webbing to the upper-left corner of the headboard horizontally. Use a webbing pull to pull the webbing tight to the opposite side of the headboard and staple to frame.

Continue Adding Webbing
Repeat the above step, adding two more horizontal strips of webbing, leaving approximately 1 foot between each strip.
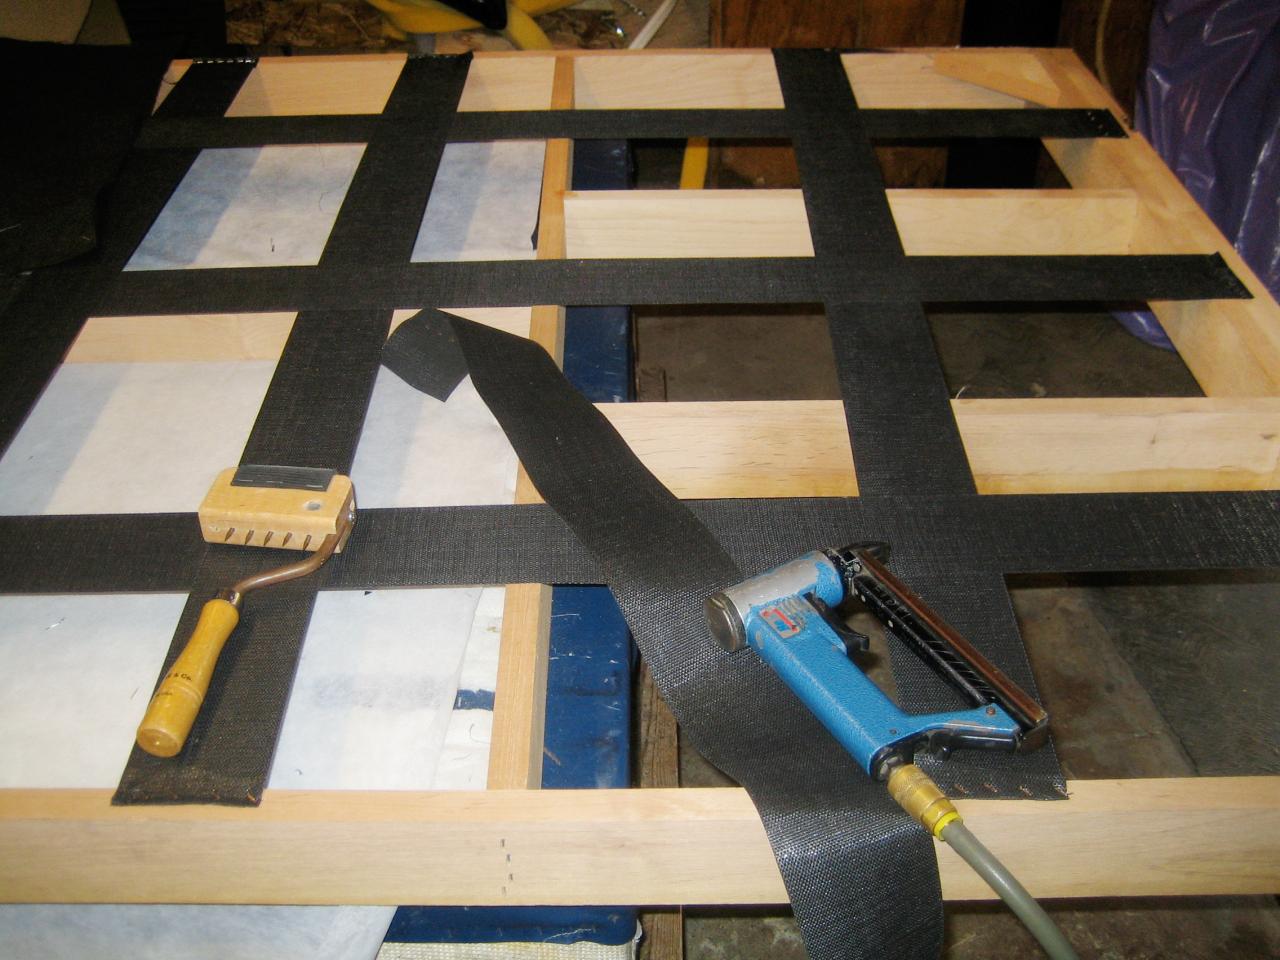
Weave Webbing
Starting at the upper left corner of the headboard, staple one strip of webbing to the top of the frame vertically. Weave the webbing strip over and under horizontal strips of webbing and staple to bottom of frame. Repeat using two other strips of webbing, spacing the strips approximately 1 foot apart vertically.

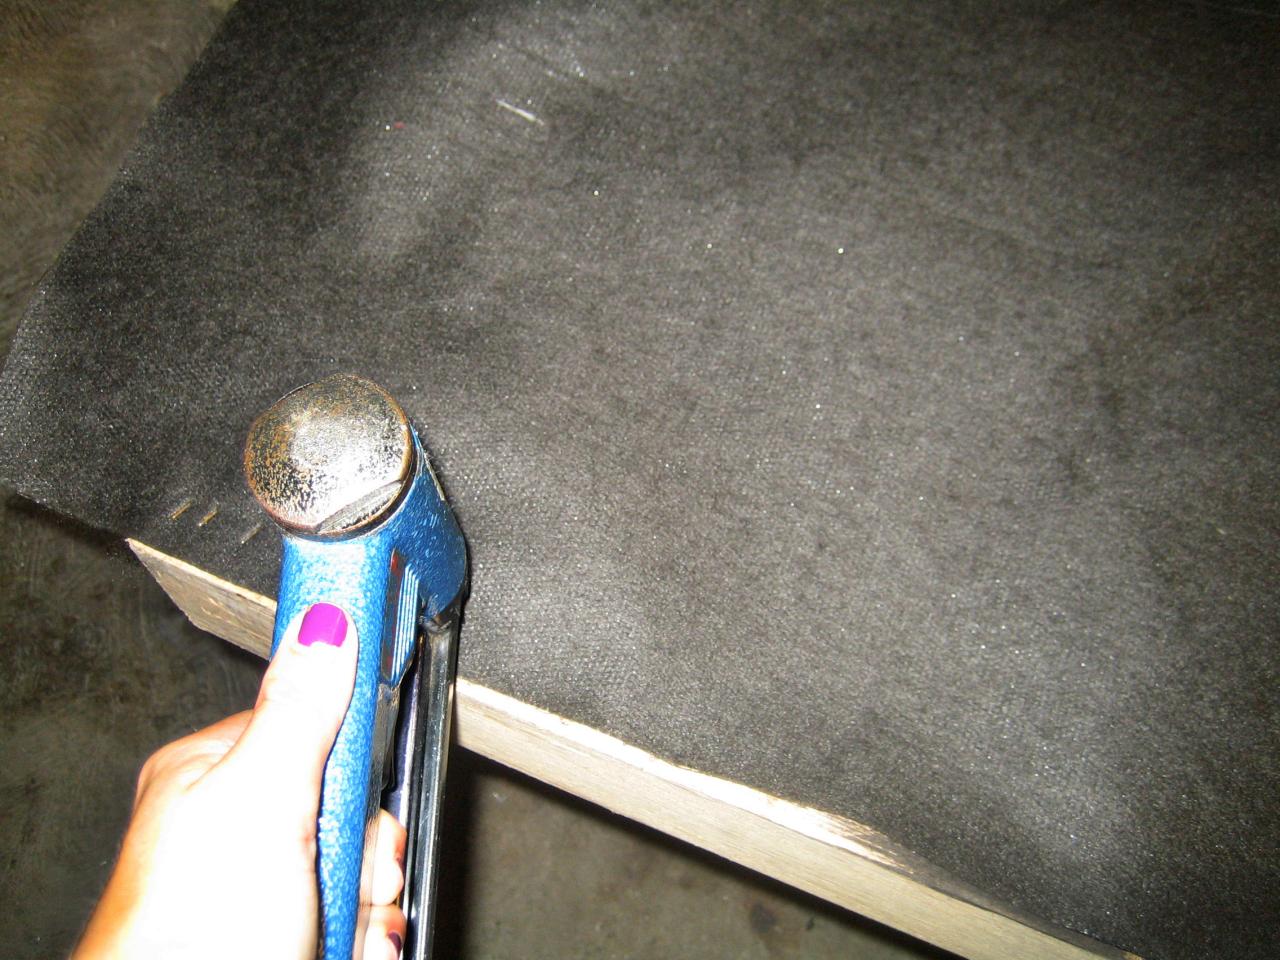
Apply Felt Padding
Measure felt padding to cover the length and width of the headboard frame and cut to size. Staple felt padding to headboard using a staple gun and cut off excess.

Cut Foam Padding
Cut 1-inch thick foam padding to size of headboard using a knife and yardstick to ensure cutting a straight line.

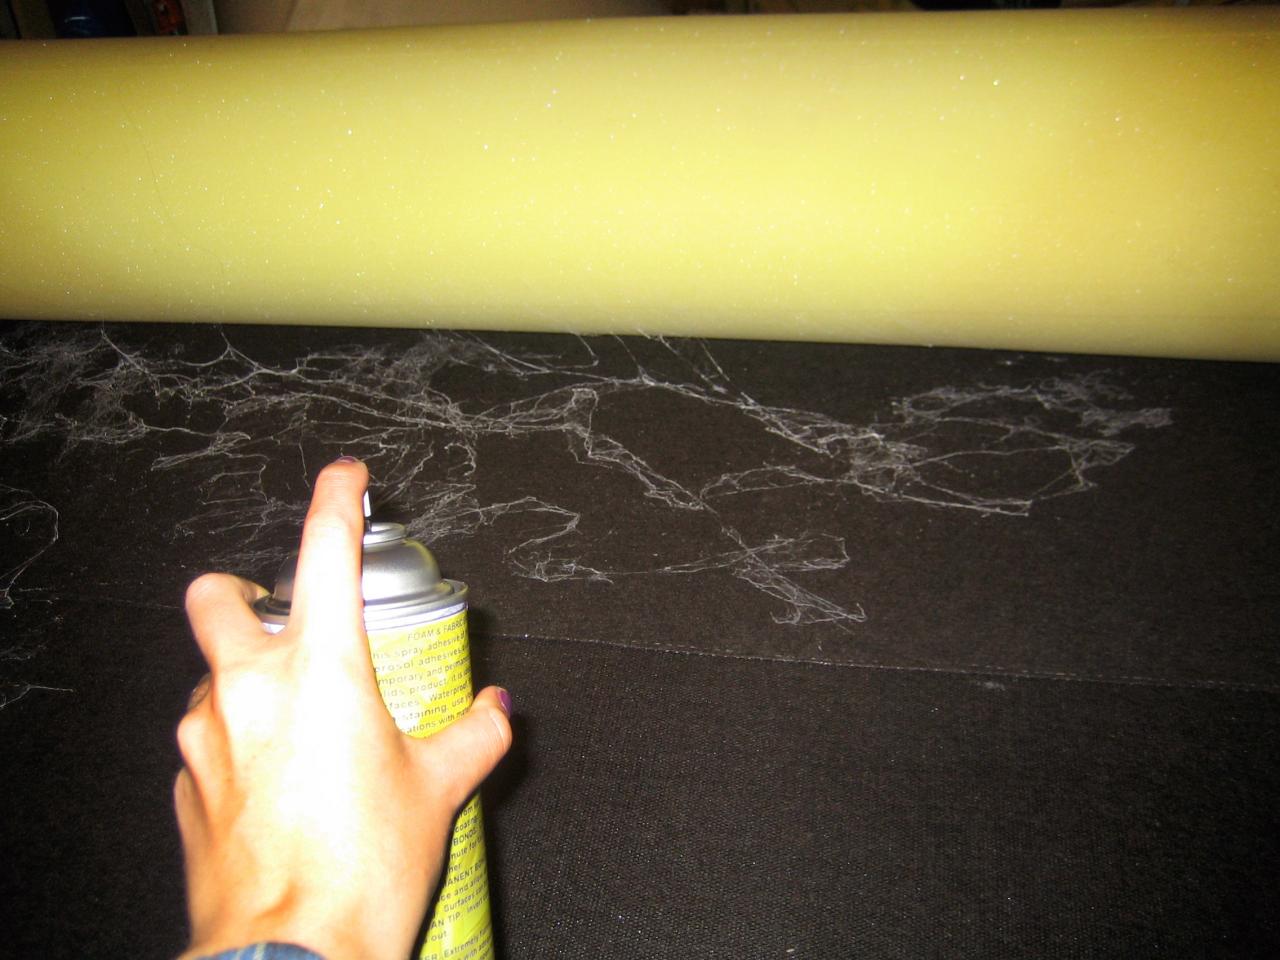
Glue Foam Padding
Attach foam padding to the headboard using spray glue such as foam and fabric spray adhesive.

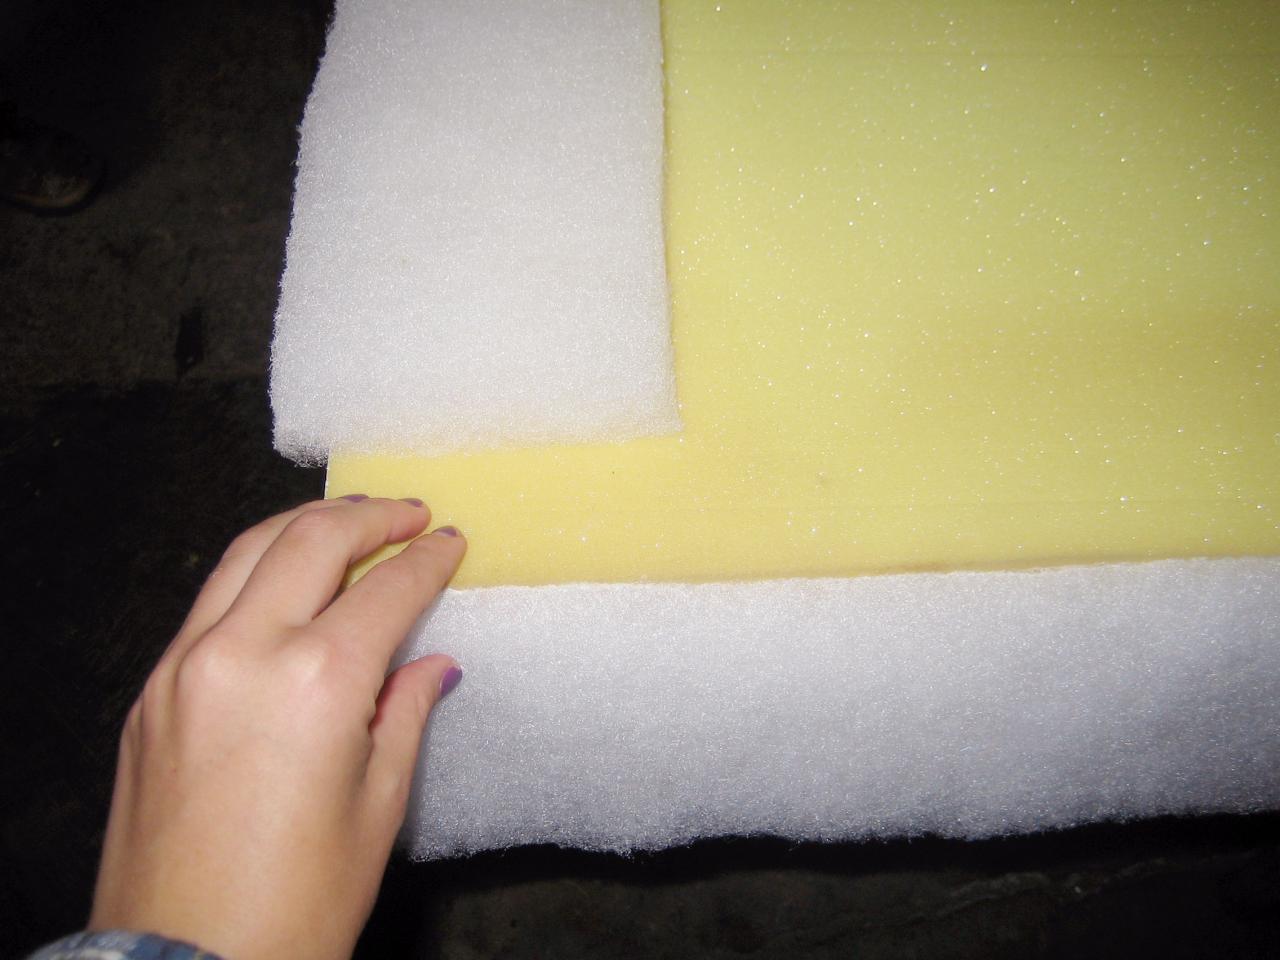
Add Polyester Fiber
Wrap polyester fiber around the edge of the headboard and glue the sides of the fiber to the headboard with spray adhesive.

Measure and Cut Decorative Fabric
Cut the decorative fabric to fit the length and width of wooden frame, allowing excess fabric for wrapping it around the edges and attaching it to the back of the headboard. We allowed a 6-inch overage on each side, so 12 inches total to the frame's width and height.
Attach Decorative Fabric
Wrap decorative fabric around the headboard's edge, stapling it onto backside, continuously pulling fabric taut as you staple. When wrapping the fabric around the legs, cut a 1-inch slit in the fabric on the inside of the leg and wrap the fabric under the headboard. Cut a 2- to 3-inch slit in the fabric on the top corners of the headboard and fold over before stapling to create a clean crease.

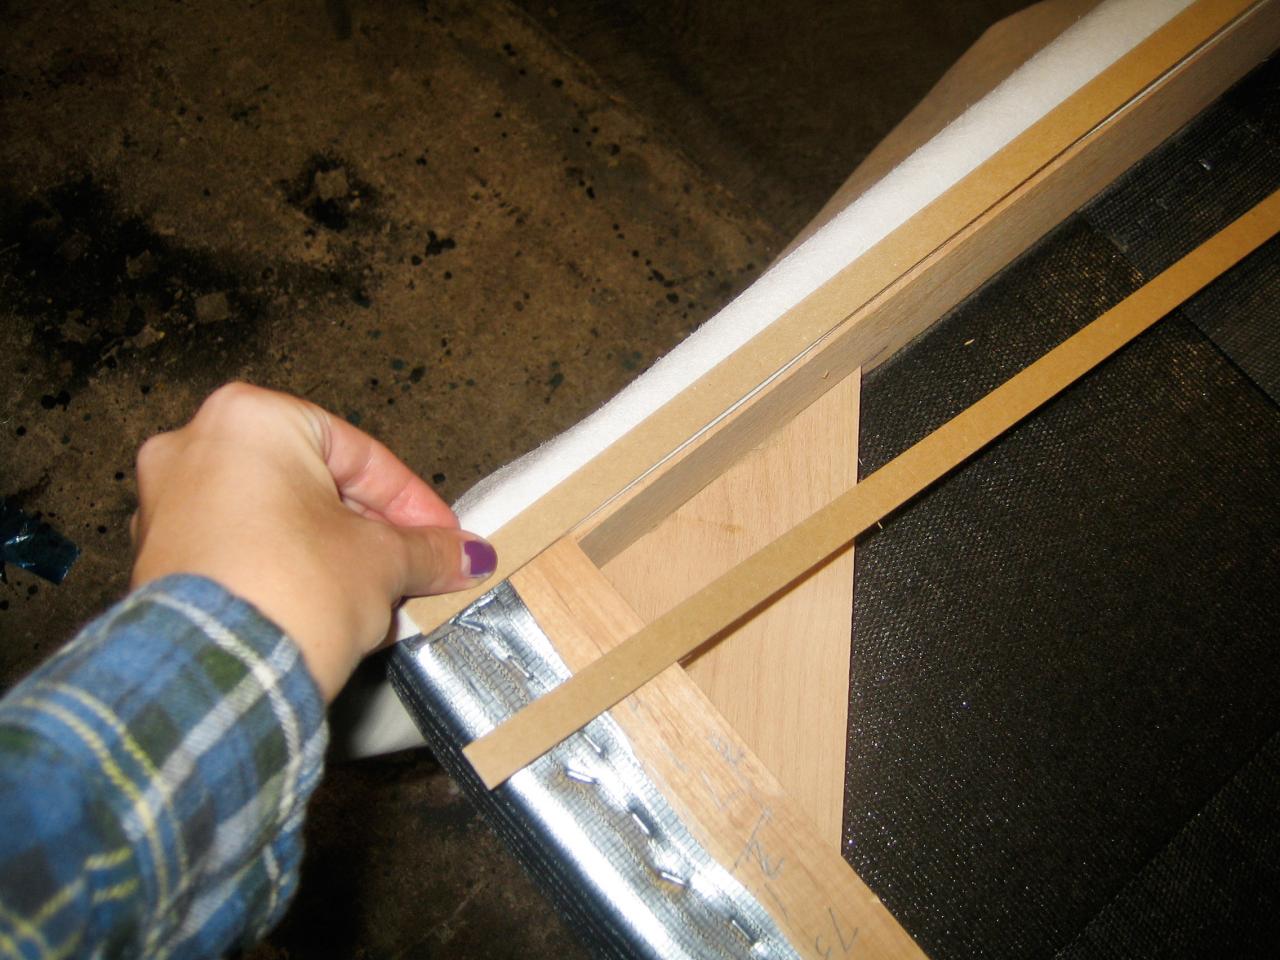
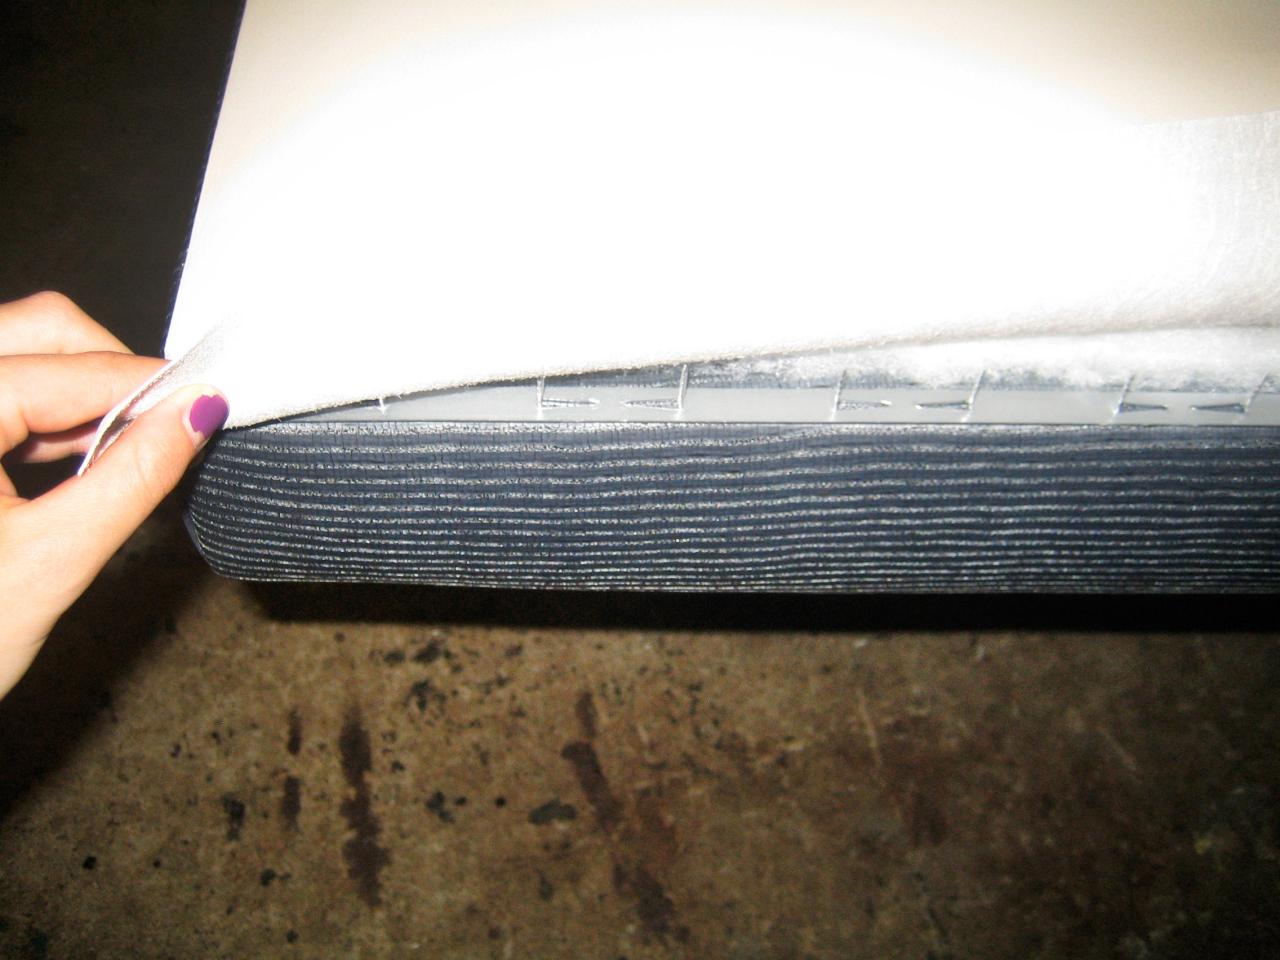
Attach Backing Fabric
Measure and cut backing fabric to fit the headboard, approximately 1/4-inch shorter on each side than the actual headboard. Staple the bottom edge of the fabric to the back top edge of the headboard. Measure and cut a narrow piece of cardboard that is the length of the headboard. Staple the piece of cardboard to the back top edge, on top of the backing fabric. When the fabric is folded over the cardboard, it will create a clean edge at the top of the headboard.

Apply Padding to Back of Headboard
Measure and cut felt padding and polyester fiber and staple to backside of headboard to cover the wooden frame. Fold the backing fabric over the piece of cardboard at the top and over the padding to cover the backside of the headboard.

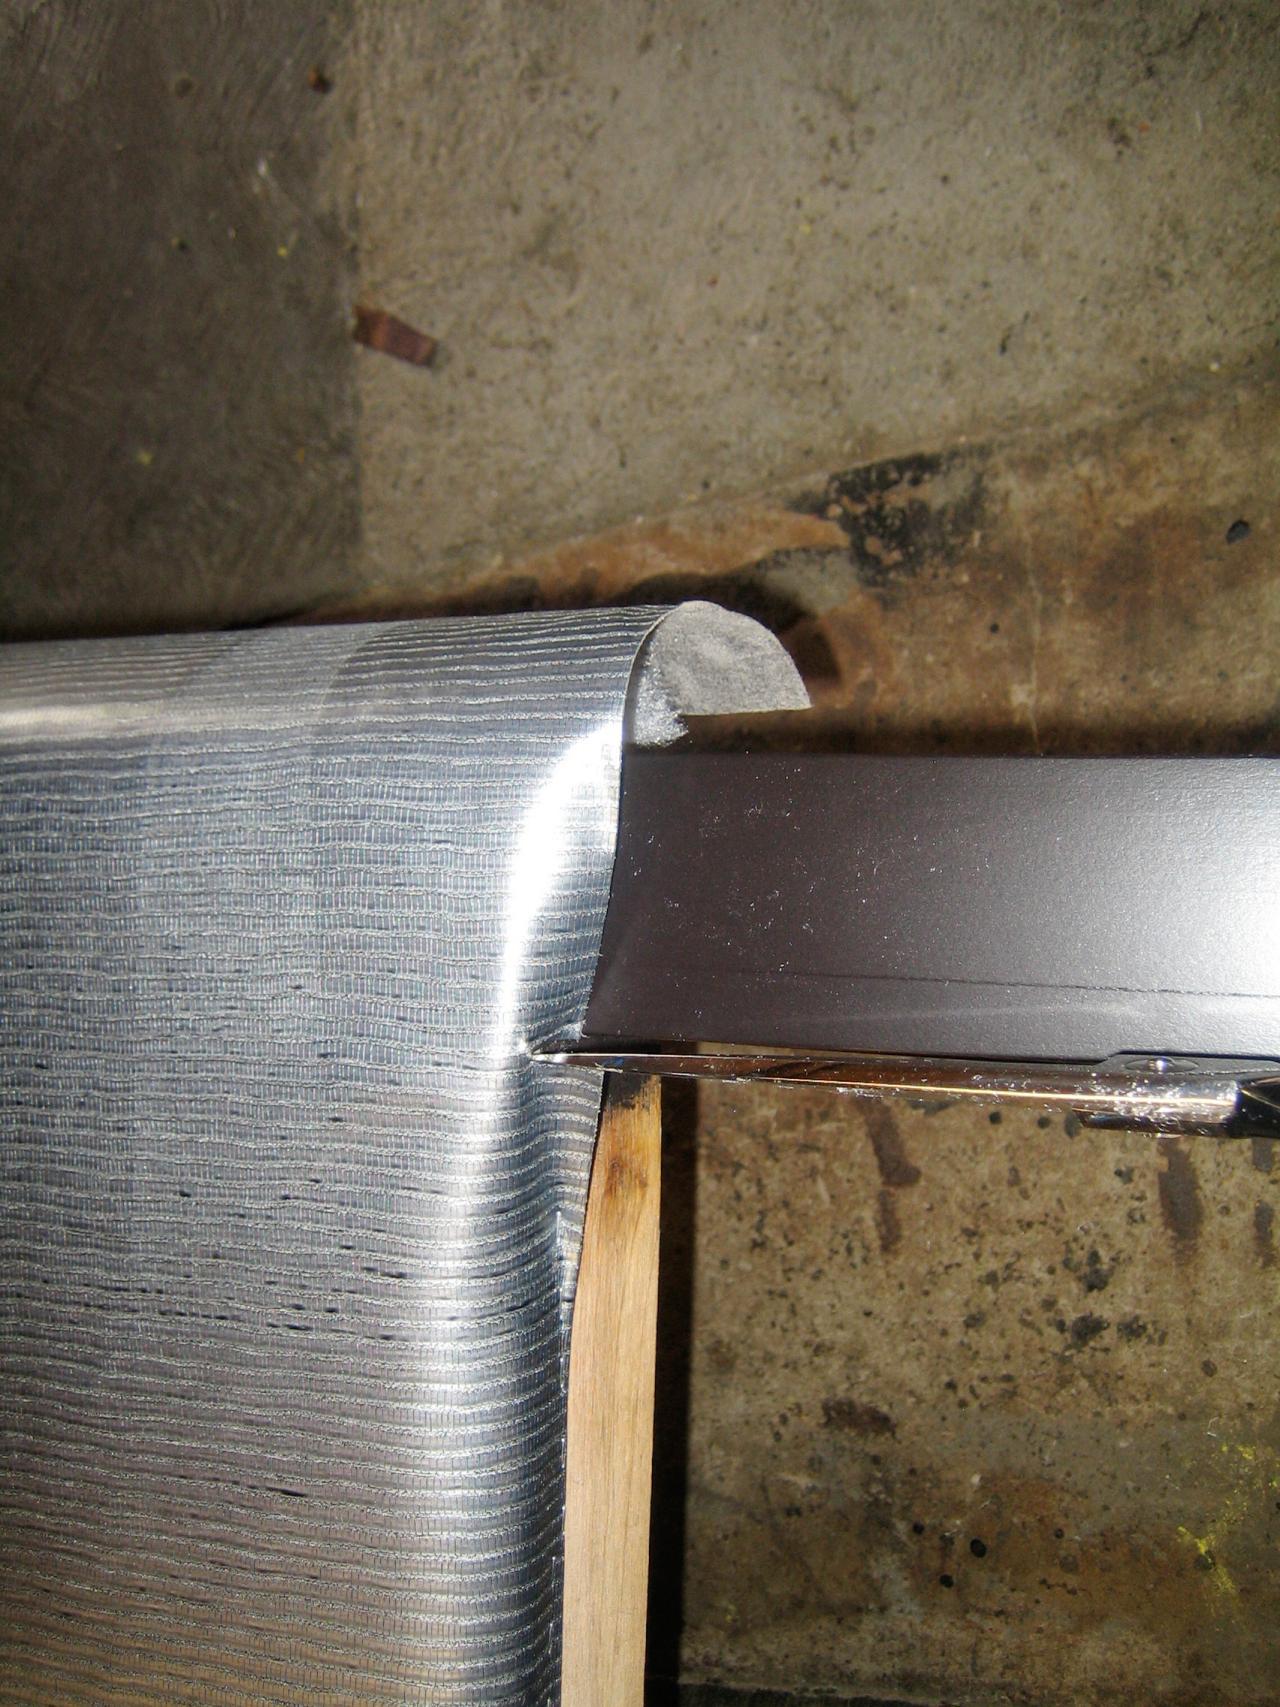
Secure Backing Fabric
Place upholstery tack strips face up around the border of the backside of the headboard. Punch the nails on the tack strip through the backing fabric. Fold the tack strips over so the nails are going into the headboard frame. Hammer the tack strips into the headboard to create a clean line all the way around.
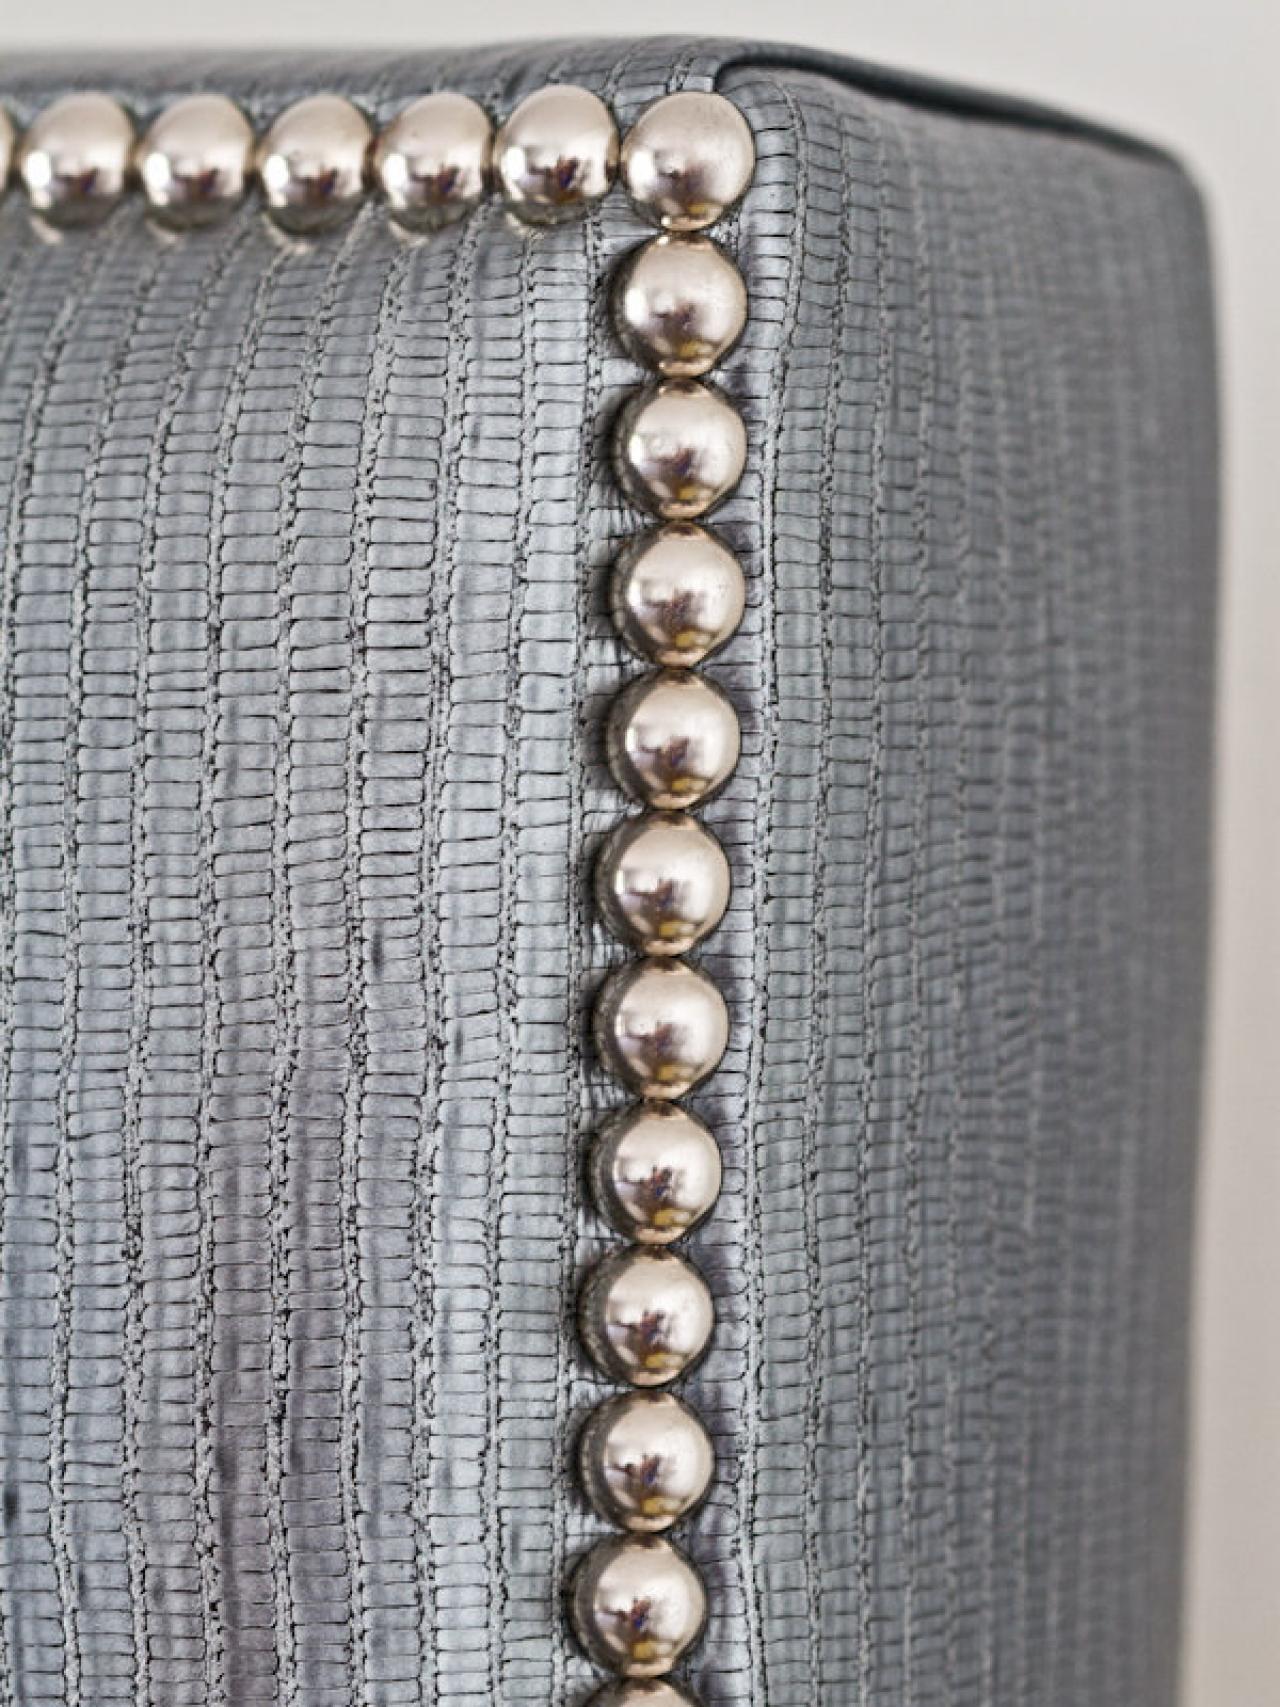
Apply Nailhead Trim
Pick a starting point at the bottom left corner of the front of headboard. With a pencil and yardstick, draw a straight line up along the edge of the headboard. Continue this line across the top of the headboard and down the other side to ensure the layout of the nailheads will be the same distance from the border all the way around. Hammer the nailheads along the line with equal spacing between each one.


