


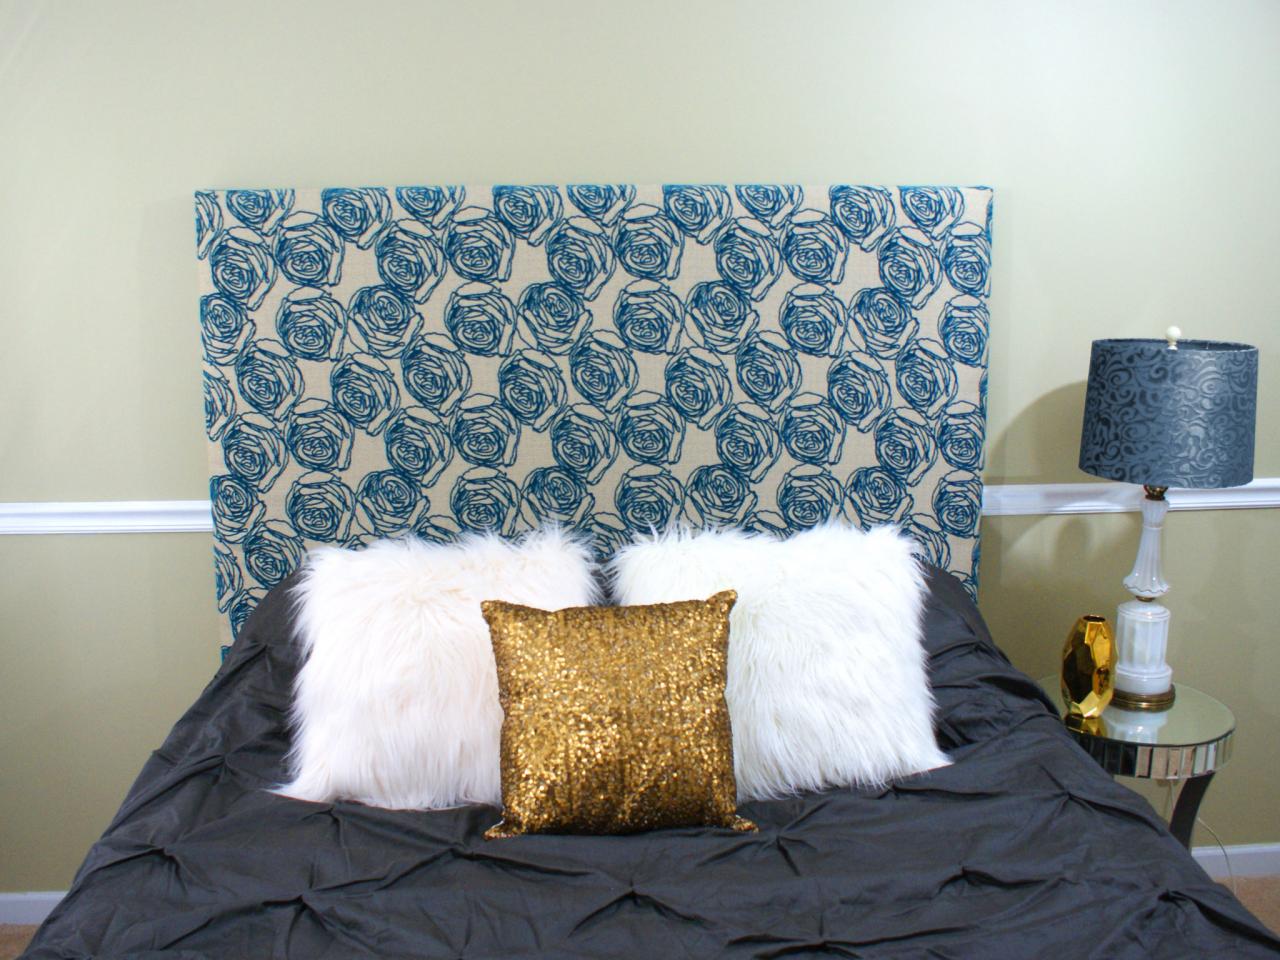
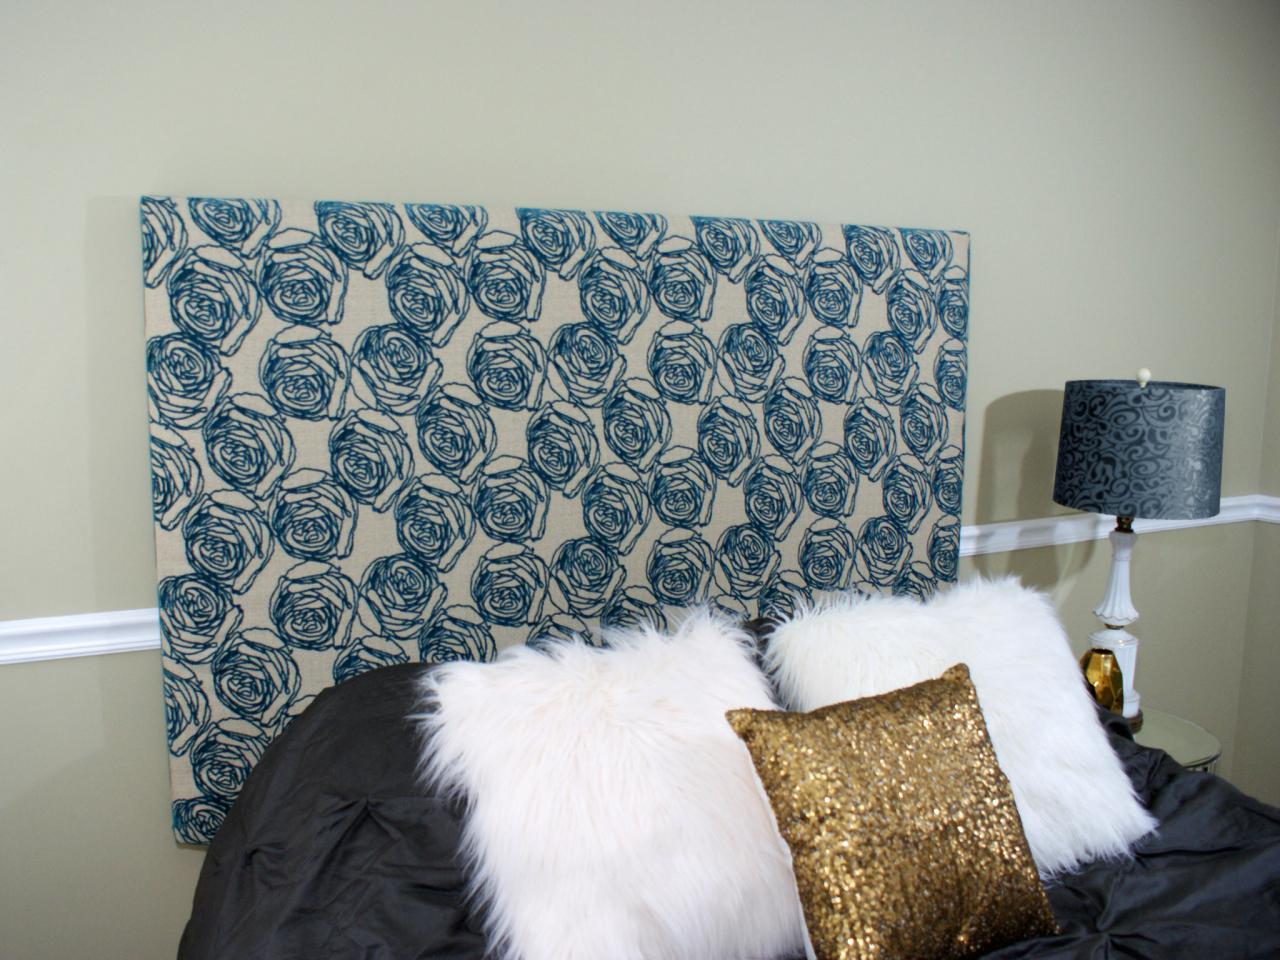
Headboard 101: Making a Simple Upholstered Headboard

Materials Needed:
- (1) sheet of 1/2" plywood
- (2) 2x2 8' boards
- (1) 2x6 8' board
- (22) 1 1/2" wood screws
- wood glue
- 2-3 3" clamps
- electric drill
- staple gun and staples
- 2 yards 54" white- or cream-colored cotton fabric
- 2 yards 54" upholstery fabric
- 1 1/2" or 2" foam batting
- framing square
- tape measure
- drop cloth
- miter or table saw (optional)
Cutting Plywood to Size
Building a headboard can be intimidating, but it is one of the easiest projects if you're new to building furniture. To get started, determine the size of your headboard. For this project, we are making a queen size bed with 64x40" dimensions. For a king size bed, use 80x40" dimensions and 42x40" dimensions for a twin size bed.
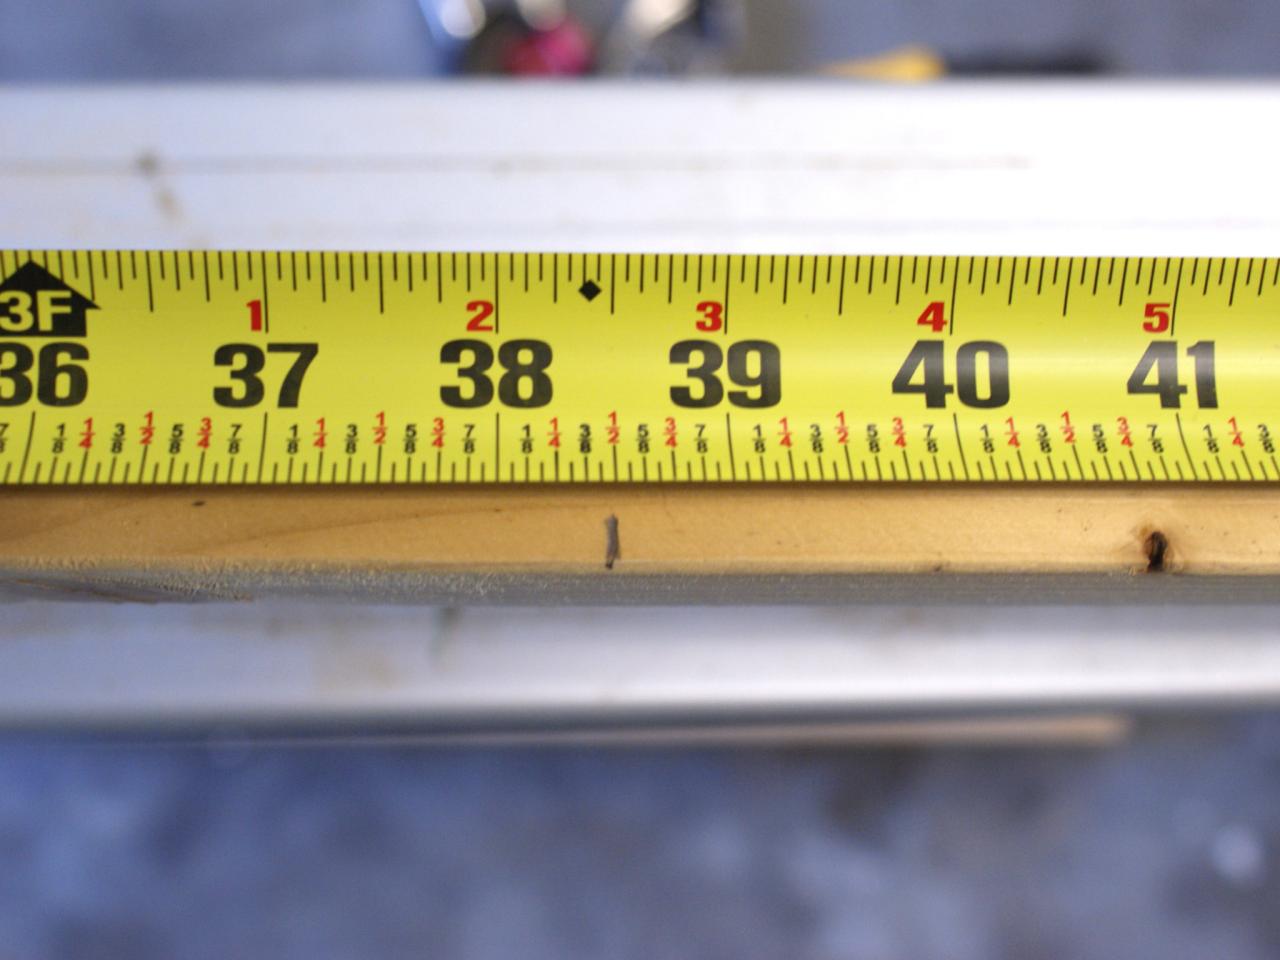
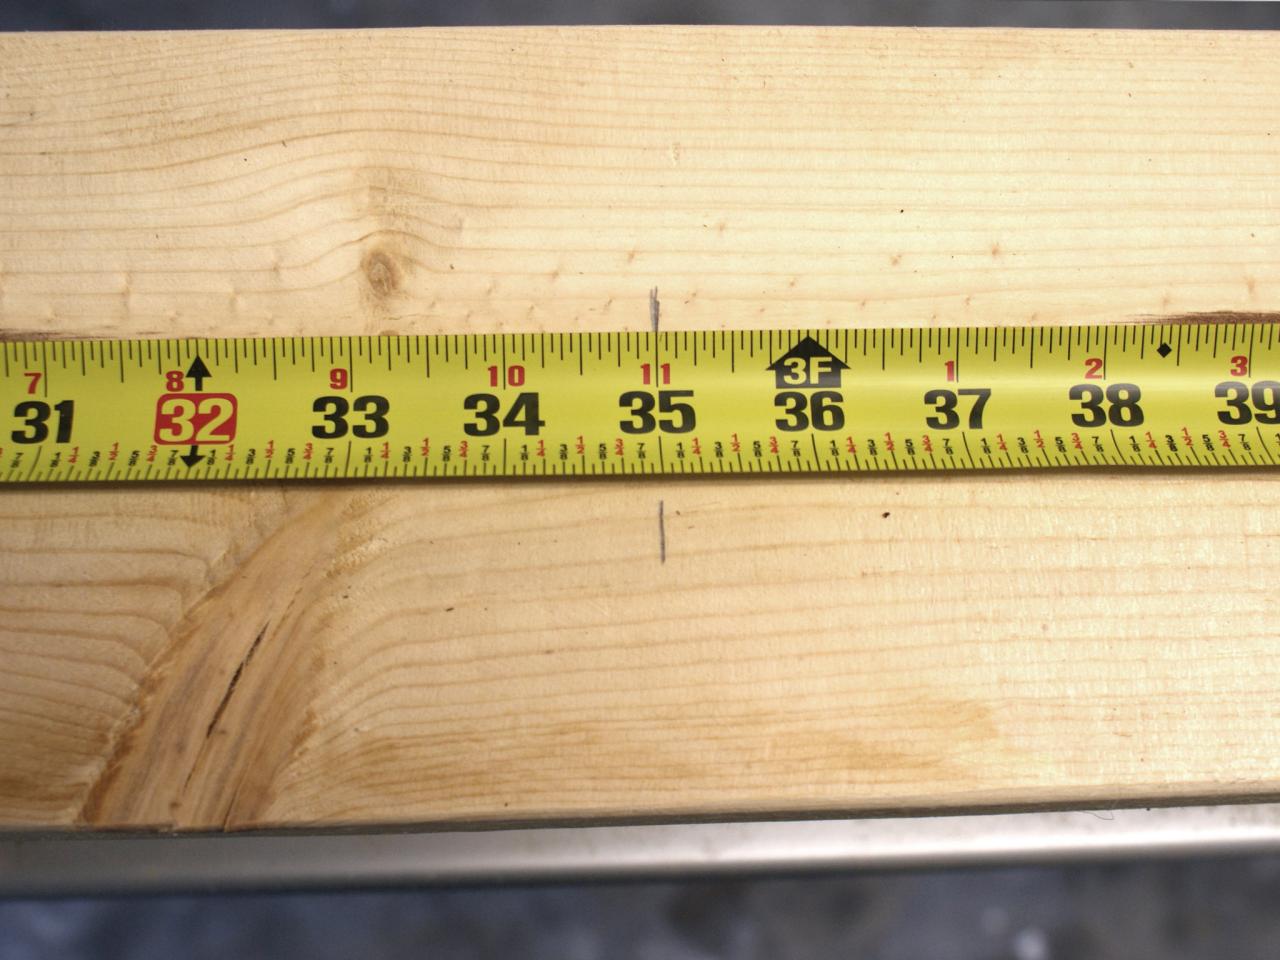
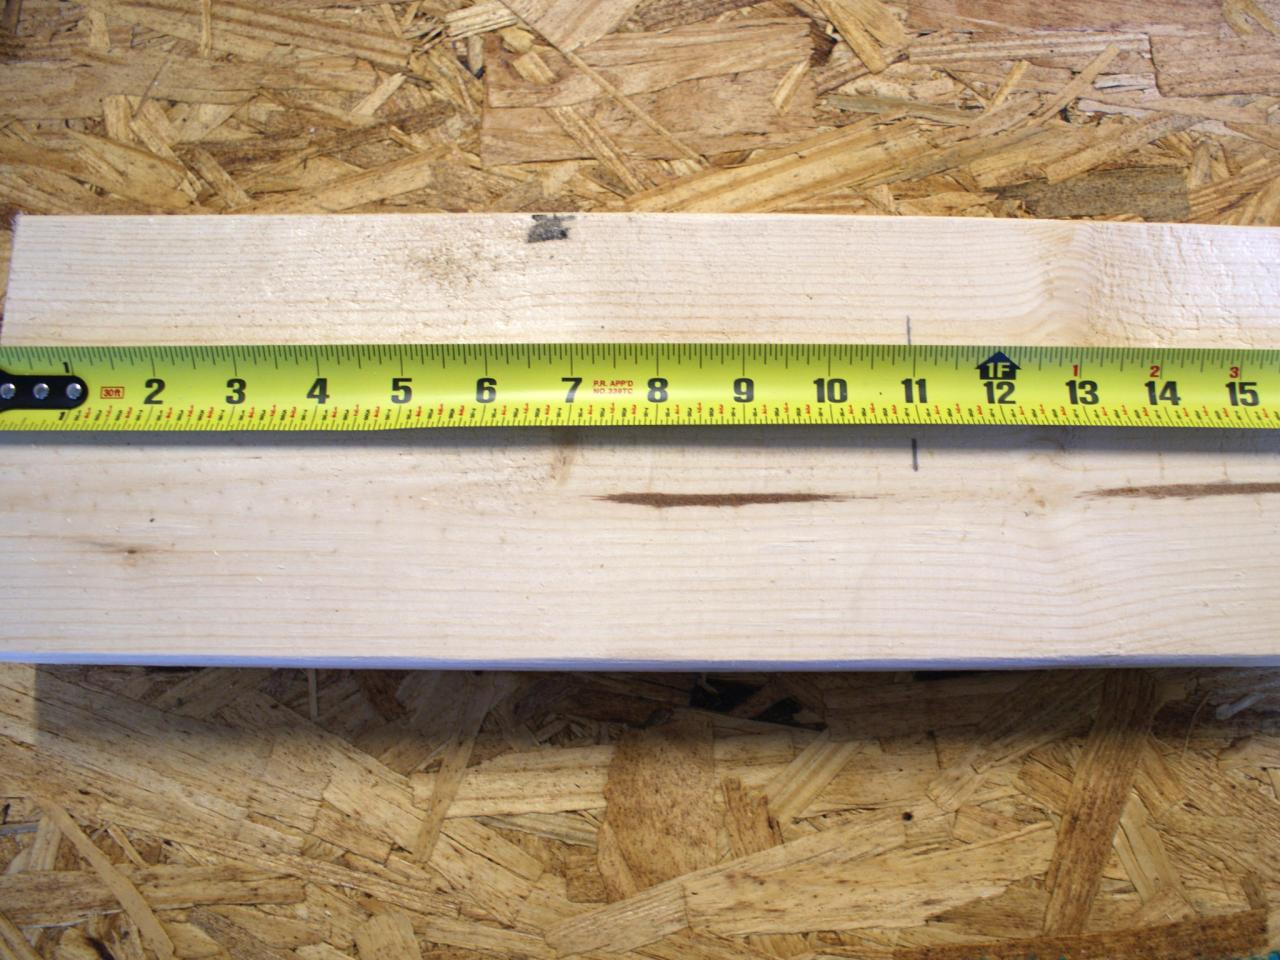
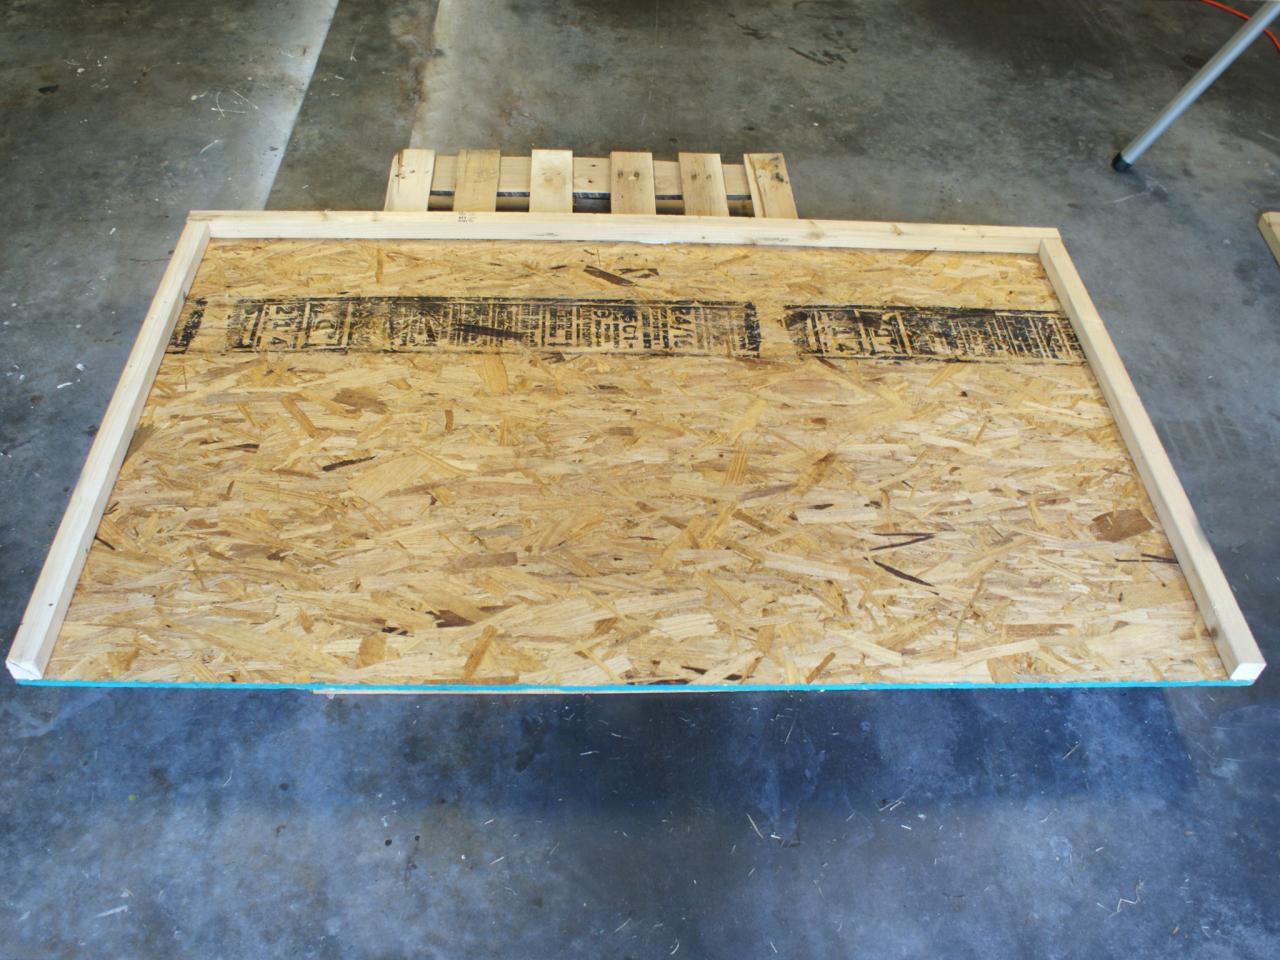
If you have a table saw or miter saw, you can cut the wood down to size at home, but your local home improvement store can cut the lumber to the correct size. You will need plywood cut to 64x40" (Images 1 and 2) and 2x2s cut to frame the headboard. Cut your 2x2s to one 64" and two 38 1/2" (Images 3 and 4).
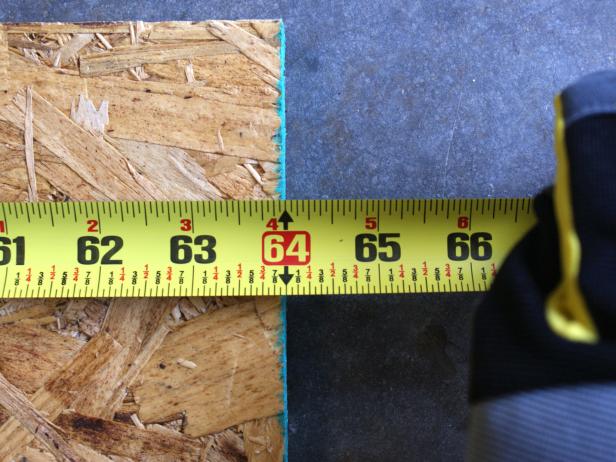
Image 1
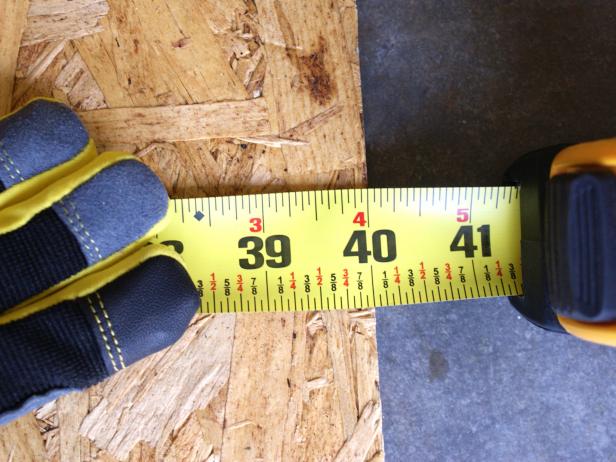
Image 2
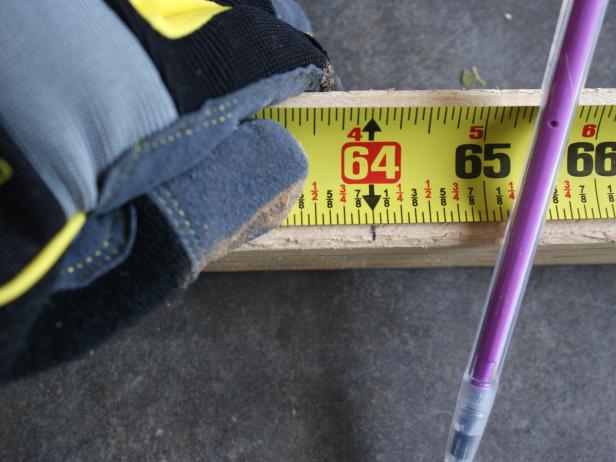
Image 3

Image 4
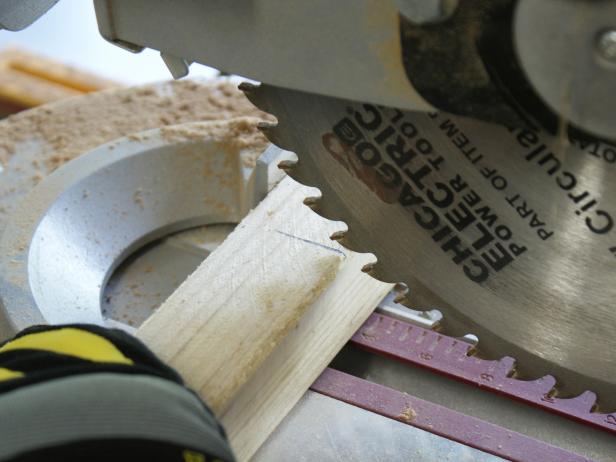
Image 5
Cut Support Legs
Measure and cut your support legs from the 2x6 board. Based on the depth of your mattress, box spring and frame, measure from the floor to the top of the mattress to determine how long the legs need to be. Add 8-10 inches to the measurement for the portion that will attach to the headboard. For example, if your mattress is 26" from the floor, cut legs to 35" (Image 1) and mark them 11" down (Image 2). This way, the headboard will extend slightly below the top of the mattress. Finally, line the legs up with the bottom of the headboard using a framing square (Image 3).

Image 1
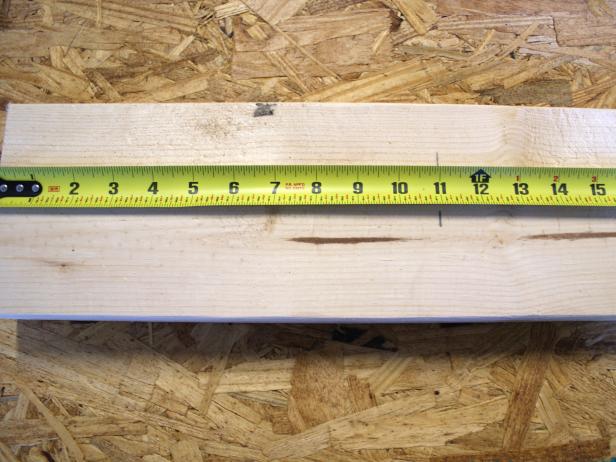
Image 2
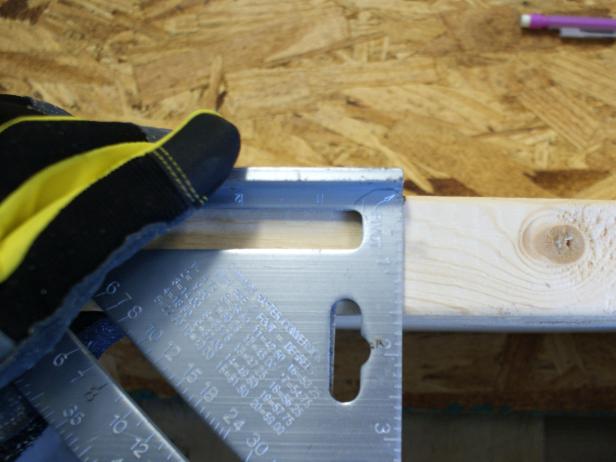
Image 3
Build Frame
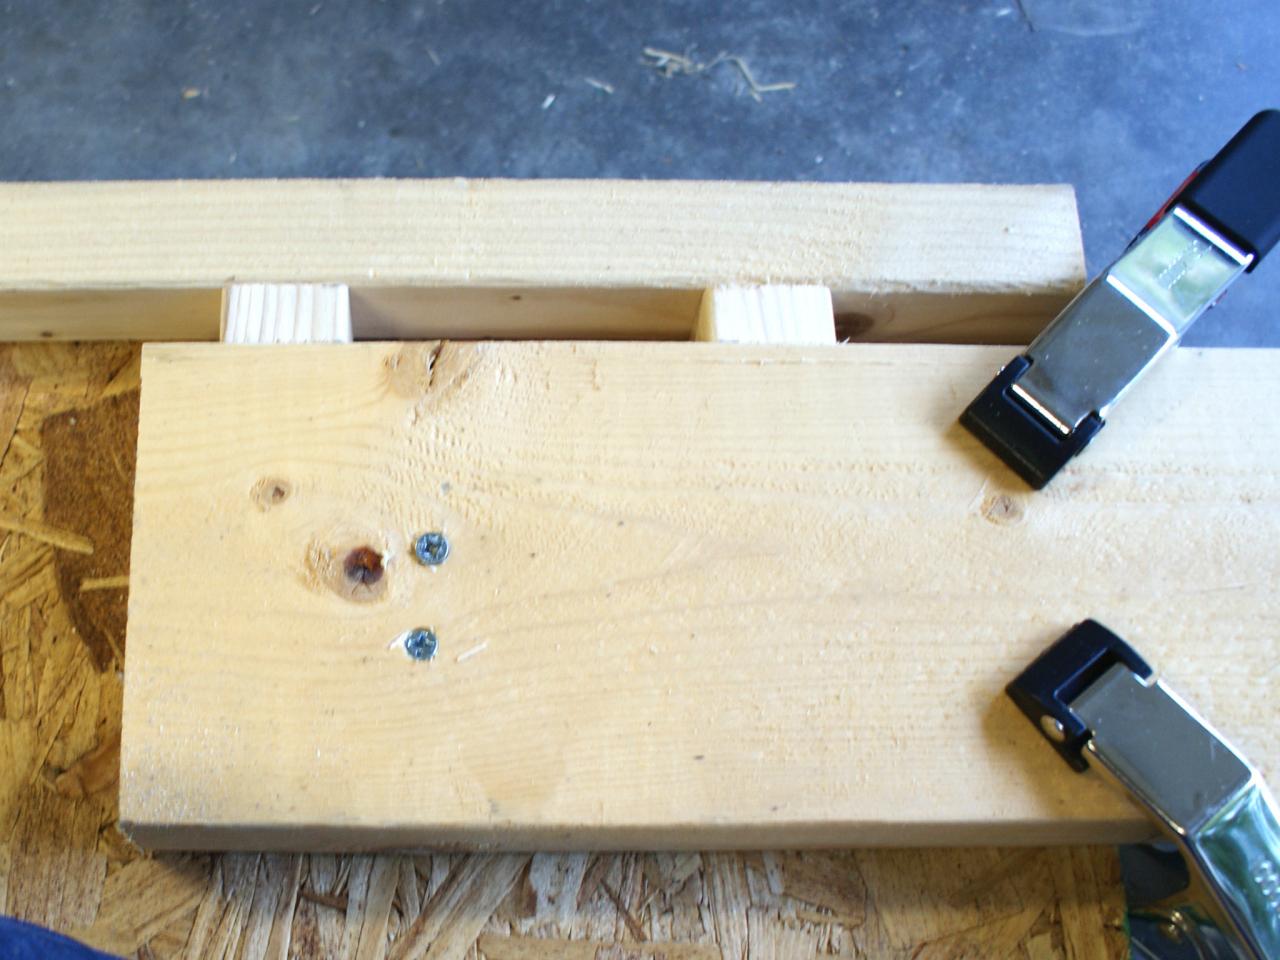
Starting along one long edge, apply a bead of wood glue (Image 1) and place the 64" 2x2 on top, making sure it lines up flush with the edge of the plywood. Use clamps to keep wood pieces together before flipping the plywood over and securing with four wood screws (Images 2 and 3). Flip the headboard back over, and follow the same steps to attach both of the 2x2s on either side of the plywood (Images 4 and 5). Note: You only need three wood screws on each short side.

Image 1
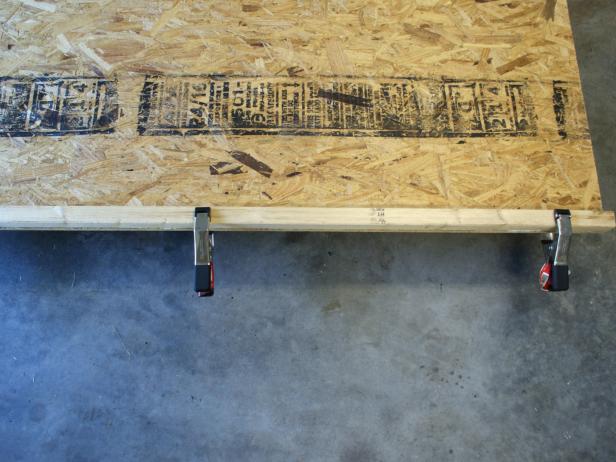
Image 2
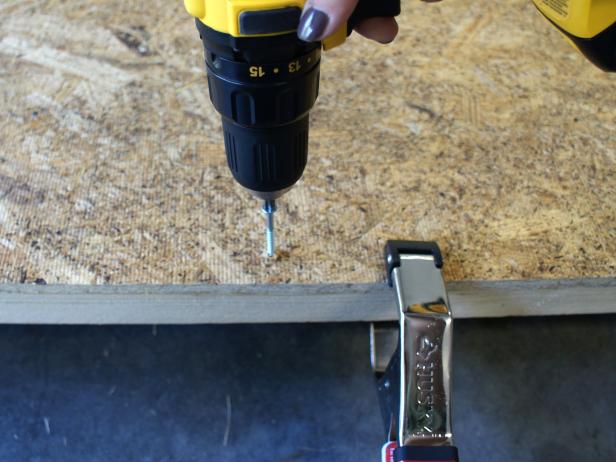
Image 3

Image 4
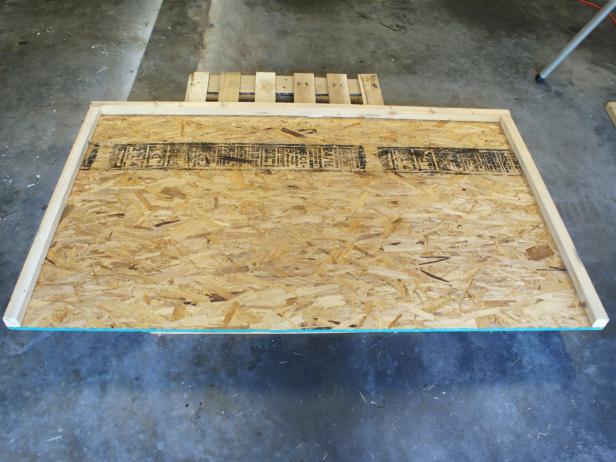
Image 5
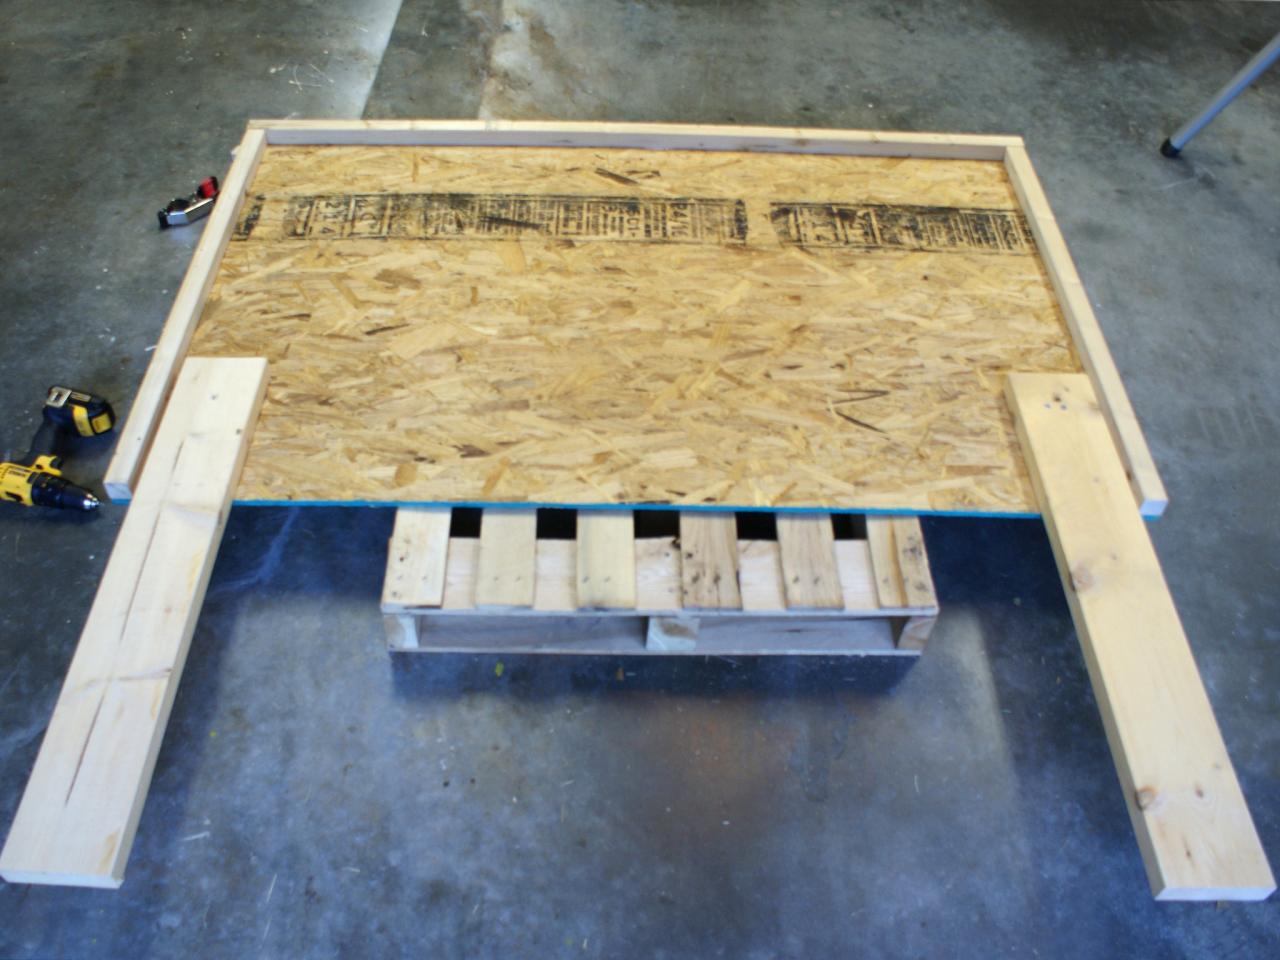
Attach Legs
Apply wood glue to legs and align on each end (We used 3/4" wood spacers to help ensure they were straight). Clamp down (Image 1). Insert two wood screws on the back to keep the leg from moving when flipping the headboard. Completely secure the legs by inserting four additional screws in the front (Images 2 and 3).

Image 1
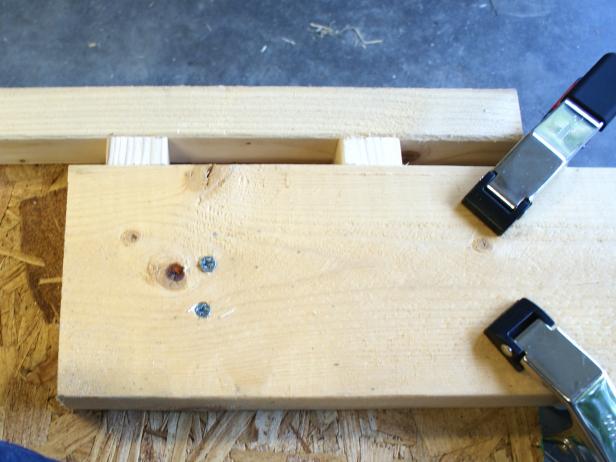
Image 2

Image 3
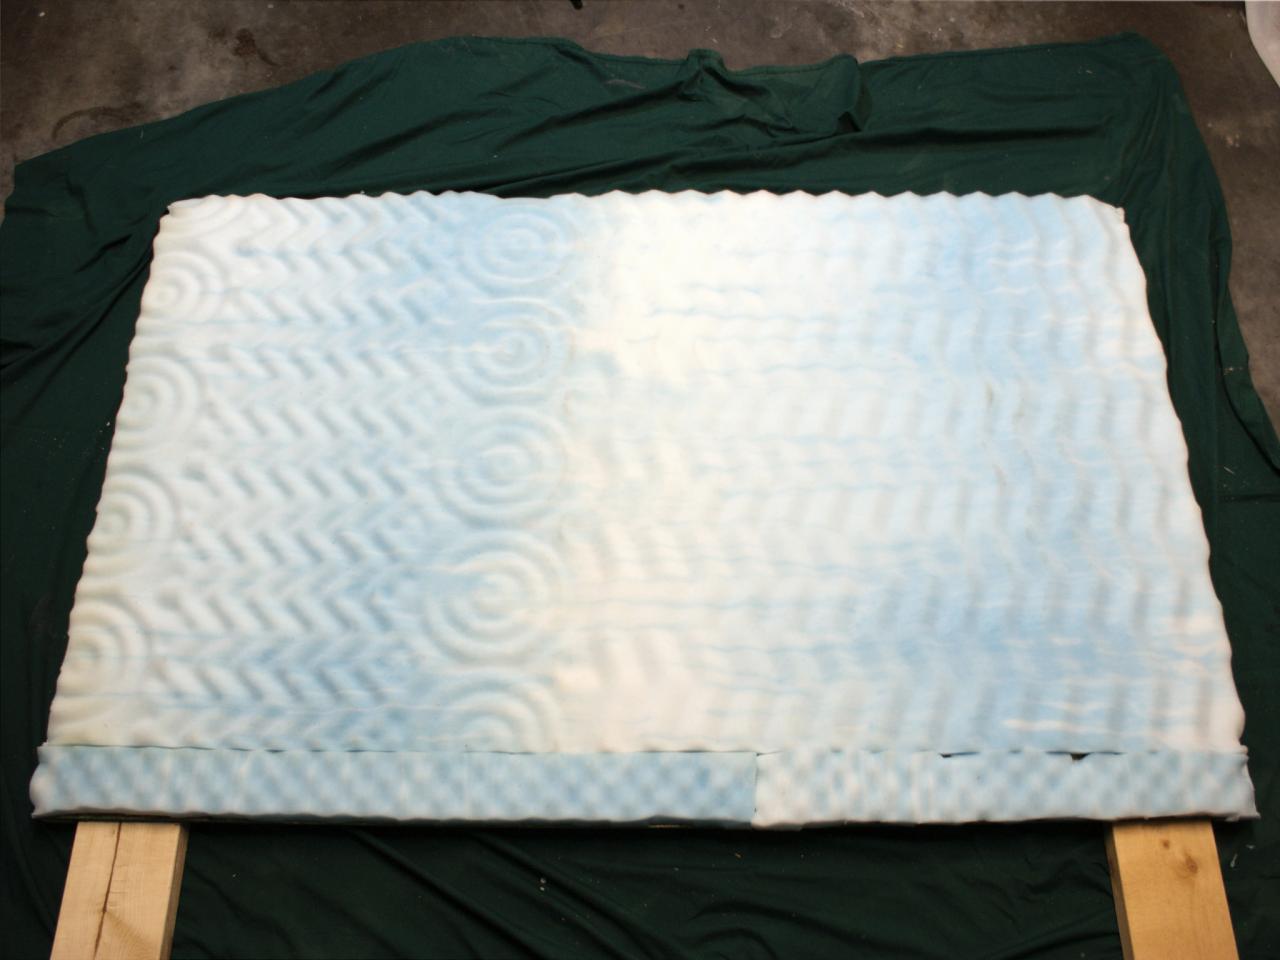
Attach Foam
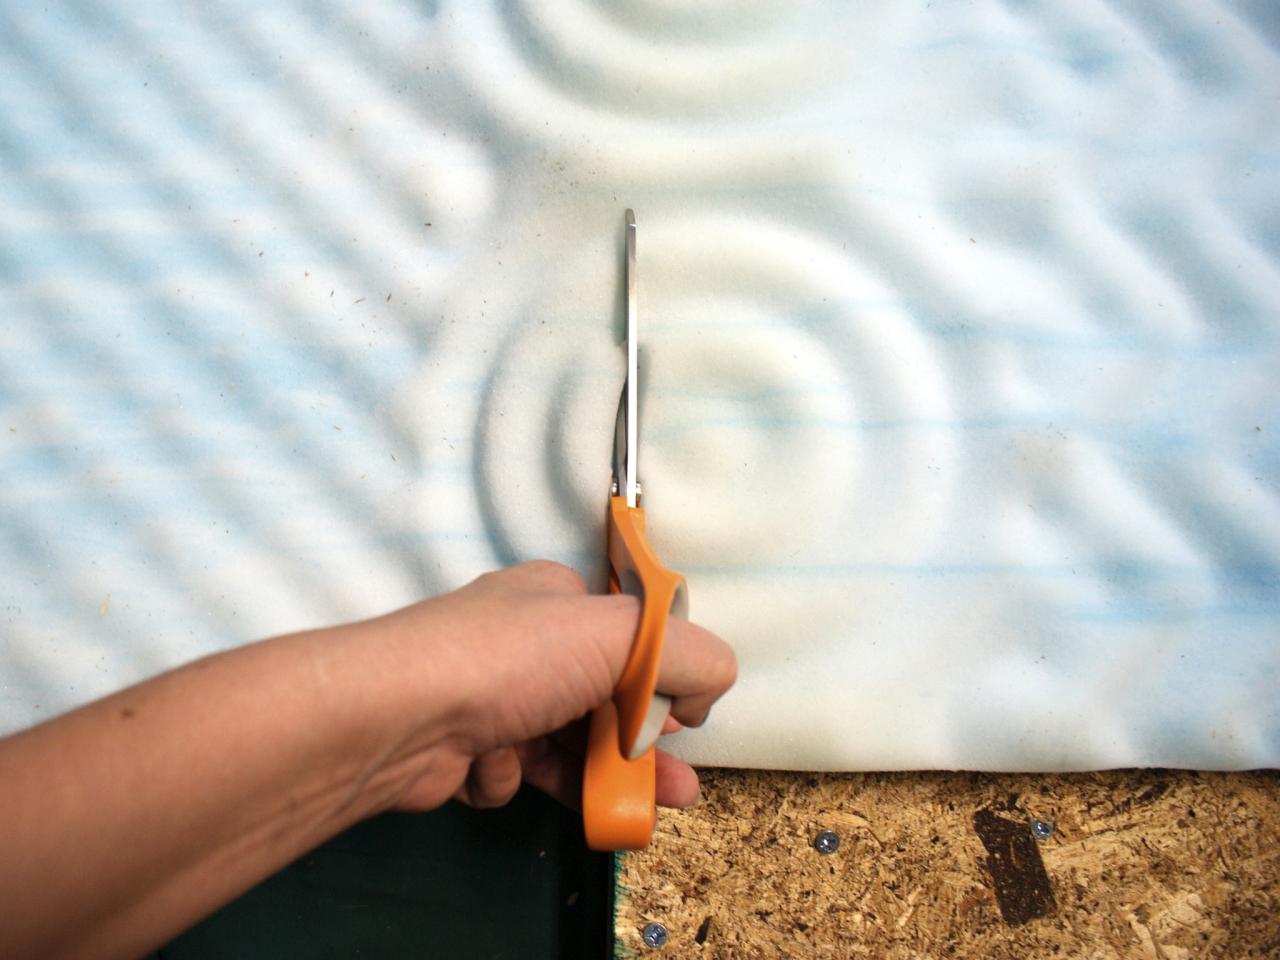
Flip the headboard back over so the legs and frame are on the bottom. Line up the foam at the top corner (Image 1), and begin attaching with staples as close to the edge as possible (Image 2). Staple around the entire perimeter, trim any access and attach additional foam to cover any bare areas (Images 3 and 4).
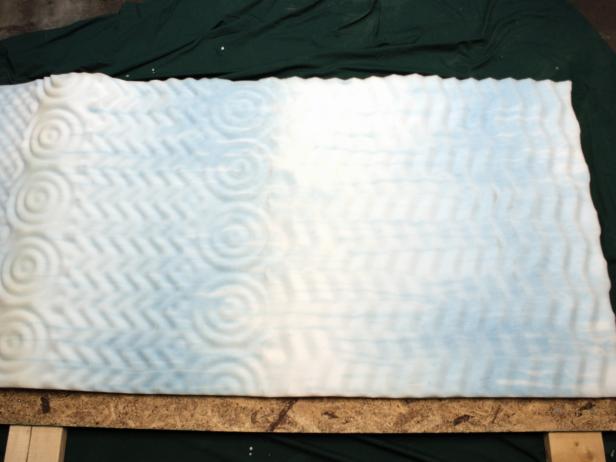
Image 1
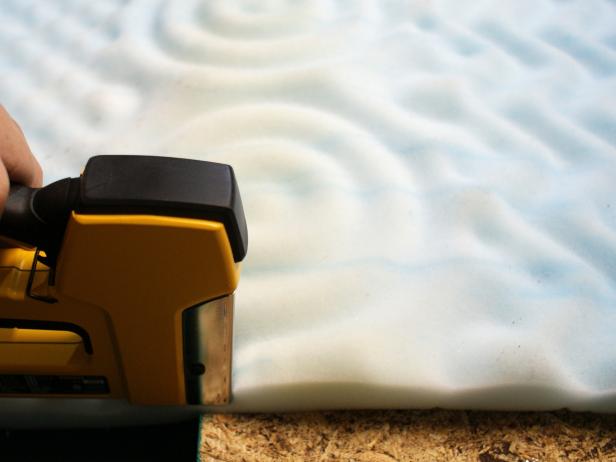
Image 2

Image 3

Image 4
Attach Fabric
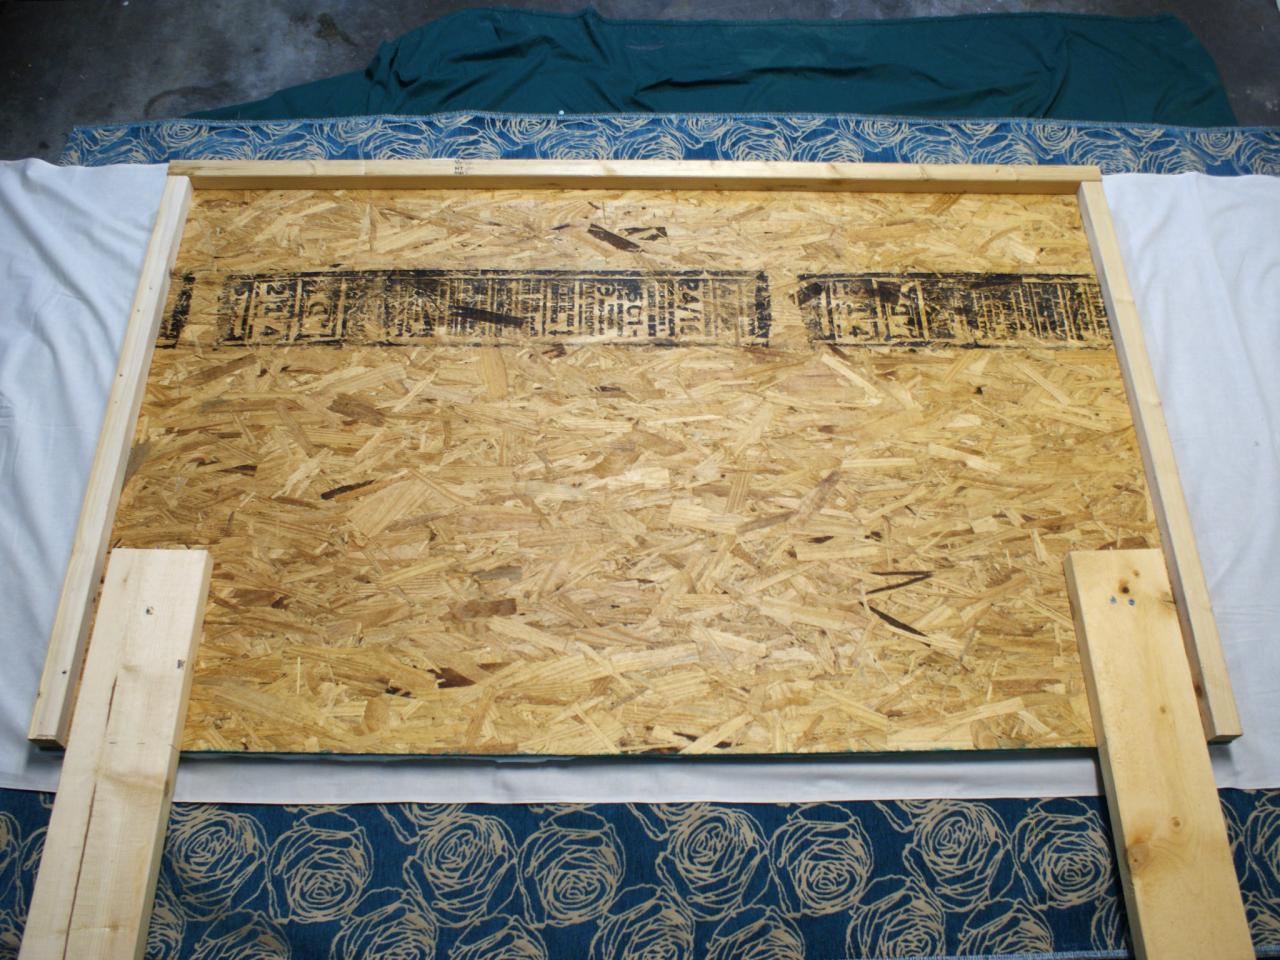
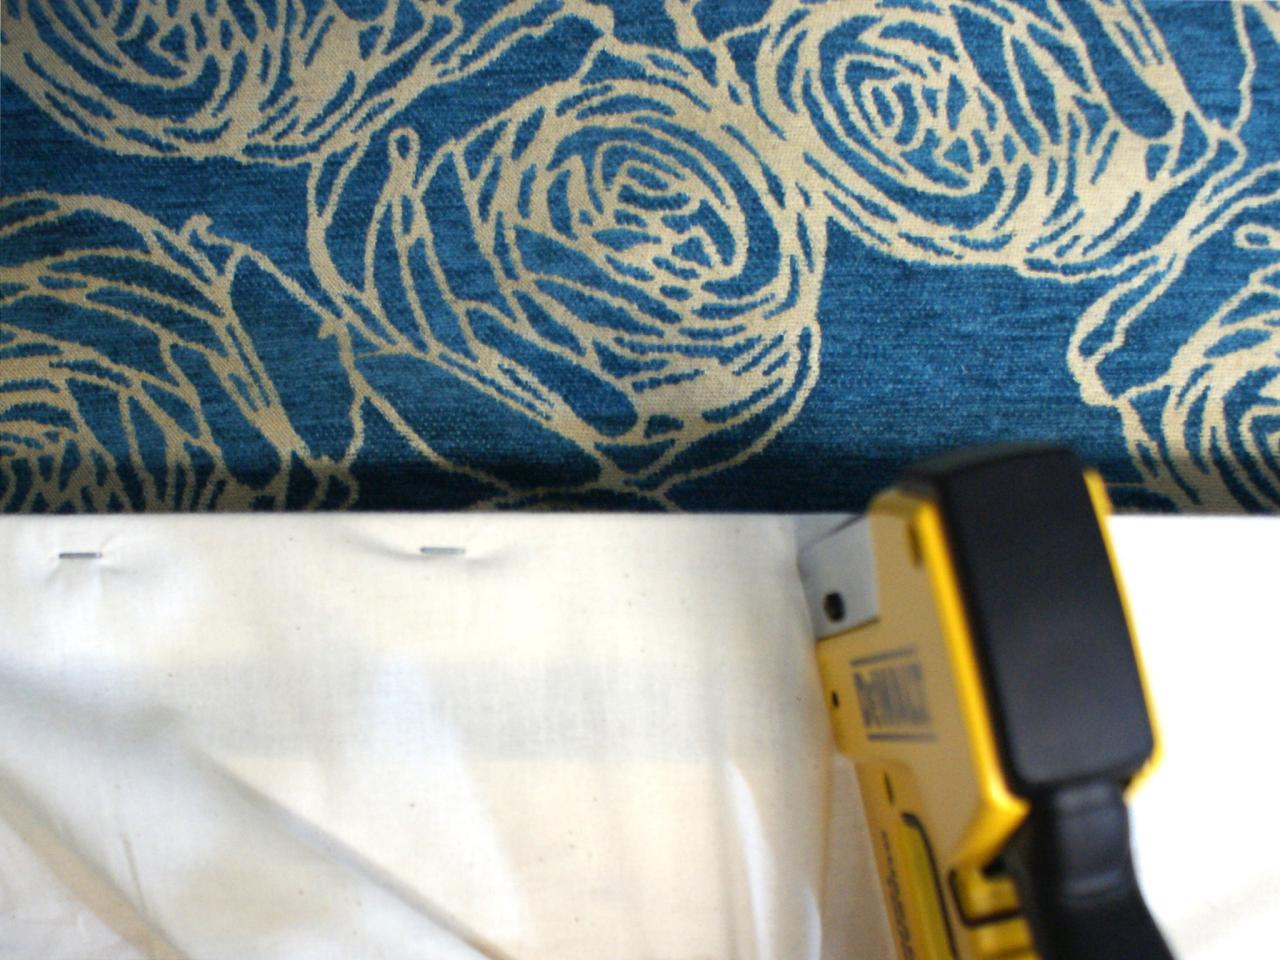
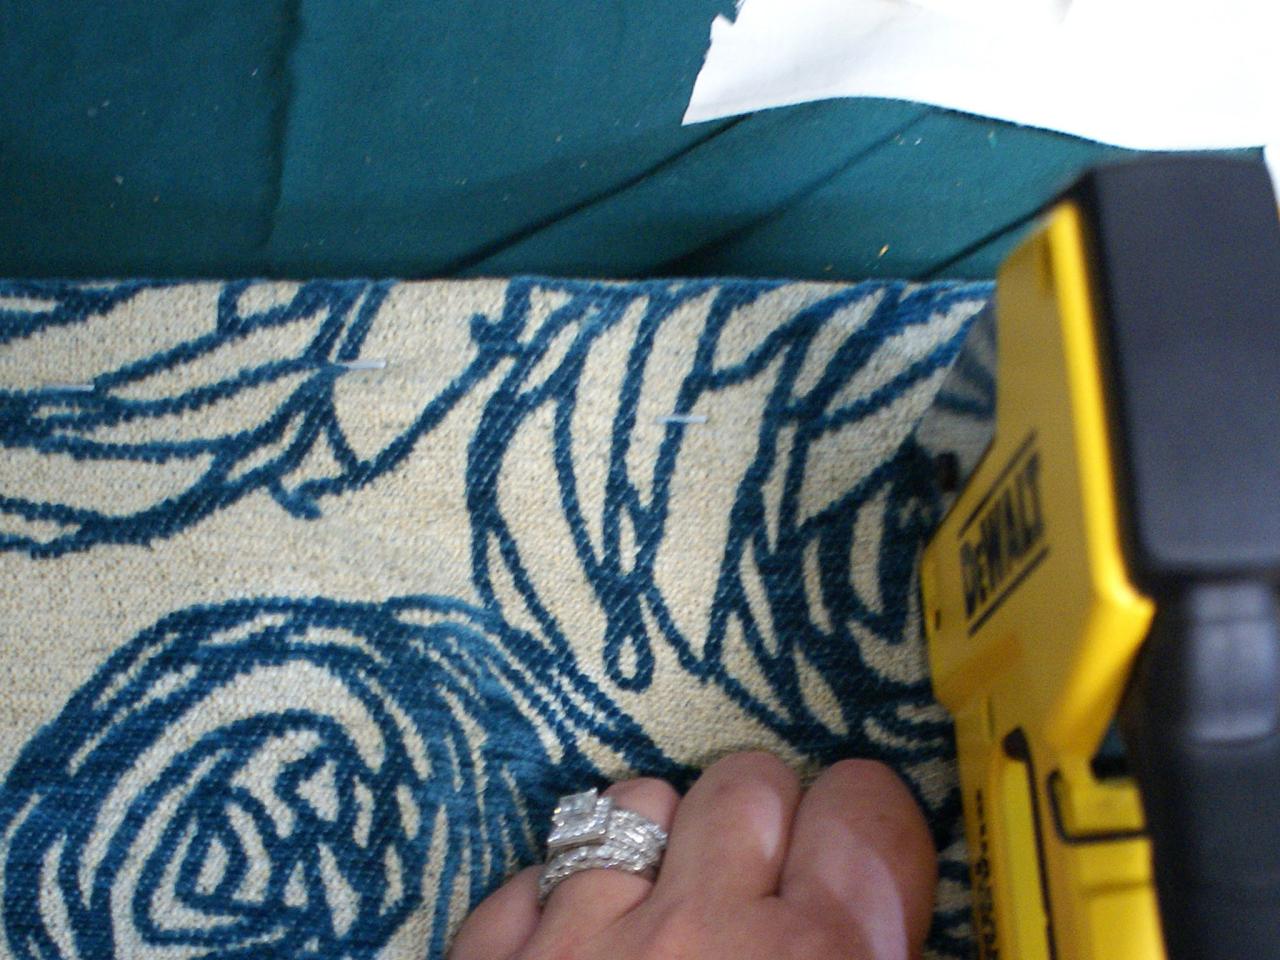
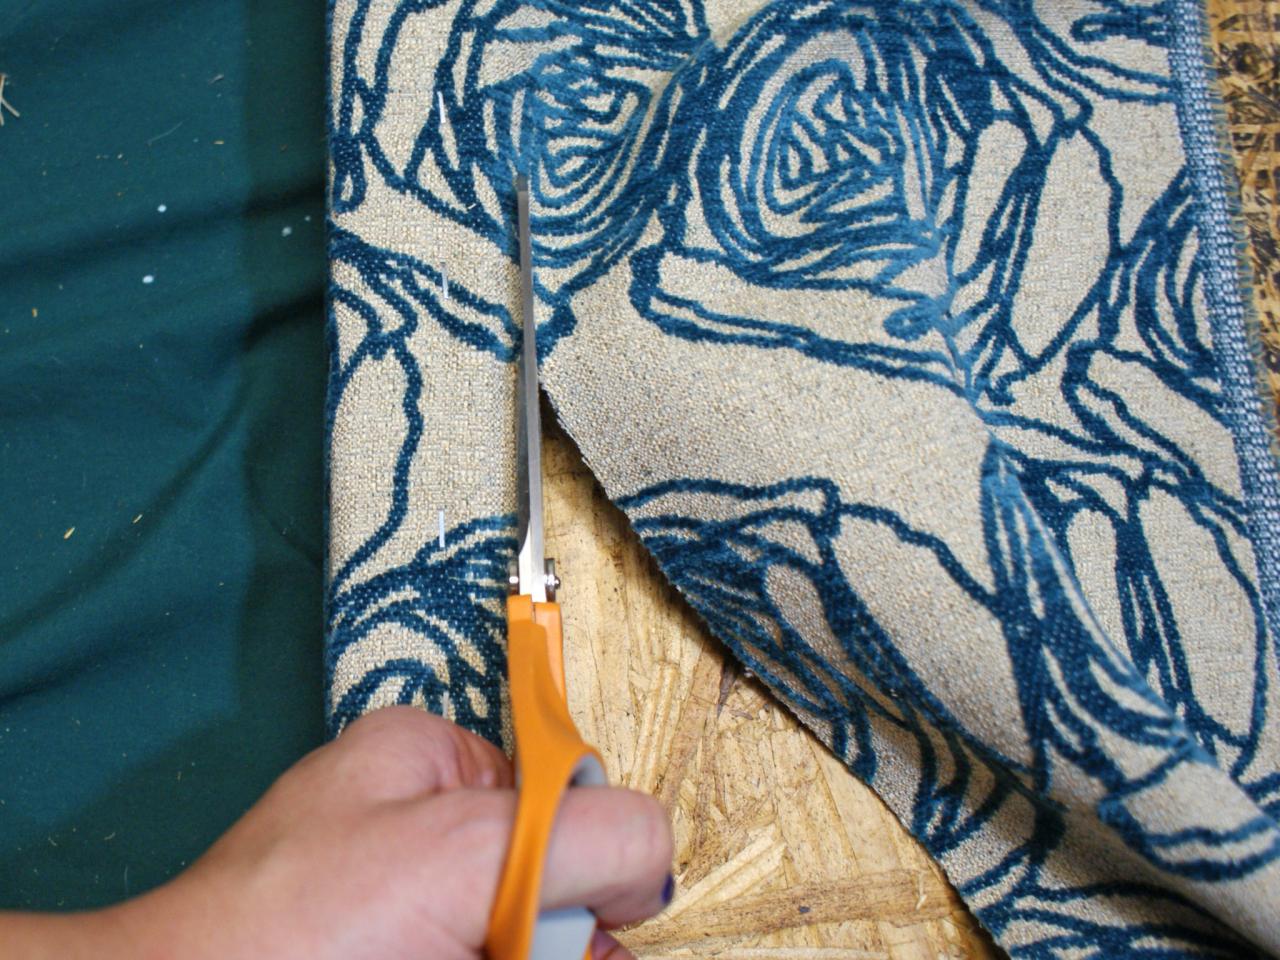
Place a drop cloth down to protect your upholstery fabric from the workspace if needed. Layer your fabric and headboard frame wrong side up in this order: upholstery fabric, cotton underlay and frame, foam facing down (Image 1). Leave several inches of fabric on each side so you can wrap and staple it. To attach the cotton overlay, fold it back over the headboard, pull it tight and staple every 1-2 inches (Image 2). Continue this around the entire perimeter, and trim any excess. Follow the same process for the upholstery fabric (Image 3). Trim any excess fabric (Image 4).

Image 1

Image 2

Image 3

Image 4
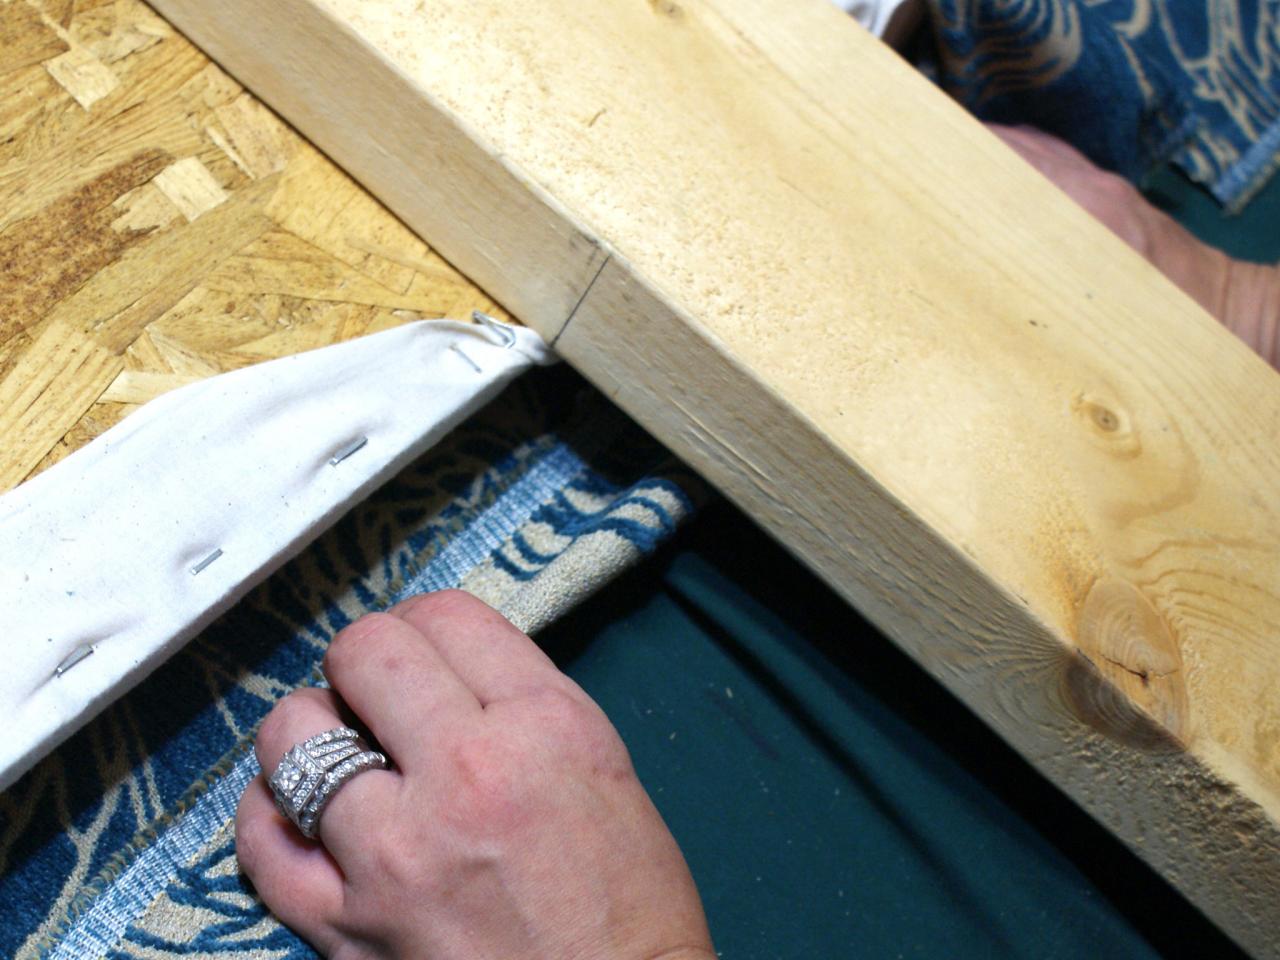
Note: When attaching around the legs, carefully fold the excess fabric up before stapling (Images 5-7).

Image 5
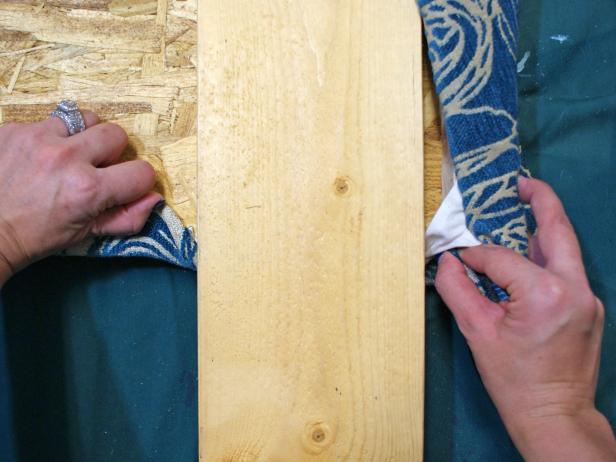
Image 6
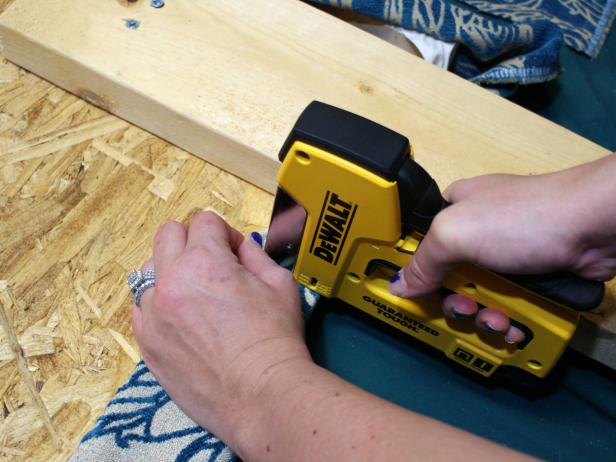
Image 7


