


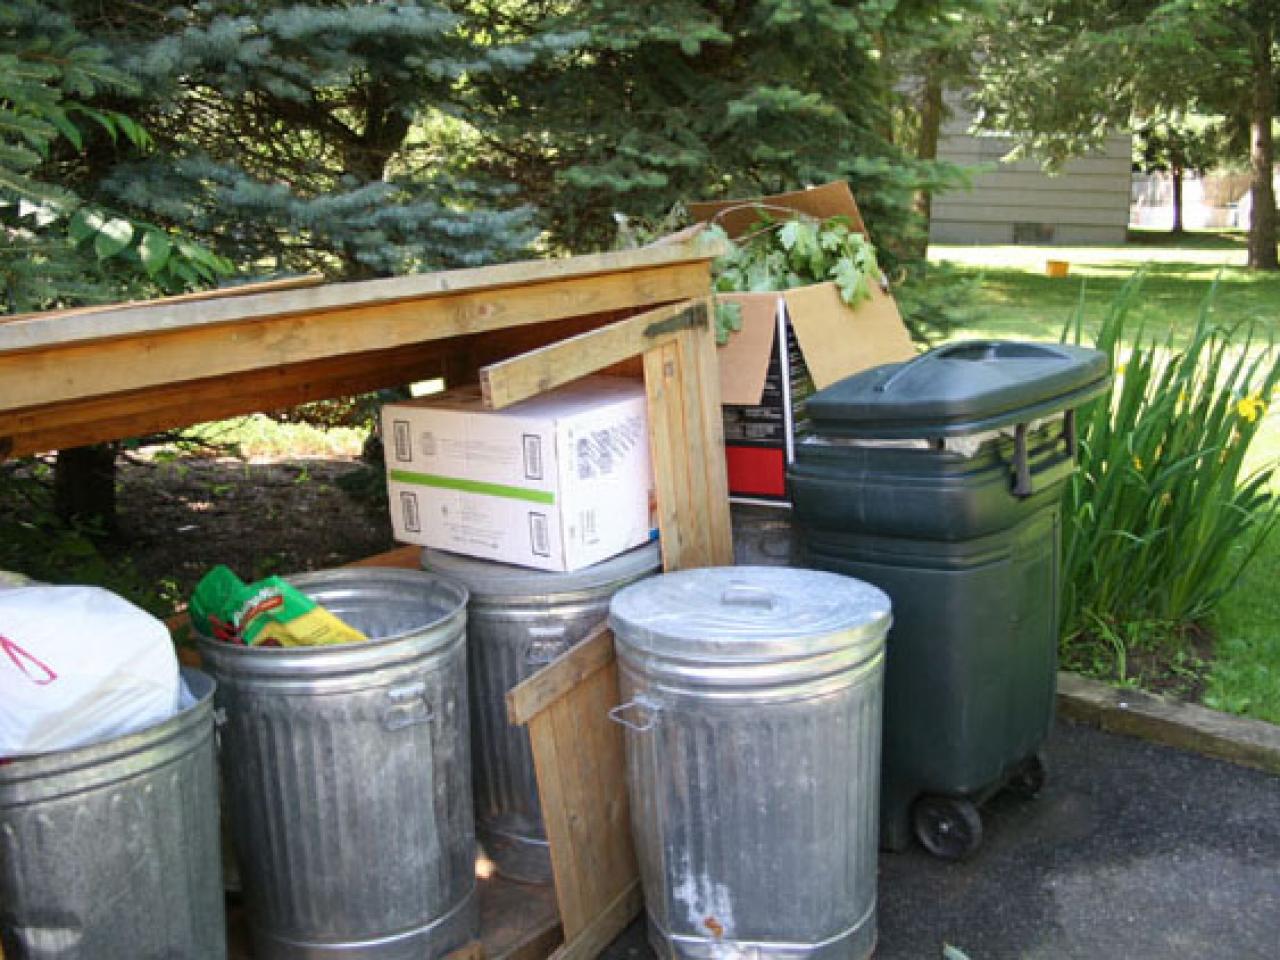
Build a Trash Shed


In this project, Steve Watson and crew help the homeowners build a more durable and critter-resistant shed to enclose their trash containers in a manner that will discourage "uninvited guests."
Materials and Tools:
T1-11 vertical siding (10 sheets)
1/2" CDX grade plywood (2 sheets)
5/4x6 pressure treated decking (14; 8-ft.)
2x4 (2; 12-ft.)
2x4 pressure treated (5; 8-ft.)
2x4 (15; 8 ft.)
gate hinges (8)
gate latch hardware (2 sets)
glue
air compressor with hoses
finish nailer
framing nailer
table saw
power miter box
cordless drill with battery and magnetic screw tip
hammer
wrenches
measuring tape
chalk line
painting supplies
pencil
safety glasses
Overall Design

The new enclosure was designed to match the look of the existing garage doors, utilizing the same basic door design, hardware and paint colors. Steve recommended a cross-buck door design with a faux arched window at the top. The structure is made of 2x4 framingand vertical siding. The floor is made from pressure treated decking, and the roof is plywood covered with shingles. A window was made from clear acrylic since it's less breakable than glass.
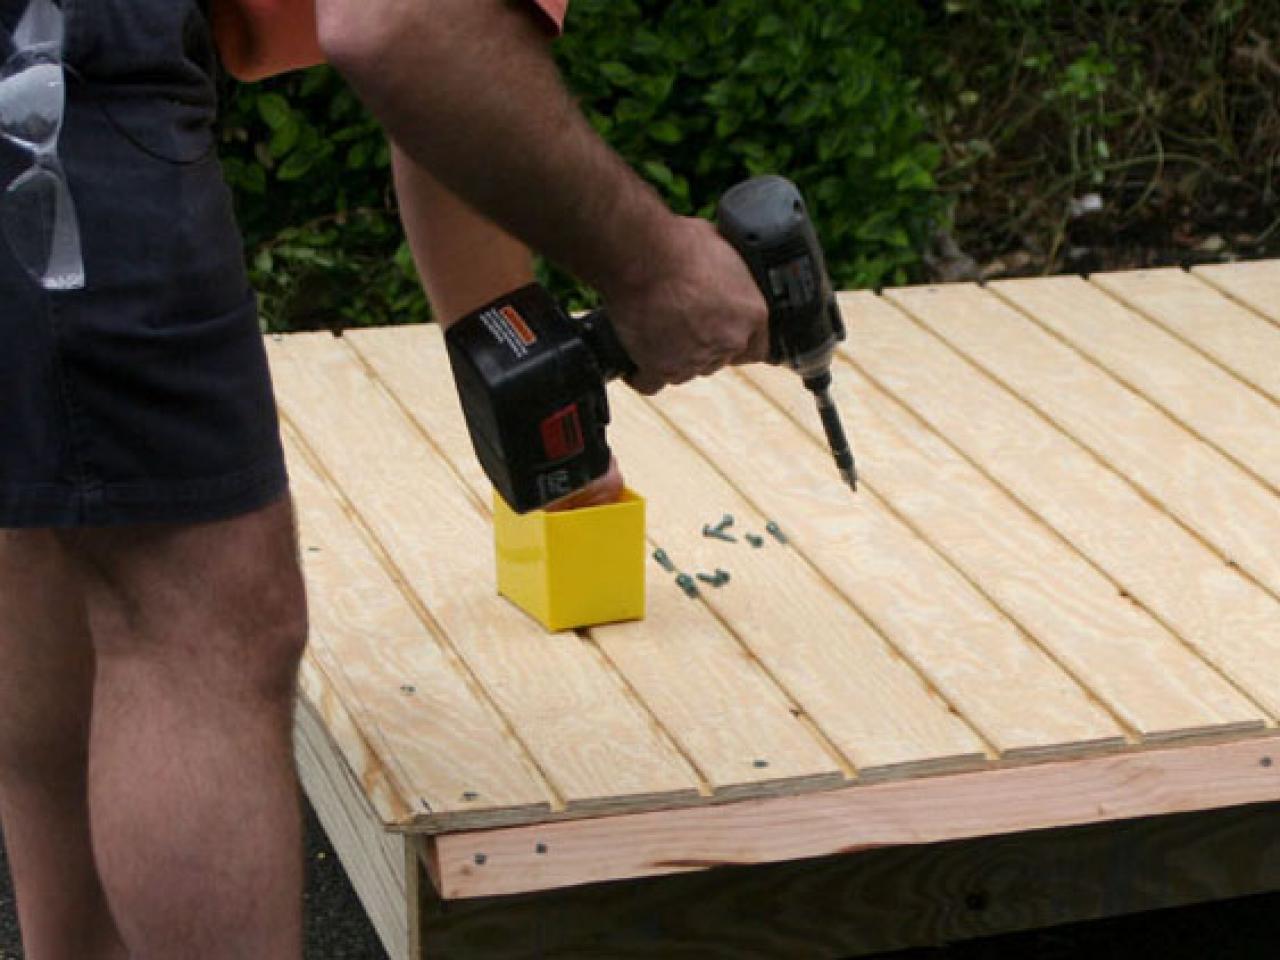
Floor

The floor is framed with 2x4's, nailed in place on 16 inch centers. The floor decking is standard 5/4 decking.
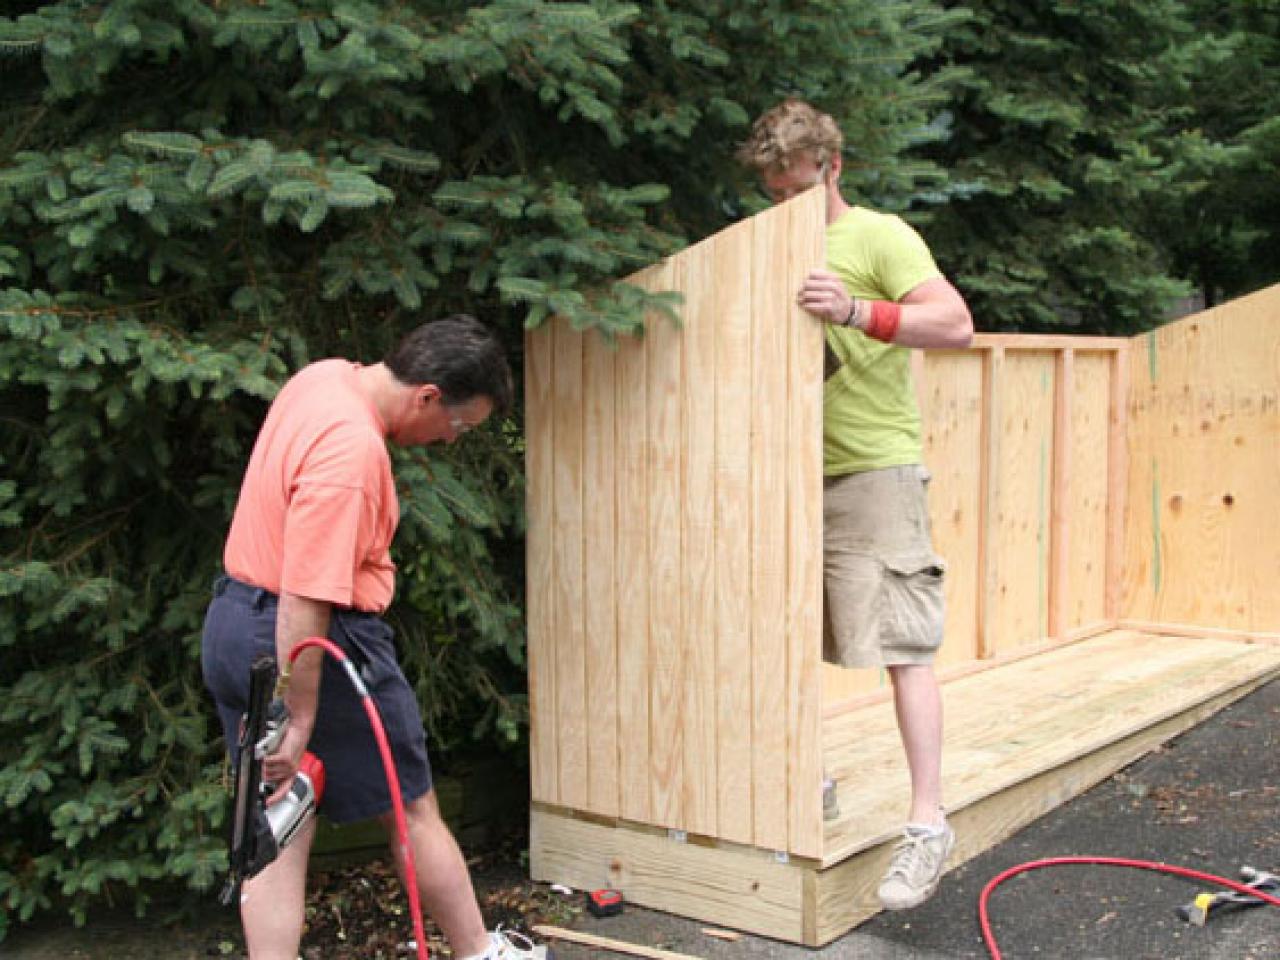
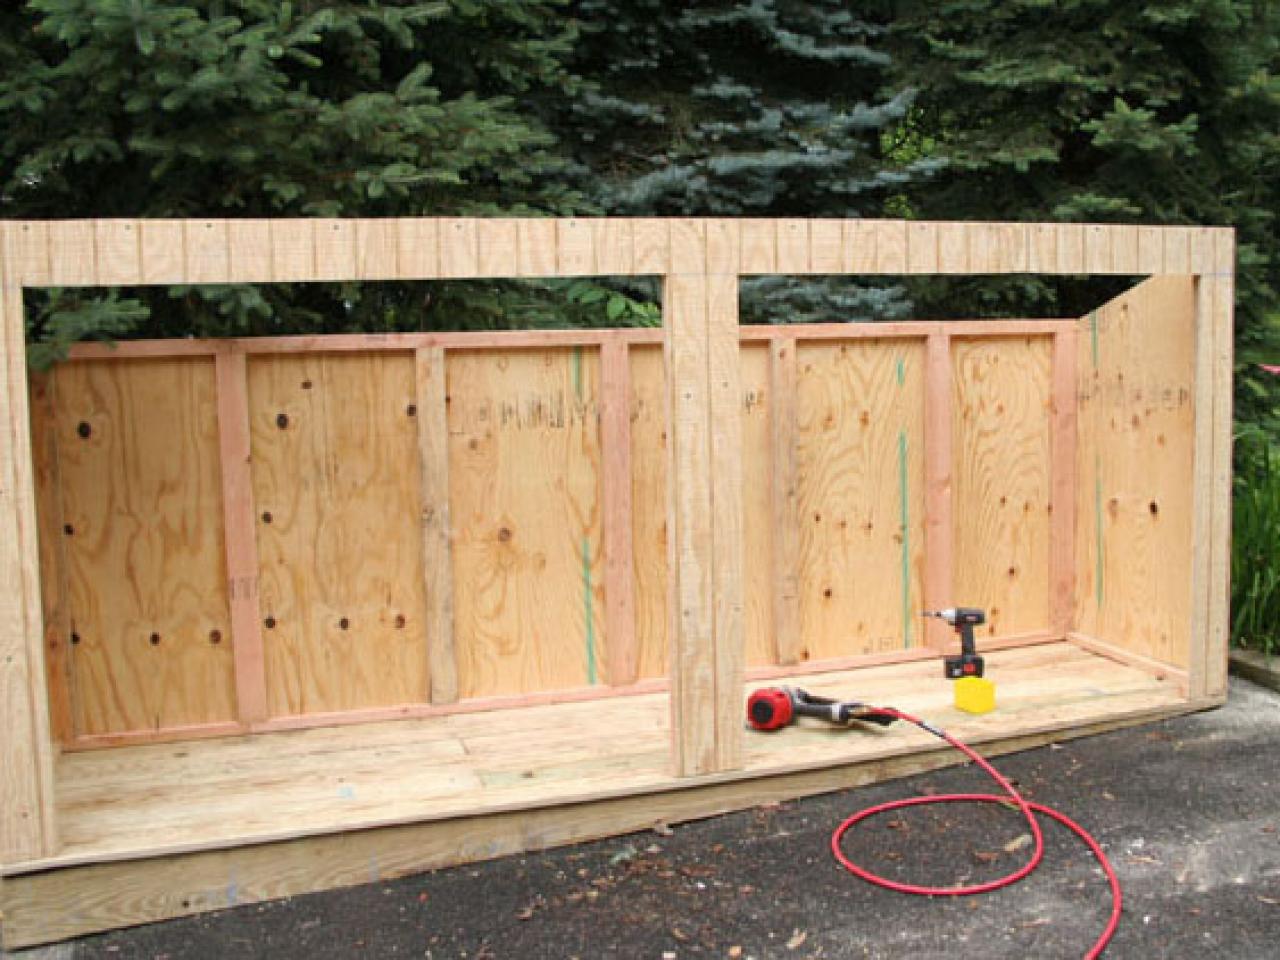
Walls
The walls are built from standard framing, nailed in place on 16 inch centers. Build all four walls first.
Next, set them in place and secure them in position using framing nailer. Once the walls are in place, attach the sheathing, using a circular saw to cut to fit as you go.

Door Assembly
Our doors were constructed to mimic the basic look and style of the garage doors. They were constructed from pressure treated plywood and siding. The doors are hinged to open outward and fasten securely when closed using gate latches. The cross-buck design on the door exteriors was created by custom miter-cutting lengths of pressure treated lumber and nailing them in place over the siding to form the "X"s.
Web Extra: An option to the gate style doors would be to install two doors that hang on tracks and bypass each other in sliding-door fashion. A sliding door system is more difficult for animals to open, and more wind resistant than hinged doors. Simply hang the track from the top, and build a door panel from T1-11 siding and a little 2x4 framing. Hang the hardware on top, and let them slide.
Roof
We built the roof using 2x4's framing topped with 1/2-inch plywood. Allow a four-inch minimum overhang for water drainage. Shingle the roof, starting at the bottom and working your way to the top.
Roofing Tip: Be sure to lay the first row upside down so that there is gravel under the first set of tabs. When laying the shingle sections, offset the seams, and secure the sections with one roofing nail over each tab.
Details and Hardware
Finally, we added the exterior details and hardware to create a look that matched the existing garage, using the 1x4 to add corner boards, cross-bucks, framing and trim. Cut the detail pieces using a miter box, and install with a brad or finish gun. Make a cross-buck for the doors. Trim out the corners and add a base board. Prime everything, and paint the shed to match the garage.


