


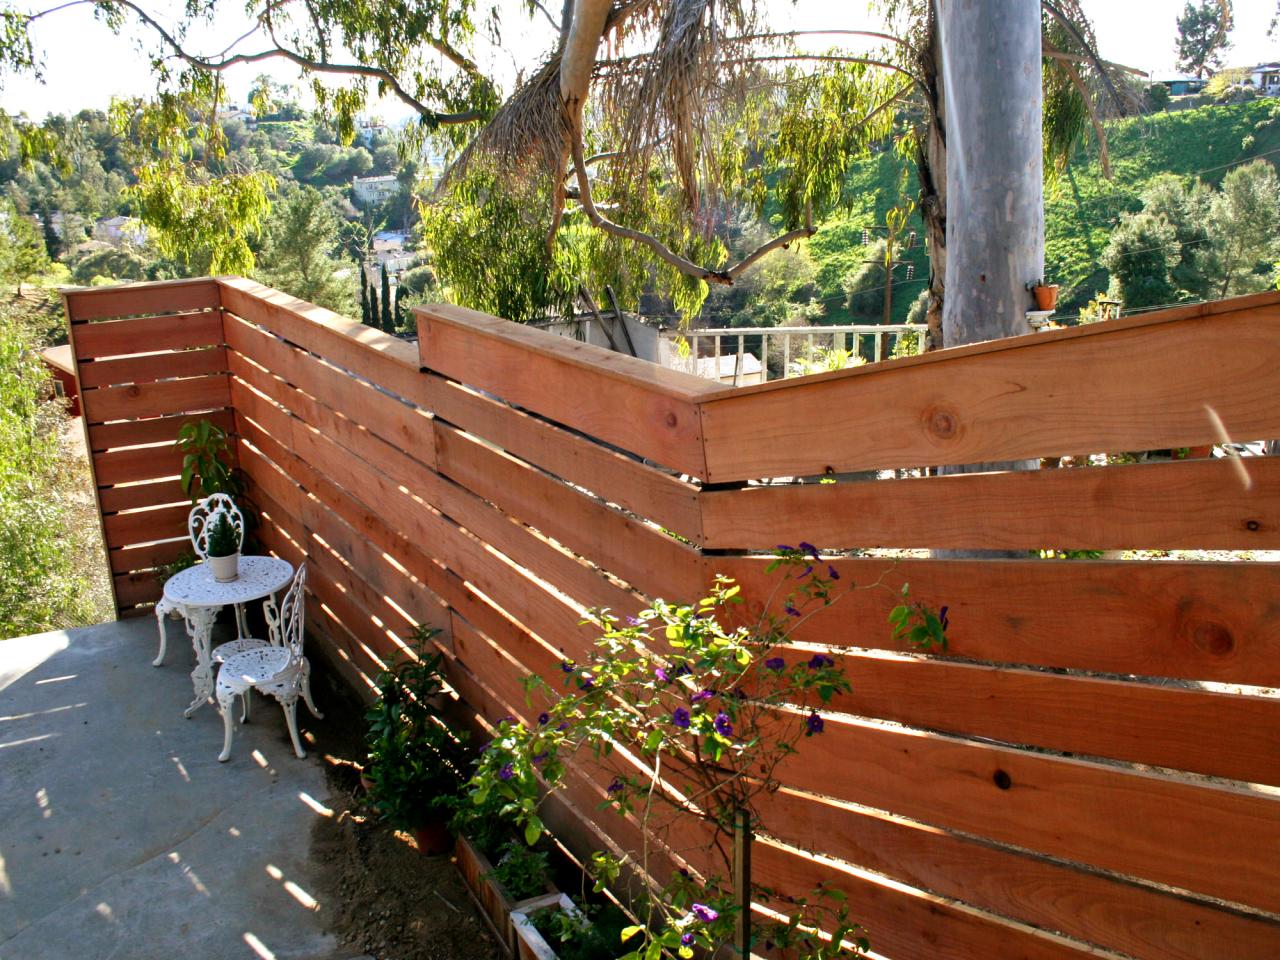
How to Build a Horizontal-Plank Privacy Fence
See how we built a redwood fence on an angle to lend privacy to a sloping backyard.
A sloped yard can be challenging in many ways especially when it comes to installing a privacy fence. A traditional stockade fence with vertical slats might not work because it can be difficult to evenly line up all the pickets. That's why we choose to build our fence with horizontal slats instead. Not only is it easier to build on an incline, but it also lends a unique design style to this hillside yard.

Tools and Materials:
- tape measure, string line or chalk line
- standard level or post level
- shovel and post-hole digger
- circular saw
- saw horses
- adjustable square
- drill with pilot bits
- 1x6 x 12' redwood planks
- 1x8 x 12’ redwood planks
- 4x4 x 8' or 4x4 12' pressure-treated posts (depending on fence height and the depth the posts must be sunk into the ground)
- ready-mix concrete
- 5# box deck screws
- hammer drill with a 5/8” and a 3/4” masonry bit (optional if securing posts to concrete)
- 12’ x 5/8” threaded rods with washers and nuts (optional if securing posts to concrete)
- two-part epoxy with nozzle and applicator (optional if securing posts to concrete)
1. Determine Layout
Layout the placement of the fence. The posts should be no more than six feet apart, if more than six feet apart, the stability of the fence may be compromised. If you are replacing an old fence and the posts were placed six feet apart, you should be able to use the same holes for the posts, but it's best if you remove the old concrete and gravel if present.
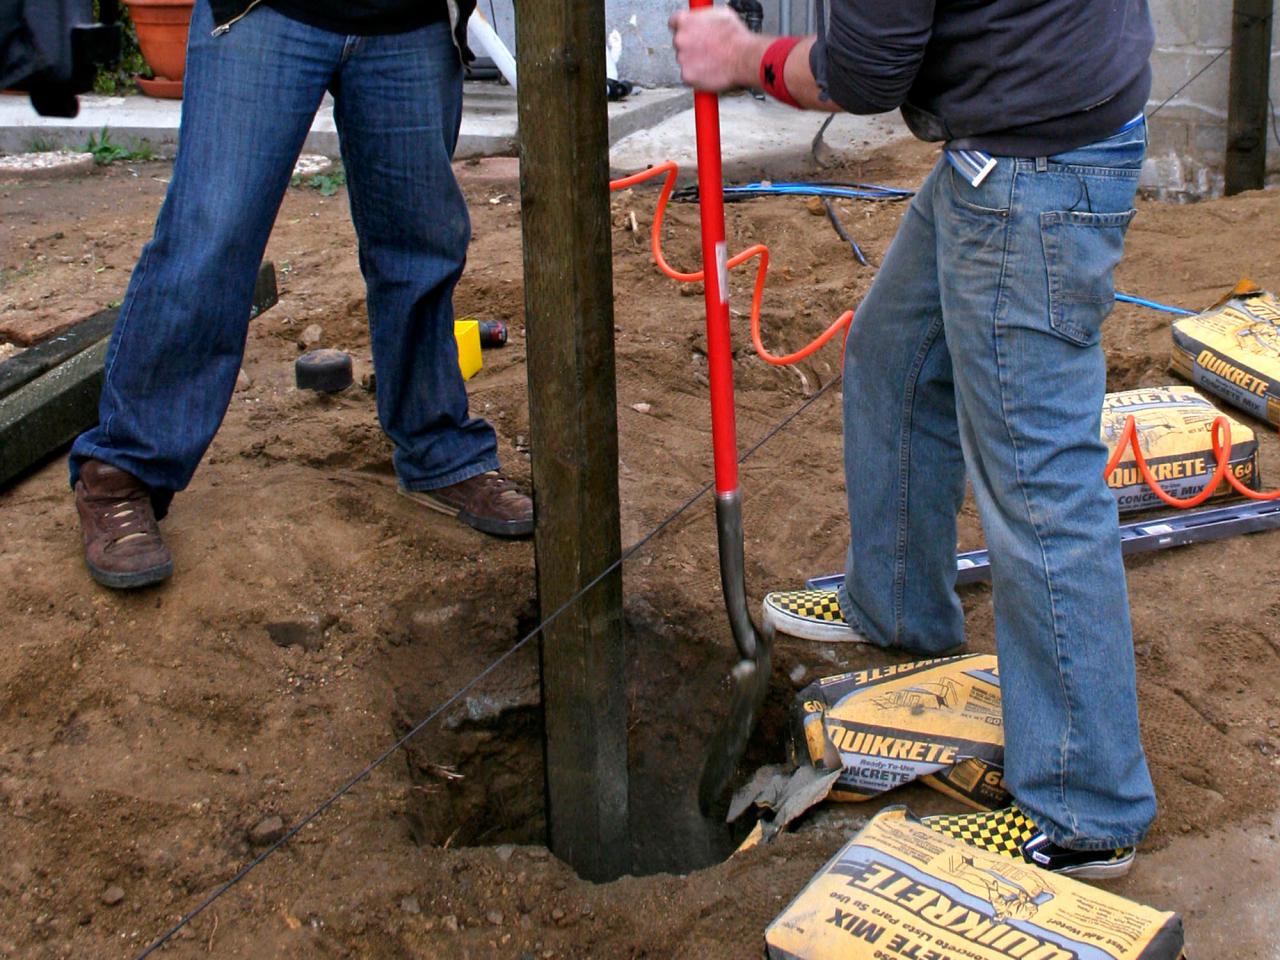
2. Dig Post Holes
Check with local building codes for regulations on the depth of fence post holes, and be sure to check with local utility companies before digging to avoid damaging buried cables. We dug our holes two feet deep and 18 inches in diameter.
3. Install the Posts
Have one person hold the post plumb while another person pours the dry-mix concrete into the holes. Add water as you fill in the concrete, mixing well with a shovel. Fill all the way to the top of the hole with the concrete or leave a few inches and backfill with soil later to hide the concrete. Stake up the posts so they remain plumb while the concrete cures. Allow it to set overnight.

4. Attach to Permanent Structure (if Necessary)
One of our fence posts is attached to a concrete wall. To secure a post to a concrete wall, drill at least two holes into the concrete slab. If you have a four-inch post, make the hole five inches shorter than the threaded rods. This way the rod will stick out five inches and the four-inch post can be fastened onto the wall. Double-check that the holes are wide enough to fit the threaded rods. Fill the hole with the two-part epoxy and insert the rod. Make sure the rod protrudes out of the hole longer than your column’s width. Allow the epoxy to cure overnight. Install the posts with washers and nuts against the concrete.
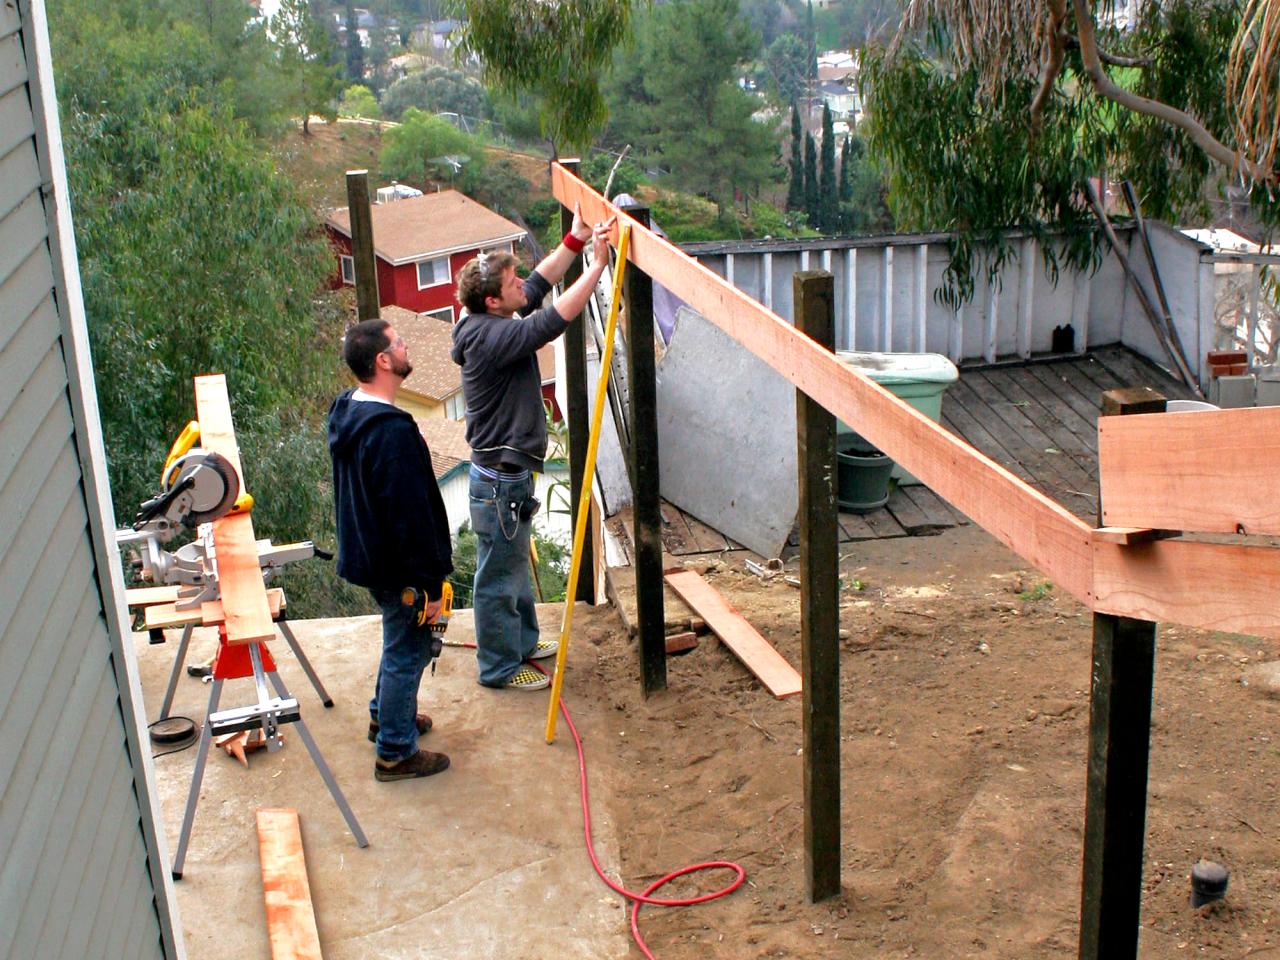
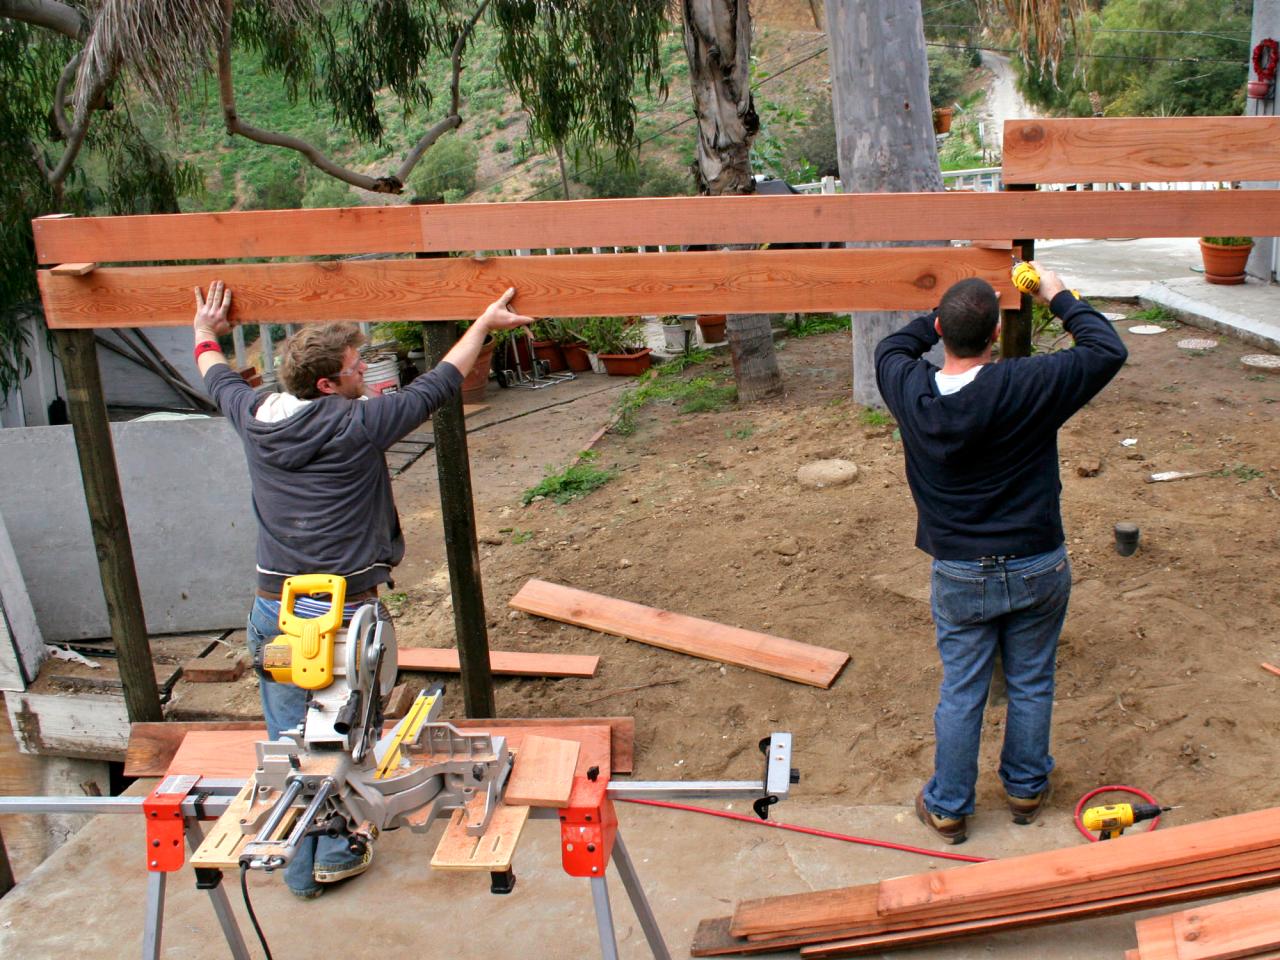
5. Install Horizontal Planks
Make sure all the posts are of uniform height and make any necessary adjustments before installing the planks. Start running the horizontal planks along the posts. For a cool aesthetic, alternate between two different plank widths — we used 1x6s and 1x8s. Start at the top so if you have to cut a plank down to an odd size it'll be at the bottom where it will be less noticeable.
If boards are sloping down, cut the ends of the boards at the appropriate angle ensuring the angle is centered on the post. Attach each end of the plank on each post with at least two deck screws.

6. Ensure Even Spacing
Use a piece of scrap wood for a spacer to get a uniform gap between each plank. Ensure that the end joints stagger so as not to create a continuous seam at any post. Keep the planks about 3/4-inch off the ground so they don't attract moisture and rot.

7. Install Top Cap
When the planks are done, install the top cap by laying planks across the top and securing them to the tops of the posts.


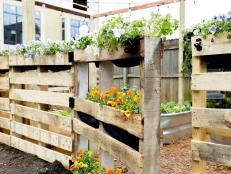
Design Ideas for Wooden Privacy Fences 54 Photos
Whether you’re looking to spruce up your yard, keep your pet from wandering off or need more privacy, check out these innovative wooden fence designs.

How to Stain or Paint a Wood Fence
Proper maintenance like applying a fresh coat of paint or stain to your fence will help make it last longer and keep it looking great. Follow these tips and instructions to turn your tired, old fence into a backyard statement piece.


