


Turn Paint Chips Into Geometric DIY Wall Art

Original_Michelle-Edgemont-Paint-Chip-Art-Beauty-Wide_h

Materials Needed:
- paint chips in a variety of colors
- scissors
- foam adhesive dots
- deep frame with an 8"x10" mat
- 8.5"x11" piece of card stock
- clear tape
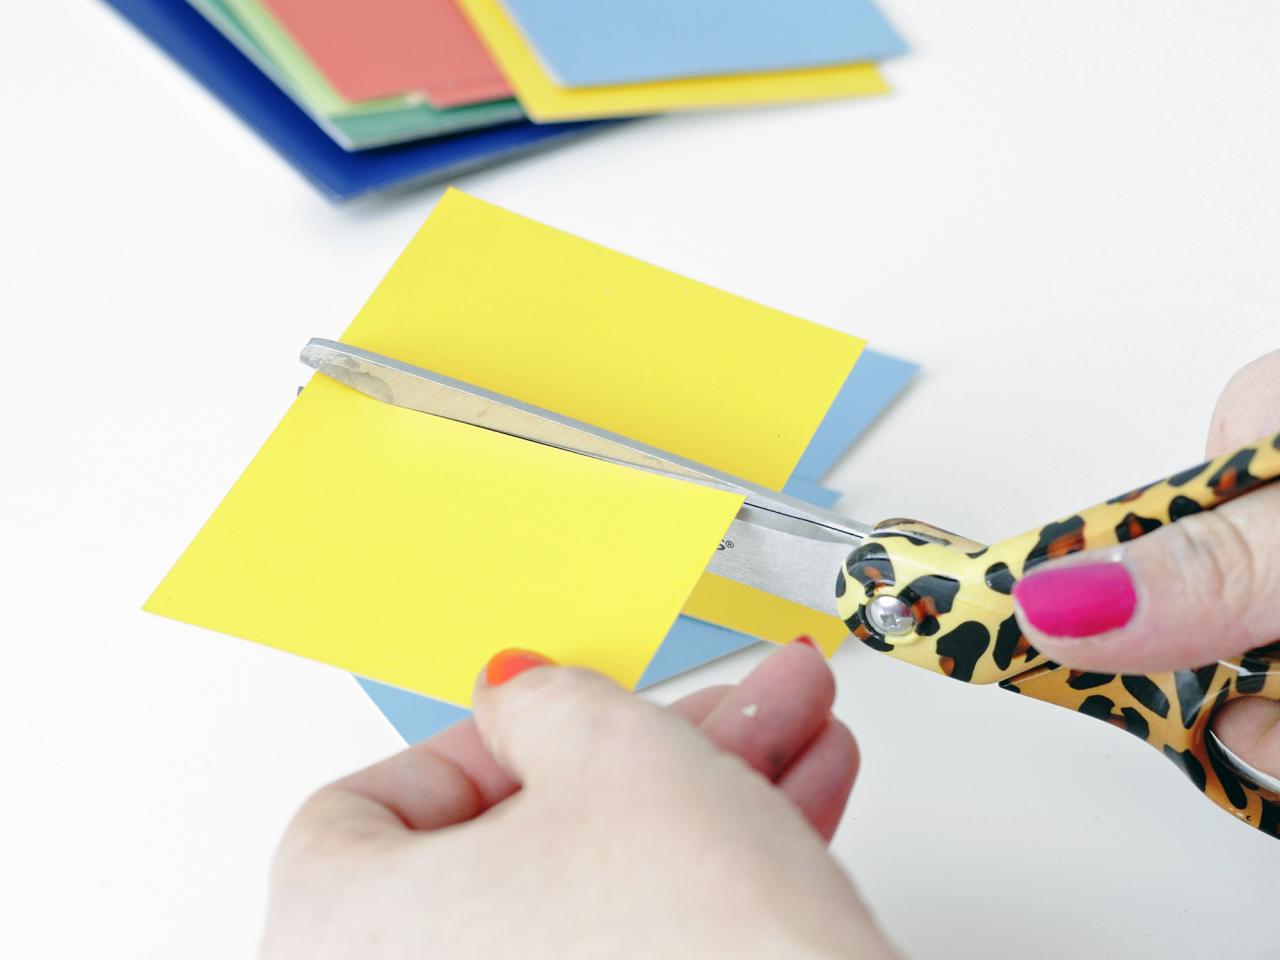
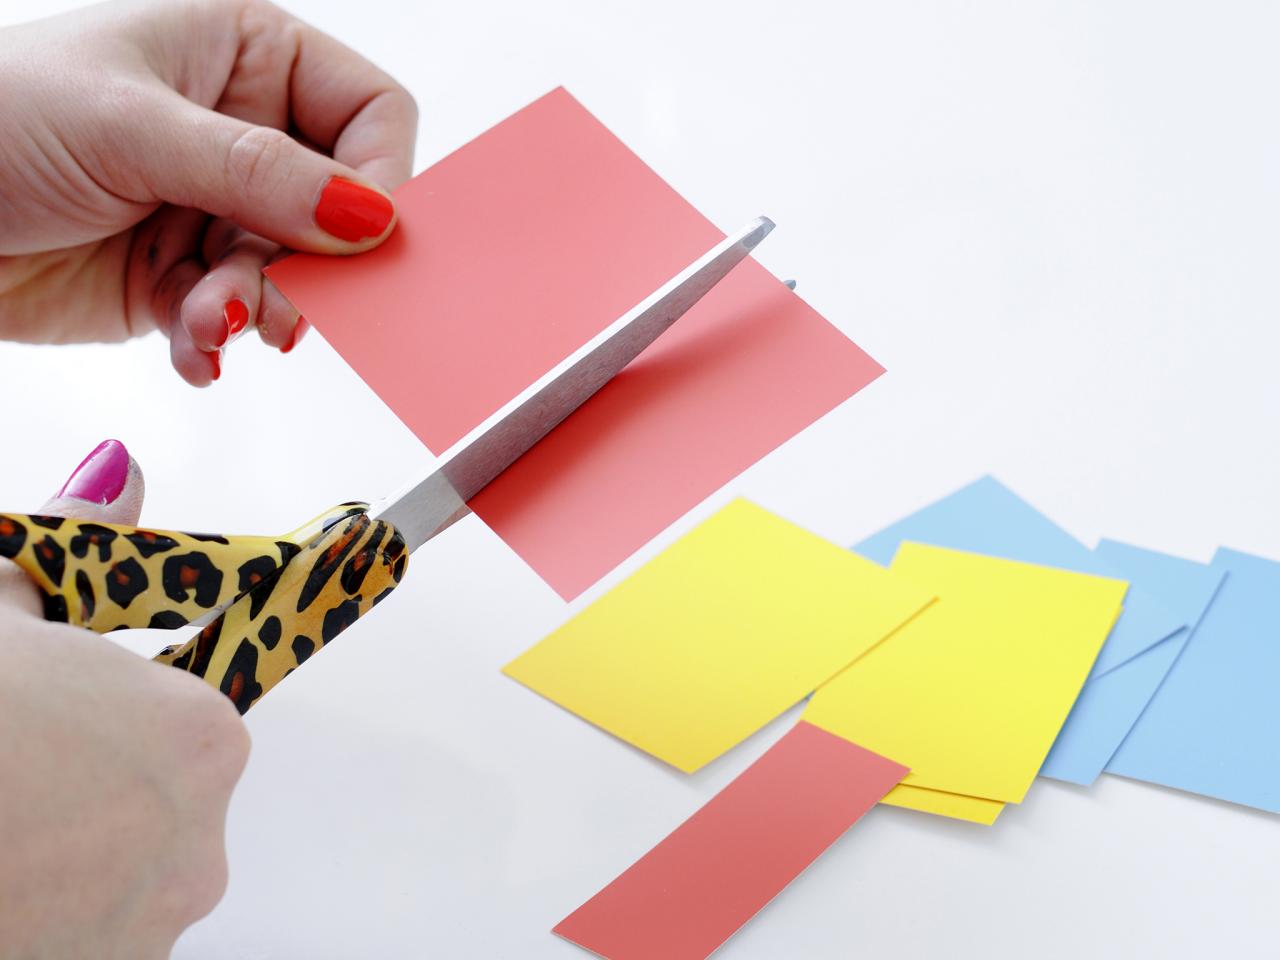
Cut Paint Chips
Cut any text from the front of the paint chips. Snip them into squares and rectangles in a variety of sizes.


Original_Michelle-Edgemont-Paint-Chip-Art-Step-1-Cut-Chips_h
Original_Michelle-Edgemont-Paint-Chip-Art-Step-1b-Cut-Chips_h
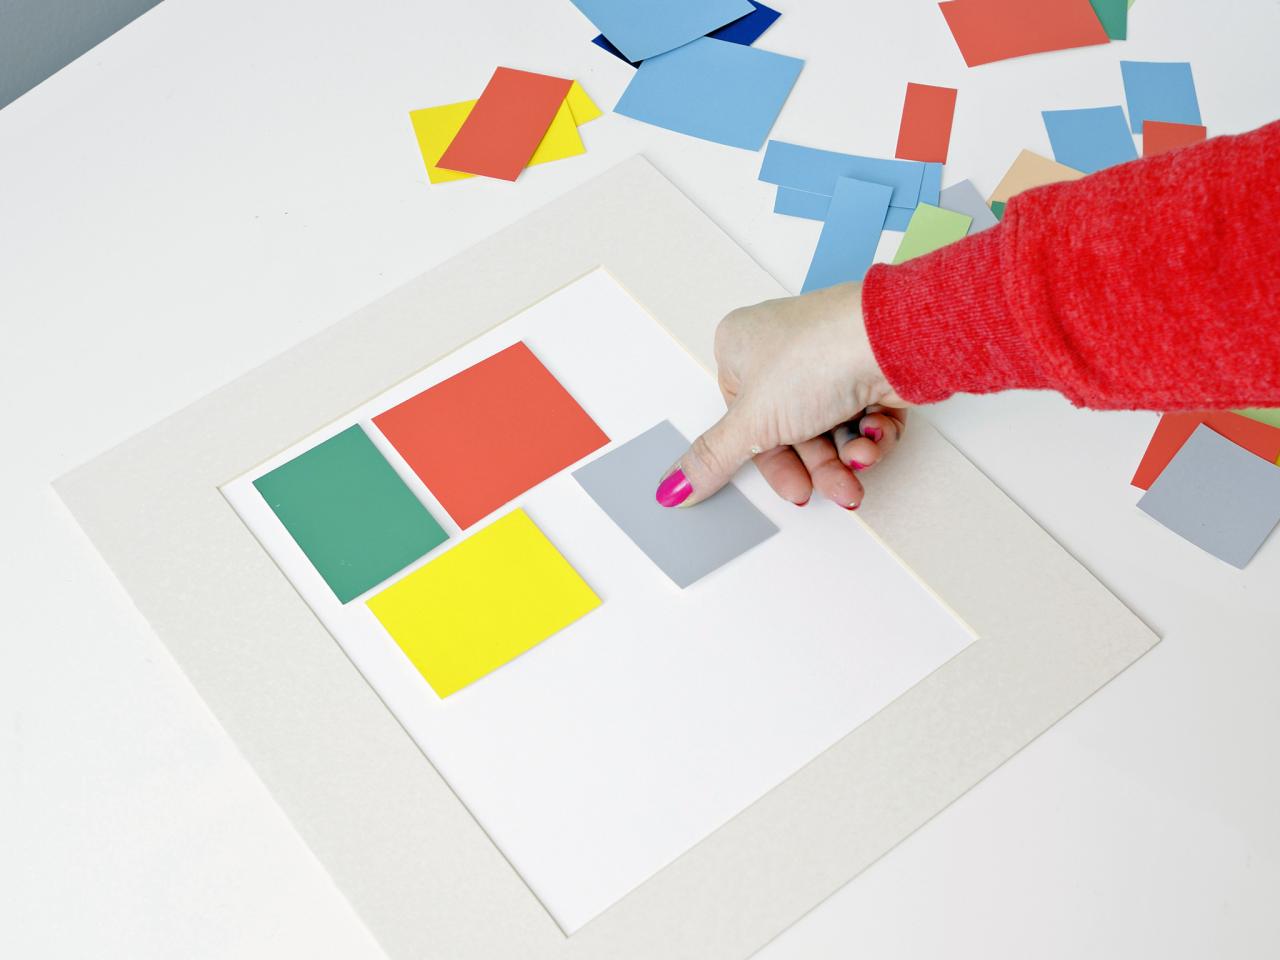
Arrange Layers of Paint Chips
Tape the card stock to the back of the mat that came with your frame. Create the first layer of color by placing foam adhesive dots on the back of chip sections and arranging them in a single layer on the card stock. Choose larger pieces first, in a variety of shapes and colors. Leave about 1/4-inch between chips.
Use the foam adhesive dots to stick on a second layer of color chips. The second layer of chips should be smaller in size than the first layer.
Add two or three more layers of color chips in a variety of colors and sizes. The foam dots will make each colored chip layer sit slightly above the one underneath.


Original_Michelle-Edgemont-Paint-Chip-Art-Step-2-Arrange-Paint-Chips_h
Original_Michelle-Edgemont-Paint-Chip-Art-Step-2b-Arrange-Paint-Chips_h
Original_Michelle-Edgemont-Paint-Chip-Art-Step-2c-Arrange-Paint-Chips_h
Hang and Enjoy
Put the finished artwork inside the frame and hang with coordinating pieces. This colorful masterpiece will bring a bright burst of color to a neutral artwork arrangement in your living space.

Original_Michelle-Edgemont-Paint-Chip-Art-Beauty-Close_v


