


7 Tips for Hand-Embroidering Designs Onto Clothing
Embroider beautiful, meaningful designs onto your wardrobe with tips from textile artist Christi Johnson's new book, Mystical Stitches: Embroidery for Personal Empowerment and Magical Embellishment.

Excerpted from Mystical Stitches © by Christi Johnson, photography © by Brad Ogbonna, used with permission from Storey Publishing

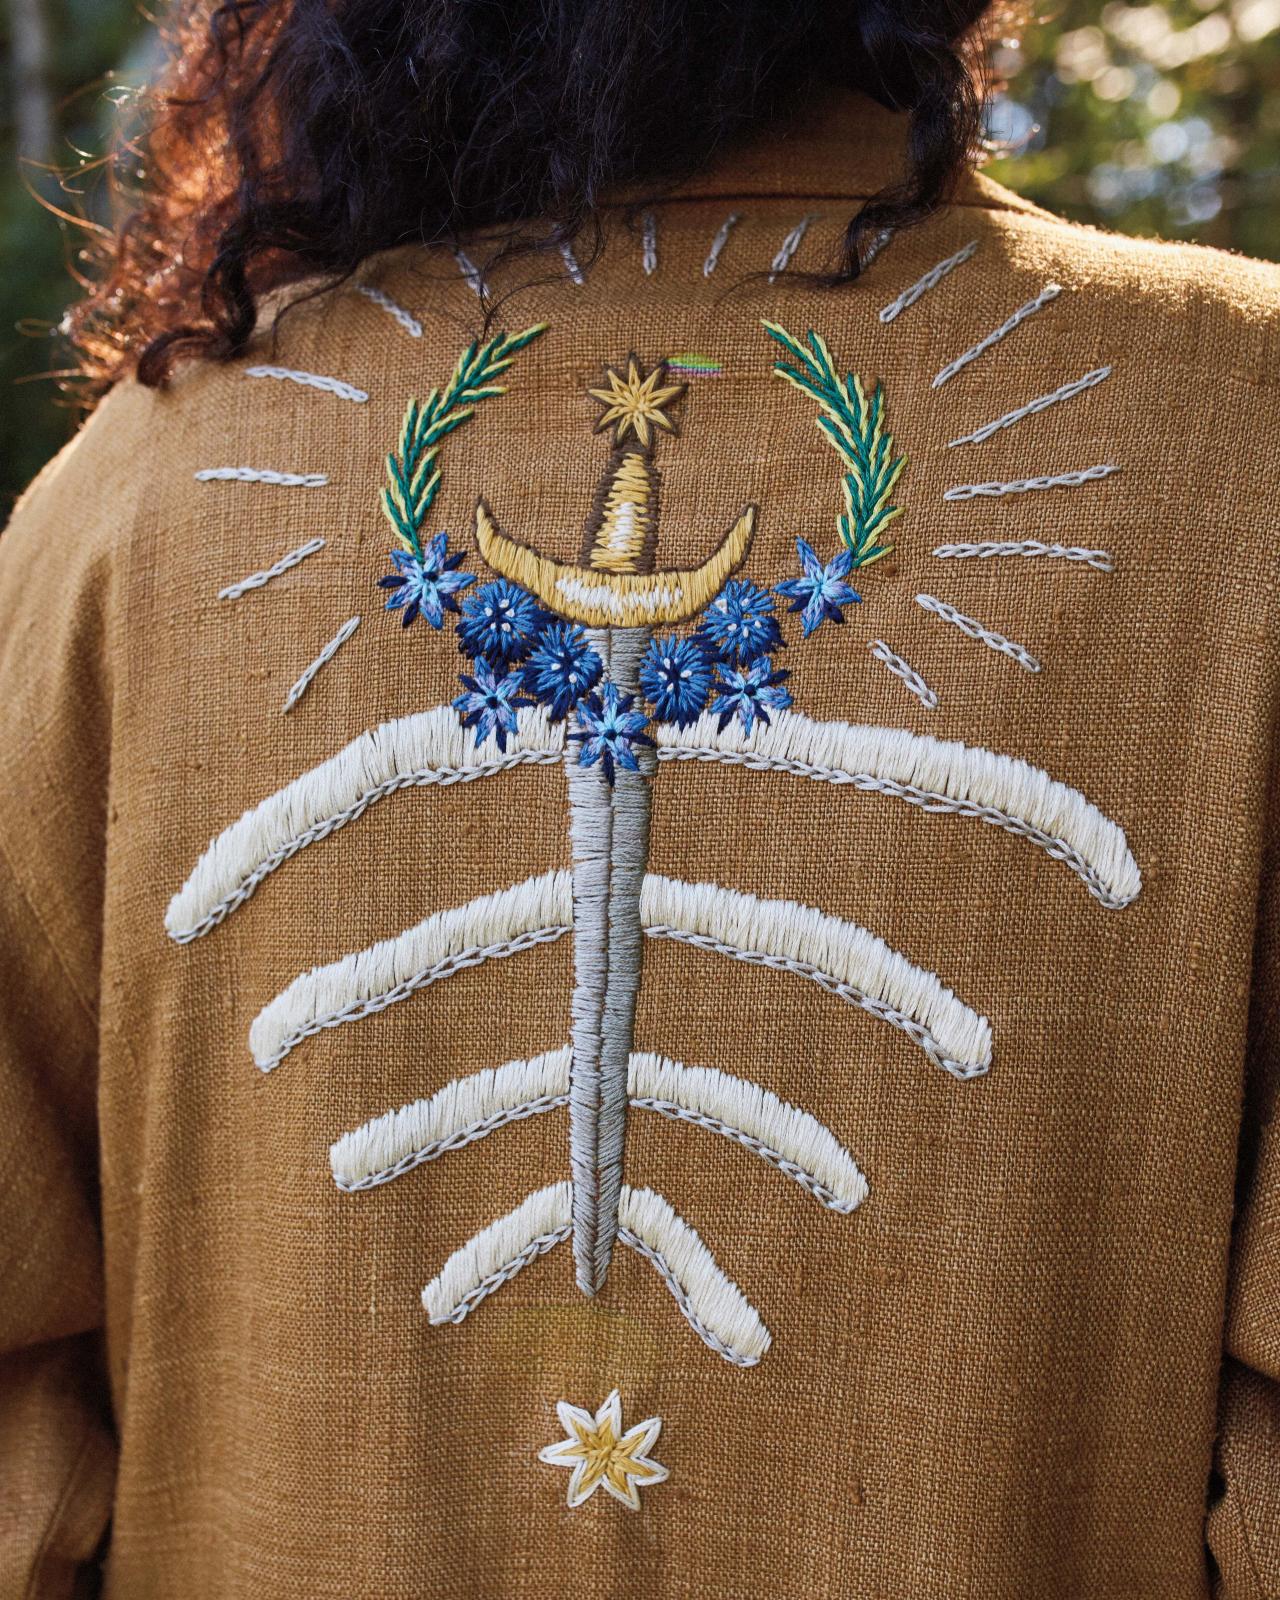
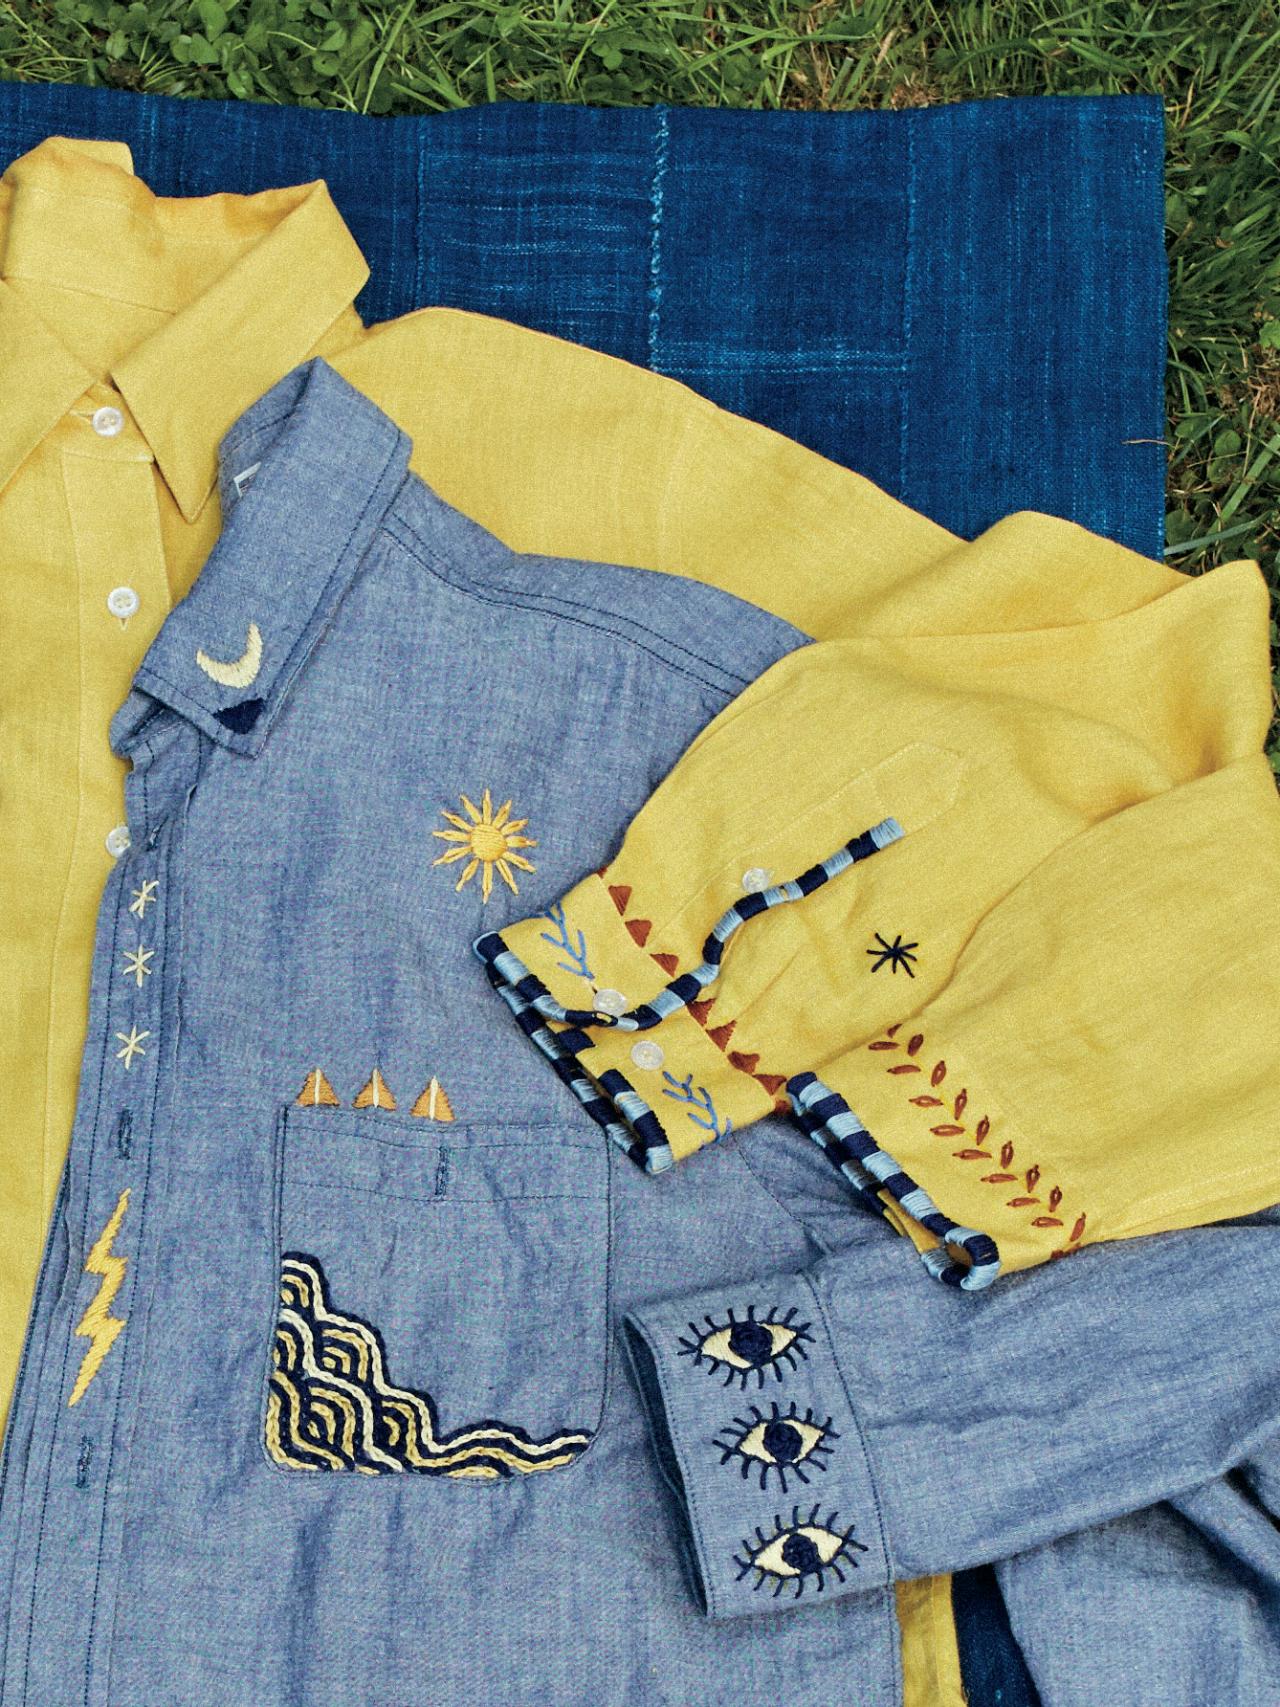
Our clothes are our second skin. We may take them for granted sometimes, but they serve many purposes, from protection to expression, and they are one of our most important physical possessions. To stitch a talisman into a piece of clothing is to infuse your daily threads with your highest intentions for your life, while also delightfully decorating your wardrobe. Allow your stitches to breathe new life — and meaning — into your garments.

Excerpted from Mystical Stitches © by Christi Johnson, photography © by Brad Ogbonna, used with permission from Storey Publishing
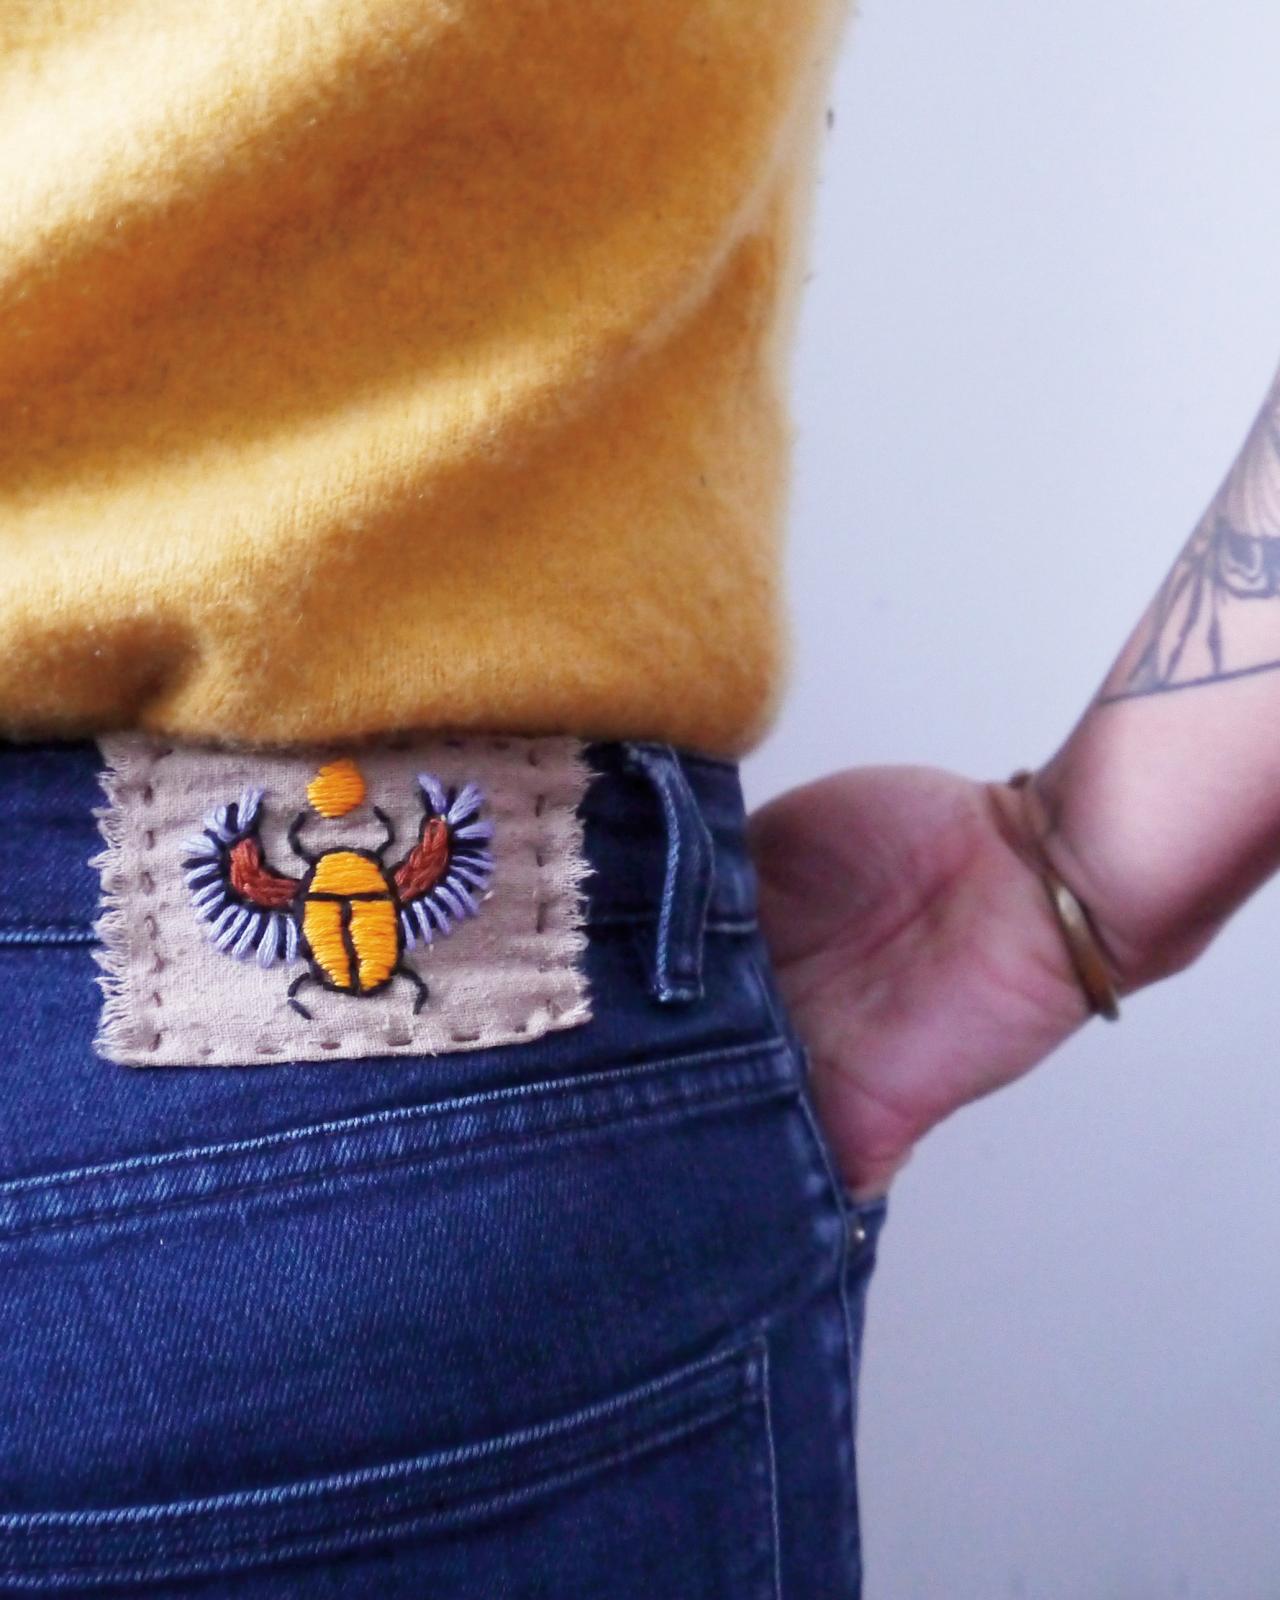
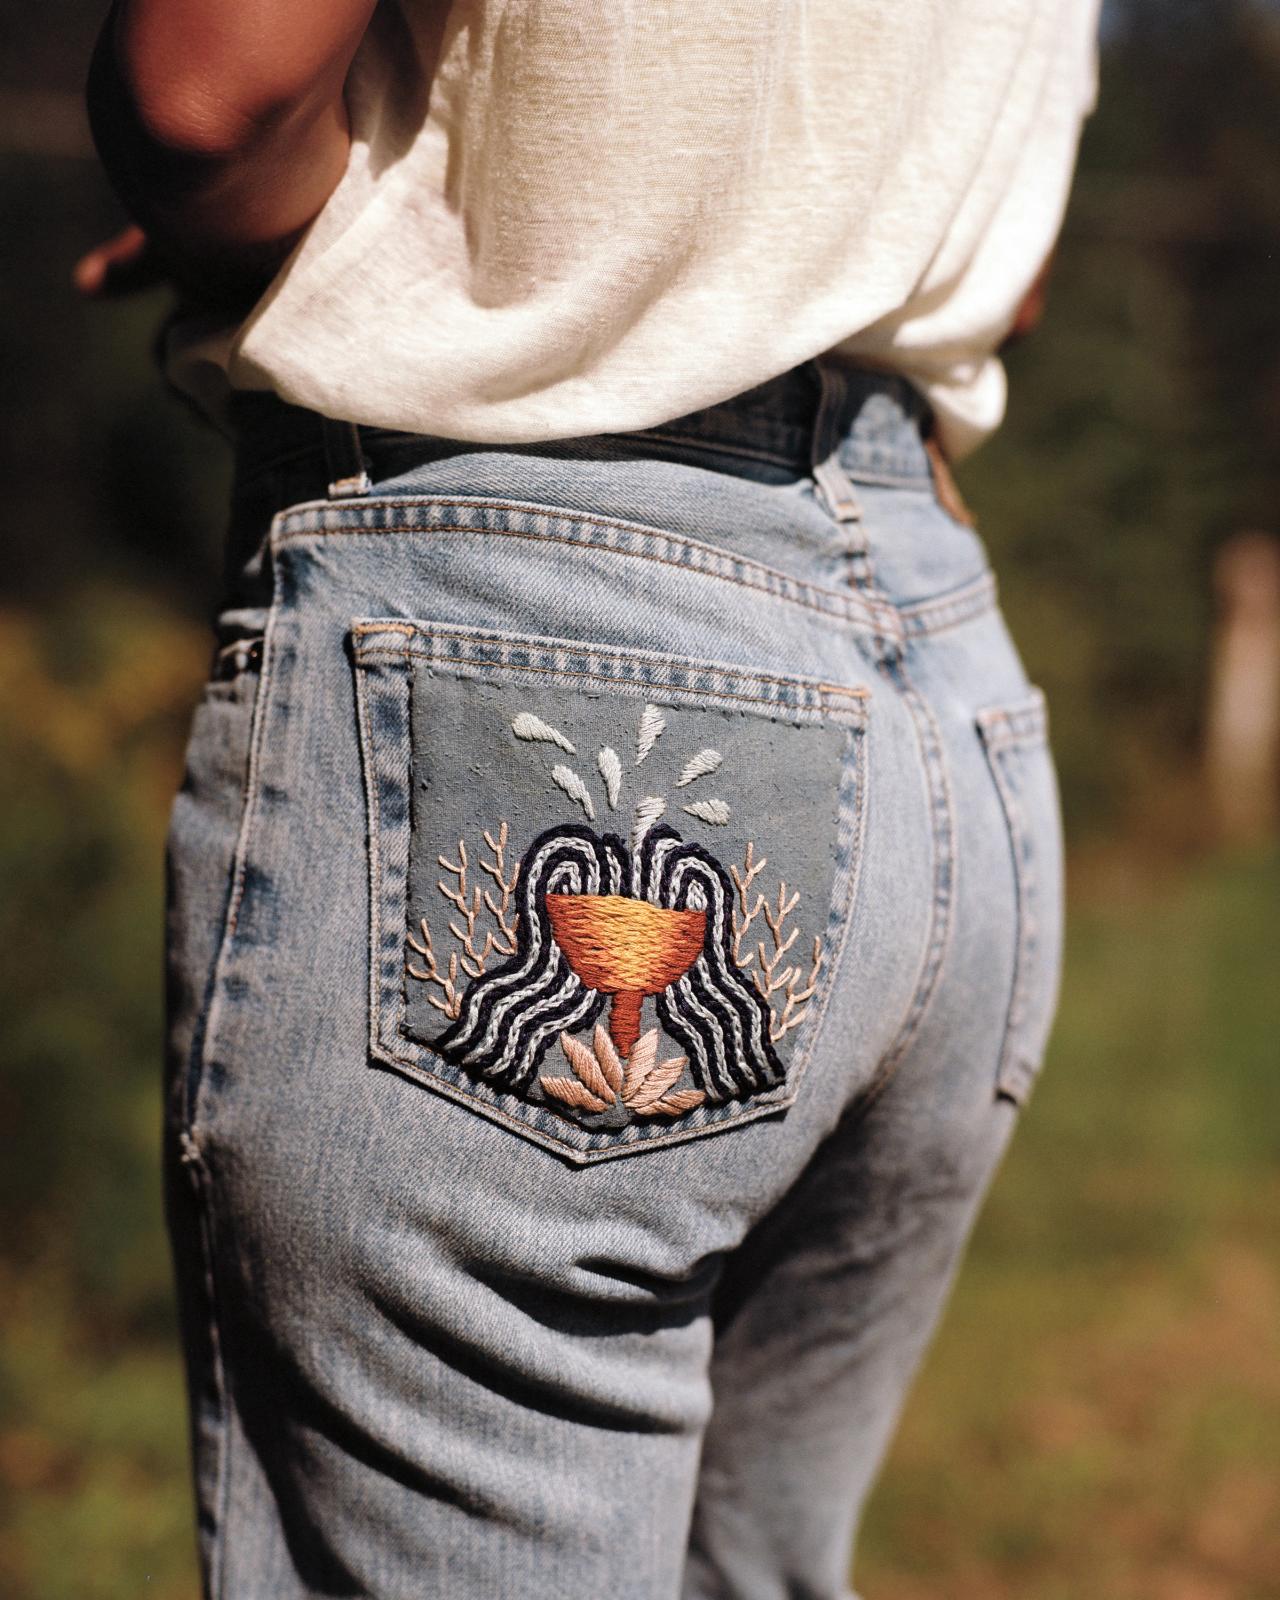
When you’re stitching onto a garment, work on a part that rests on the flat planes of the body — the front or back of the shoulder, the outside of the biceps, the outside of a pant leg, and wherever pockets are located. This will make for a more aesthetically pleasing result because these areas aren’t at risk of bunching up and the images won’t be distorted during wear. Avoid concentrated stitching on thick seams, especially in denim. Also, embroidery in areas that are highly voluminous, like the pleated or gathered area at the waistline of a skirt, tends to get lost.
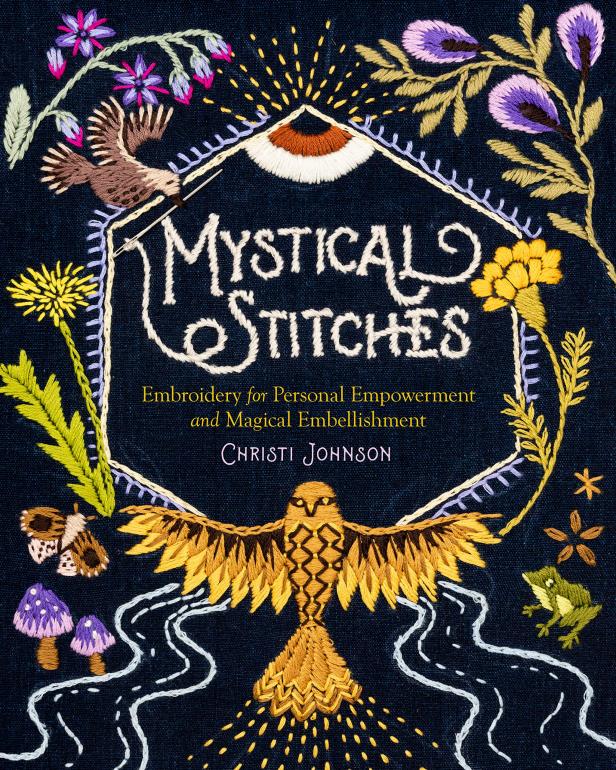
Explore personal transformation through the stitching of dreams and intentions. Anything but ordinary, "Mystical Stitches" combines the beloved and accessible craft of embroidery with a spiritual element, introducing a rich treasury of 200 magical symbols you can use to set an intention and create personal icons to wear or embellish items in the home. Christi Johnson offers unique patterns inspired by botanicals, animals, numbers, the cosmos, earth elements, zodiac signs, and mythical beasts, for novice or well-practiced crafters to combine into talismans with personal meaning. Johnson’s folk art style is vibrant and unintimidating and provides a framework for bringing spiritual elements into physical form.
Tips for Working on Garments
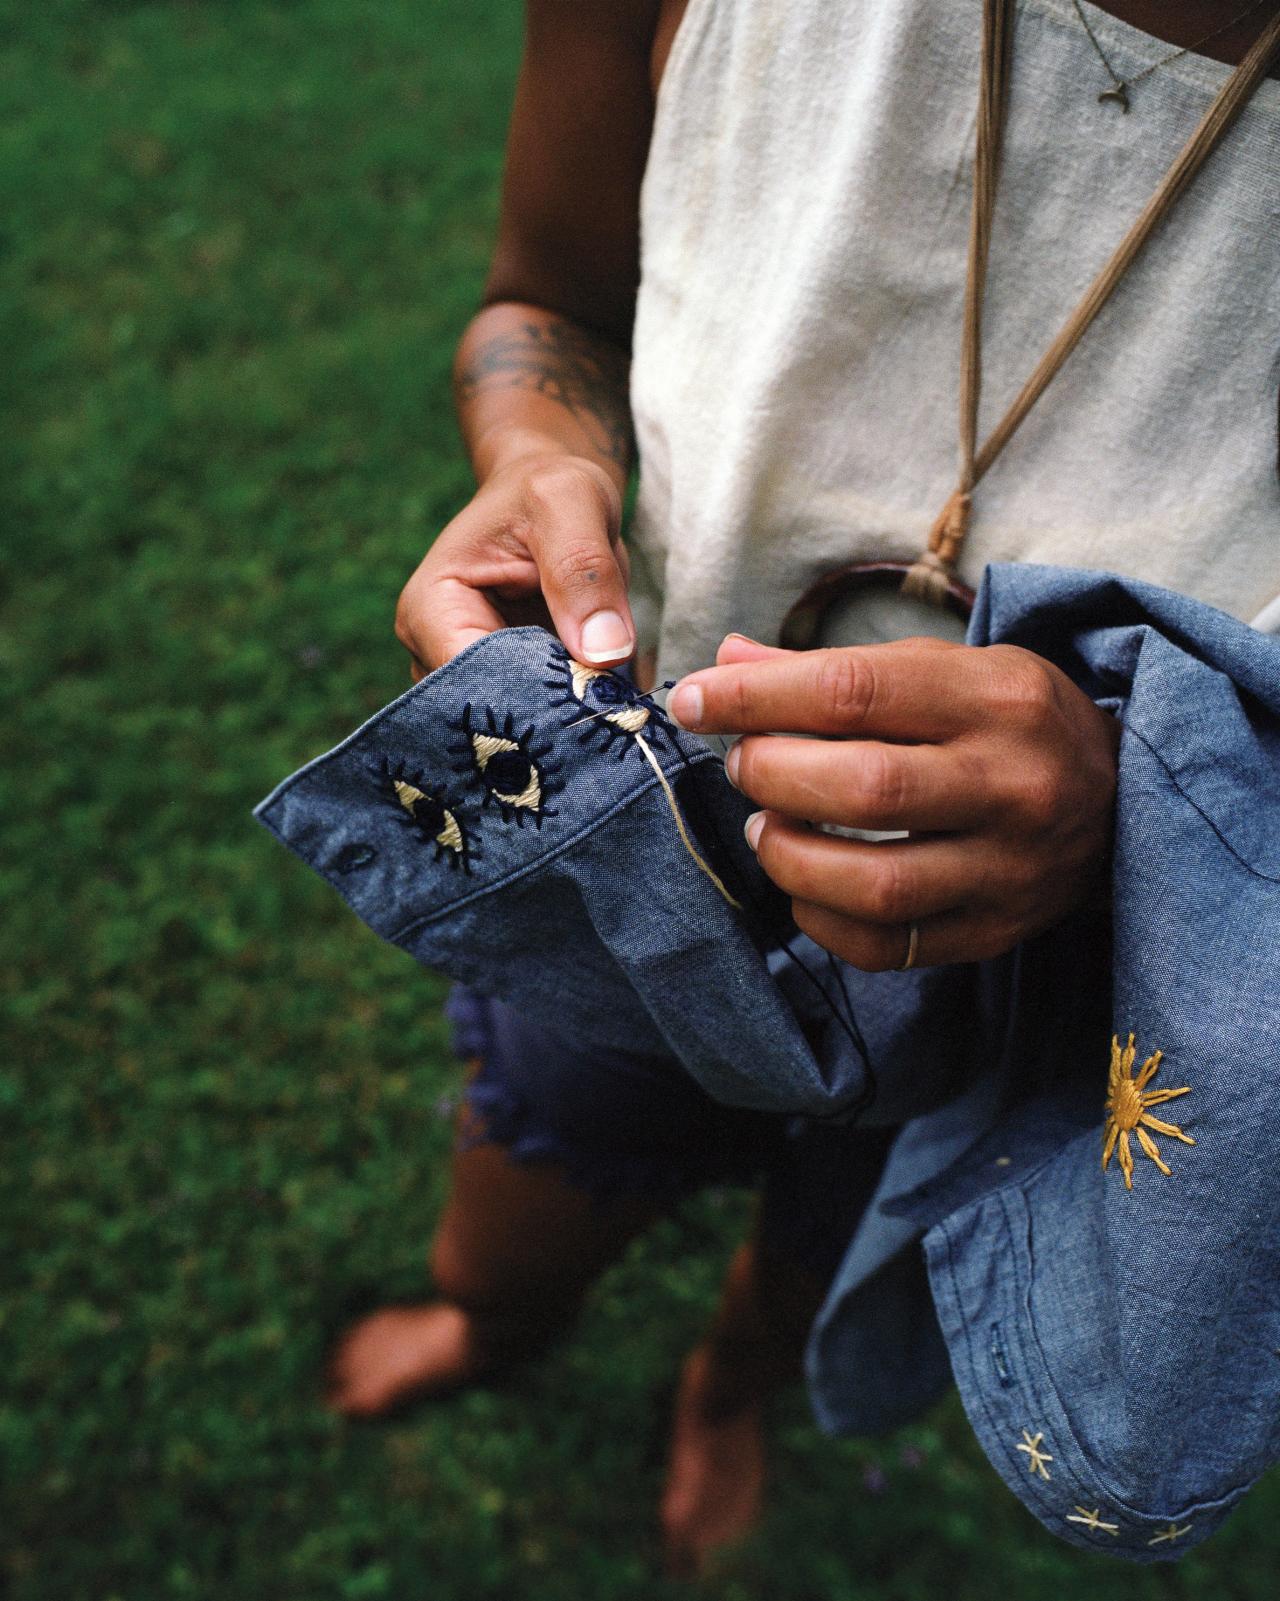
1. Some areas of button-down shirts, especially the edges, are difficult to stitch with an embroidery hoop. For these areas, you’ll want to keep stitches a little looser than normal to avoid puckering. If you feel the need to hold the fabric taut, there are a few little tricks I like to use: One is to hold an edge of the garment in between my knees, pulling slightly with the hand that holds the fabric. Another is to actually pin the garment to my jeans to create tension while I sew, which is a little less of a thigh workout than the previous technique. Just be sure not to sew your project to your own clothes!

Excerpted from Mystical Stitches © by Christi Johnson, photography © by Brad Ogbonna, used with permission from Storey Publishing
2. Stitching on a collar, placket, or other areas where the fabric is doubled looks best (and the garment lies best) when only the surface fabric is embroidered. In doing this, you also hide the underside of the stitches between the two layers of fabric. With your hand on the back of the fabric, you can feel when you’ve inserted the needle too far.

Excerpted from Mystical Stitches © by Christi Johnson, photography © by Brad Ogbonna, used with permission from Storey Publishing
3. For these collar or placket areas where the fabric is doubled, you can use a hidden knot trick to hide your threads. Instead of pulling from the back to the front, try hiding the tail of your thread in between the two layers of fabric. Pull the needle through from an inch or so away from where your stitching will begin (preferably at the edge of a seam) with the needle traveling in between the two layers of fabric to hide this tail of thread. Then exit in an area where you can make two tiny stitches that will blend into the rest of the embroidery (see the knot-on-fabric technique below). Cut off any remaining thread tail close to the fabric when done. Repeat this process when you’re finished with a length of thread, creating two tiny stitches to secure the thread before sending the needle through the layers an inch or so away from this hidden knot. Cut the remaining thread close enough to the fabric so that it disappears.

Excerpted from Mystical Stitches © by Christi Johnson, photography © by Brad Ogbonna, used with permission from Storey Publishing
4. It is way too easy to stitch a pocket shut when adding embroidery to it! I usually stick my hand in the pocket both to hold the fabric taut and to be sure I’m not sewing through both layers — double win!

Excerpted from Mystical Stitches © by Christi Johnson, photography © by Brad Ogbonna, used with permission from Storey Publishing
5. Stitching on cuffs looks really great, but before you begin, consider whether you tend to roll the sleeves up when wearing the shirt. This may seem obvious, but too many times I’ve made the mistake of embroidering an area that ends up hidden!

Excerpted from Mystical Stitches © by Christi Johnson, photography © by Brad Ogbonna, used with permission from Storey Publishing
6. Always try on the clothing after you’ve transferred the design onto it. Think of it like this: When you get a tattoo, you want to look at the drawing on your skin in the mirror before the tattoo artist gets to work. It may take a little more time; you may even have to erase and redraw the transfer, but it’s better than having a tattoo you wish had been just a little smaller and to the right (like, for example, the rushed tattoo on my forearm).

Excerpted from Mystical Stitches © by Christi Johnson, photography © by Brad Ogbonna, used with permission from Storey Publishing
7. The front buttonhole placket is a great place to add embroidery, but many shirts are worn open in a way that this stitching might not be seen. Be sure to try on the shirt and see how the placket lies before stitching on it. I usually don’t stitch between the collar and the first or second buttonhole for this reason.

Excerpted from Mystical Stitches © by Christi Johnson, photography © by Brad Ogbonna, used with permission from Storey Publishing
Embroidery Projects

Embroidery Inspo: Making Art With Needle and Thread 14 Photos
See how two artists combine textiles and storytelling in the casual slow-art of embroidery. (It'll make you want to start stitching RN!)

Make Your Own Embroidered Constellation Notebook
Customize plain pocket notebooks with a trendy constellation motif using mini brads from the scrapbooking section and a simple embroidery technique.

Use an Embroidery Hoop as a Loom to Make This Nautical Wreath
Turn an embroidery hoop into a loom to weave a unique, summer-inspired wreath that will make you feel like you live seaside.


