


How to Make a Multipurpose Room Divider

Materials Needed:
- 3/4-inch-thick MDF board
- 4 door hinges
- 4 yards fabric
- queen-sized quilt batting
- chalkboard paint
- mini foam roller
- 3/4-inch ribbon
- spray adhesive
- stapler
- fabric glue or hot glue gun
- drill gun
Cut Out Screen Pieces
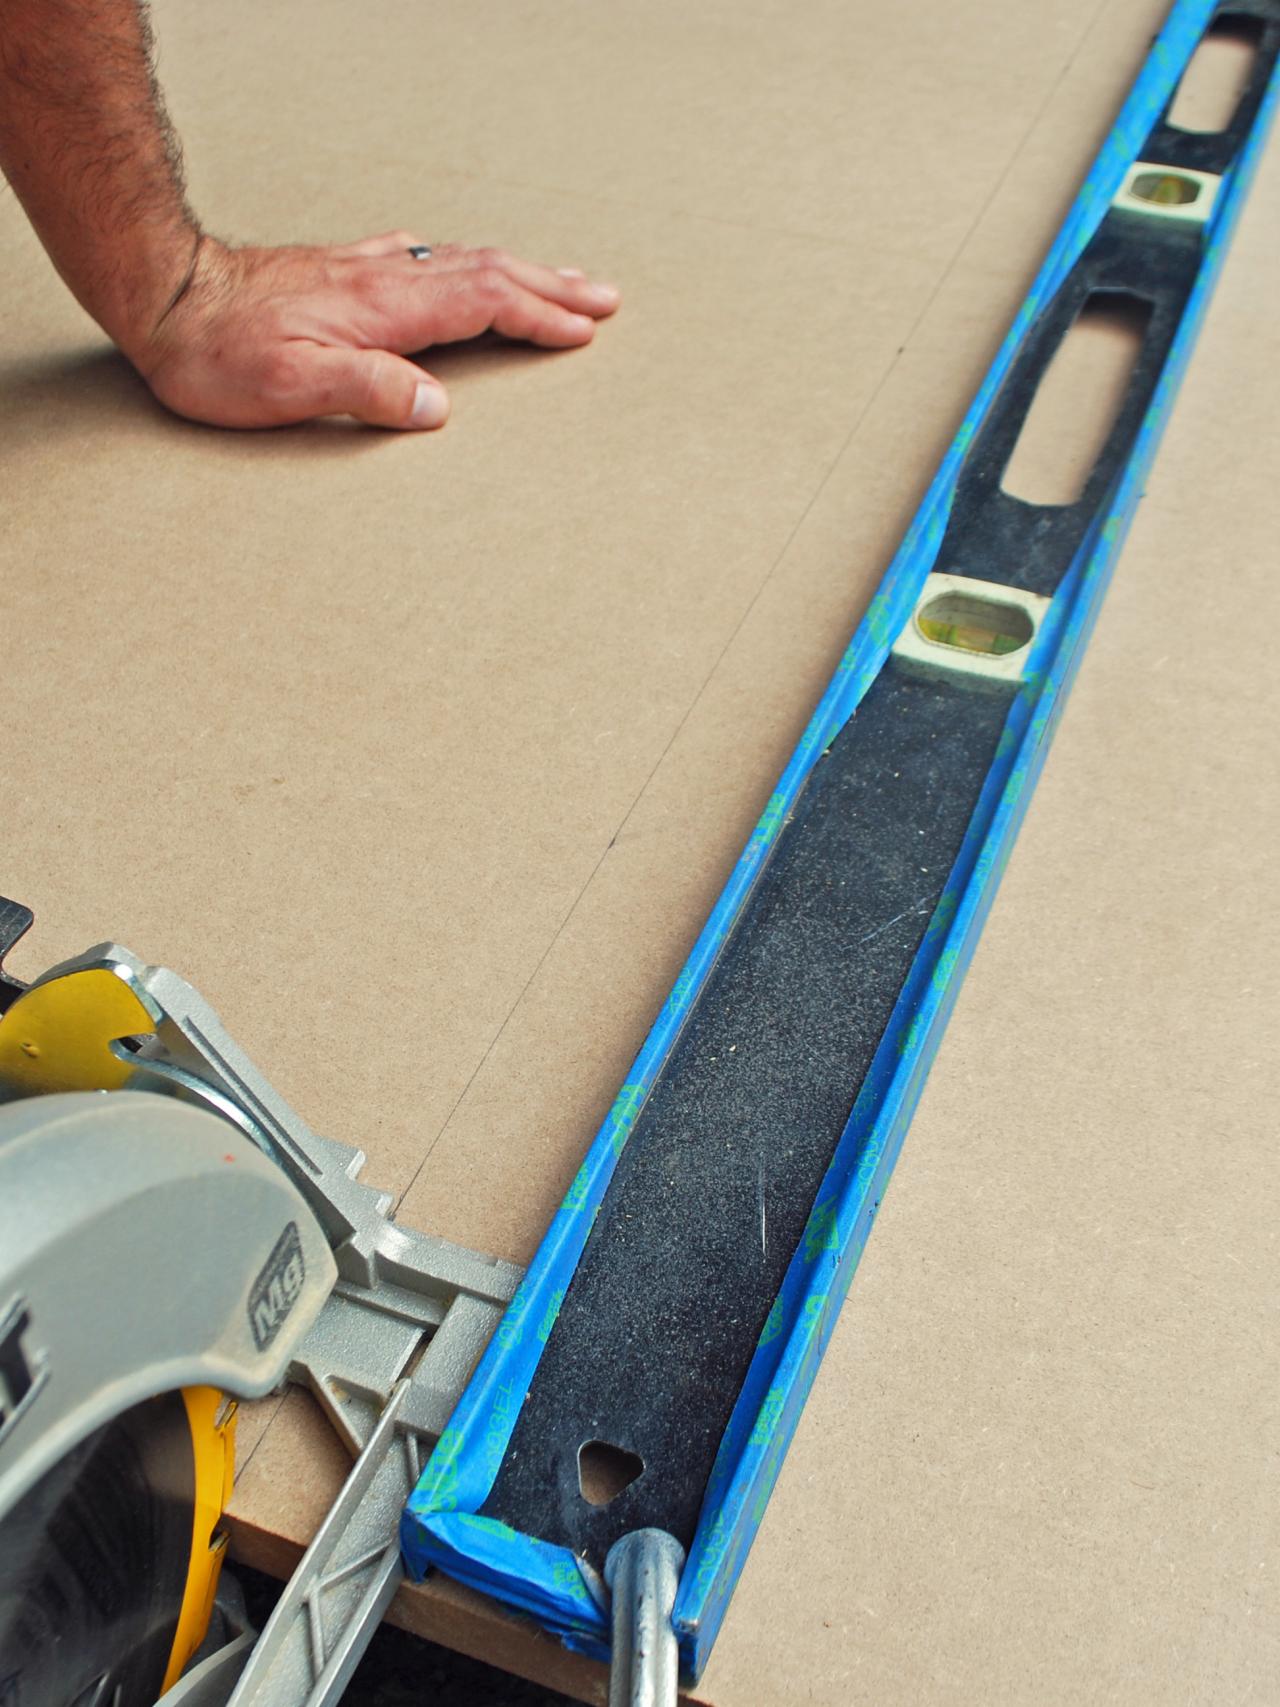
Take MDF board (standard size 48 x 80 inches) and cut down to the height you would like. For this project we cut ours down to 60 inches and were left with 48 x 60 inches. We then took that board and made three cuts to get three 16-inch-wide pieces. Lightly sand new edges.

Apply Chalkboard Paint
Since this folding screen will be reversible, you're going to paint one side with chalkboard paint. Use a mini foam roller to apply three layers of chalkboard paint. Let dry.

Upholster Reverse Side of Screen
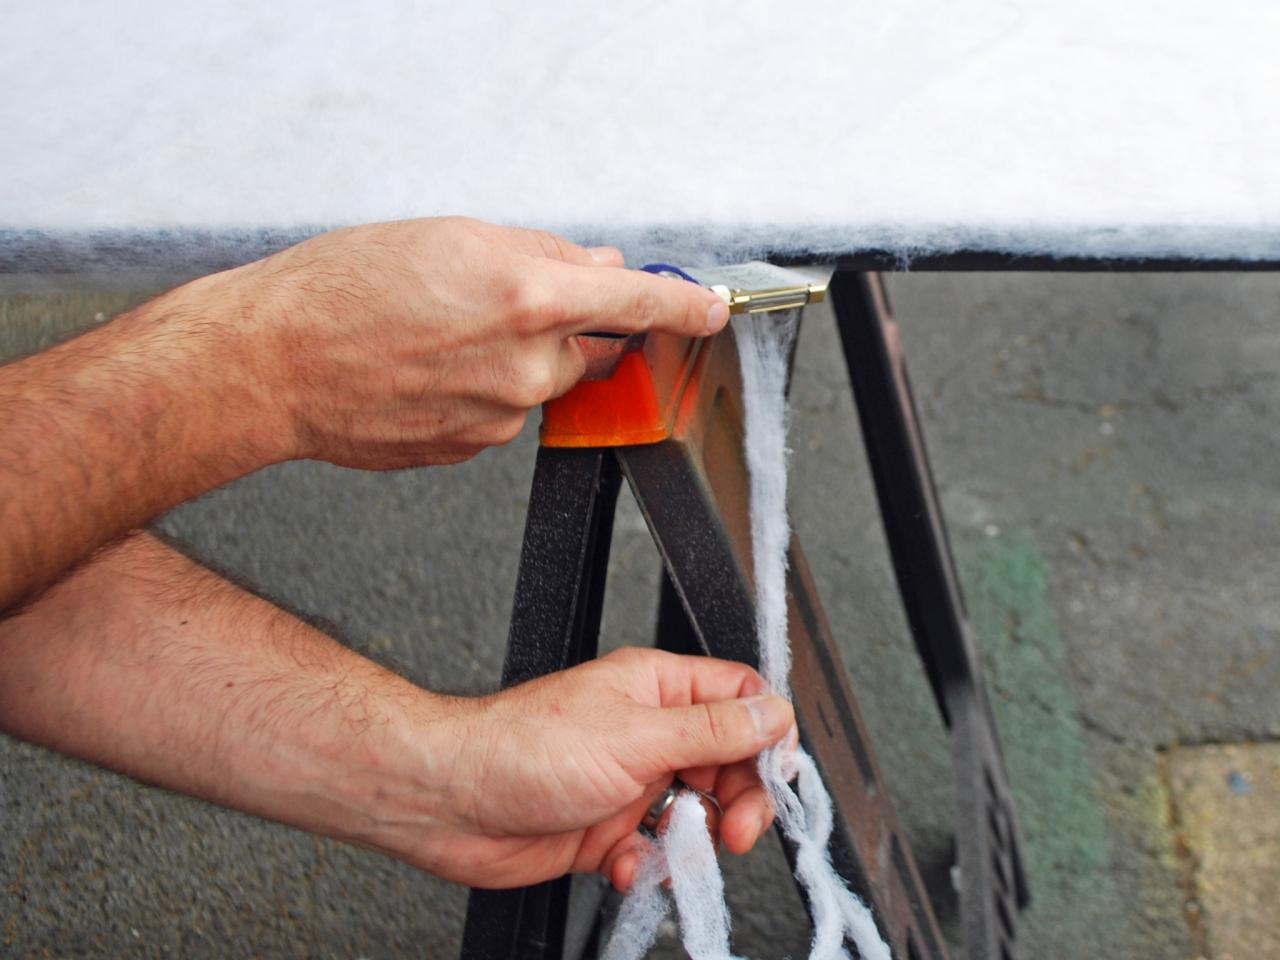
Lay out quilt batting and cut to size (Image 1). A razor blade makes it easy to trim excess (Image 2). Use spray adhesive to adhere.


Apply Fabric to Screens
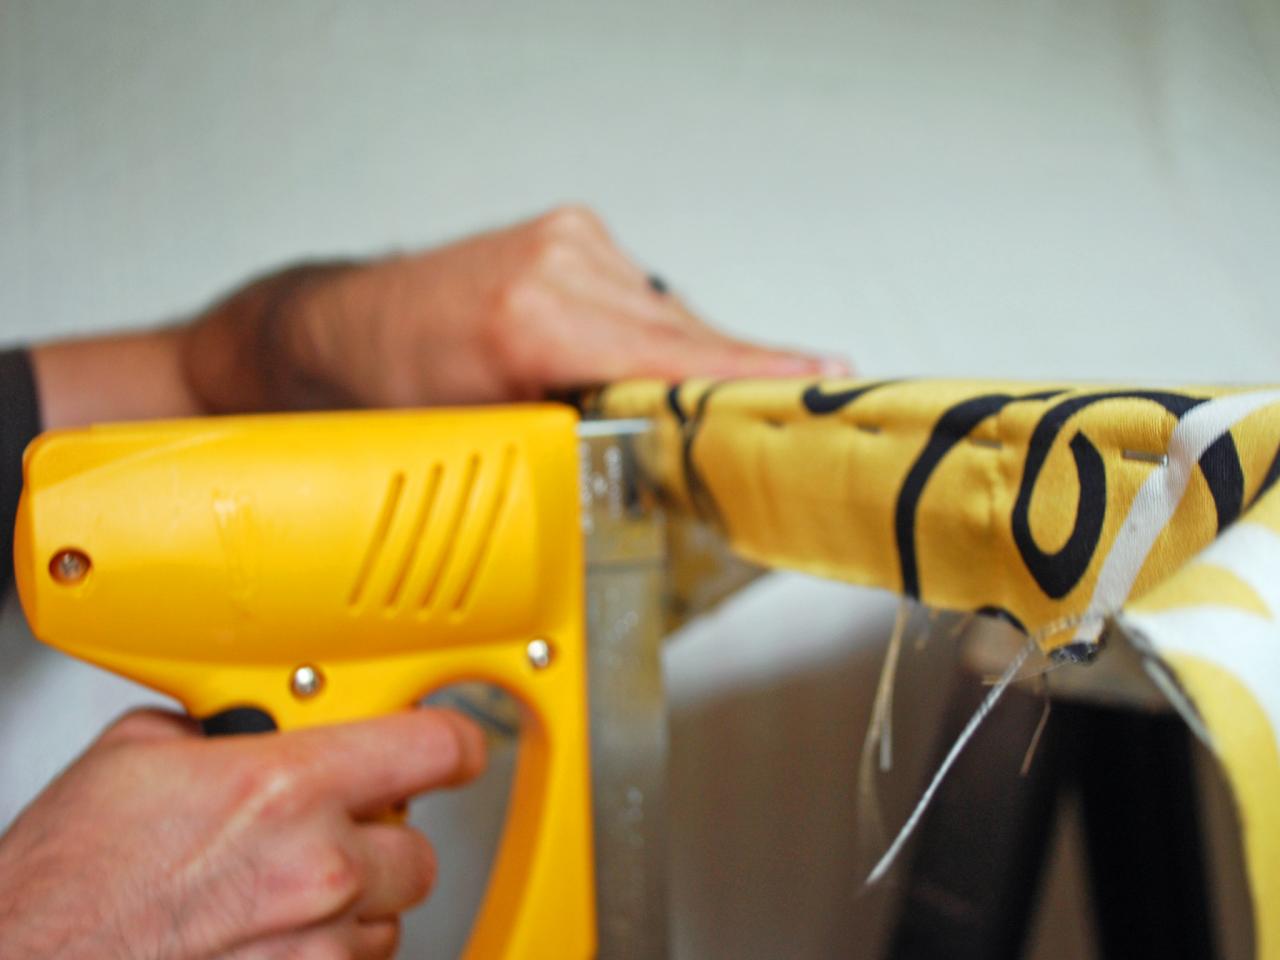
Depending on your fabric, you need to take into account pattern scale for placement. Once you find the perfect placement, make sure to cut three equal panels of fabric with that placement in mind. Once your pieces are cut, place panel over batting and use a staple gun to adhere to the border of the screens.


Cover Staples
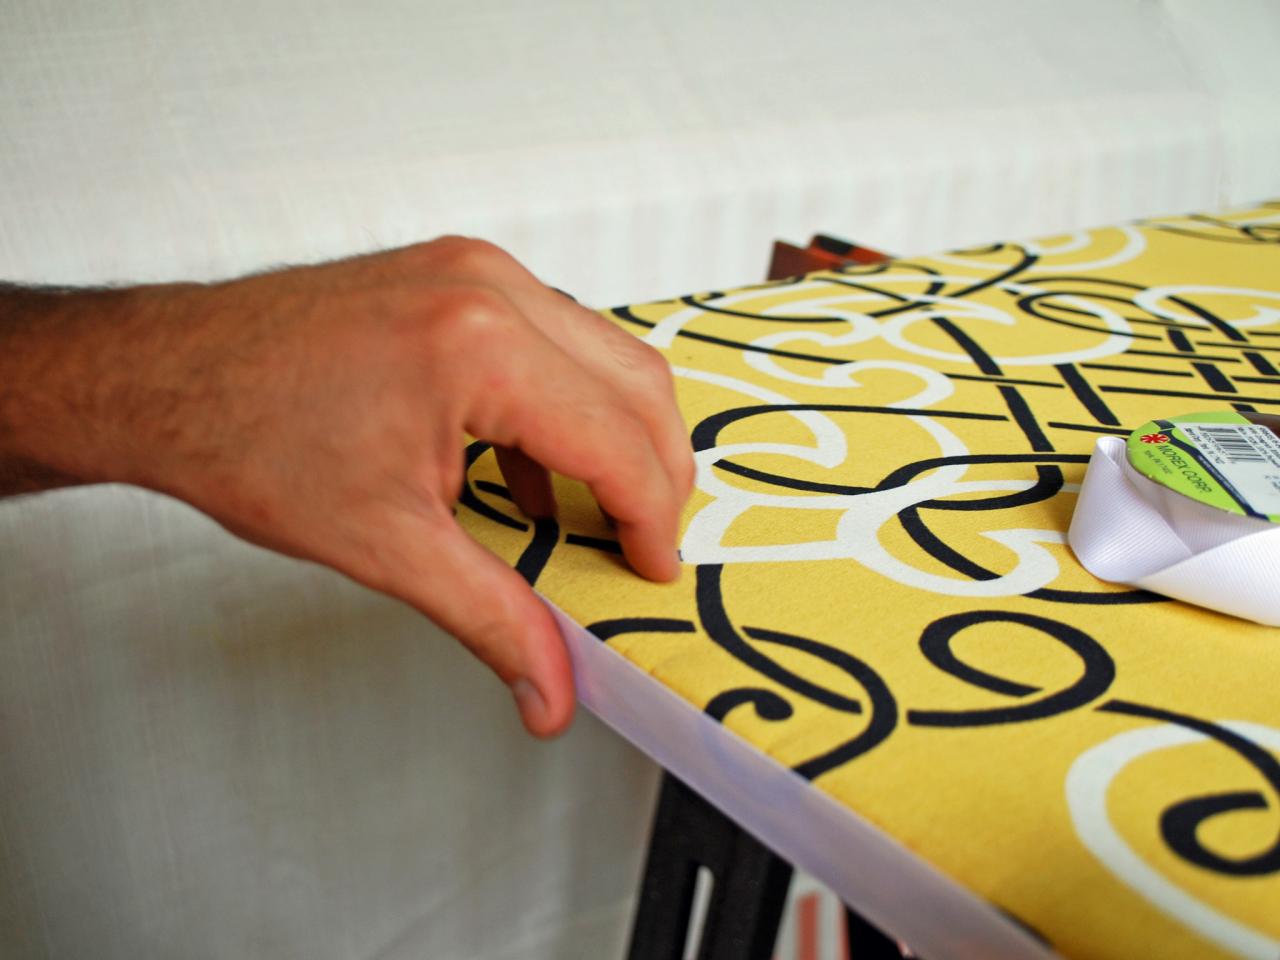
Once you have stapled all the fabric to the screens, you will now have upholstered fabric screens but the edges will be unfinished with exposed staples. Use 3/4-inch-wide ribbon and apply with fabric glue or a glue gun to cover staples.

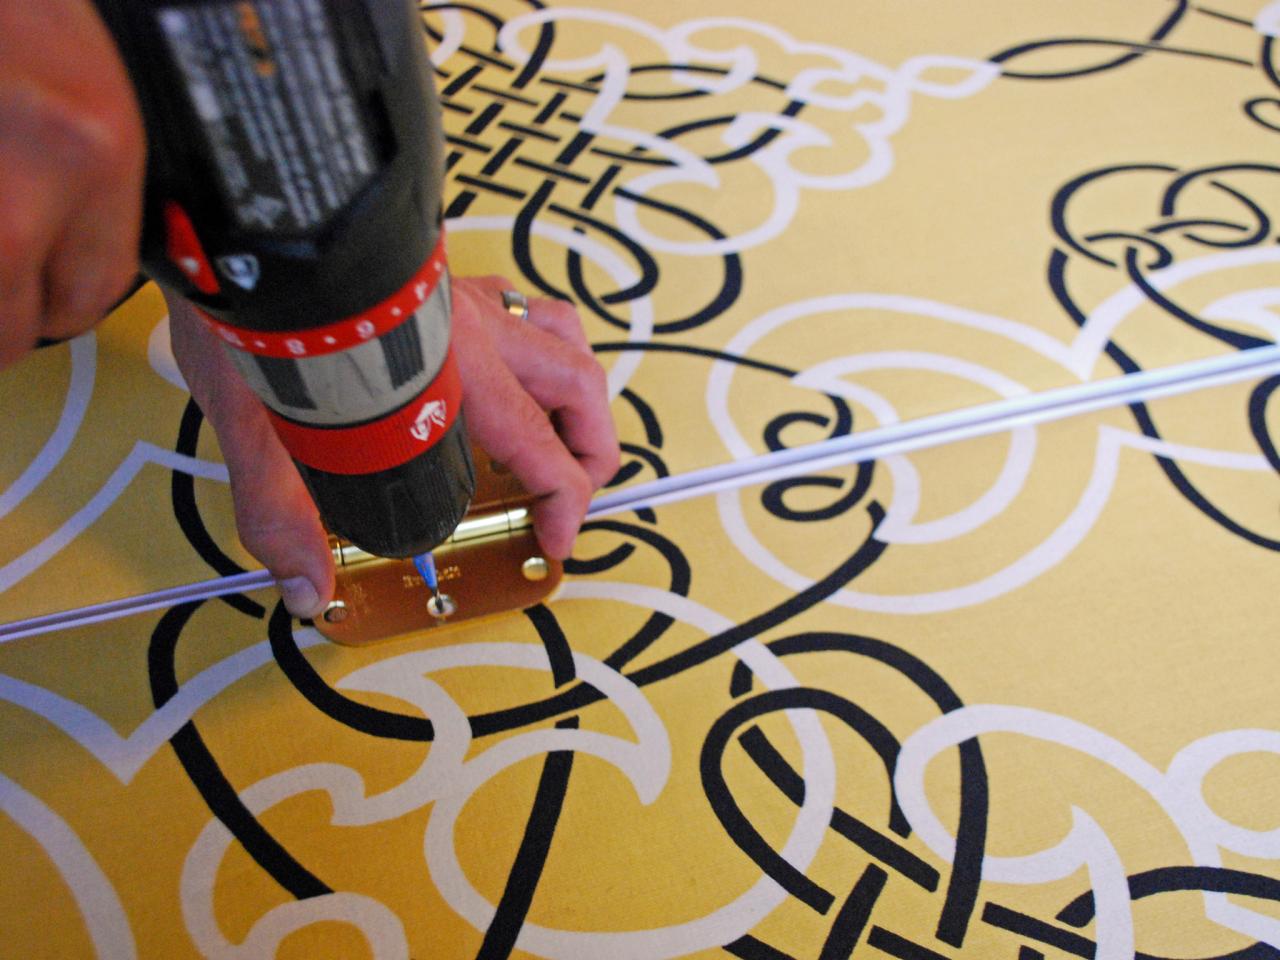
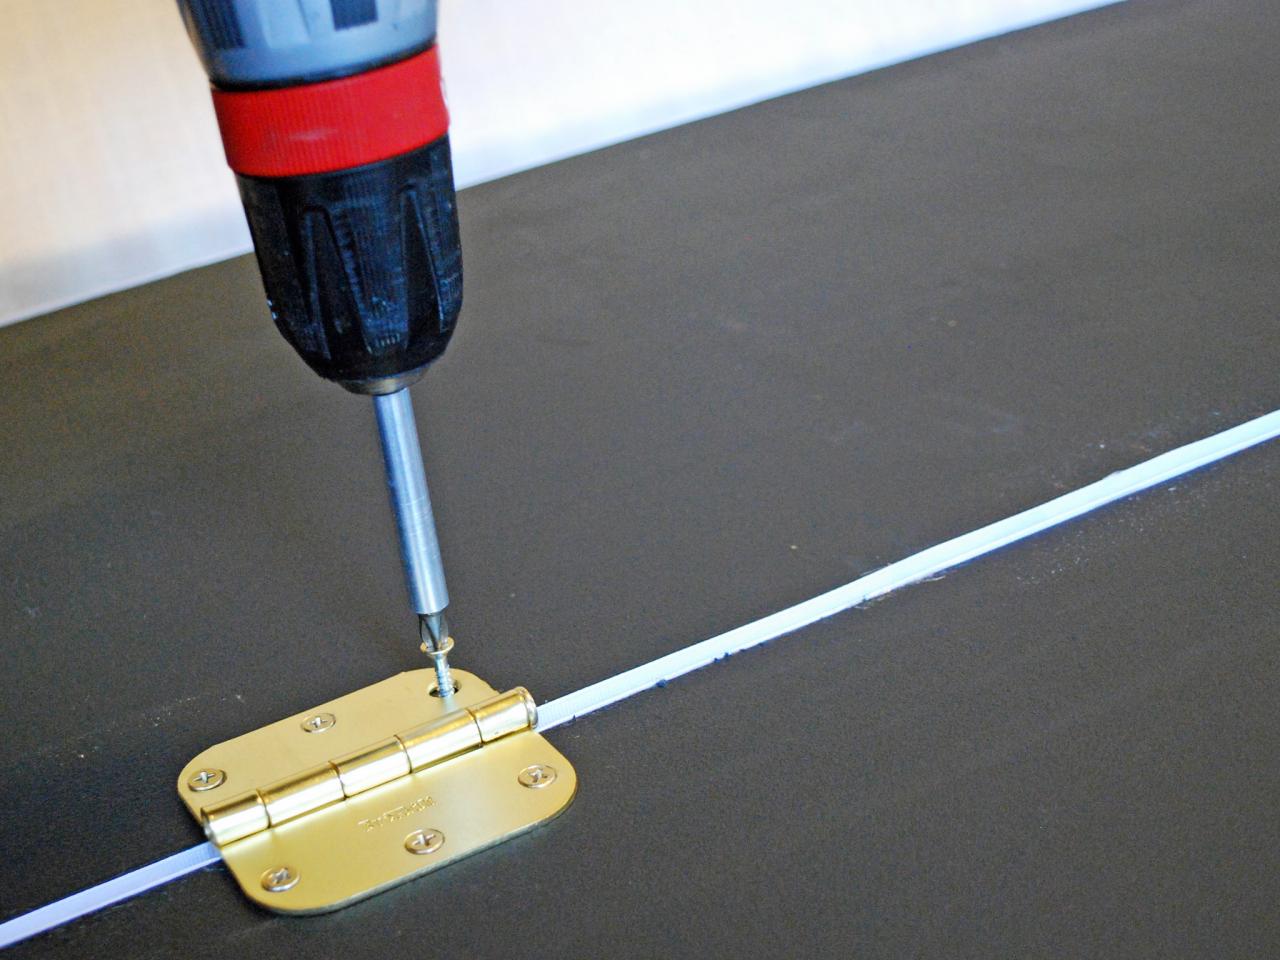
Apply Hinges
Measure 8 inches down and 8 inches up on each screen and use the hinges as a template to mark the three screw holes. Since we need to make our screen fold you will be placing a set of hinges attaching the first two screens on the fabric-covered side. Then you will flip everything over and attach the second set of hinges to the second and third screens on the chalkboard side. Since you're going to be drilling through fabric/batting make sure to pre-drill the holes with a drill bit that is skinnier than your screw. Also, it's best to run the drill in reverse first and then forward after the bit punctures the fabric.


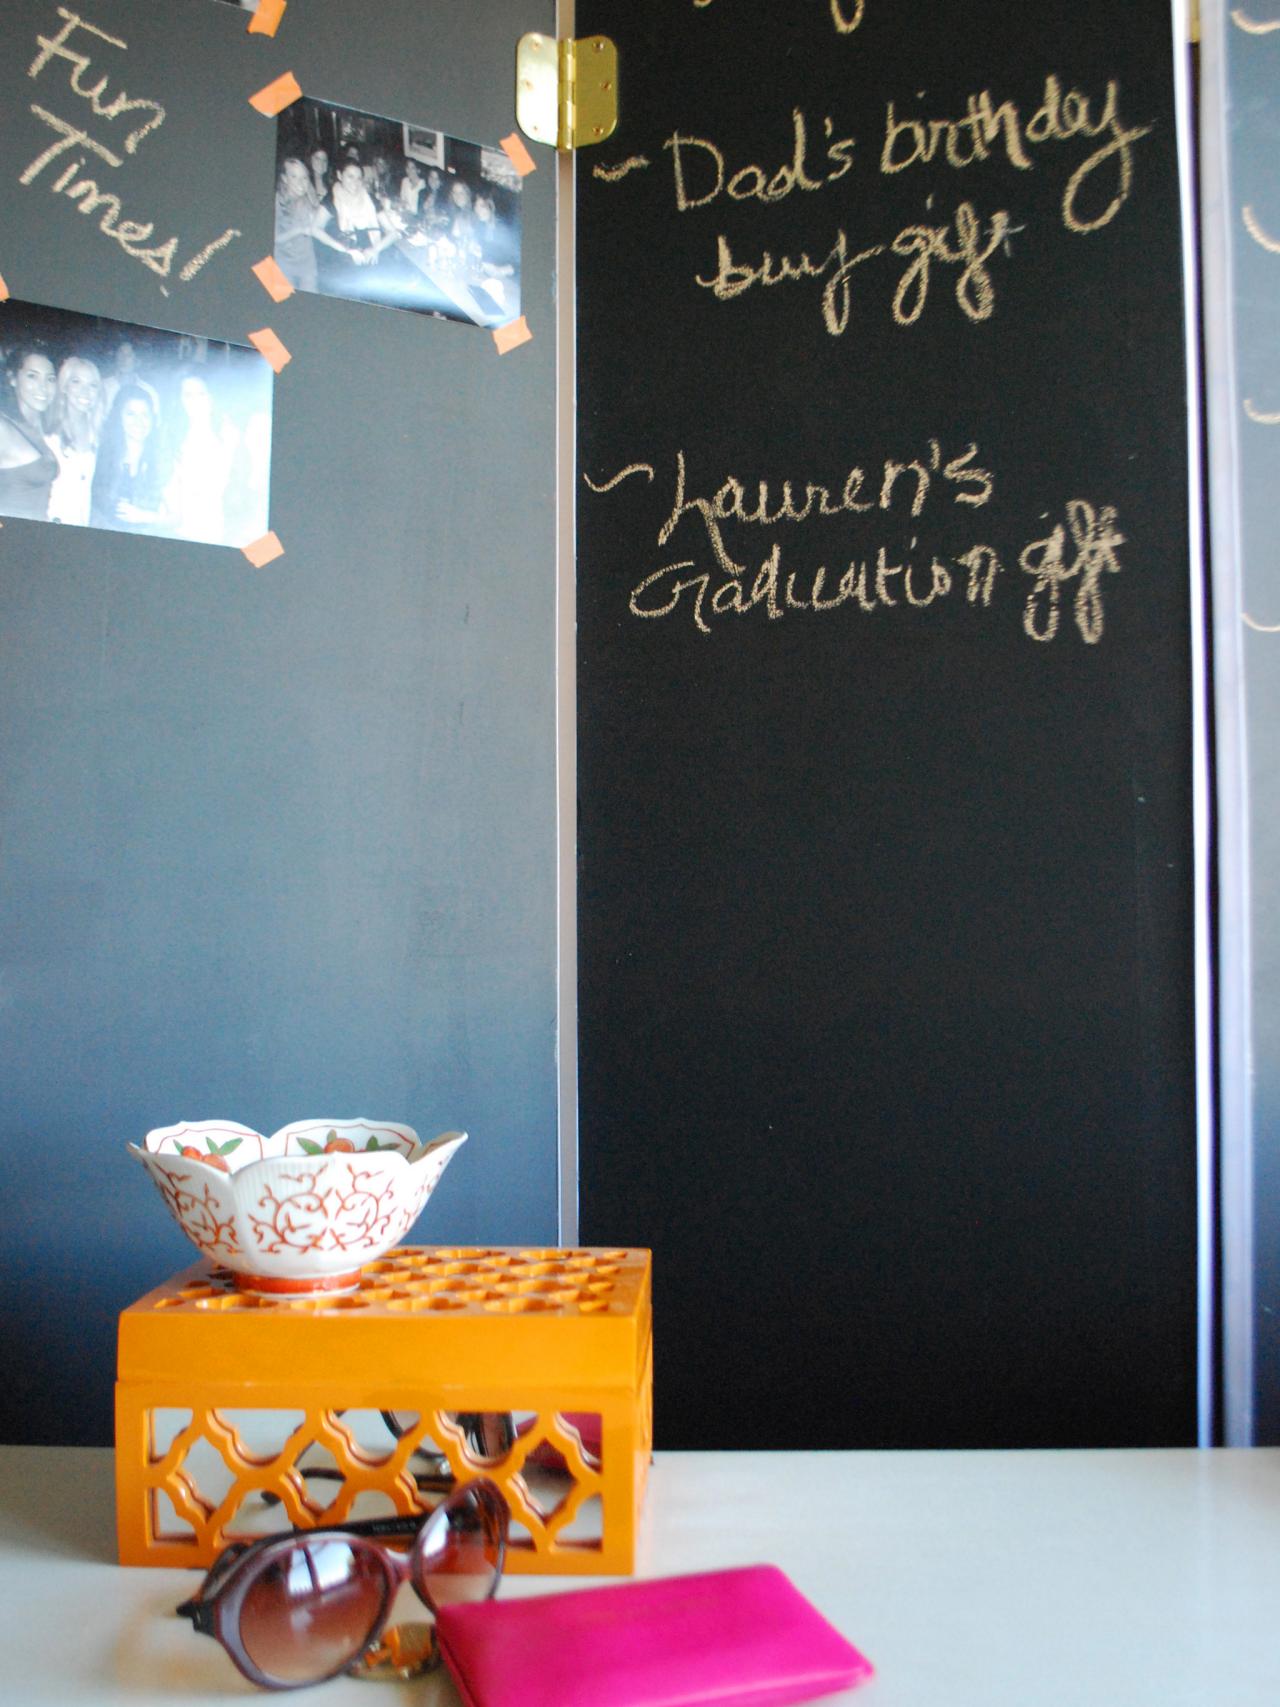
You're Finished!
Once complete, you can use the fabric side as a pretty pin board for photographs and inspirational pictures. Or you can use the chalkboard side as a place to jot down homework assignments, to-do lists and reminders.


