Make a Fall Leaf Garland
Create a beautiful fall garland using leaves from your backyard.

By:
Ruth Meharg
Related To:
Fall Garland
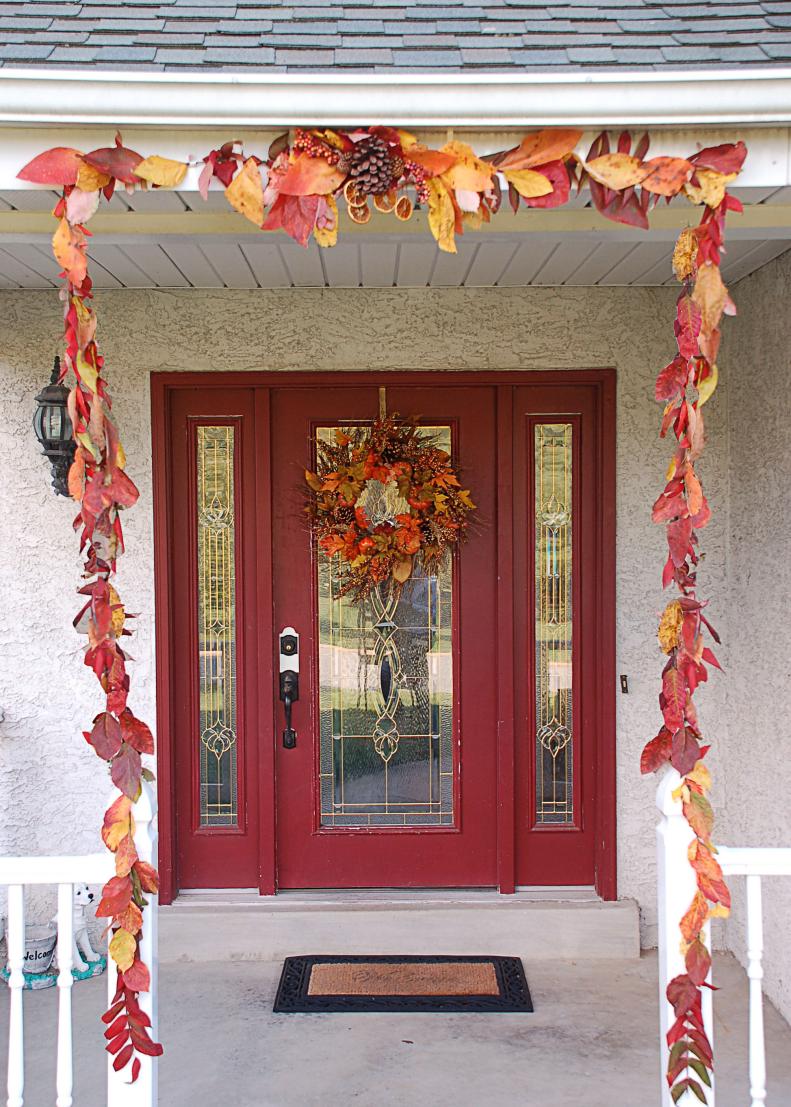
Display a splash of autumn color over your front door, around an arch way or draped across a beautiful bench with your own handmade fall garland. Gather some nearby leaves and in a few hours you will have a garland of beautiful reds and yellows.
Garland Supplies
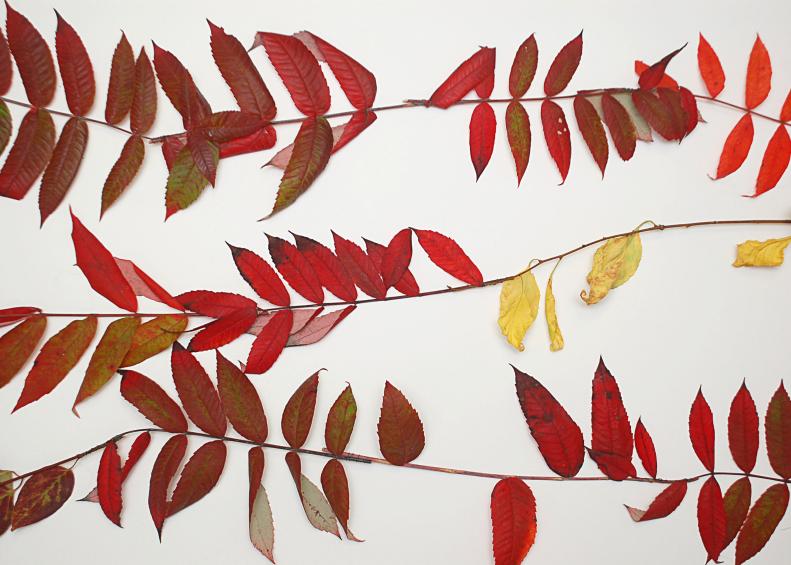
To create your fall garland you will need floral tape, floral wire, scissors, wire cutters, a stick to support your centerpiece and lots of colorful leaves. Look for small leaves still attached to their branch, and large single leaves. You may also want some fall items like pinecones, dried berries or dried orange slices.
Create A Garland Base
Create a base for your garland by connecting the leaf covered branches you gathered. These work best if the branches or stems are still flexible. Overlap the ends of the branches by about 2 inches, and wrap with floral wire to secure.
Adding Branches
Continue adding branches until your garland reaches the right length. To know how long you need to make it, measure the doorway or entryway you want to hang it over. We suggest making the garland in three pieces at the beginning to make it a bit more manageable. You will need one length that will hang horizontally over the door, and two that will come down each side.
Beginning The Centerpiece
Once you have your three lengths of basic garland, you can begin the centerpiece. Choose a sturdy stick to mount your items on, but keep in mind that if it is too heavy it will be difficult to hang later. Working from the center outward, begin attaching leaves to the stick using floral tape.
Adding The Focal Point
When your branch is covered in a variety of leaves, you can begin building the centerpiece. There will be exposed floral tape in the center of your branch, so choose something large enough and dense enough to cover it. We used a large pinecone attached to the branch with floral wire.
Continue Building
Once you have your main focal point in the center, you can add smaller pieces around it. We used wire to attach two smaller pinecones and some berries around the large pinecone, and we used twine to hang dried orange slices below it.
Attach The Centerpiece
When your centerpiece is complete, you'll need to attach it to the rest of the garland. Center it on the length of garland you measured out to go across the top of the door. Use floral wire to attach the branch to the garland.
Adding Leaves
Now that your centerpiece is attached, you can build up the rest of the garland around it. Use floral tape to attach large leaves along the garland base you've already created. Overlap the leaves as you go, to cover the floral tape. If you've never used floral tape before, be aware that it sticks to itself and not to the leaves so you need to wrap them tightly to secure them. You can even stretch the tape a bit as you wrap.
Adding Details
If you'd like, you can add more than leaves to your garland. Include little pinecones, flowers or berries as you wrap the leaves on. You can use as many leaves and decorations as you like, the more you use the thicker your garland will be.
Completing The Garland
When your garland is as thick as you would like, you'll need to attach the separate pieces together. Depending on the length of your garland you may want to do this in the same area you will be hanging the garland. The full garland can be a bit bulky and difficult to carry when it is fully assembled.
Hanging The Garland
Now that your garland is complete, all you need to do is hang it! For a quick and easy hanging, place a hook at each corner of your door or entryway, and hang the garland from these. If your centerpiece is a little too heavy for this you can use a couple of nails or hooks underneath the center to support it.
Other Garland Displays
If you'd rather not use your garland for a door, there are many more ways to display it! If you have a bench in your yard, you can instantly add a bit of fall beauty by draping your garland over it. You can also use your garland as a table runner on a long table, or twist it into a loop for a round table. Let us know how you use yours.