


How to Make Simple Window Shades

2011, HGTV
Materials and Tools:
about 2 yards of fabric
shade backing
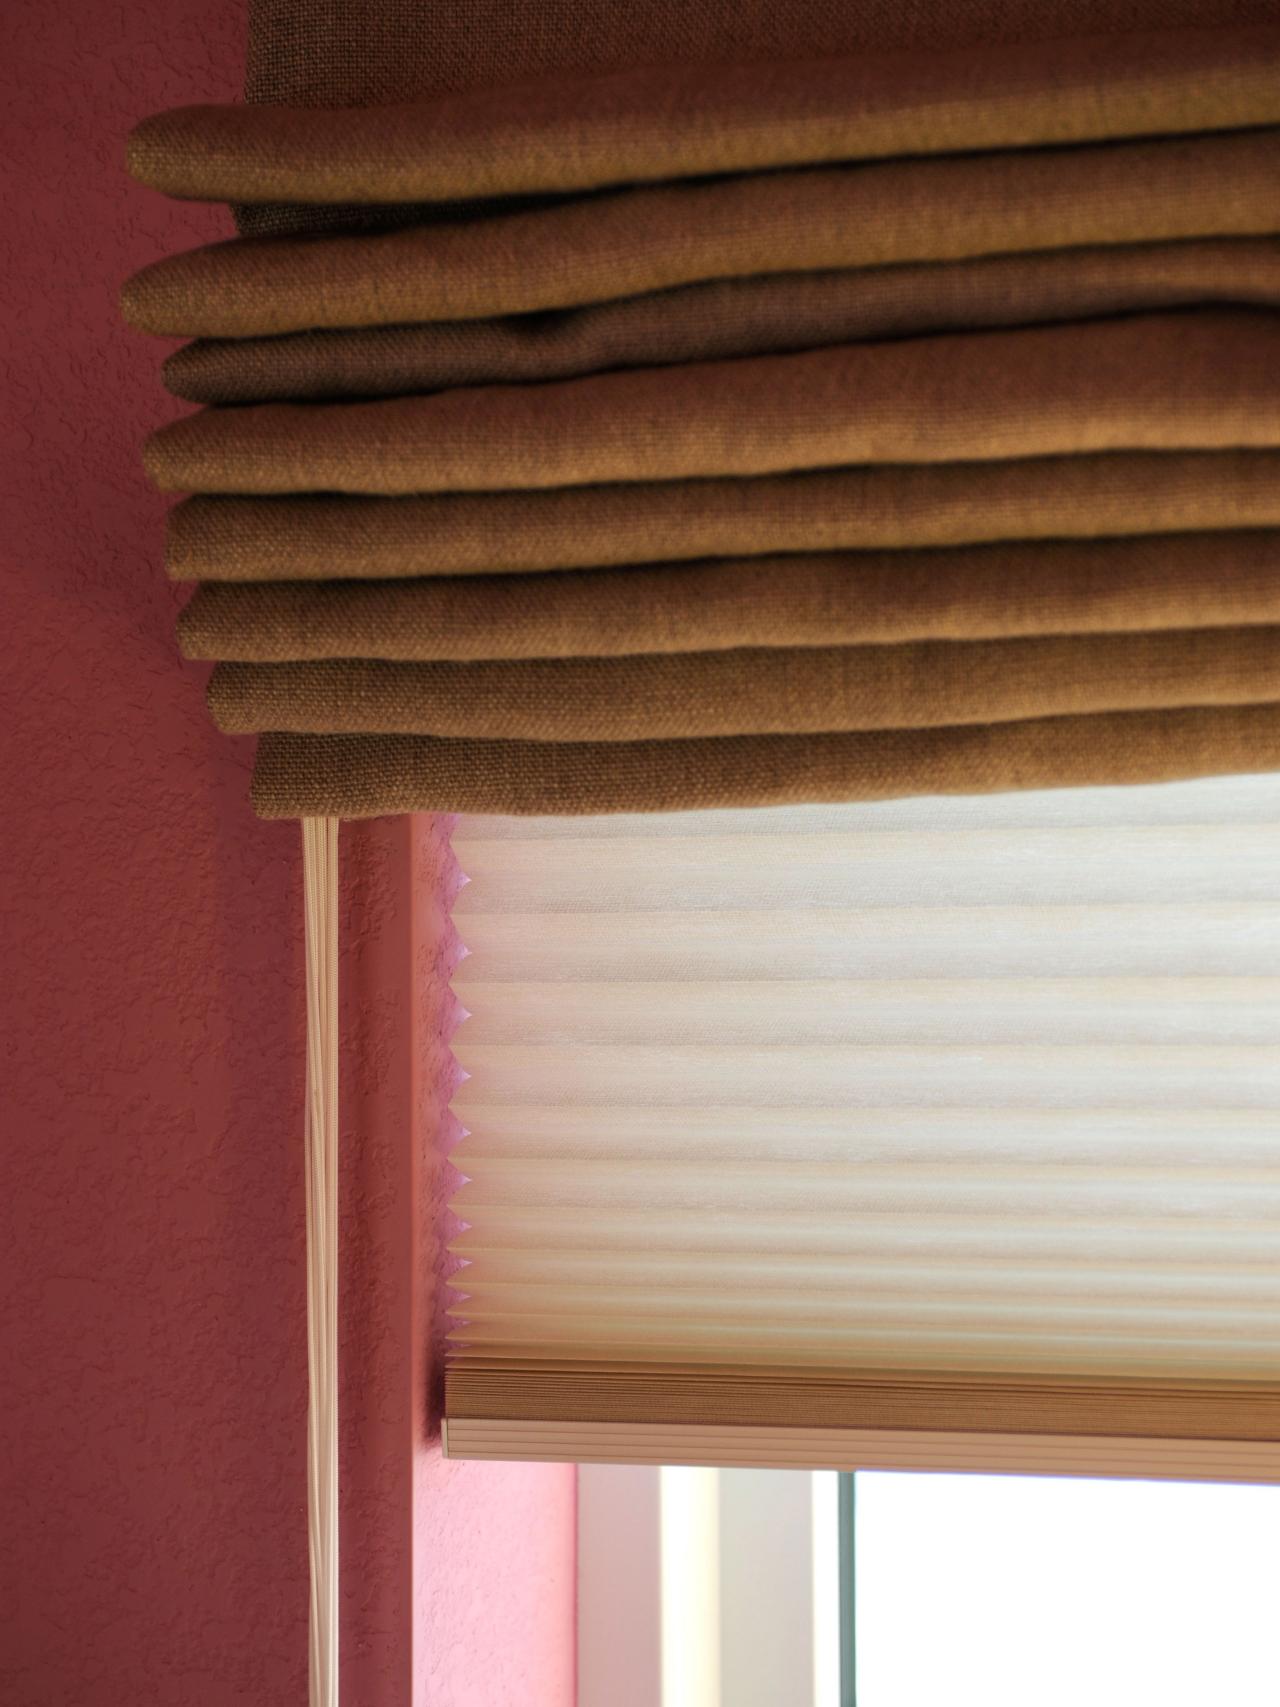
pattern (Butterick pattern 6434 was used for the project pictured)
iron
scissors
sewing machine
thread
liquid sealer
shade-roller mechanism (new or used)
Steps:
1. Measure the width and length of the window area to be covered.
2. Cut backing to the exact width and adding 2 inches to the length.
3. Cut a piece of fabric a little larger than the backing.
4. Fuse the backing to the fabric. Work around the fabric with the iron, holding it in place for about 10 seconds in each spot. Turn the fabric over, and where there are bubbles, heat again to make sure the backing is completely fused.
5. Trim excess fabric even with the backing.
6. Turn up a 2-inch hem on the bottom of the shade and set with a straight row of stitching. A decorative edge can be added at this point if the sewing machine is capable of decorative stitches. Thread of the same or a contrasting color can be used. Sew scallops across the bottom edge, and seal just under the stitching with liquid sealer. After the sealer has dried, cut along the scalloped edge.
7. Mark the roller with arrows indicating the direction it will roll. Place the roller at the top end of the fabric and tape or staple the fabric to it. Roll the shade up by hand and hang it.


