


How to Install Gutters

Moisture can be a devastating enemy to your home, but a properly installed and maintained gutter system will protect it from water damage.
As for the maintenance, clear gutters of debris at least twice a year-spring and fall are good choices. Remove leaves, straw and other debris by hand, and then rinse through with a garden hose; trying to rinse debris down the gutters can clog the downspouts. A screening system can save you a lot of time by keeping debris out of the gutters in the first place.
As for the installation, here's how (you'll need an extra set of hands):
Materials and Tools:
tape measure
two ladders
graph paper
gutter sections
downspouts
gutter hardware
mason's line
chalk line
gutter-seam sealant
power drill
gutter splash guards
hidden fasteners
tin snips
safety gloves
Steps:
- To determine how much material you'll need, add the lengths of each fascia along the roofline, taking the measurements from the outer edges of the shingles. Mark the measurements and make an outline on graph paper. Mark the locations of the downspouts with an "X" -- plan on one downspout per gutter per 20-foot run. Finally, measure and add the heights from the ground to the roofline in the locations where the downspouts will go. Note: You need to have enough gutter to catch the watershed. For about every 20 feet of gutter, you need at least a ½-inch of drop. This will ensure that the water ends up in the downspouts.
- If you're replacing an existing gutter system, once the old system is removed check for rot along the fascia board. If there's damage, you can place a fascia plate or fascia cover over it or just replace the fascia board.
- Drive a nail into the fascia at one end of the gutter-run wall ½-inch below the top of the fascia. Stretch a mason's line from the nail. To properly align the slope (using a line level on the mason's line), drop one end of the line a ¼-inch for each 25 feet of fascia length; mark that point with a pencil. Snap a chalk line from the marks to show where the top of the gutter will be attached. Note: Pitch longer runs toward an outlet at either end, as opposed to just one end. The gutters should always be pitched away from the front valleys and toward the corners.
- Lay gutters on the ground as a model for how they will go on the fascia. Wearing gloves, use tin snips to cut the gutters to length. Smooth the sharp aluminum edges with a file. Apply gutter-seam sealant to the gutter section that requires an end cap, to prevent leaking.
- Working from the end of the fascia, use hidden fasteners to attach the end-cap gutter. Slip hidden fasteners into the gutter run, and screw the gutter into the fascia with a drill and screws.
- Using the chalk line to keep the gutters flush with the slope line, attach the downspout outlet to the fascia with the power drill. Continue this process with gutter sections. Hidden fasteners are placed every 24 inches along the gutter run. When two pieces of gutter come together, use a gutter connector on the exterior seam and gutter sealant on the interior to prevent leaks.
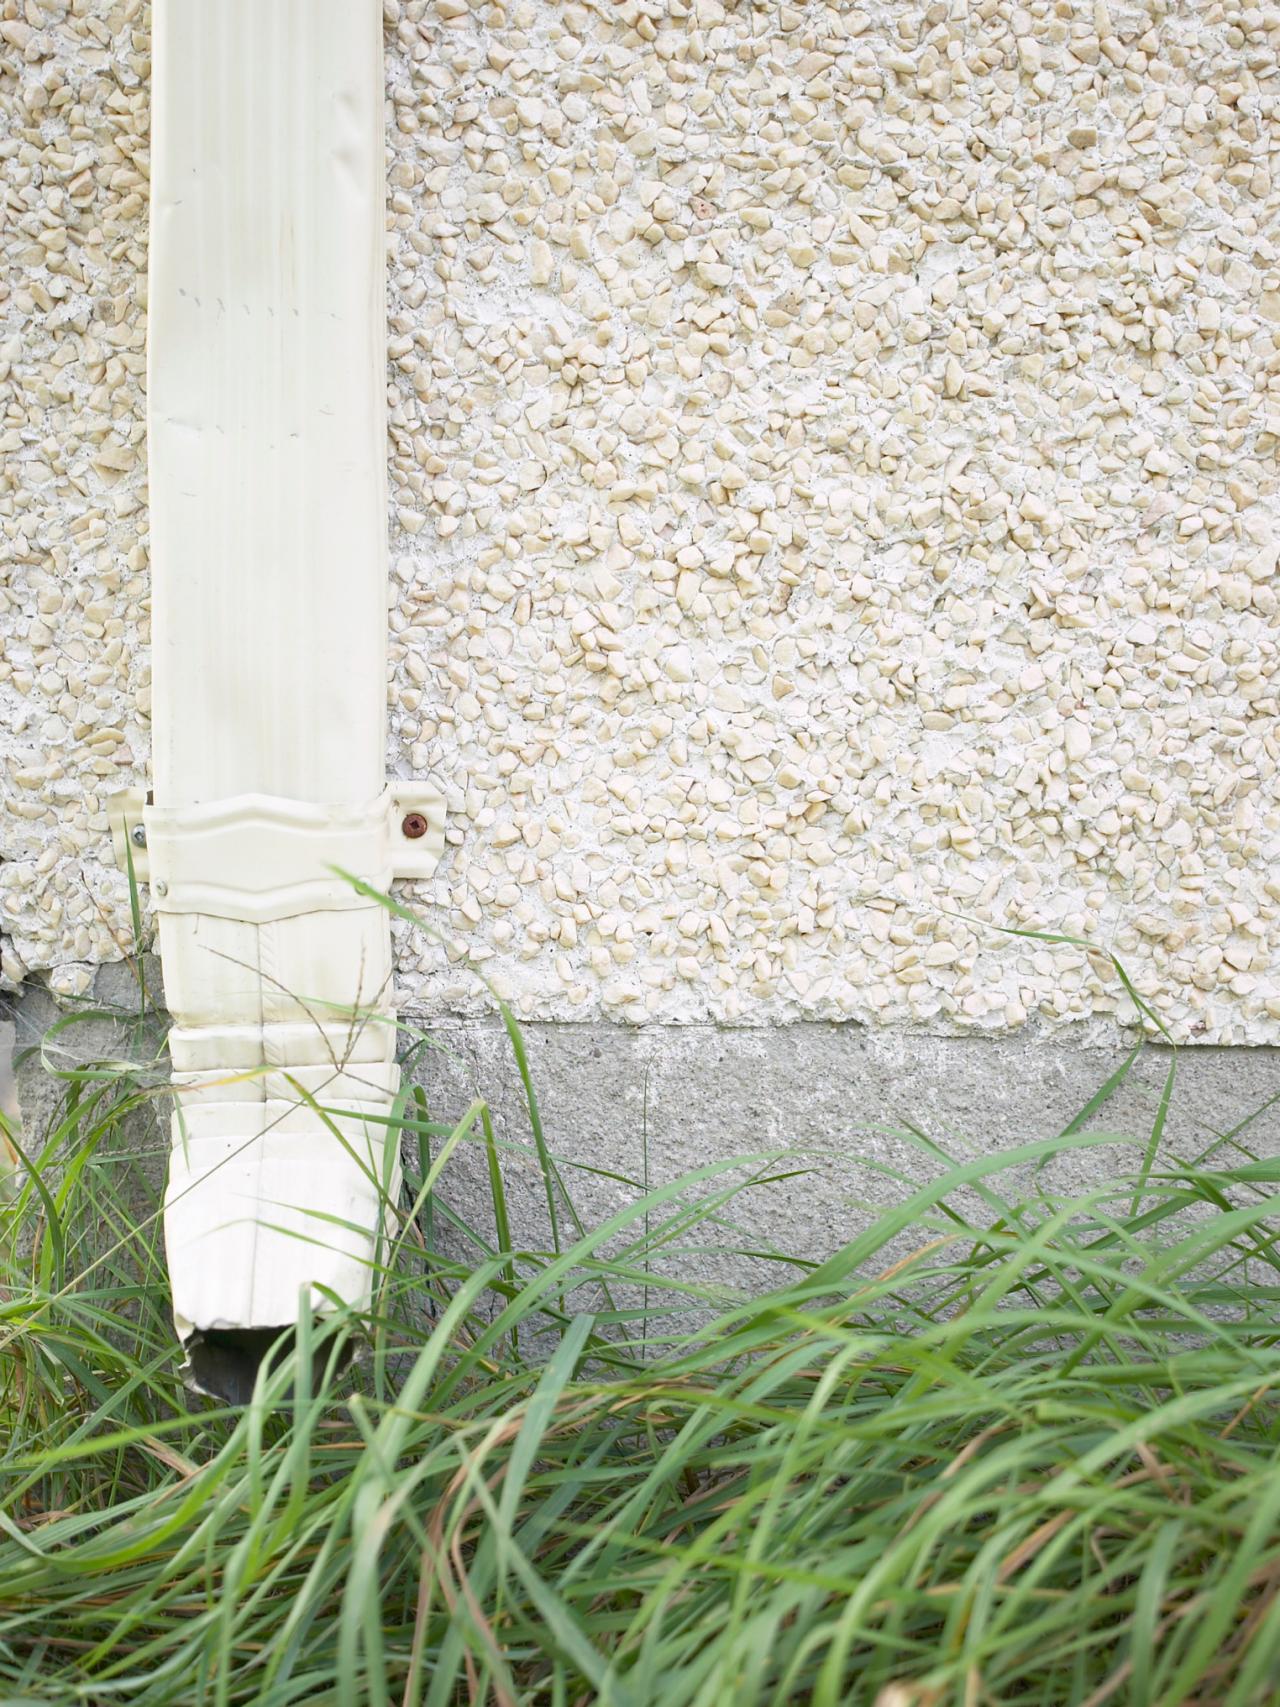
- To attach a downspout, assemble an elbow and a short length of downspout to carry the run to the wall. Anchor the downspout to the wall with two brackets, one near the top of the wall and the other just above the foundation. Attach another elbow at the bottom of the downspout to divert water away from the foundation. Place a splash guard under it to keep water from eroding the soil.


