


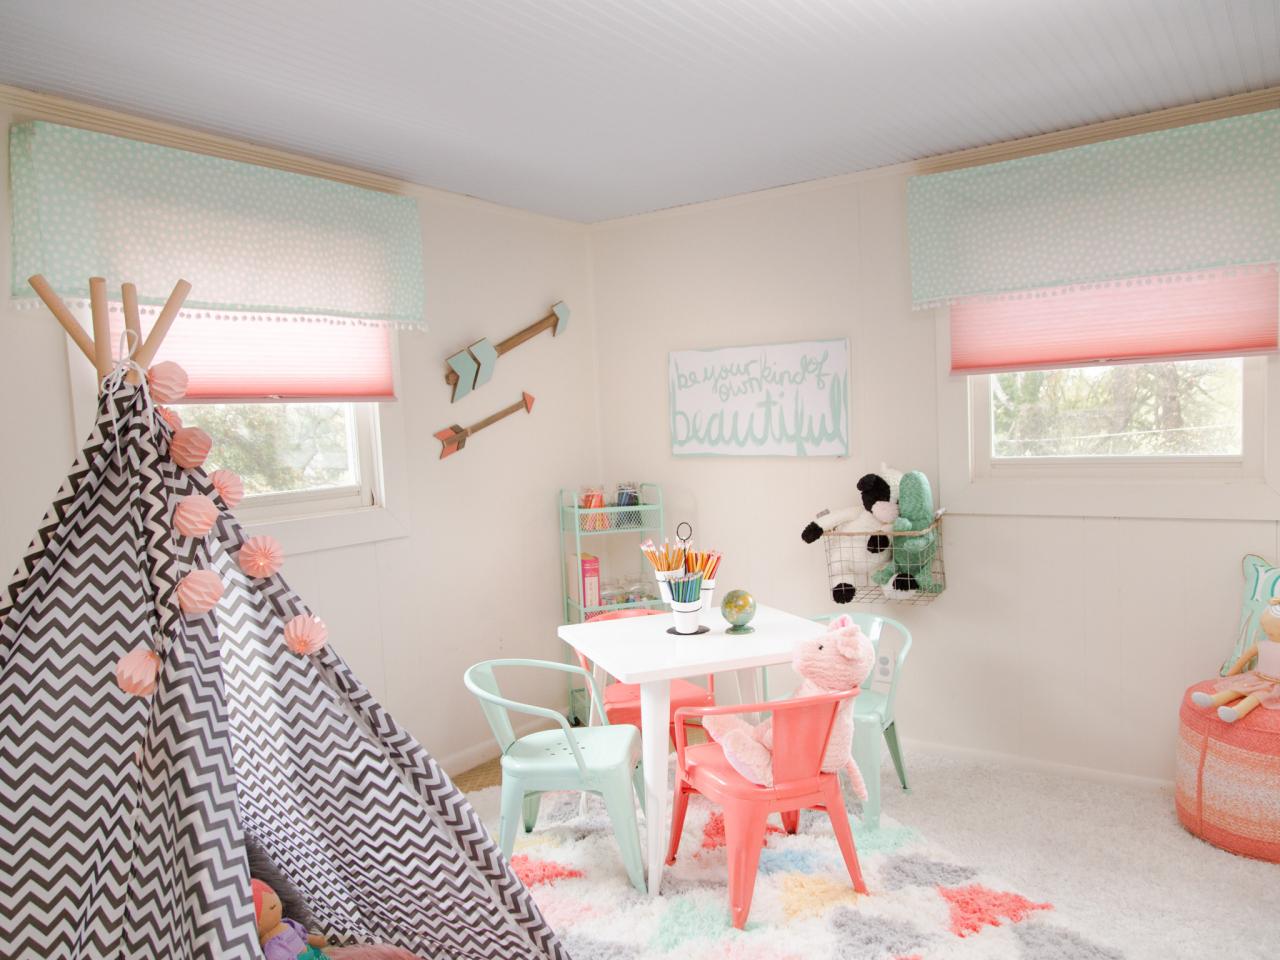
How to Make a No-Sew Window Valance
Add flair and function to your windows with this easy, low-cost DIY.

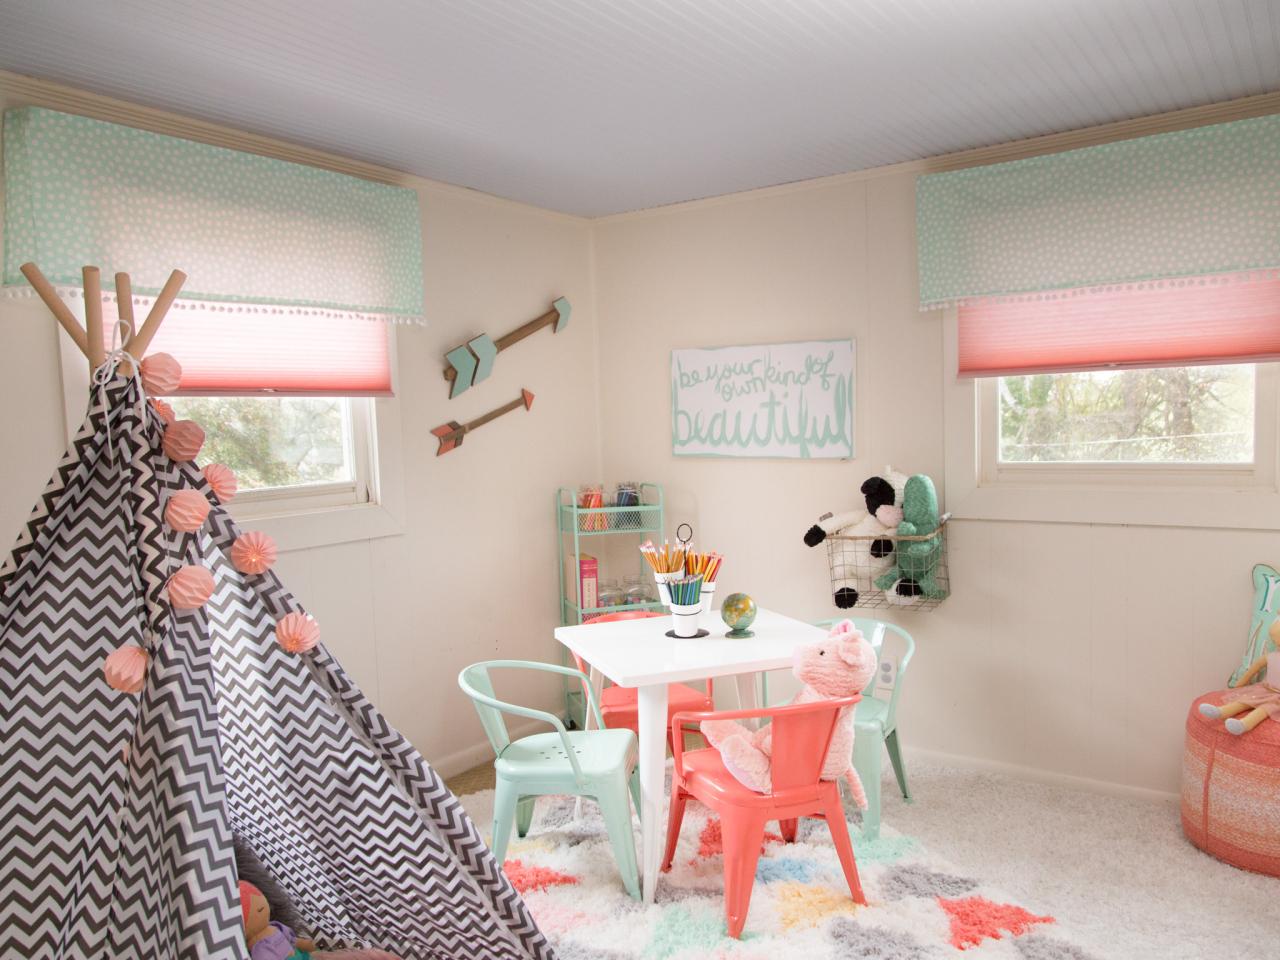
Why pay hundreds for custom window treatments when you can make them yourself for a fraction of the sticker price? These handmade, ultra-functional window valances block light, control temperature and add loads of style — all for the cost of a few simple materials. Watch the video below to learn how, then read on for extra step-by-step instructions.
What You'll Need
- fabric of choice
- measuring tape
- 2x4, cut to width of window frame
- hook and loop tape
- staple gun
- 2 angle brackets + installation hardware
- fabric glue
- fusible web
- iron
- optional: decorative trim
Measure Window

Measure width of the window frame, adding two inches to each side. Buy a 2x4 for this length.
Add Hook & Loop Tape

Attach hook and loop tape (smooth side) to the front and ends of the 2x4. Secure with a staple gun.
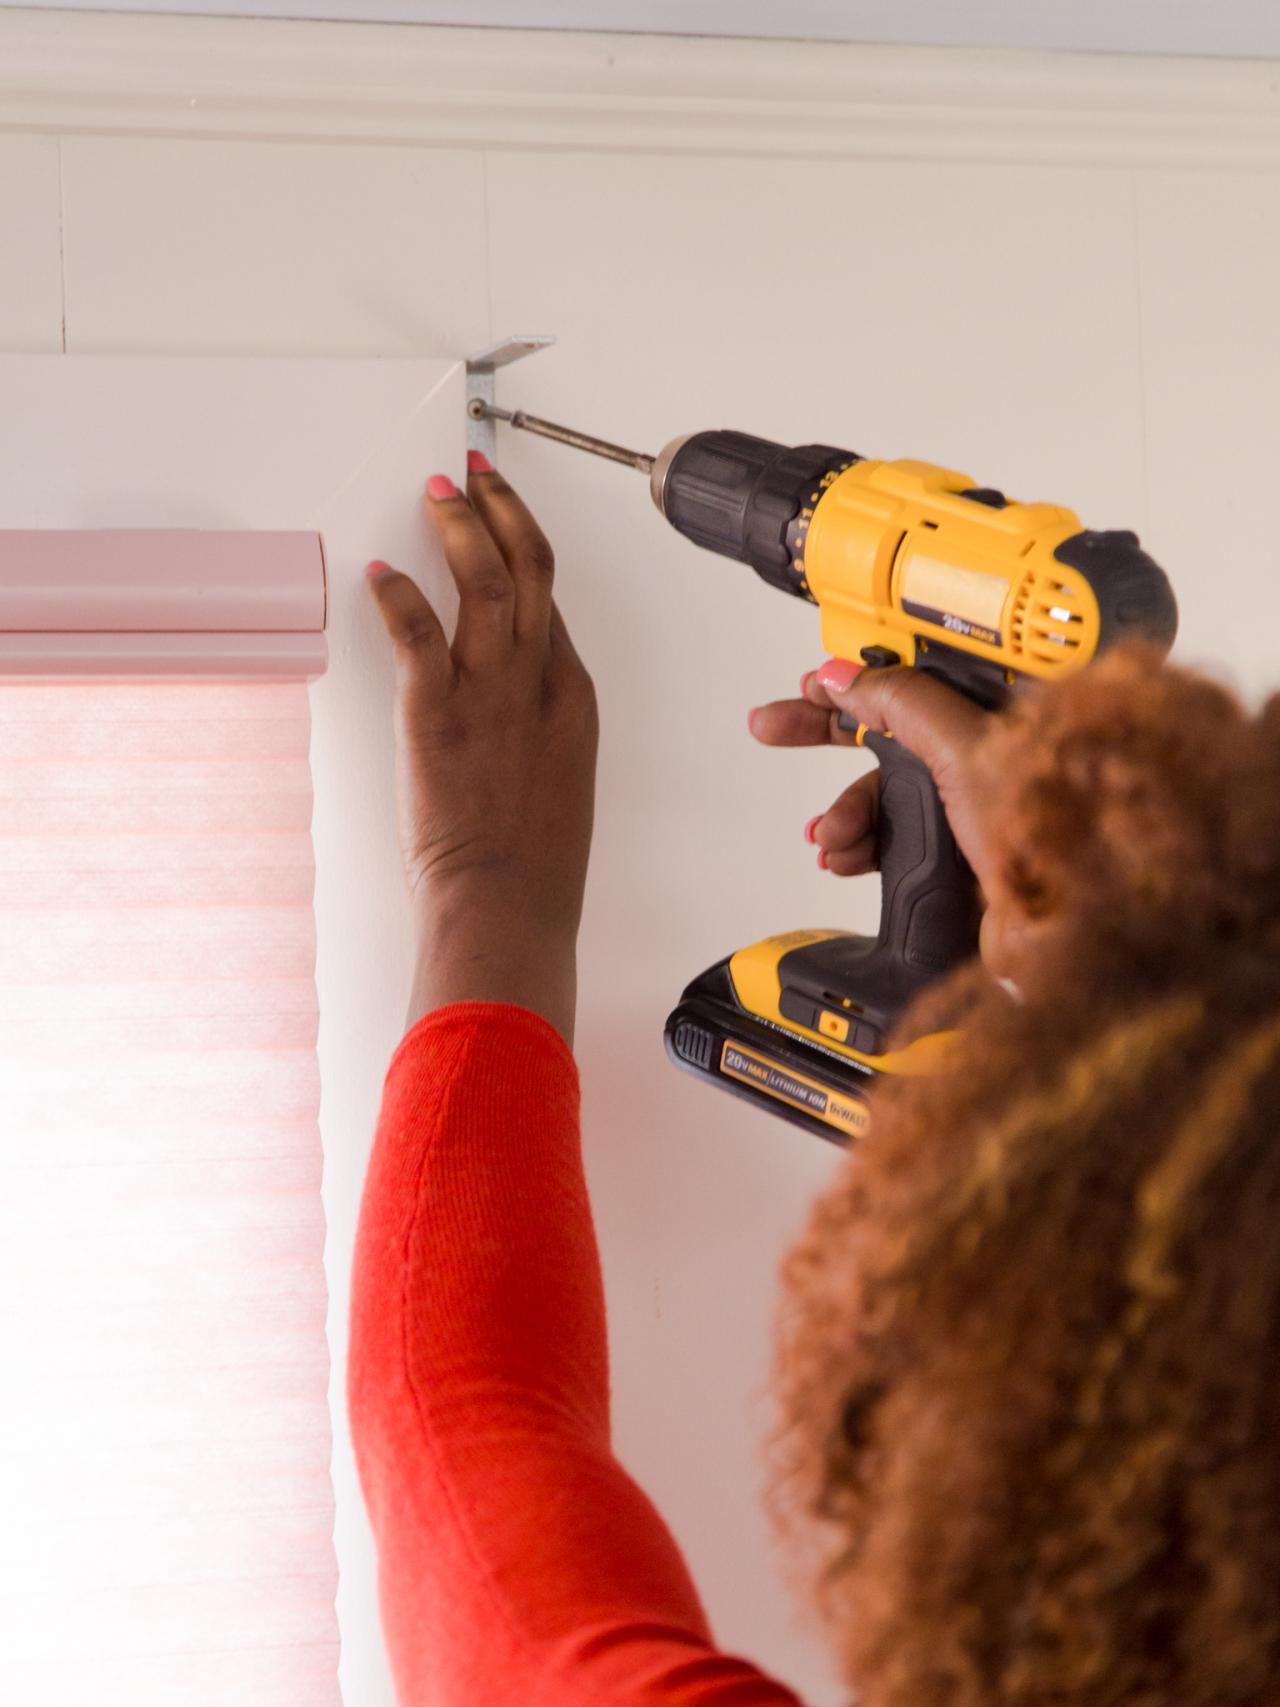
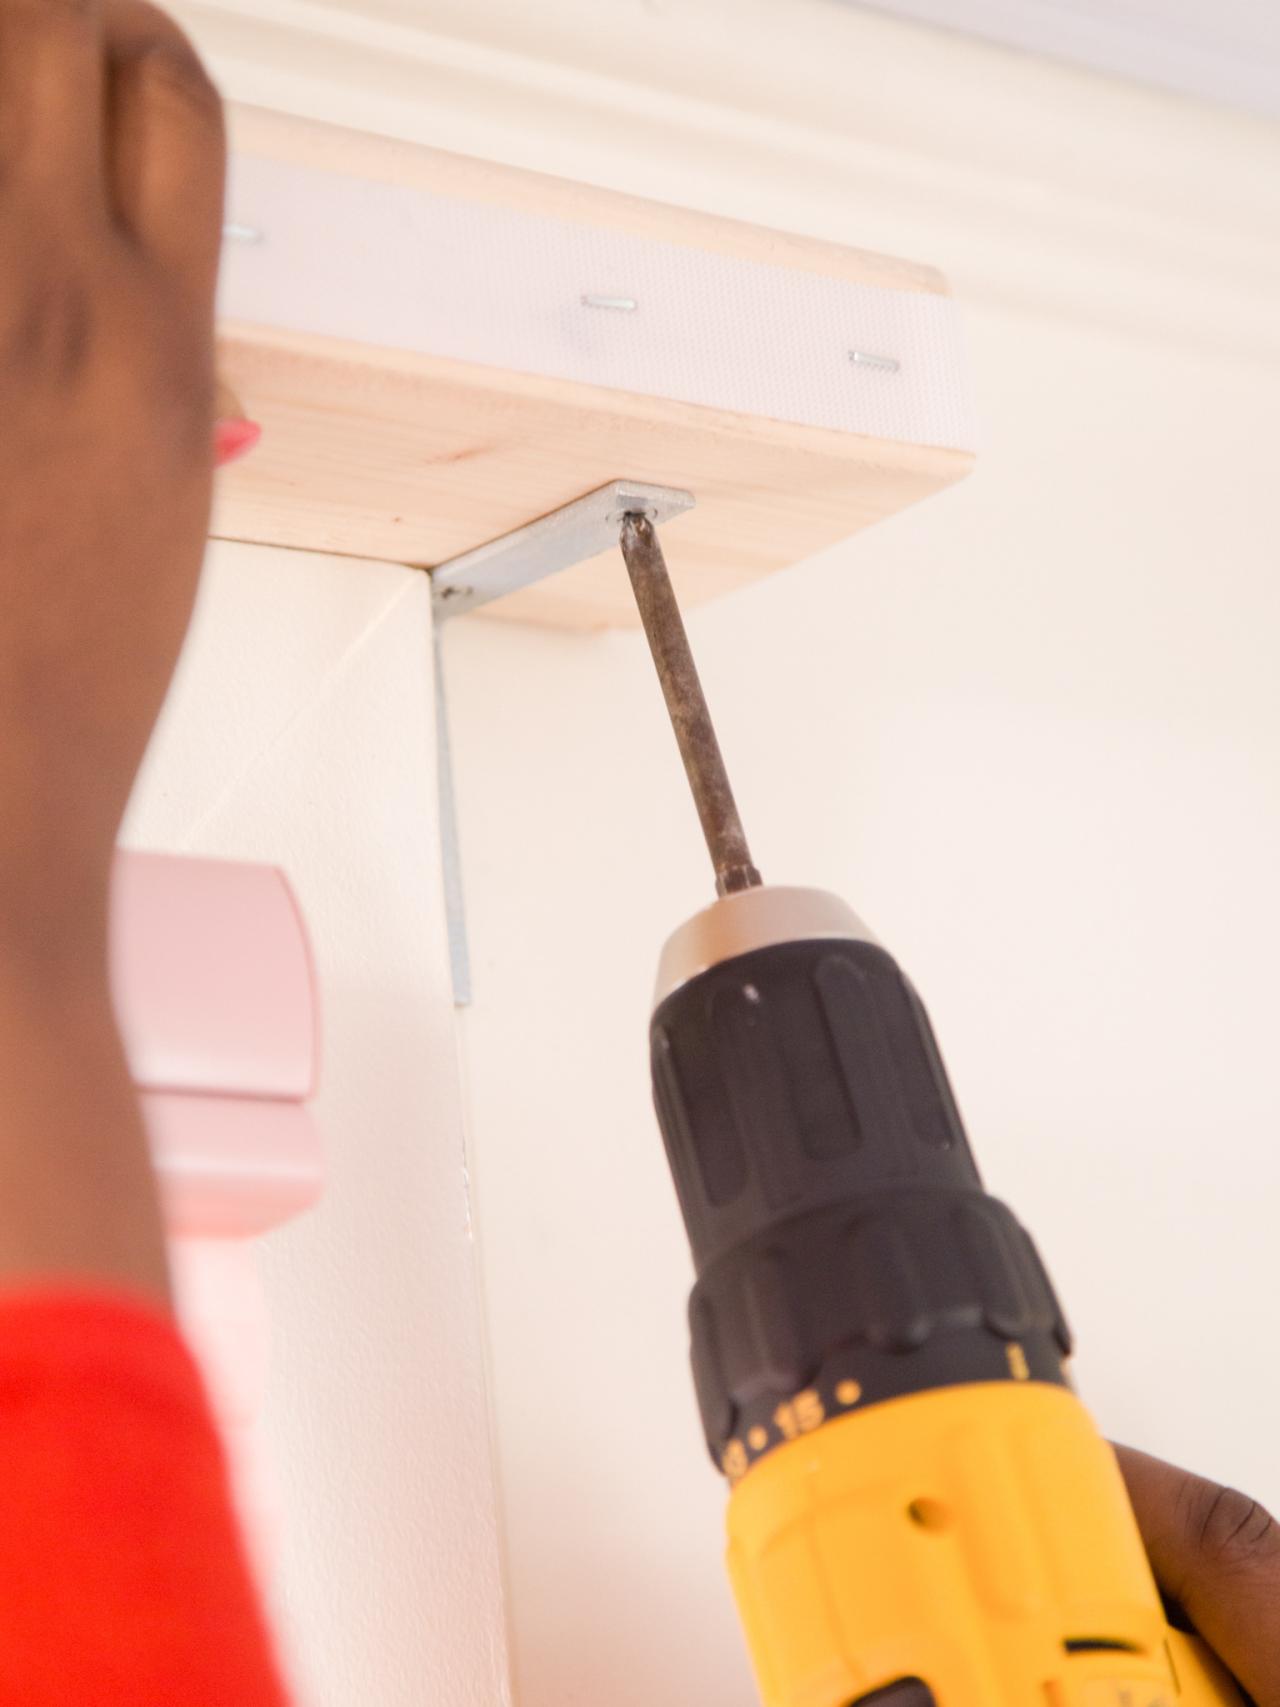
Place 2x4


Install angle brackets on each side of the window frame, flush with the top. Place 2x4 on top of brackets, attaching with screws.
Prep Fabric


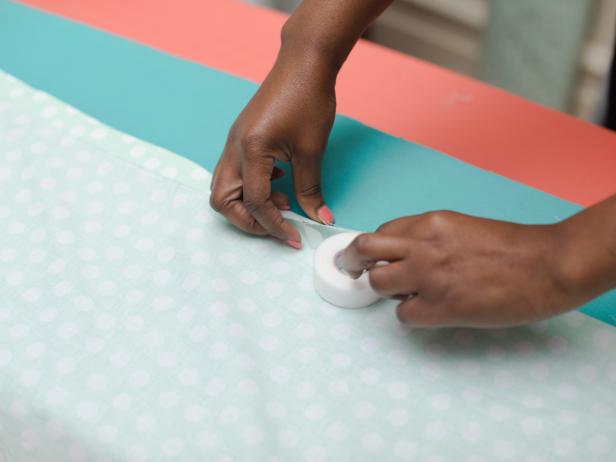

Measure from top of window frame down to where you want the valance to hang. Trim fabric to vertical and horizontal lengths, leaving one extra inch on the top, bottom and sides. Fold fabric over on every side and hem with fusible web, making sure iron is set to no steam. Iron out any wrinkles. Optional: using fabric hot glue, add decorative trim along bottom of valance.
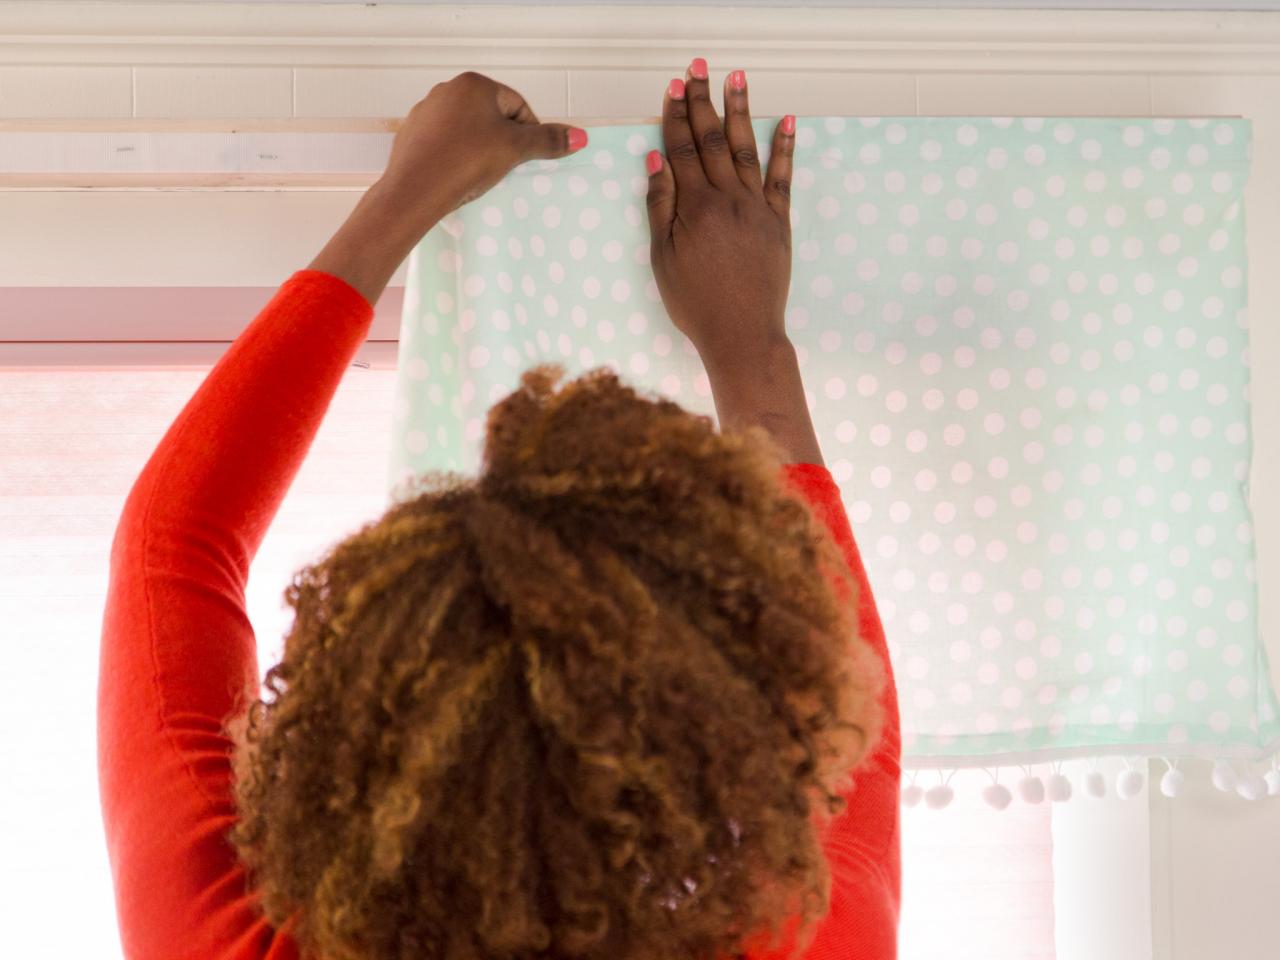
Hang Finished Valance


Glue grab side of hook and loop tape along the top, backside of finished fabric, then secure to the front of the 2x4. Make multiple valances and easily swap out as desired.


