


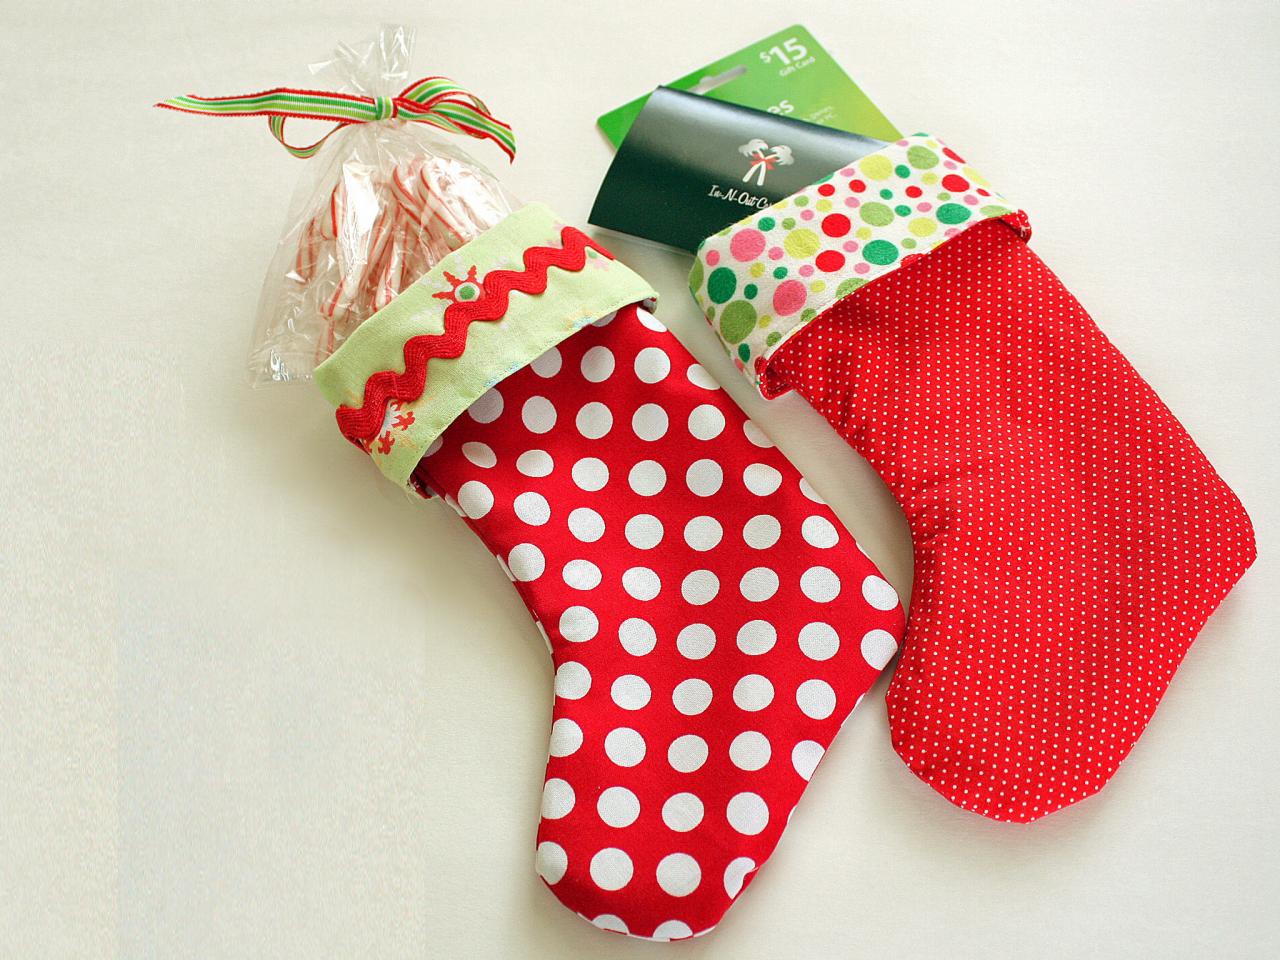
How to Make a Mini Stocking

Materials Needed:
- 11" x 14" piece of fabric for front and back, outside pieces
- 11" x 14" piece for front and back, lining and cuff pieces
- embellishments (optional)
- stocking template (use an online template or design one of your own.)
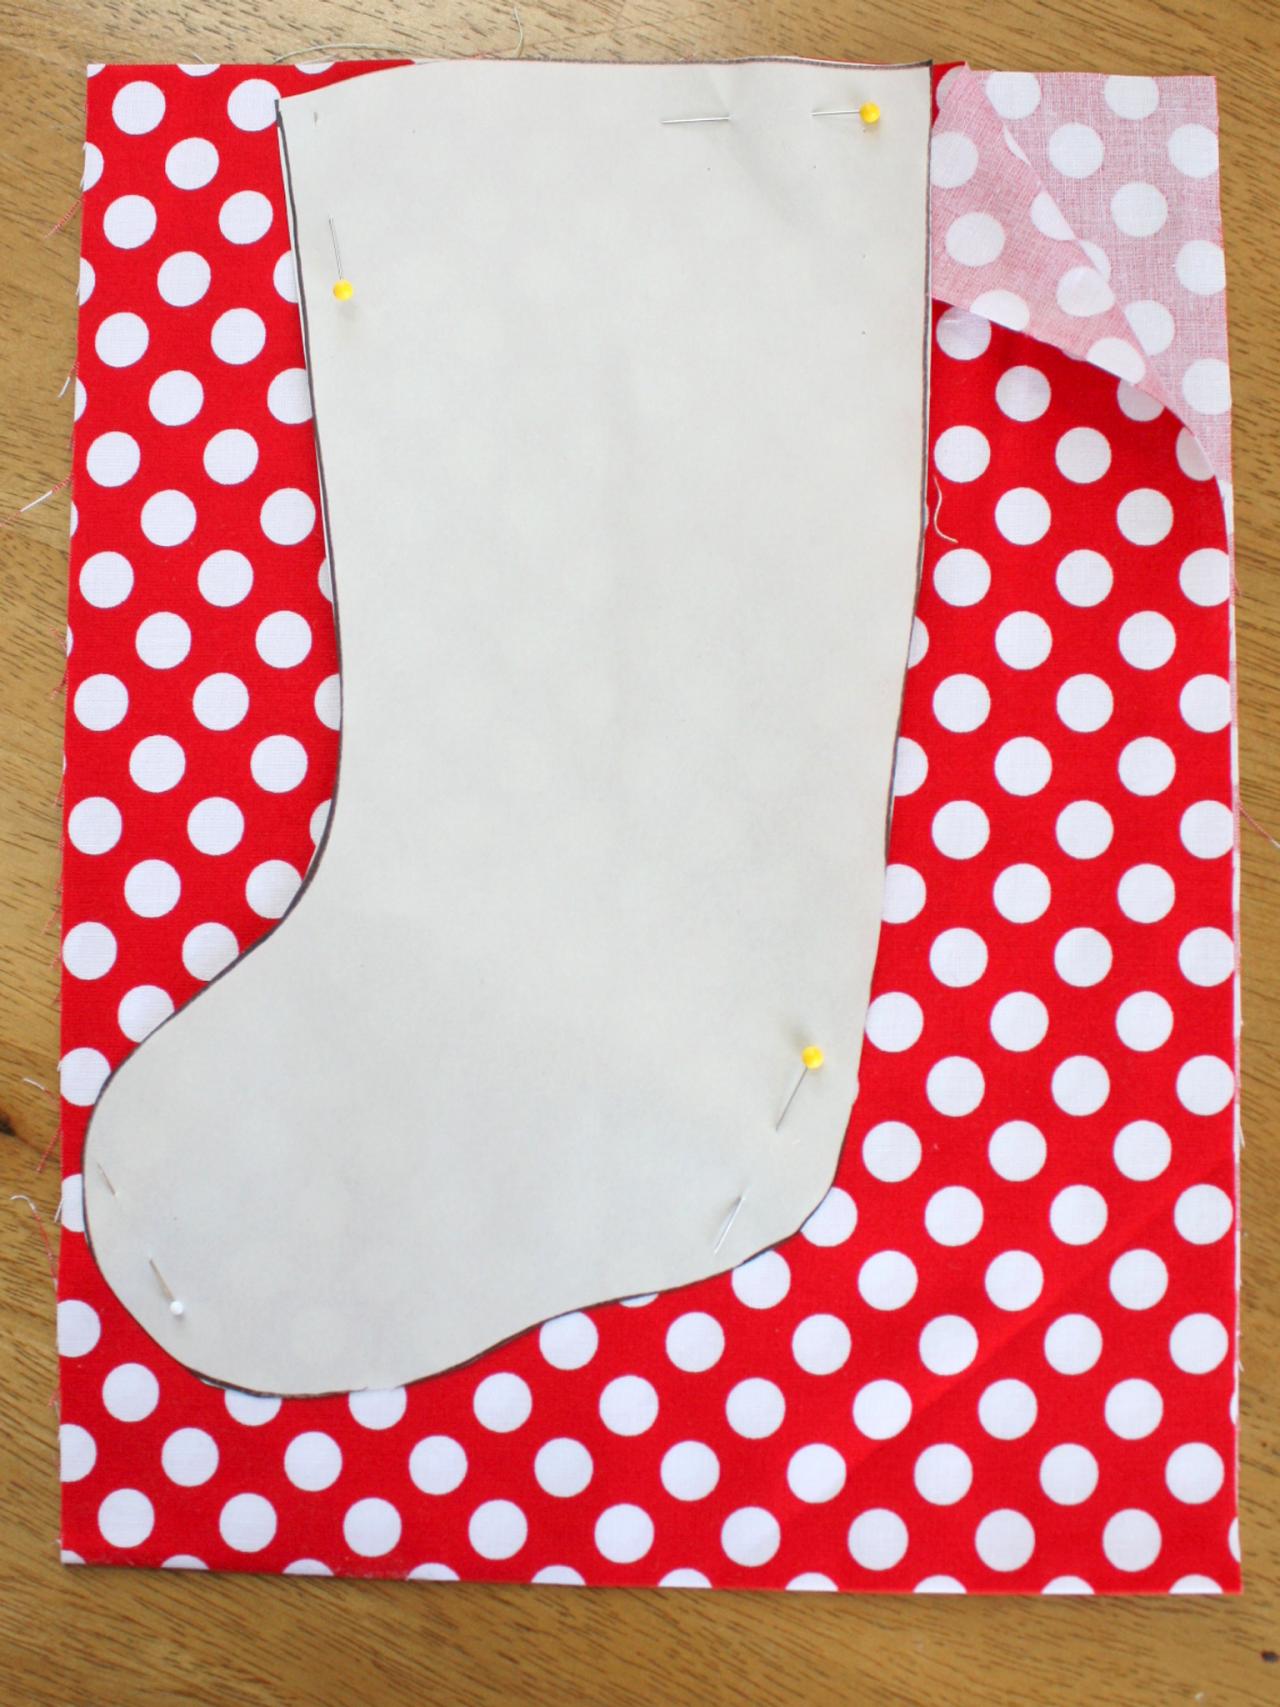
Match Template and Pin
With wrong sides together, cut two stocking shapes of both the outside fabric and the cuff/liner fabric. IMPORTANT: make sure the other toe faces each direction for both pieces of fabric. Matching wrong sides together will help you get pieces facing both directions. When you’re done, there should have four pieces of fabric cut into a stocking shape.

Secure the Seams
Now pair up one outside fabric with one lining/cuff fabric with the toes pointing the same direction. Match the outside fabric and lining fabric from each set, right sides together and sew a 1/4" seam along the top of the two pieces. Open pieces up and press seam open. Repeat for back side.

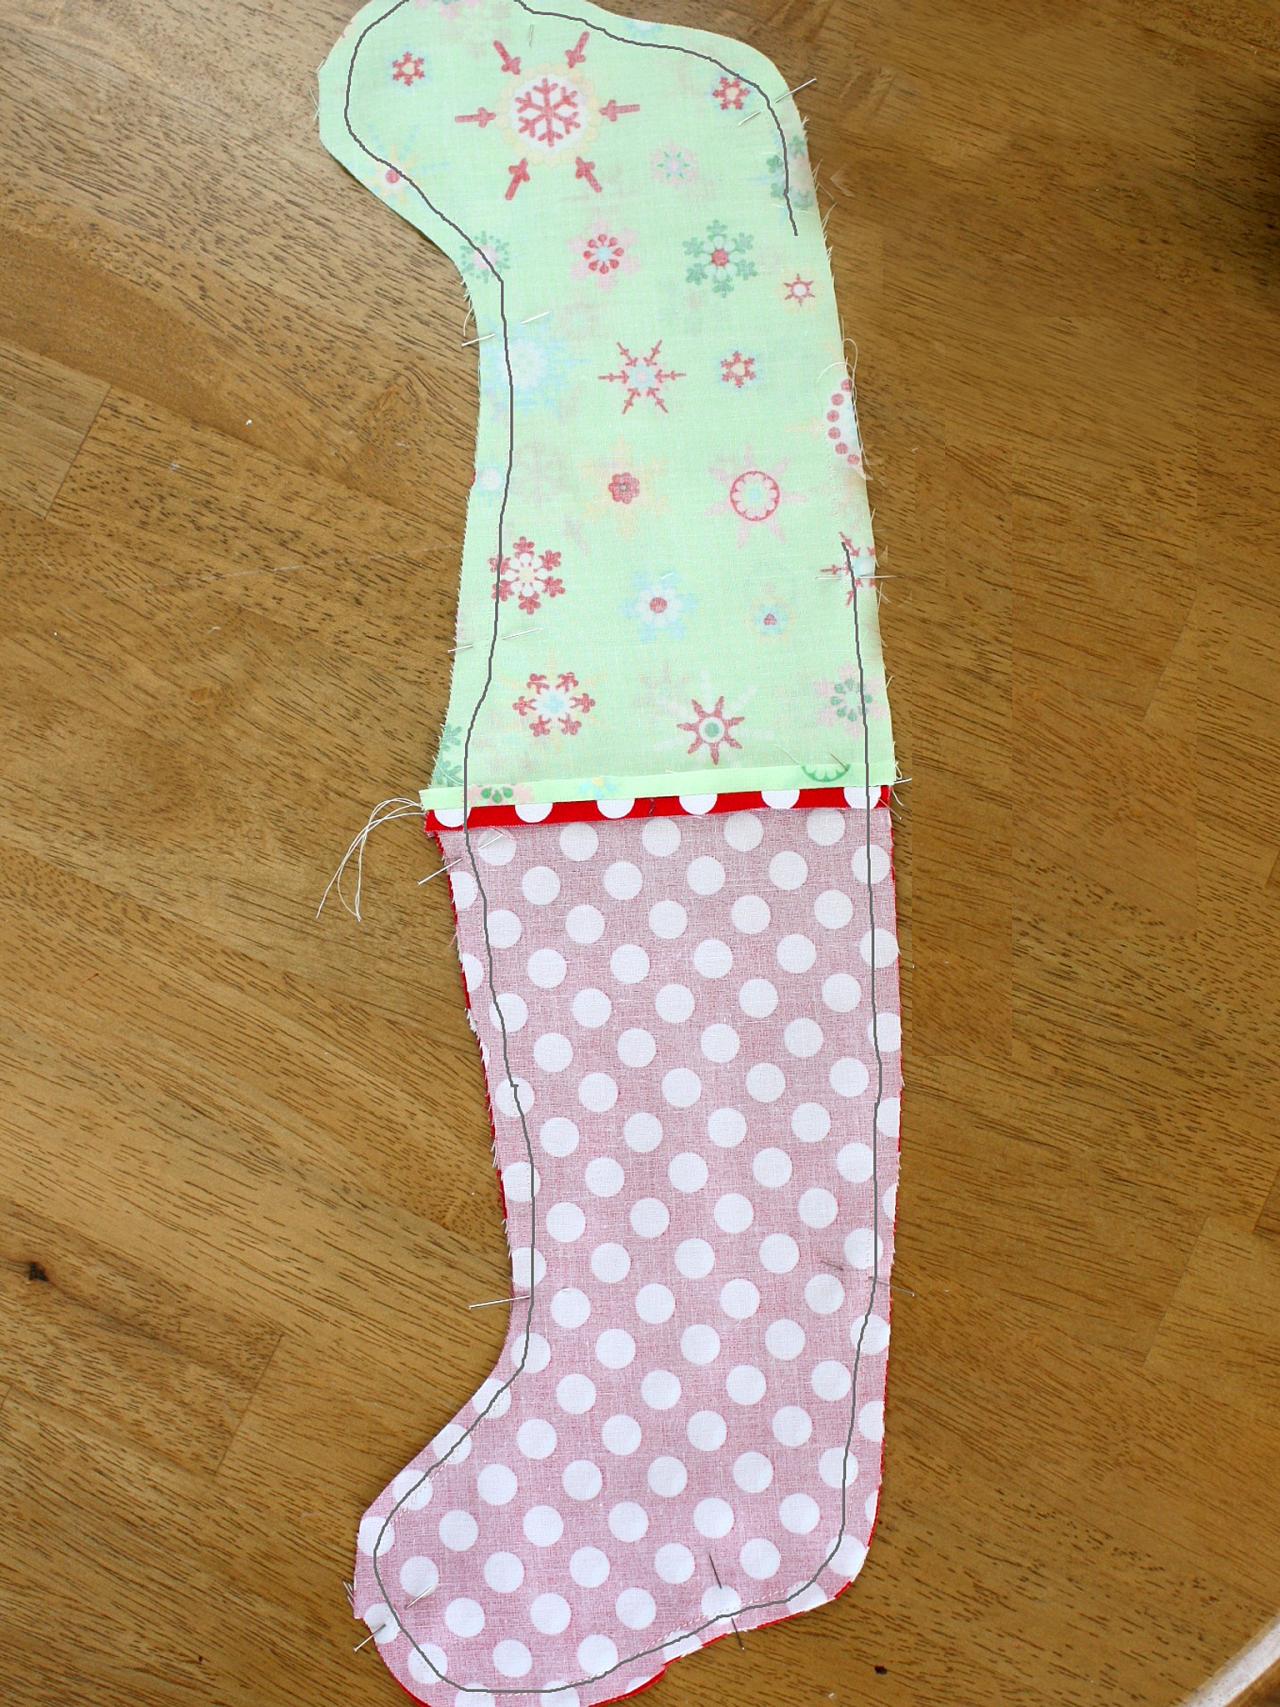
Combine Pieces
Now match the right sides of the front and back pieces together with the outside fabrics matched up and lining fabrics matched up too. The center seams should line up as well. Pin to hold the two sides together. Leave a space in the lining fabric for turning right side out, then sew all the way around the outside edge of the stocking pieces.
Sew a 1/4" seam allowance around the outside (polka-dot fabric) and 3/8" seam allowance around the green lining fabric--except the space left open for turning. This will help remove some of the bulk of the lining fabric. But if that's too confusing, just sew 1/4" for all.

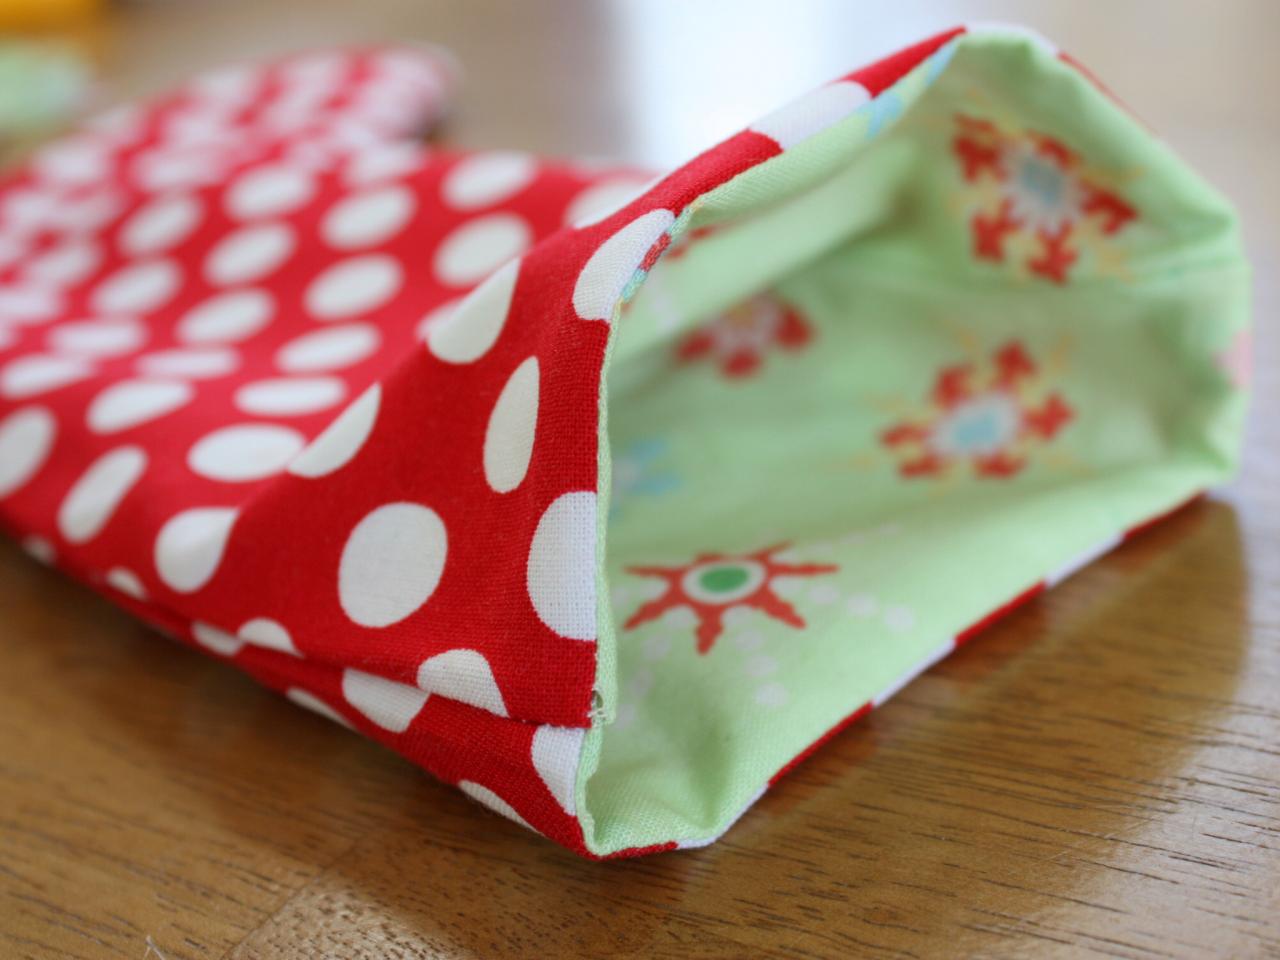
Fold, Tuck and Finish
Now pull everything right-side out. Carefully shape the outside part until the curves look good and press. Tuck the open ends into the stocking and topstitch the opening closed. Last, carefully tuck the lining inside the stocking. Fold cuff down and carefully shape stocking.
Optional: add decorative trim if you like. You can use craft glue to put on some ric rac.


