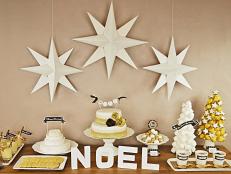
How to Cross Stitch a Poinsettia Design on Napkins
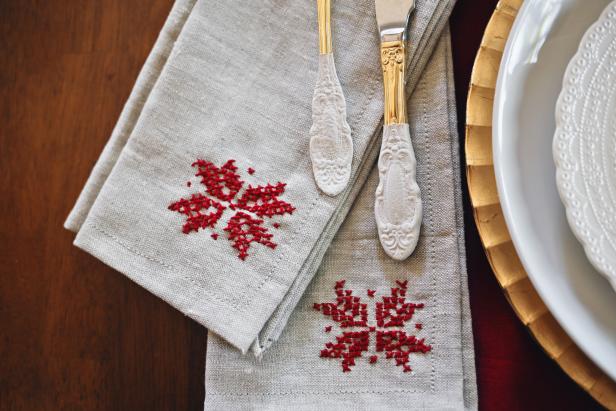

Materials Needed:
- embroidery needle
- scissors
- embroidery Floss
- downloadable poinsettia pattern
Napkin Materials:
- unbleached natural linen (24x24" fabric piece for each napkin)
- thread
- straight pins
- measuring tape
- sewing machine
- scissors
Cut Fabric
To make your own napkins, cut a 24x24" piece of fabric, fold edges inward and pin 1" on all sides of both panels. Make sure pins remain on the outside for easy removal.
Make Napkin Corners
Create an envelope fold, cut a 45-degree angle from the corner of the fabric, and tuck 1/2" of the remaining material inside to pin.


Sew Napkin Edges
Pin all four sides of the napkin into place, and crease edges using a hot iron. Sew the edges.

Create First Stitch
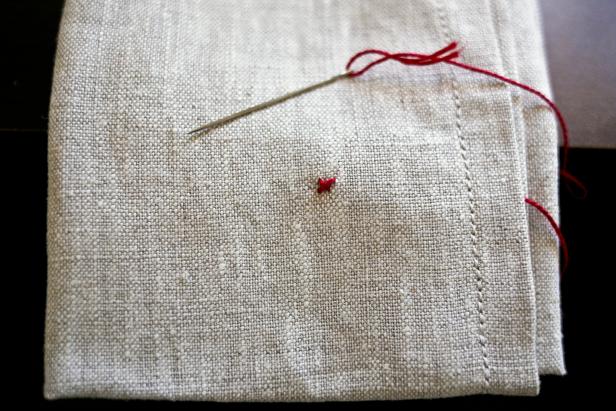
Thread the needle, and tie a small knot at one end. Starting with the needle coming up from the underside of the napkin, create your first short diagonal stitch approximately four inches from the corner of the napkin.
Continue Stitching
Following the provided downloadable pattern, continue creating small X’s row-by-row keeping a straight grid in mind. Repeat the pattern along the entire bottom of the napkin if desired.


