


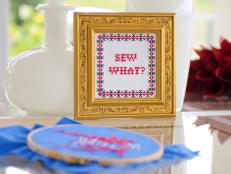
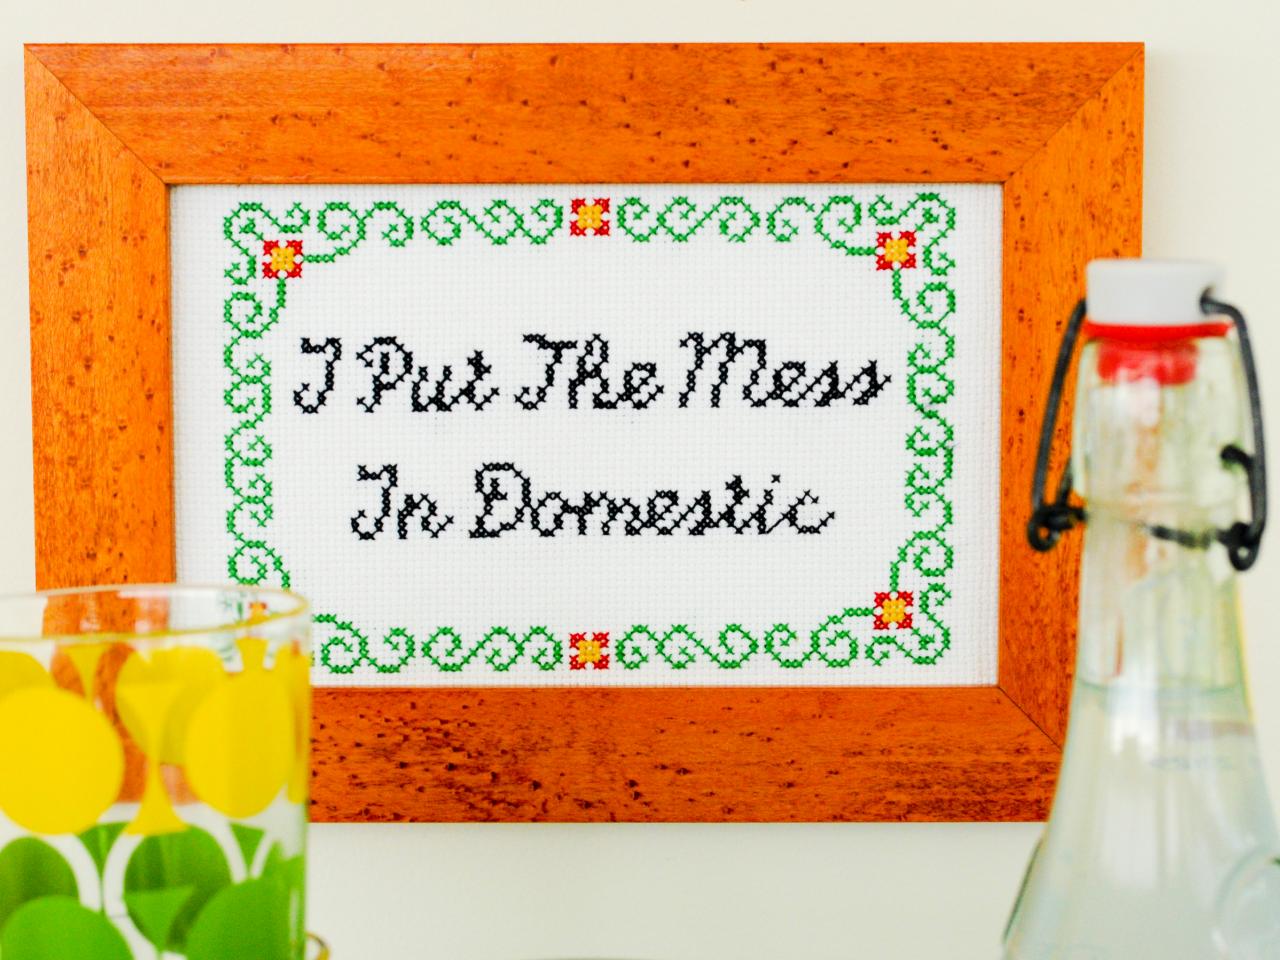
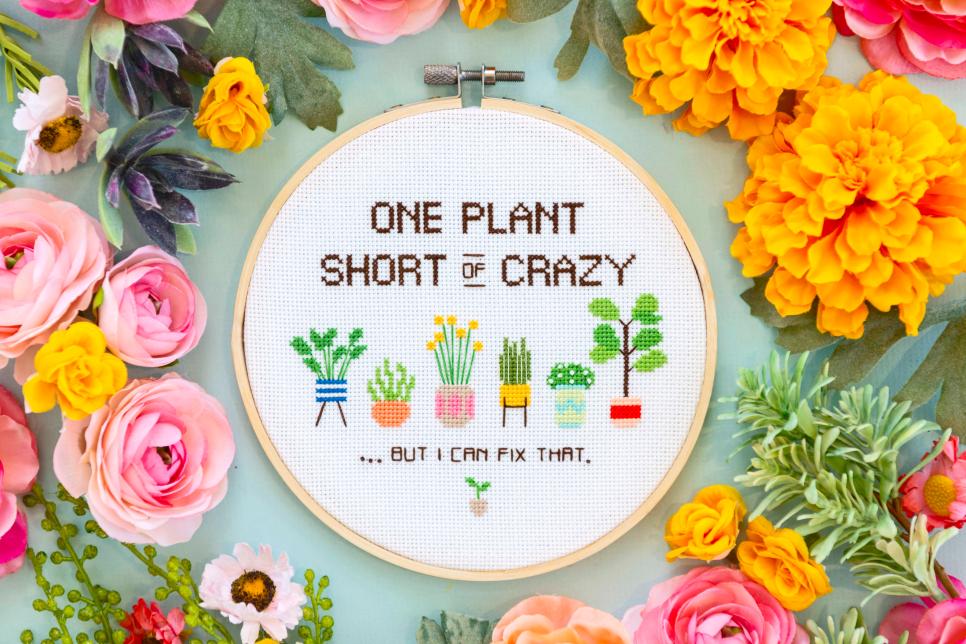
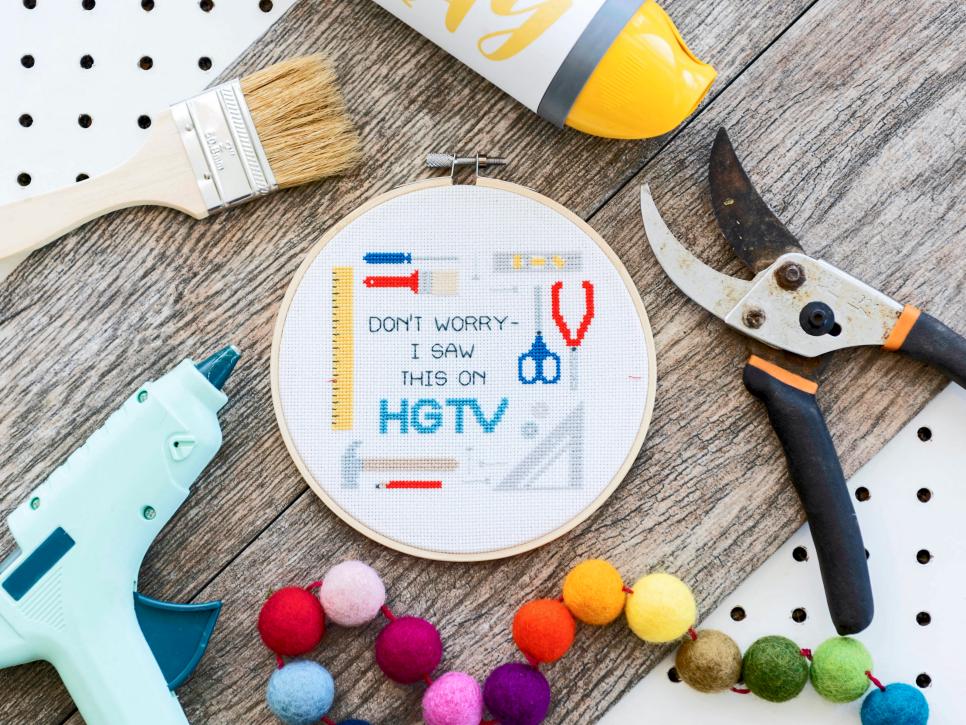
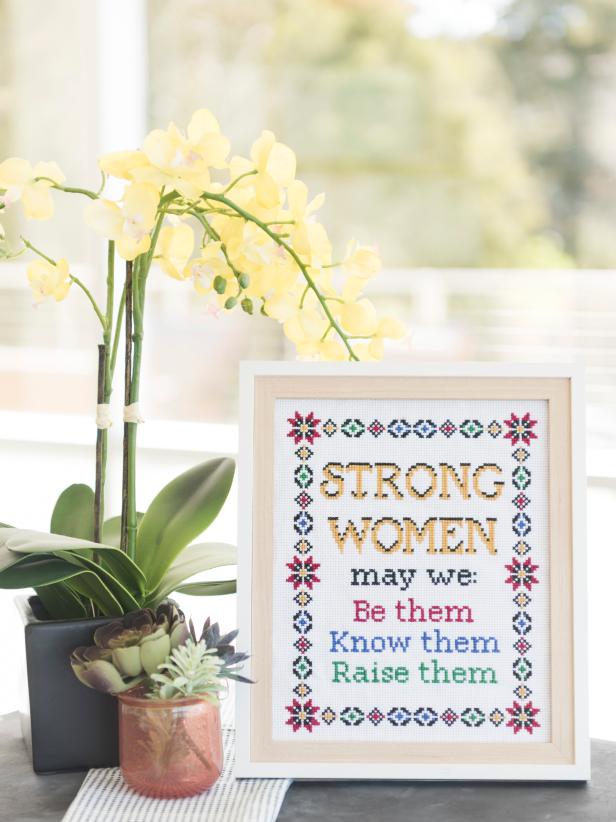
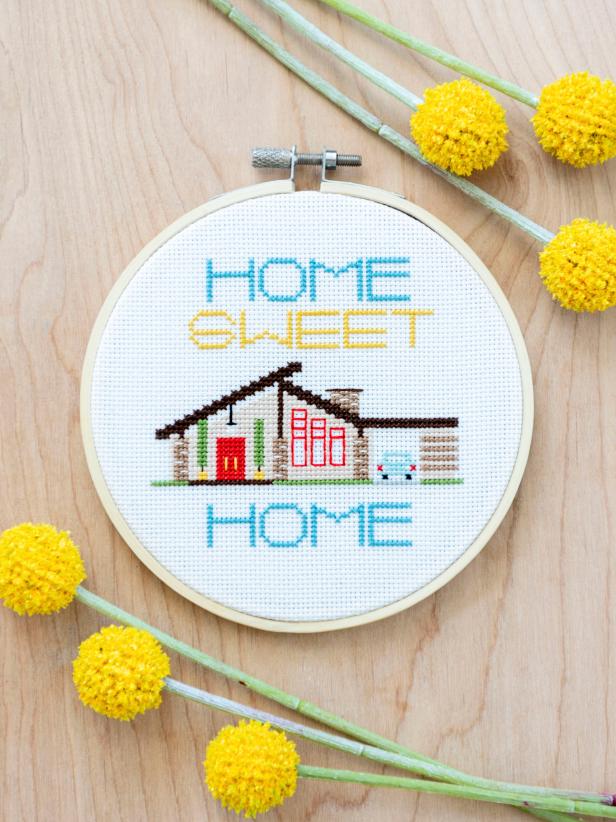
Free Subversive Cross Stitch Pattern: I Put the Mess in Domestic
You've got better things to do than clean, so stop making excuses. Download this free pattern, spend some therapeutic time stitching, hang it on the wall and let everyone know your viewpoint on housekeeping.

Picasa
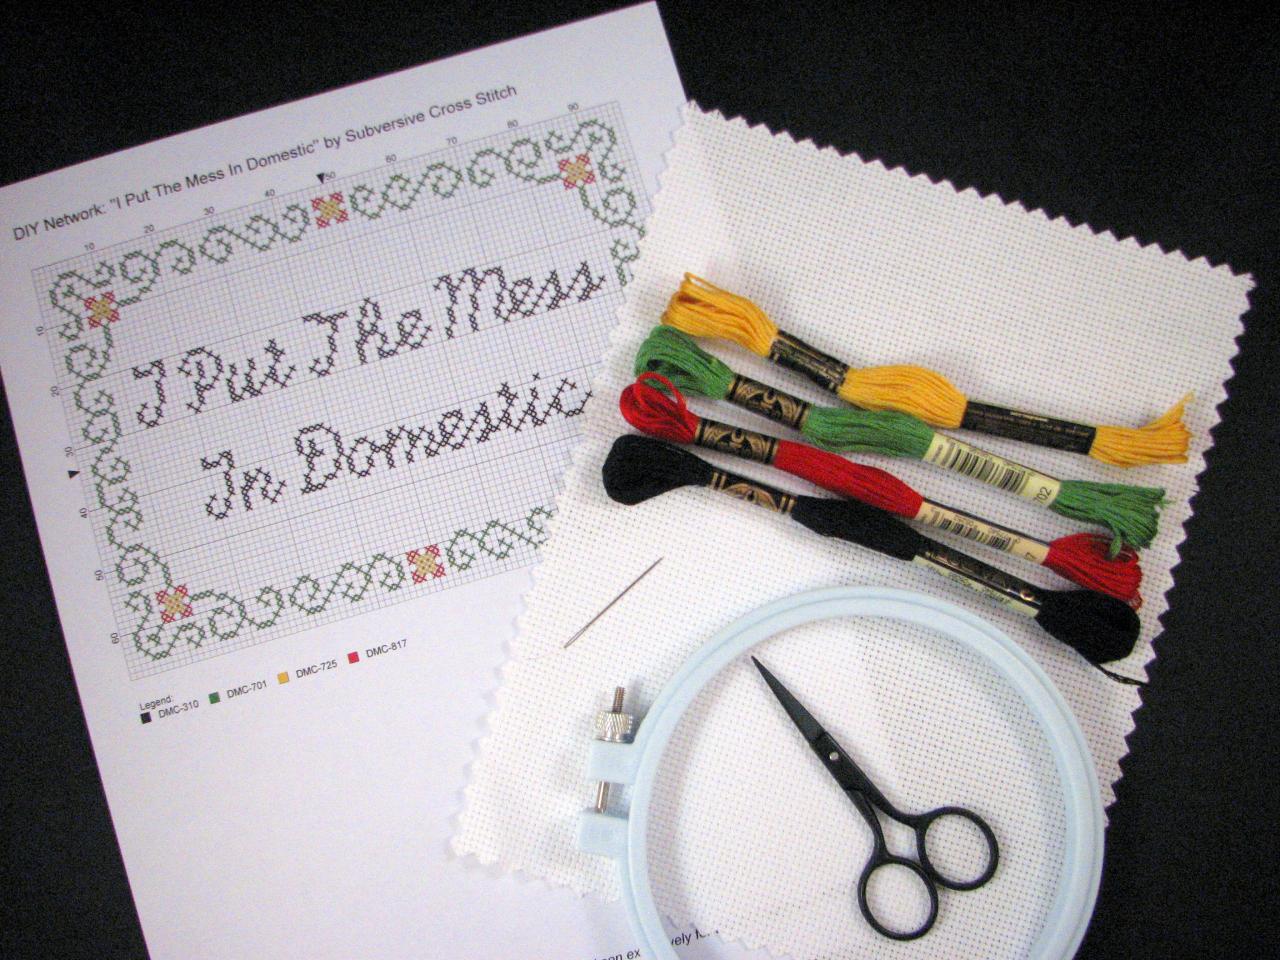
Materials
- scissors
- size 24 tapestry needles (more than one because they’re easy to misplace!)
- embroidery floss (see pattern key for colors needed; we use DMC brand since all craft stores carry it)
- 14-count white cross-stitch material
- 5-inch embroidery hoop
- stitchery tape
- frame (optional)
Pattern

Crystal Martin
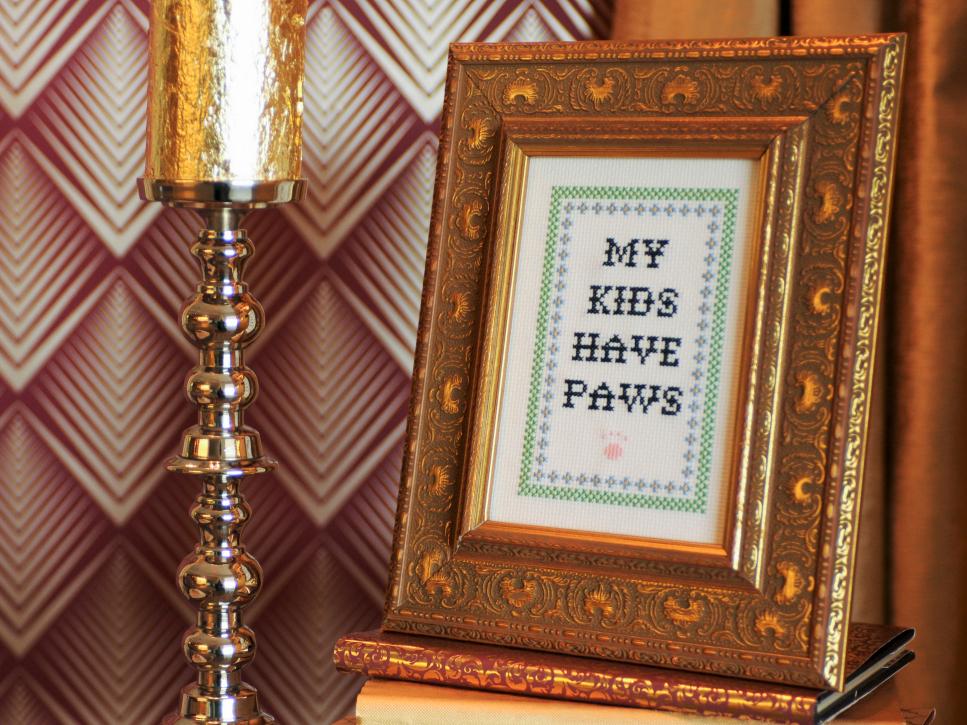
For Those With the "Lived-In" Look
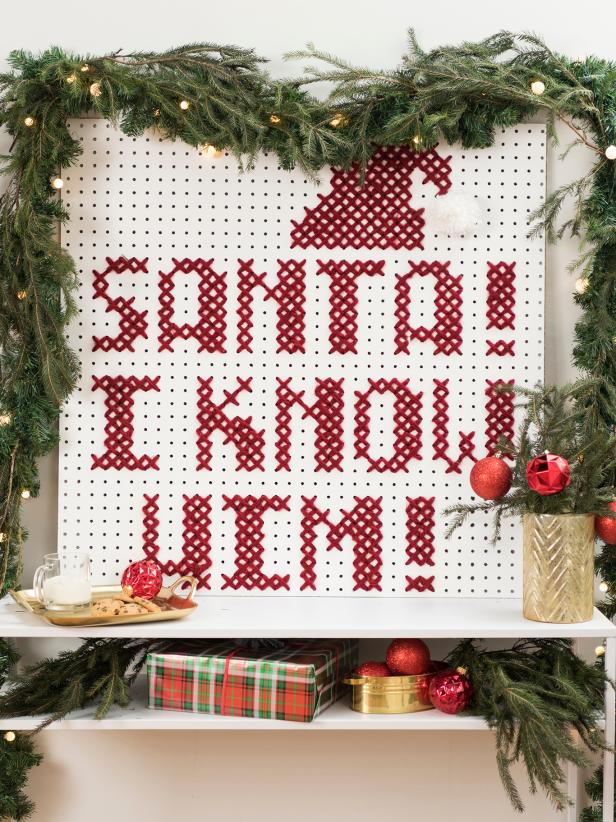
If you’ve ever wanted to try your hand at cross-stitch, let this bit of cheekiness be your jumping-off point. Download this pattern and follow the easy instructions. Subversive Cross Stitch offers a wide variety of snarky sayings and, lucky for us, they made several patterns exclusively for DIY Network.
Step 1: Find the Center

Picasa
Find the stitches closest to the center and start with that color of floss. Cut a strand that is roughly 18 to 20 inches long. DMC floss is six-strand: Roll the floss between your fingers and you'll see that what looks like one piece of floss is actually six smaller strands. Use only two strands at a time. This is SUPER IMPORTANT! Otherwise, your stitching will be way too bulky. This pattern is very simple and almost always requires only the basic "X" stitch. You may see straight lines in the design — stitch those exactly as they are on the chart. They're like half-stitches. To begin stitching: Either tie a very small knot in one end or leave a short tail and make the first stitches over it to hold it flat. Bring the threaded needle up from the back of the fabric. Relax as you stitch; stitches should lie flat and not distort the fabric.
Step 2: Separate Thread and Begin

Picasa
Cut a piece of fabric a bit larger than the pattern, at least 8” x 10”. Find the approximate center of the pattern by following the small black arrows on the edge of the pattern grid. You can fold the paper both vertically and horizontally or mark the center with a pen. Then find the approximate center of the fabric by folding the same way and leaving a deep crease in the center. This method is called counted cross-stitch, as you literally count the squares in the material and replicate the pattern. Plan to begin stitching something that's near the center of the pattern. Working this way (from the center out) will ensure that you don't stitch right off the material.
Step 3: Stitching Tips

Picasa
There are two methods to stitching. When you’re just starting out, you’ll probably want to stitch each X one at a time. When you become more comfortable, you can eventually work a row of half stitches (/ / / /), then work backward to complete the Xs. This method is easier to do without a hoop. So just keep it simple at first until you get the hang of it. The main thing is that each X crosses in the same direction. That is, the top thread of the X should always slant in the same direction. It doesn't matter which way they slant, but if they're mixed, the finished piece will look uneven.
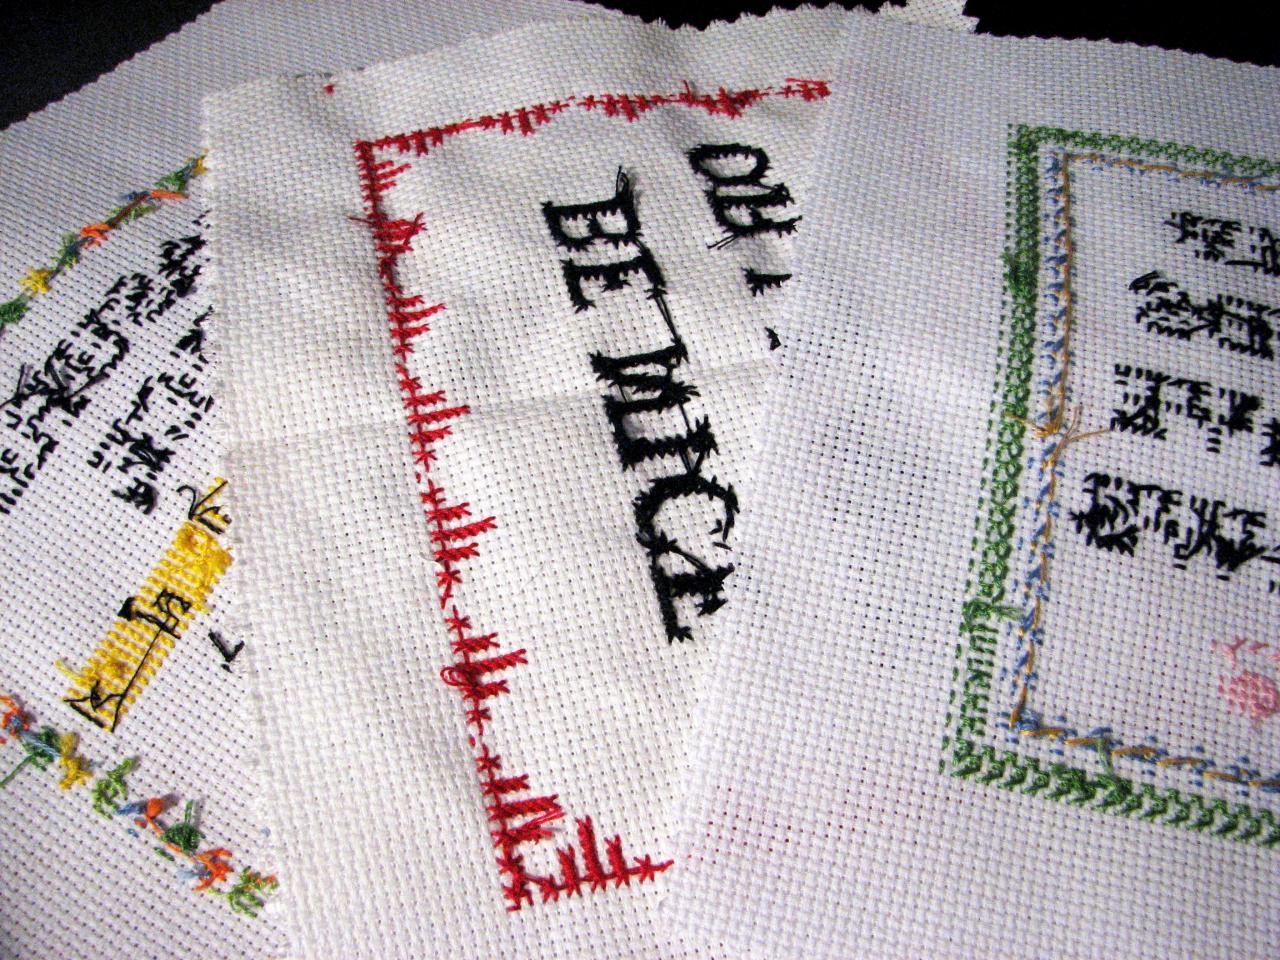
Step 4: The Back Side

Picasa
Here is an example of the back side of some stitched pieces. Don’t worry about what the back looks like because life is too short and, once you put it in a frame, no one will ever know. If you choose to secure the thread on the back with knots, make sure they are very tiny or they may look lumpy from the front.
Step 5: Wash and Iron

Crystal Martin
It's a good idea to wash the finished piece, though not absolutely necessary. Hand-wash it in some cold water in the sink with a tiny touch of Woolite or very diluted detergent. Let it dry fully then press it with lots of steam. Be careful not to scorch the final iron. If it does scorch, don't despair — it will usually disappear when washed again if it's the color of toast and the fabric isn't damaged.
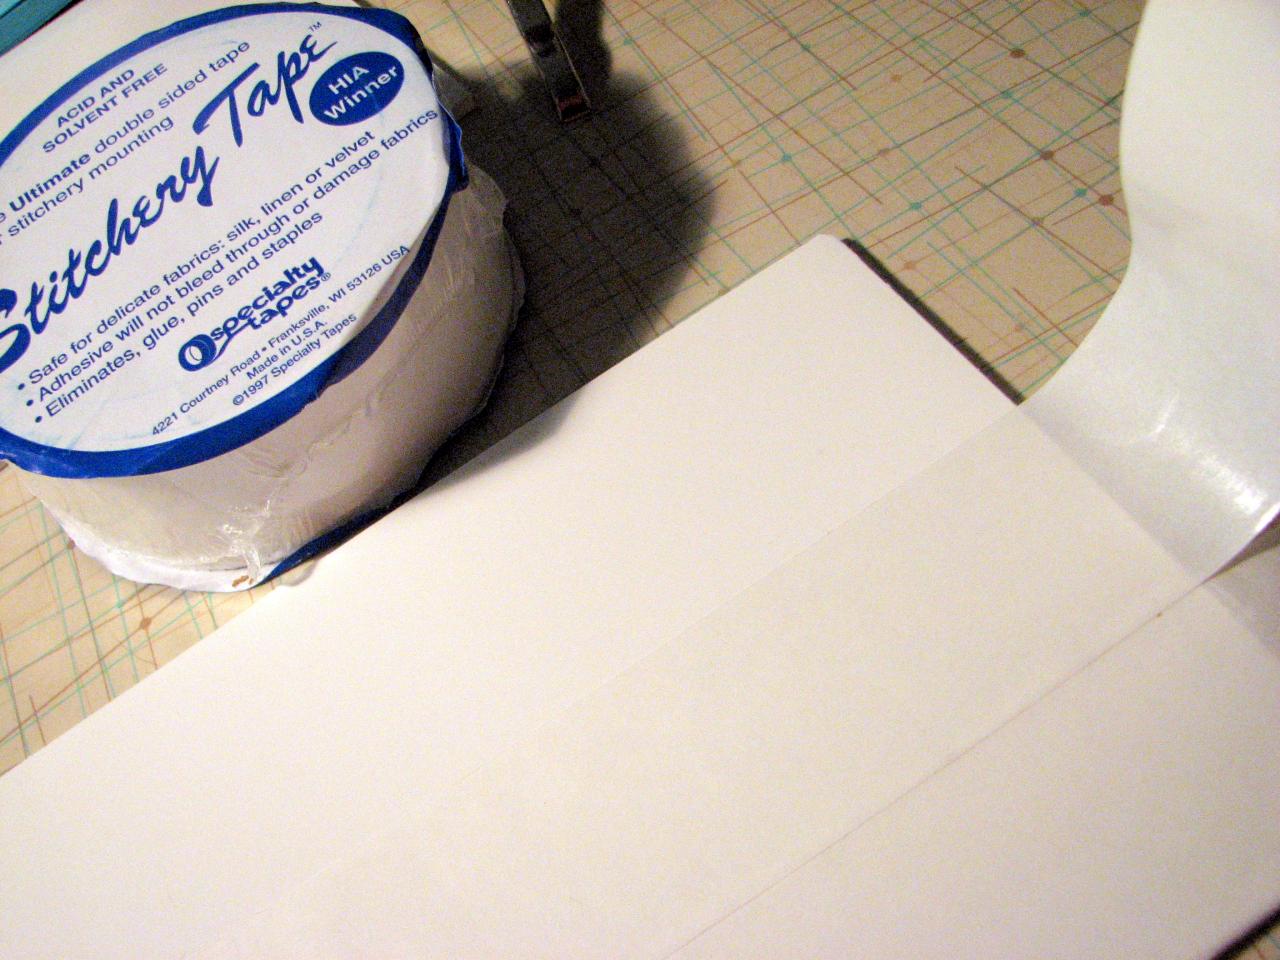
Step 6: Seal Forever

Picasa
To finish, use Stitchery Tape — it's the best. You can find it in the supplies section of the Subversive Cross Stitch website. It's made specifically for this purpose and is acid-free, archival-quality adhesive — in case you accidentally create an heirloom.
Step 7: Display Proudly

Crystal Martin
The main thing is to enjoy the delicious thrill of embroidering smart-alecky messages in the last place people expect to see them. Don't worry about perfection, enjoy the ride! When you're done, share your work with the Subversive Cross Stitch group. Additional stitching done by Melissa King and Marshall Thompson.


