


How to Make Stylish Outdoor Pallet Seating


Materials Needed:
- 1 wooden shipping pallet for seat structure
- 1 wooden shipping pallet for seat top
- measuring tape
- pencil
- circular saw
- 2" deck screws
- angle brackets
- 1/2" wood screws
- 1x6 cedar planks
- finish nails
- nail gun
- drill
- trim piece
- orbital sander
- 80-grit sandpaper
- seat cushions
- throw pillows
Choose Pallets
Search local stores or warehouses for discarded shipping pallets. You need two pallets: one for structural support and one for the seat top, sides and back. The seating structure and back pallets should be the same length.

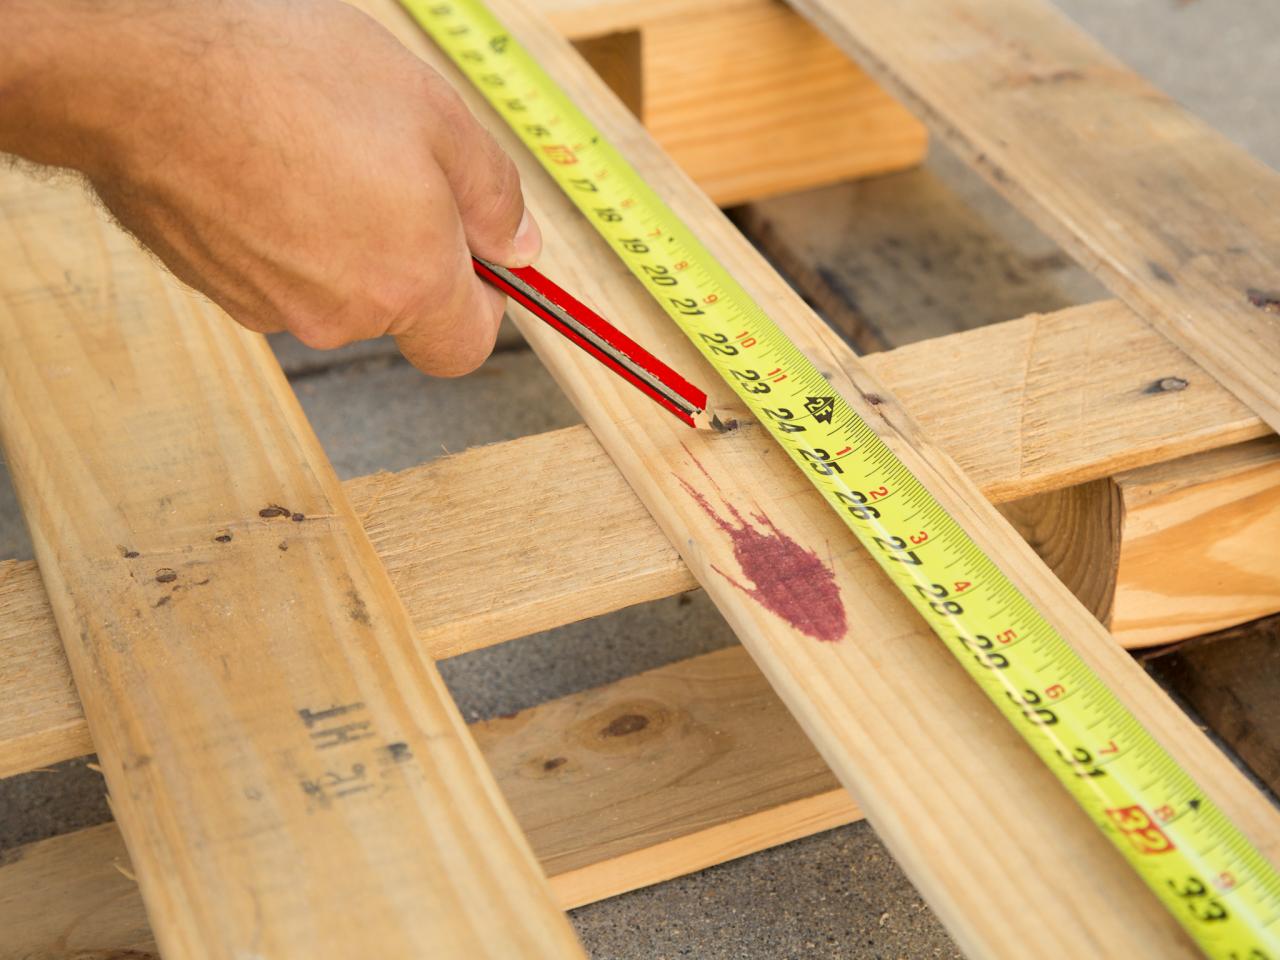
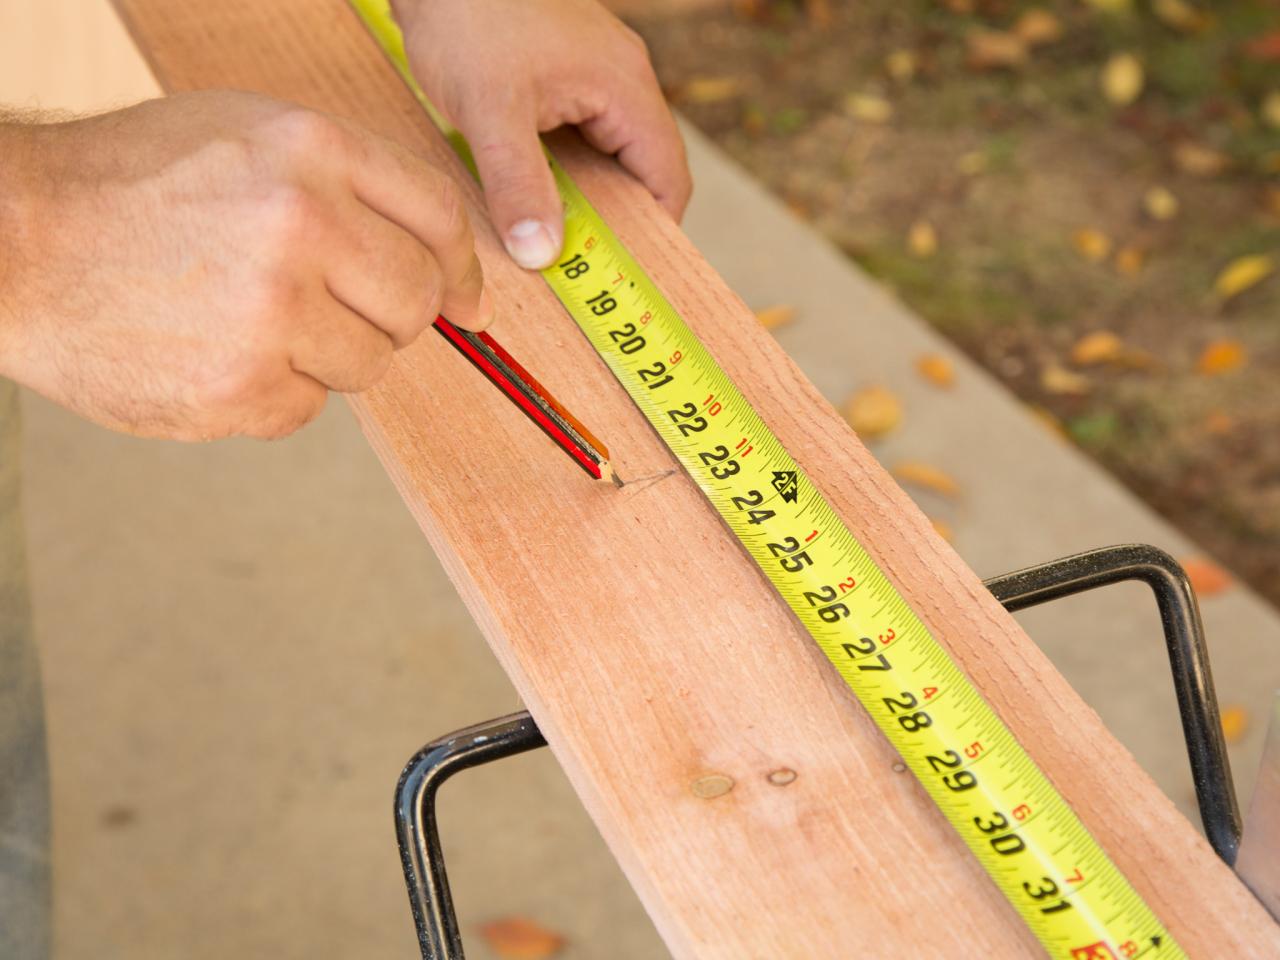
Cut Structural Pieces
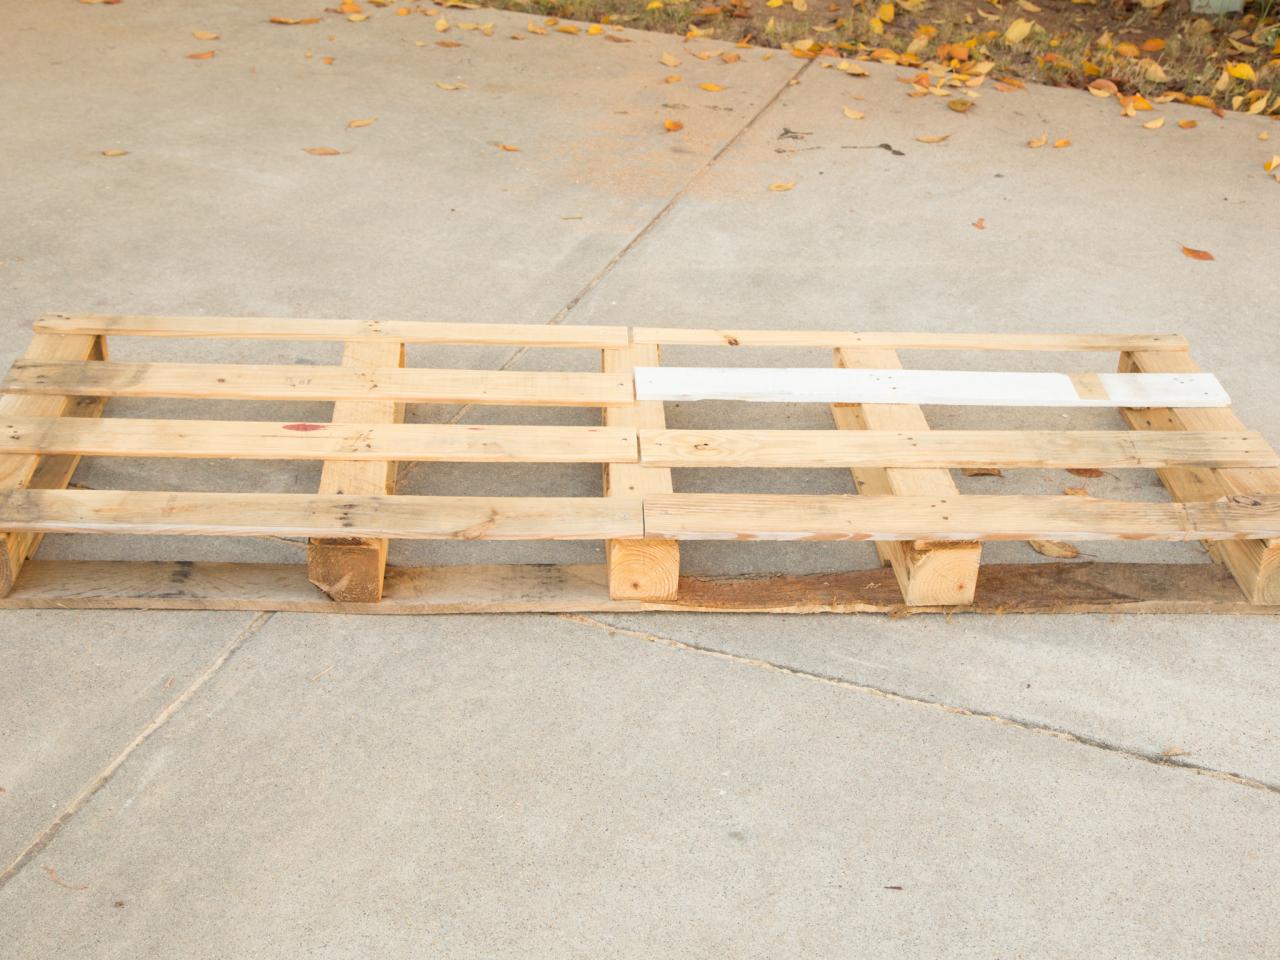
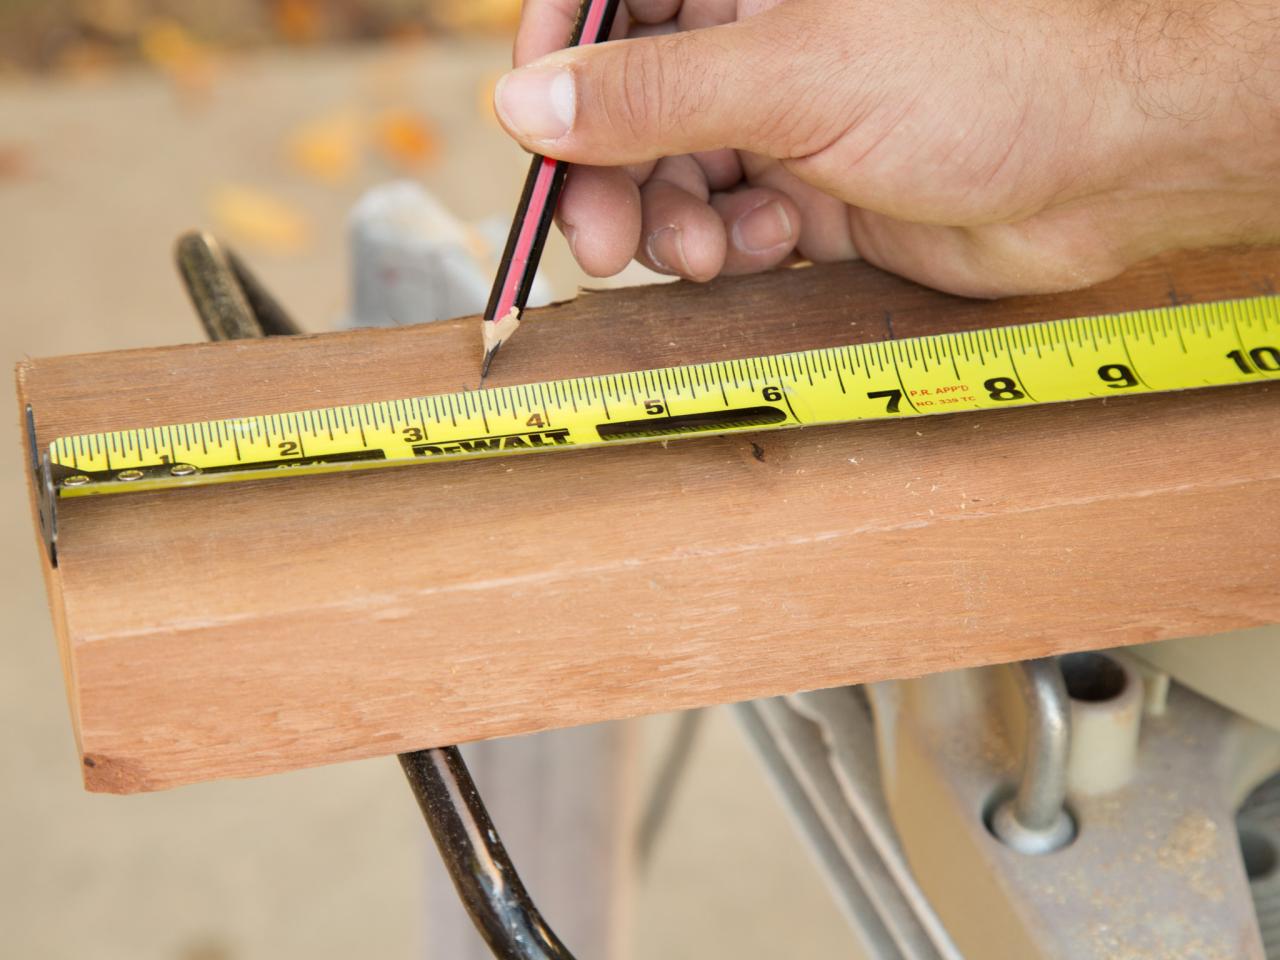
Use measuring tape and a pencil to mark the sofa back, seat structure and top pallets to 24x72 inches (Image 1). Cut with a circular saw (Image 2).


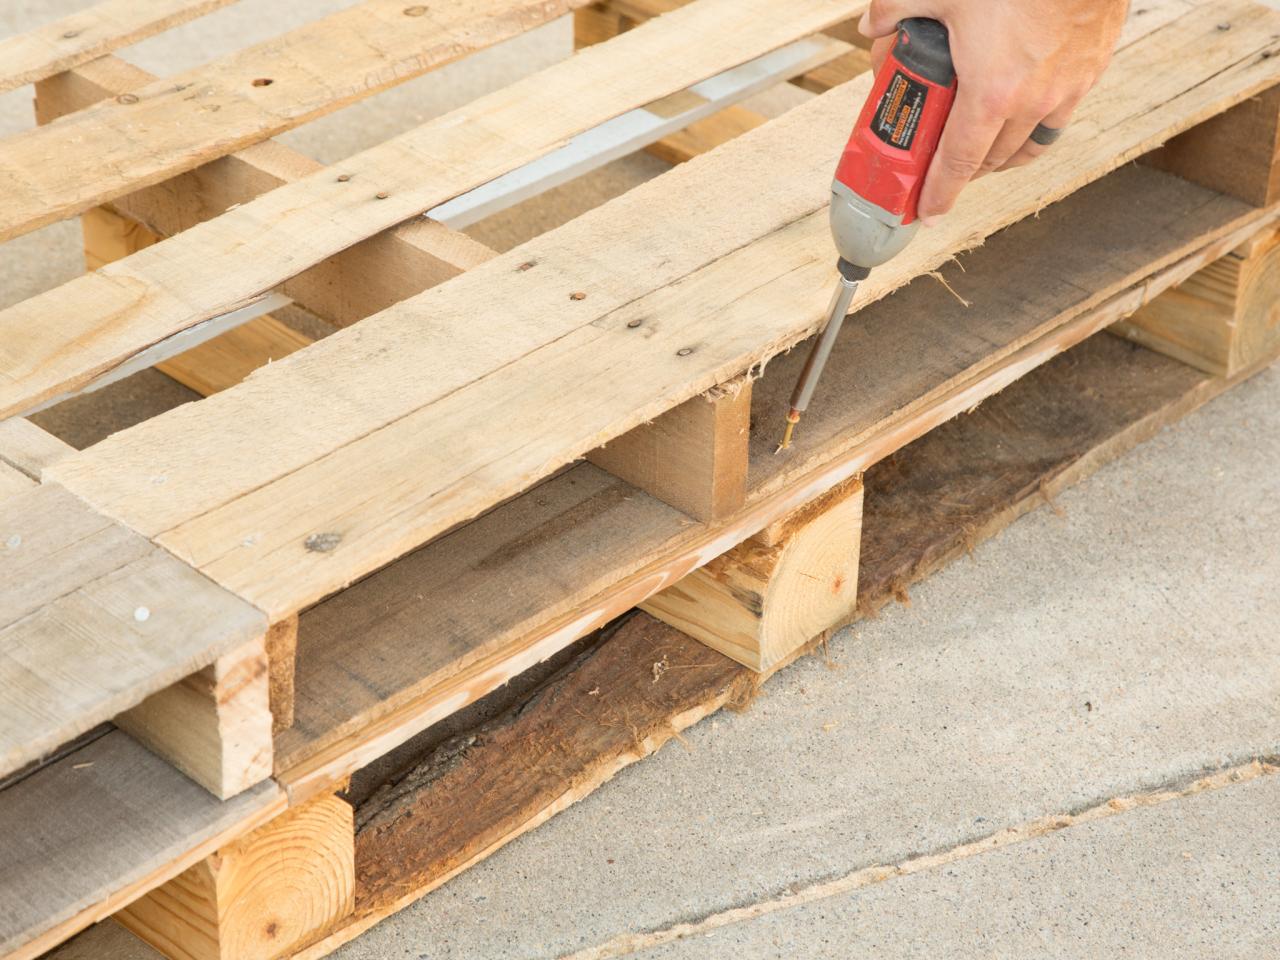
Attach Top and Bottom Pallets
Lay structural pallet on the ground, and stack the seat pallet on top so edges and corners are aligned (Image 1). Attach the two pallets by drilling through the top pallet into a solid point on the bottom pallet with 2-inch deck screws (Image 2). Drill 4 points along the front and back edges.


Prep Side Pieces
Measure and mark 24 inches on the side pallet, and use a circular saw to cut in half perpendicular to the top boards of the pallet.

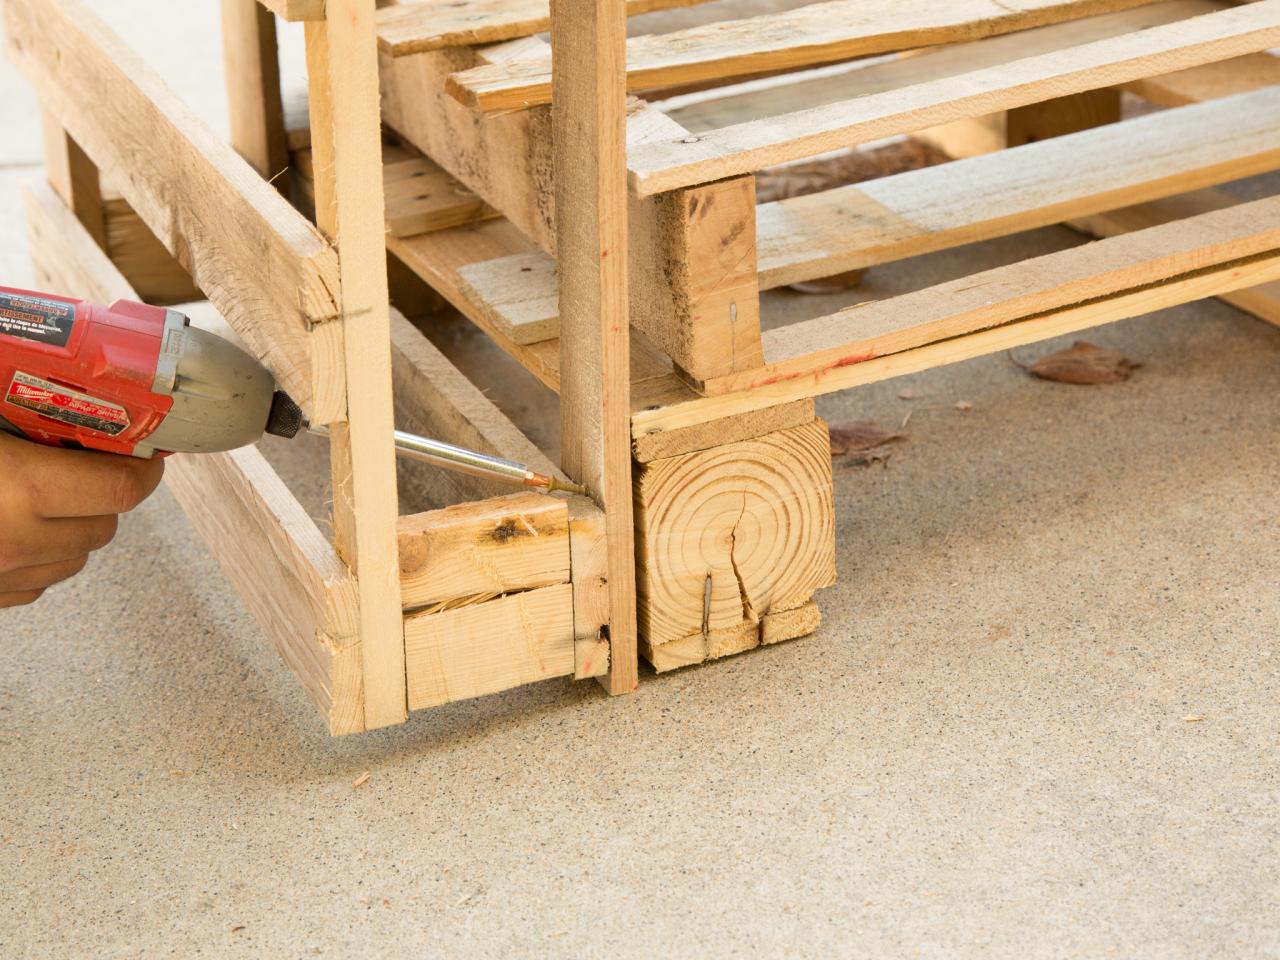
Attach Side Pieces
Align the front edge of the side pallet piece with the bottom front corner of the seat section, and attach the side pallet to the bottom structure along the front and back corners of the seat with 2-inch deck screws and a drill. Repeat this step for the opposite side.

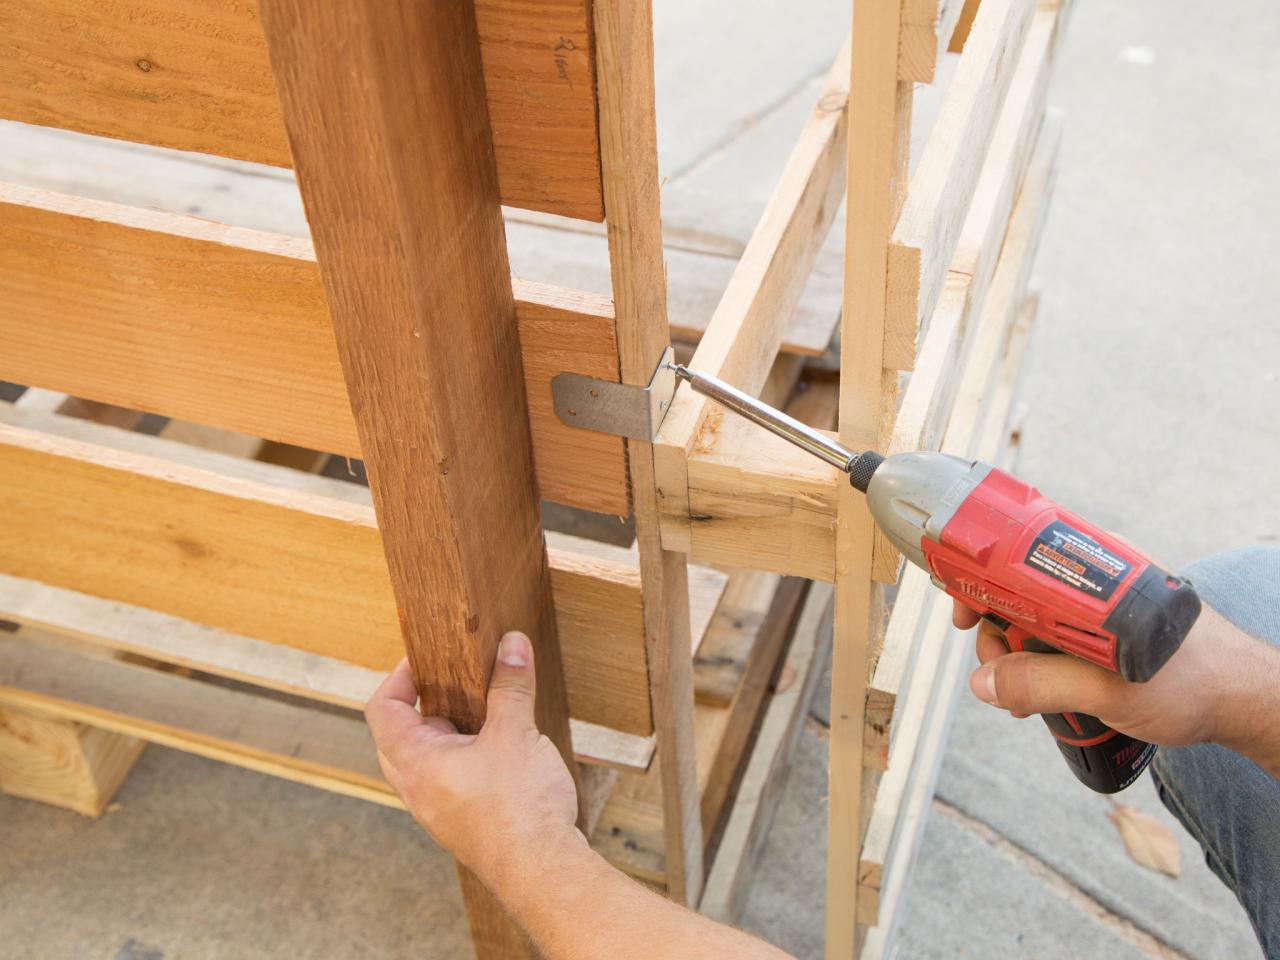
Install Back Piece
Install the back pallet piece to the seat by aligning the back pallet boards with the back of the side pallets' inside edges. Attach with angle brackets and 1/2-inch wood screws using a drill.

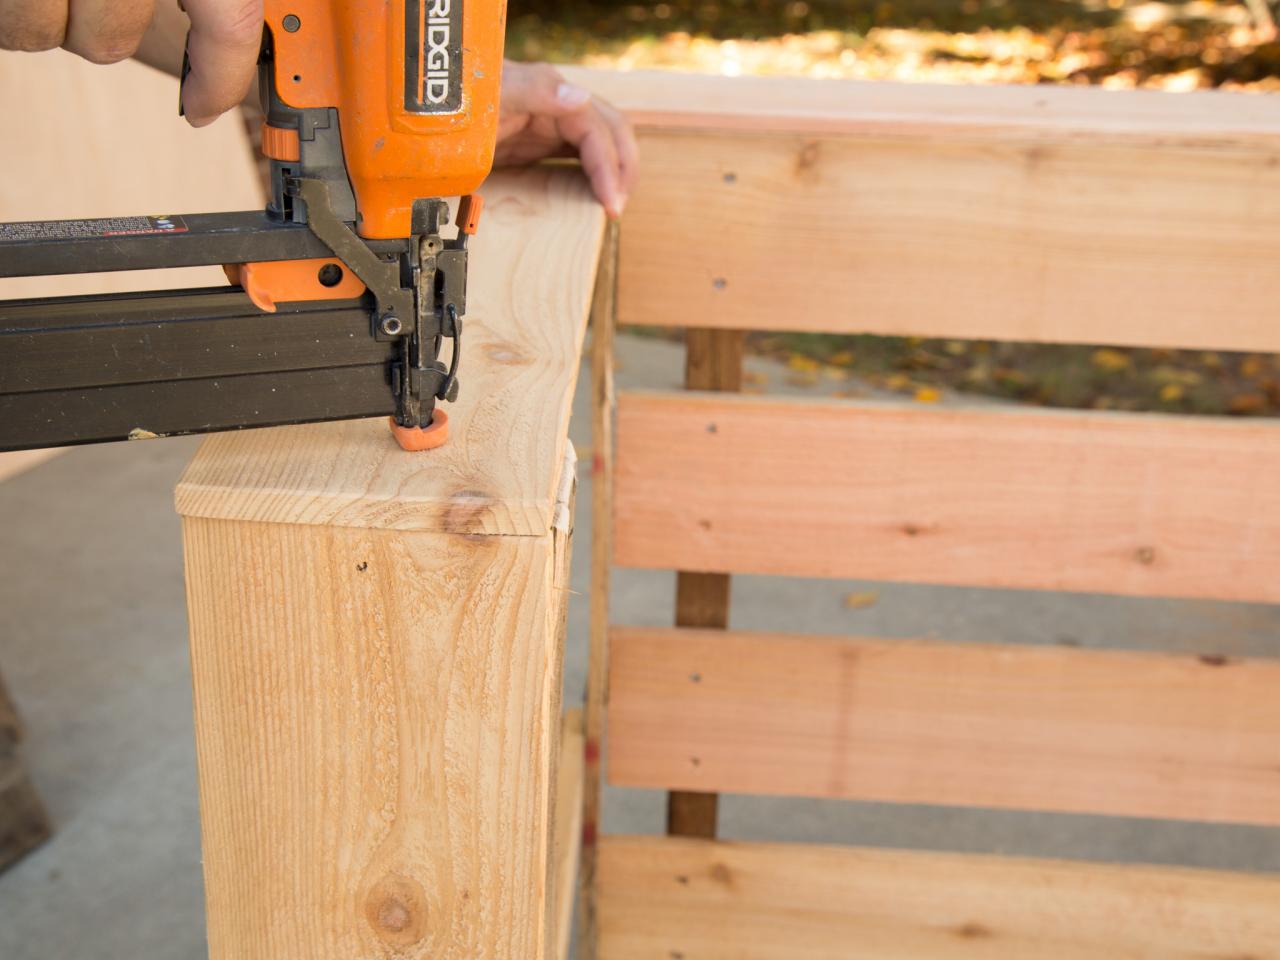
Attach Top Trim
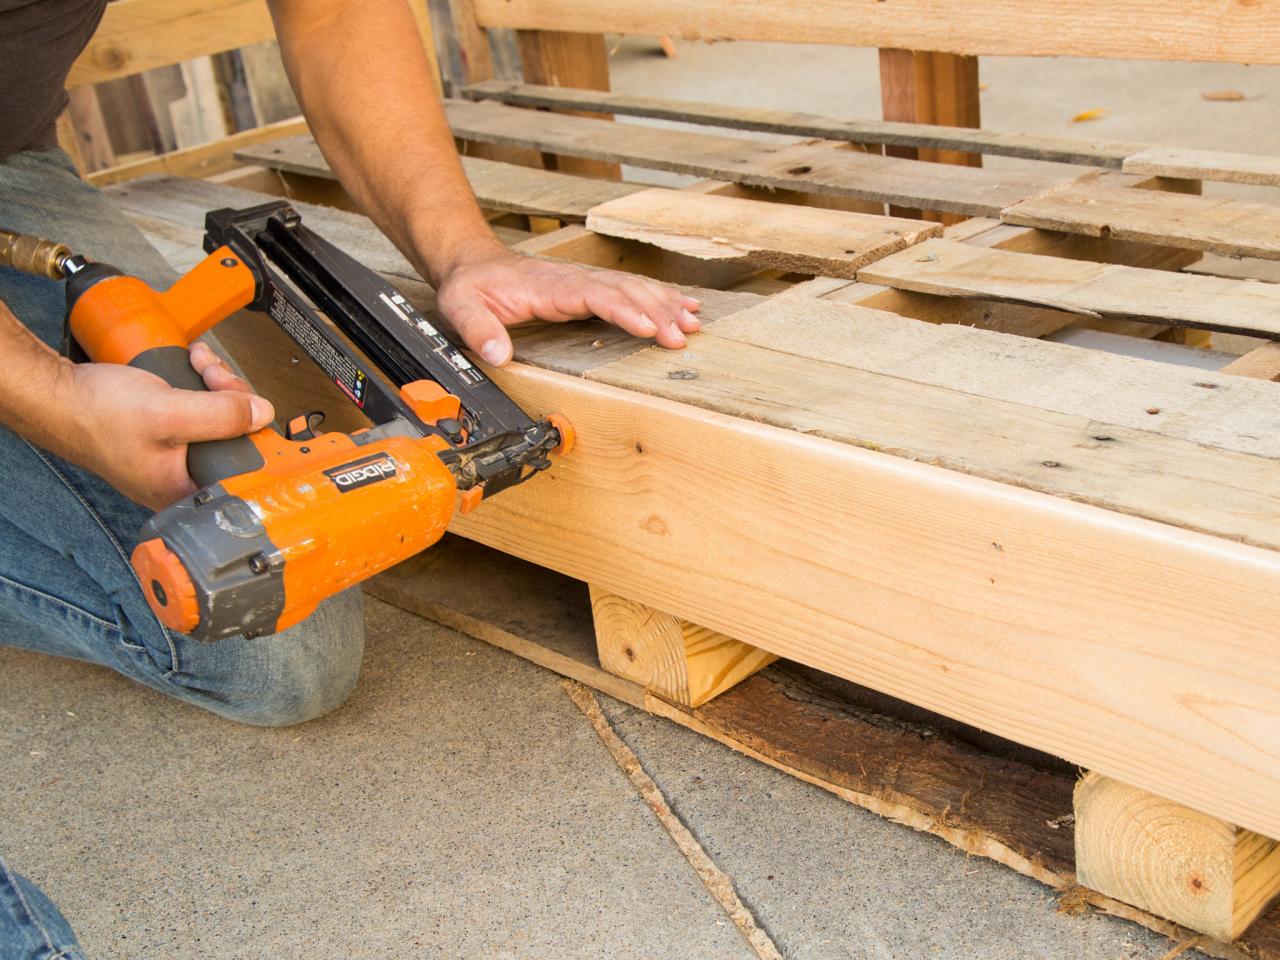
Measure the top edge of the sofa back — including the outside edges of the side pieces — to determine the length of the top trim piece. Mark a 1x6 cedar plank with a pencil, then cut to size with a circular saw (Image 1). Using a nail gun, attach the top trim piece with finish nails into the solid points on the back pallet piece, ensuring the front and side edges of the trim are flush with the inside edges of the back and side pallets (Image 2).


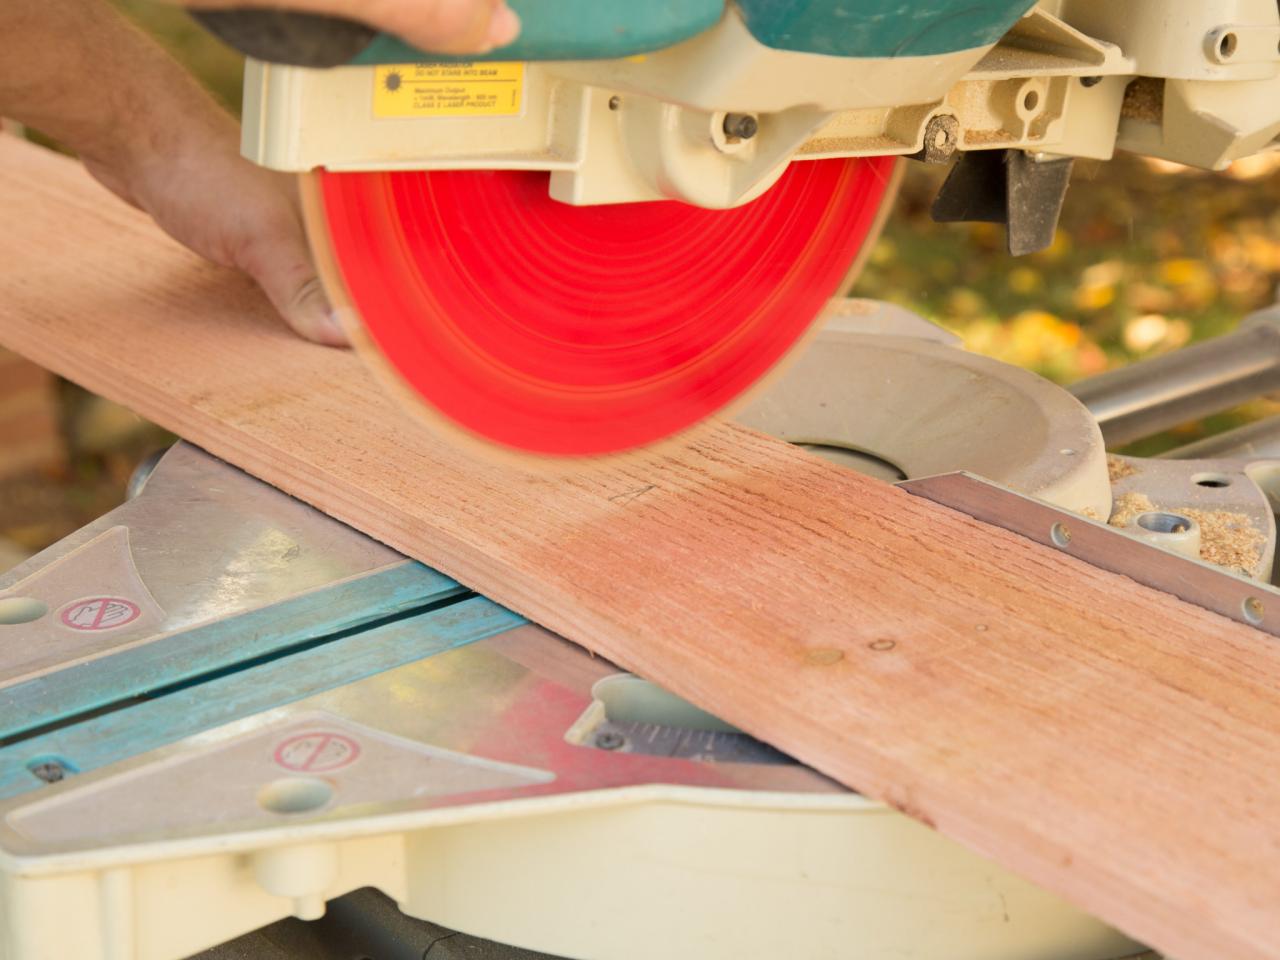
Attach Arm Pallet Fascia
Measure the vertical fascia for each of the two side pallets that will be the seat's arms. Use a pencil to mark 1x6 cedar planks with these measurements, and cut to size with a circular saw (Image 1). Align front trim piece with the top and inner seating edges of the side pallet, and use finish nails and a nail gun to attach (Image 2).


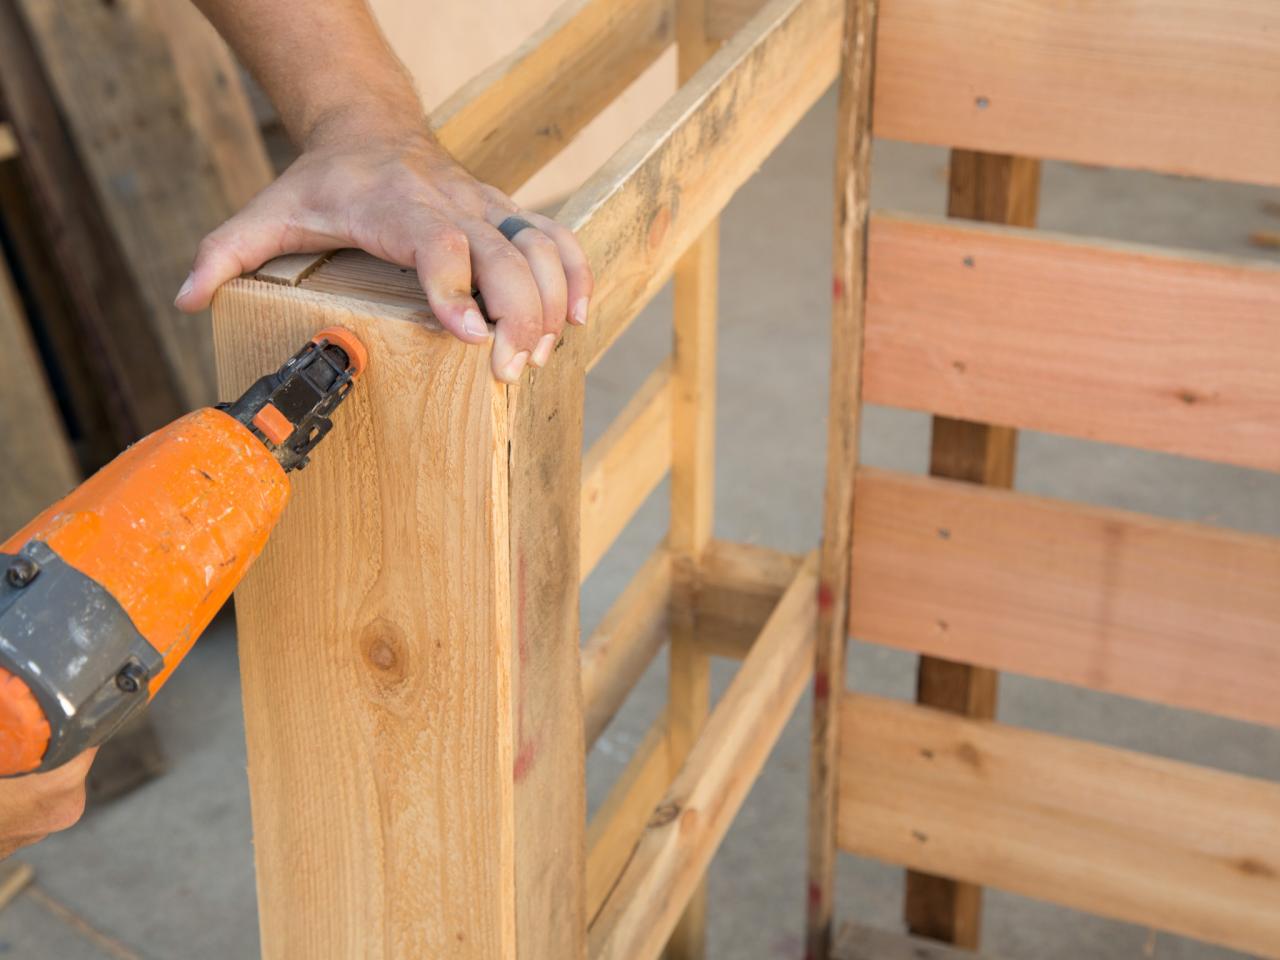
Attach Top Side Trim Pieces
Measure along the top of each side pallet from the front edge of the back top trim piece to the face of the arm pallet fascia to determine the length of the side pallet top trim pieces. Use a pencil to mark and cut 1x6 cedar plank with this measurement, and cut with a circular saw. Attach top side trim pieces to the top edges of the side pallets with finish nails and a nail gun. Tip: Make sure all corners and edges are flush before nailing.

Cut Fascia
Measure the distance along the top front edge of the seat section between the two side trim pieces. This should equal the length of the back, structure and seat pallets determined in step 2. Use a pencil to mark a 1x6 cedar plank to the determined length. Cut the plank to size with a circular saw, and install with finish nails — aligning the top edge of the fascia with the top edge of the seat pallet.
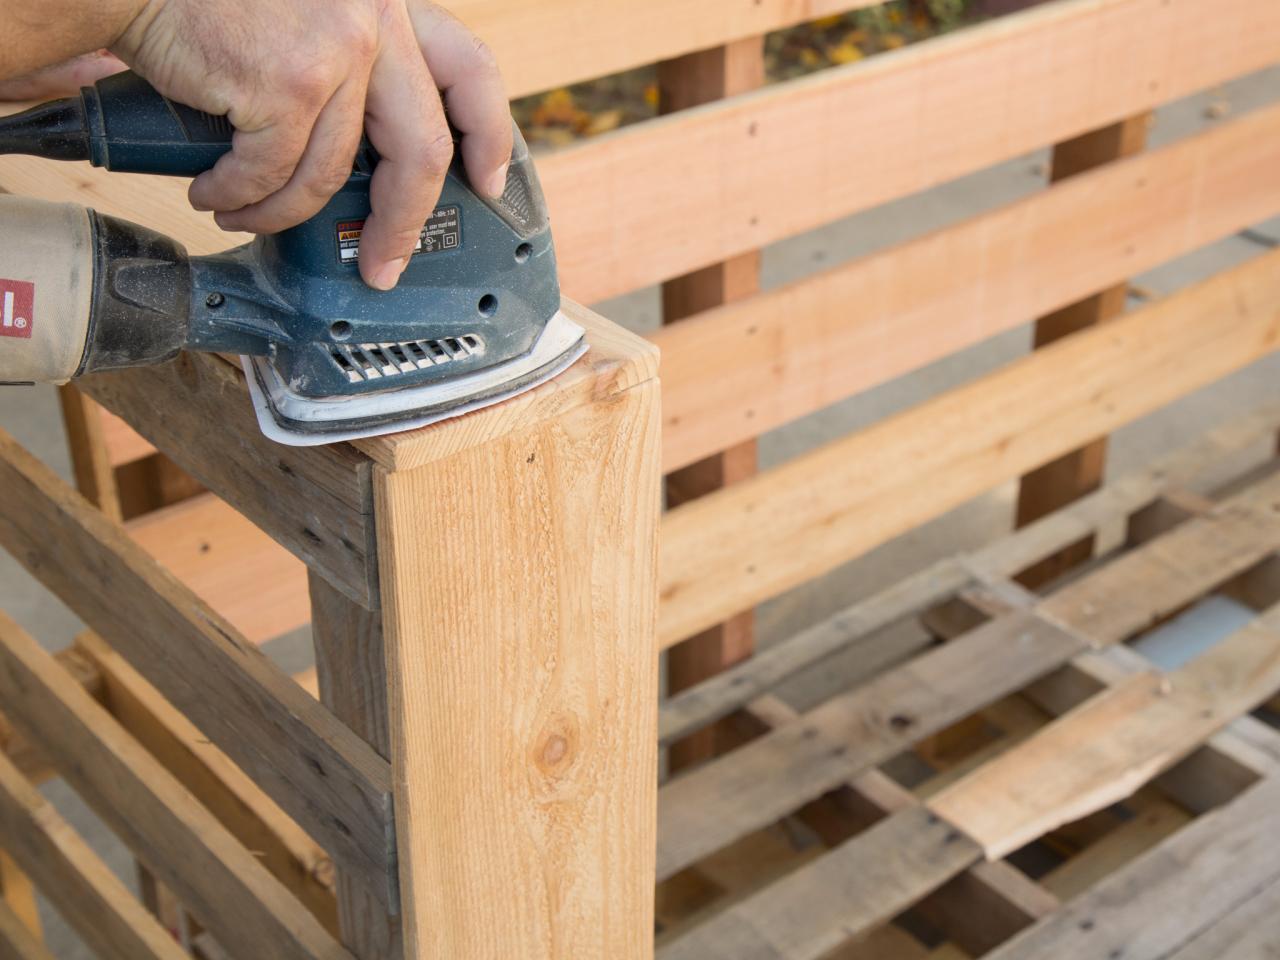
Sand Surfaces
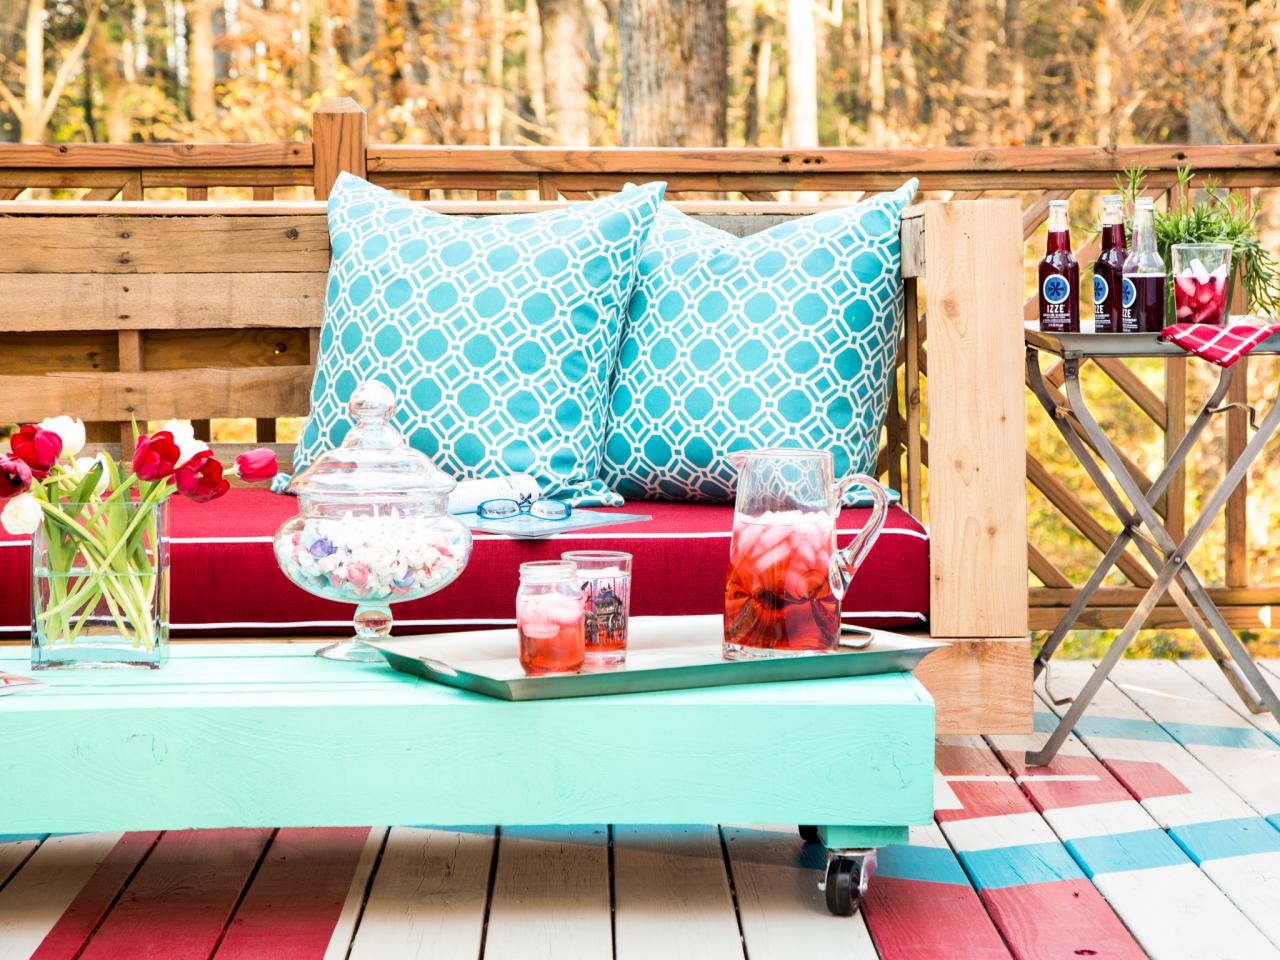
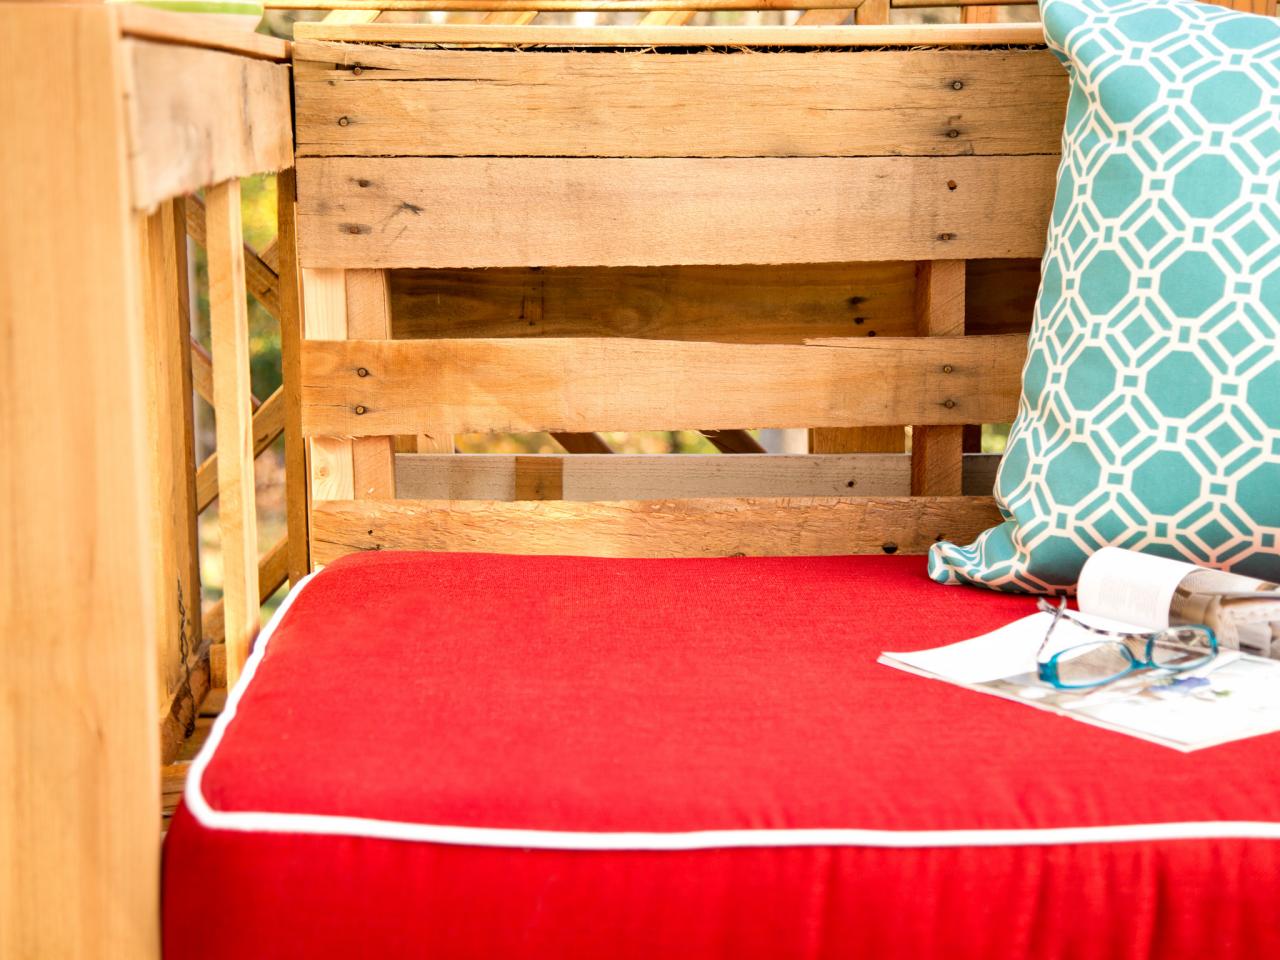
Use an orbital sander with 80-grit sandpaper to smooth out all rough corners and exposed surfaces (Image 1). Decorate with colorful outdoor pillows and cushions (Image 2).


