


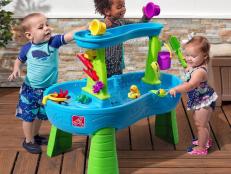
DIY the Pallet Playhouse of Your Kiddo's Dreams
Give your sweetie the ultimate backyard retreat on a budget with this simple pallet playhouse that is just as fun as it is financially savvy.

Although playhouses come in all shapes and sizes, bigger doesn't always mean better. Sometimes, the perfect playhouse is something homemade and pieced together, just like this tiny home. This simply-constructed play home can be created in an afternoon, but is sure to produce a lifetime of memories.

Kamron & Ellie Sanders
Materials Needed
- (5) pallets
- (4) 2x4 x 8' boards
- (1) 2x2 x 8' boards
- plywood sheet
- hammer
- flatbar
- reciprocating saw
- circular saw
- sander + 60-grit sandpaper
- 2-1/2" screws + bit
- drill
- staple gun + staples
- waterproof canvas
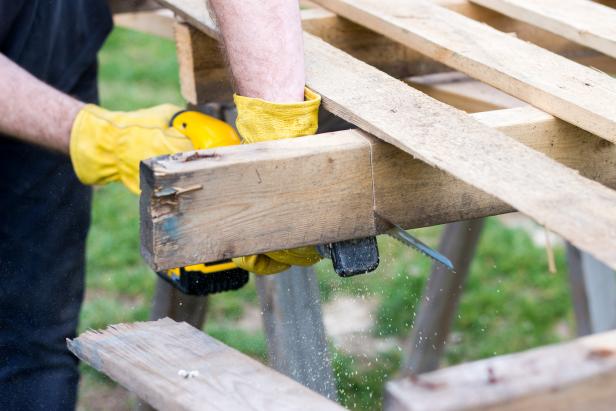
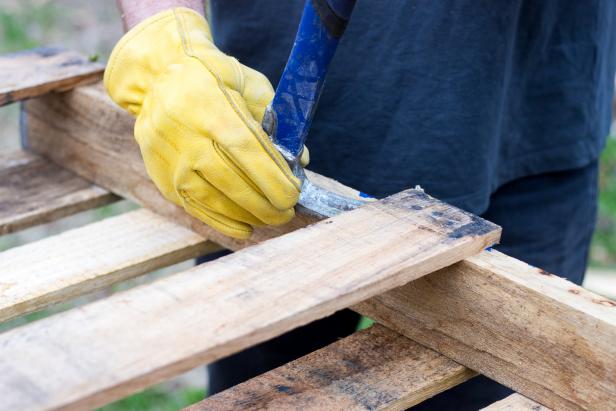
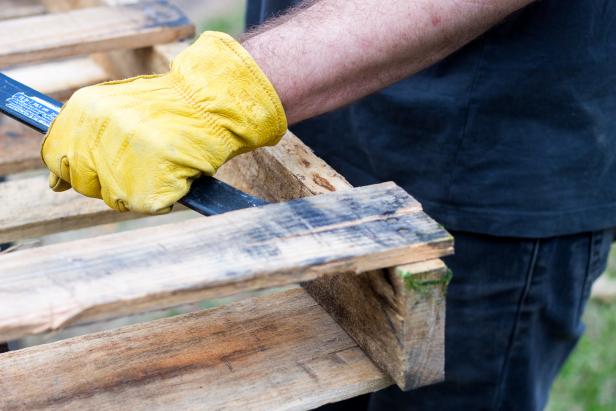
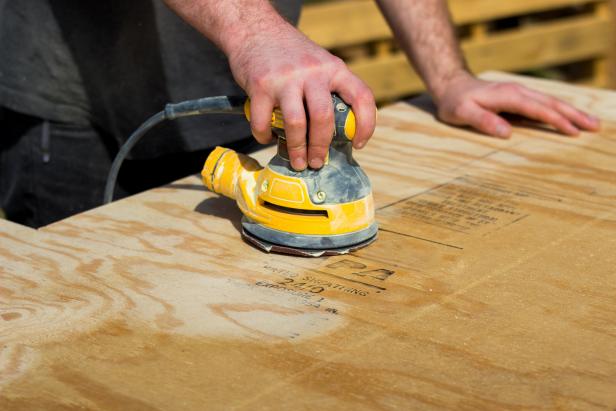
Prep Pallets
Kamron & Ellie Sanders
Kamron & Ellie Sanders
Kamron & Ellie Sanders
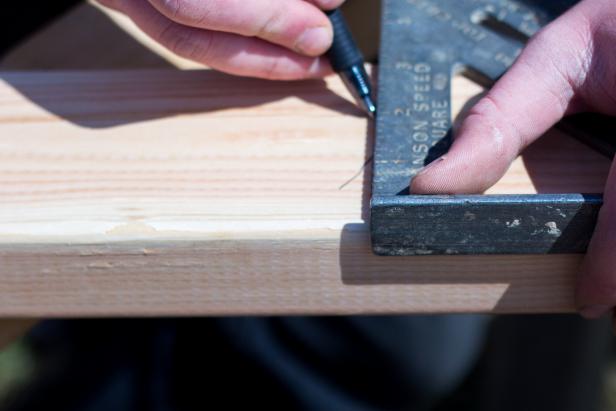
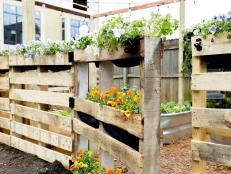
Pallets come in all shapes and sizes. With a reciprocating saw, start by trimming off any overhanging wood and cutting the pallets to create a similar size throughout the group. The closer the pallets are in size, the better. However, the project can be edited to better suit whatever pallets are accessible.
Pull any unnecessary nails, and be sure to cut or hammer in any broken nails. Be sure to thoroughly sand all surfaces to create a smooth, splinter-free play area.
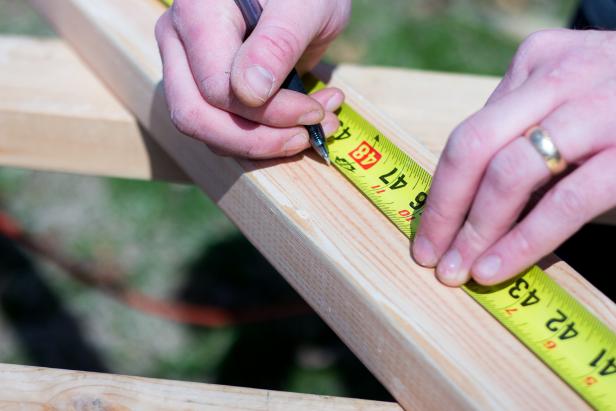
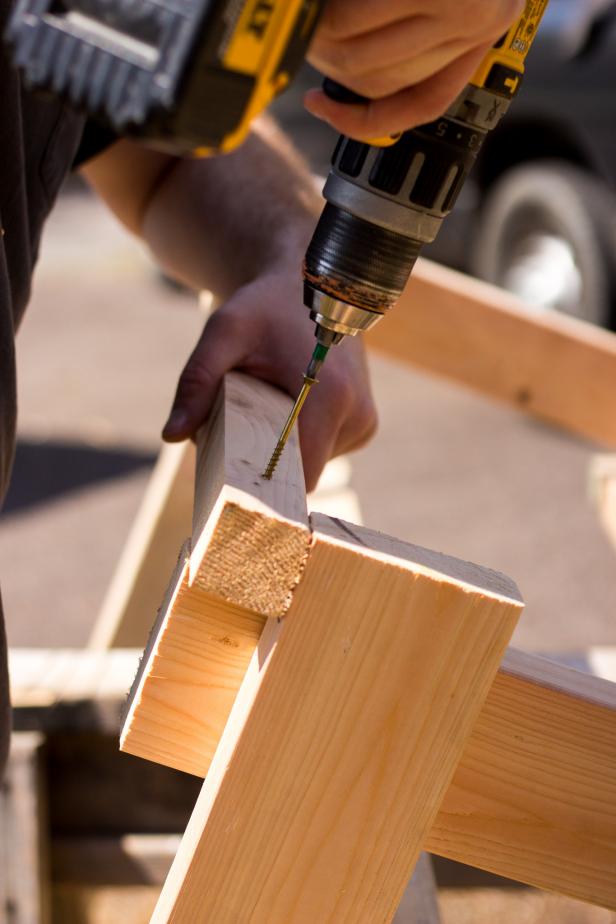
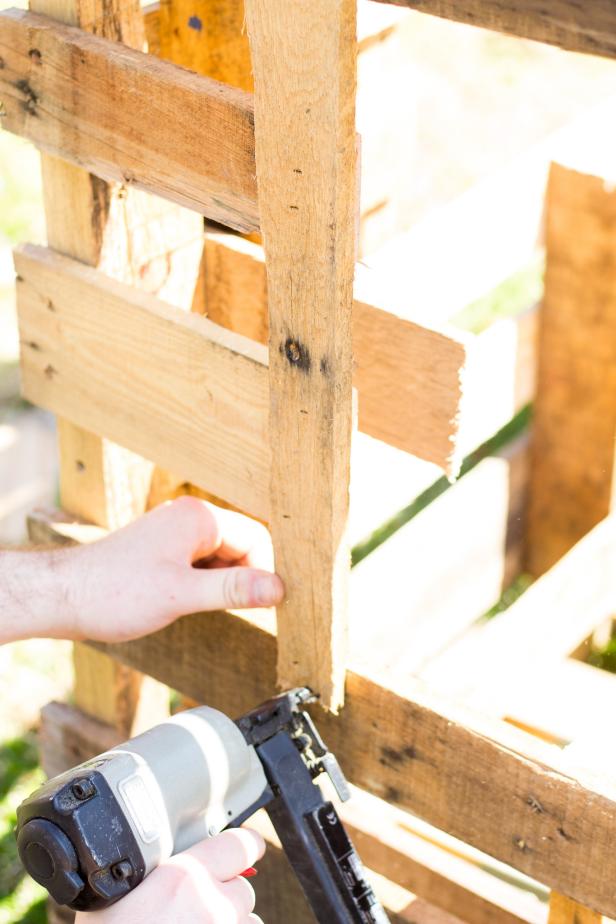
Assemble Pallet Body

Kamron & Ellie Sanders
Since pallet sizes vary, there is no standard way to assemble the body of the playhouse. We used our biggest pallets as the bottom and back and assembled the rest from there. Two pallets that are evenly sized will do best for the sides, while a smaller pallet in the front created a built-in front door.
Use 2-1/2” screws to attach the pallets at each joint, being sure to screw into the 2x4 stringers (the sides of the pallet) and not the thin deck boards (the top). A screw at the top, middle and bottom in each corner should be sufficient. Once connected, fasten the walls to the floor in the same fashion.
Assemble Roof Frame
Kamron & Ellie Sanders

Kamron & Ellie Sanders
Kamron & Ellie Sanders

Kamron & Ellie Sanders
Measure and cut two 2x4 x 8' boards in half to create four 4-foot pieces (this measurement may need adjusting depending on the size of your pallets). With two pieces, form a right angle leaving a 1-1/2” overhang in the corner with each board. Repeat once more.
Next, measure the full depth of the playhouse’s frame. Cut a 2x2 matching that length. Create the peak of the roofline by tying the two right angle frames together with the 2x2, nestling it within the 1-1/2” overhangs in the corners. Once attached, measure the internal length of the 2x2 and cut two 2x4 pieces at this length plus 1-1/2". Use these 2x4 boards to secure the two sides at the bottom of the roof.
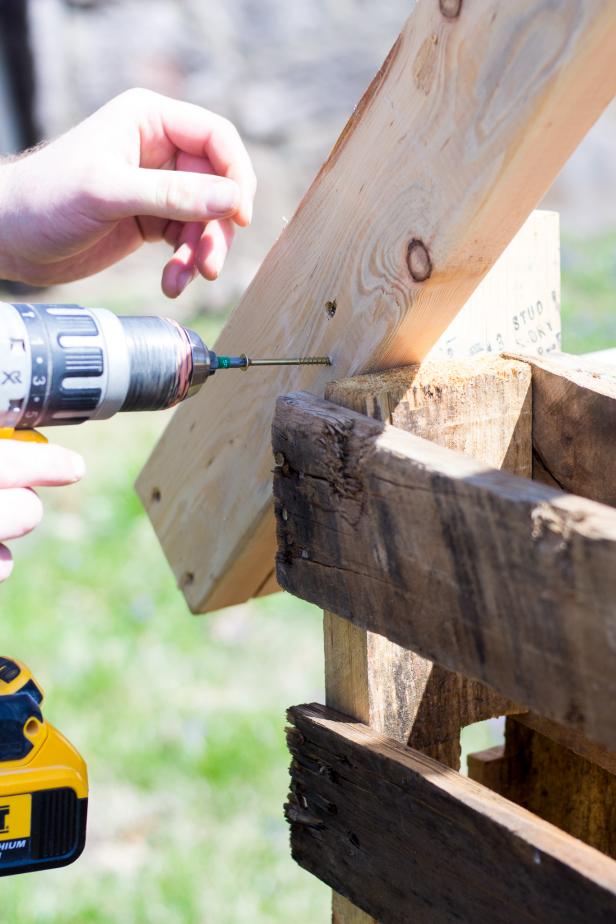
Install Roof Frame

Kamron & Ellie Sanders
Kamron & Ellie Sanders

Kamron & Ellie Sanders
Kamron & Ellie Sanders
Kamron & Ellie Sanders
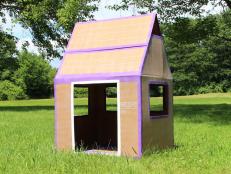
Place the fully assembled roof frame on the playhouse's frame, and ensure a firm, even fit. Measure and cut four 2x4 x 6' boards. In each corner, secure the roof by attaching the 2x4s to both the roof and the playhouse with 2-1/2" screws.
Cut and Install Floor
Kamron & Ellie Sanders
Measure and cut a sheet of plywood to match the internal dimensions of the playhouse’s floor. Sand the plywood’s surface until smooth. Lay the plywood into place and secure with staples or screws if desired. Optional: apply an oil or stain to add color and durability.
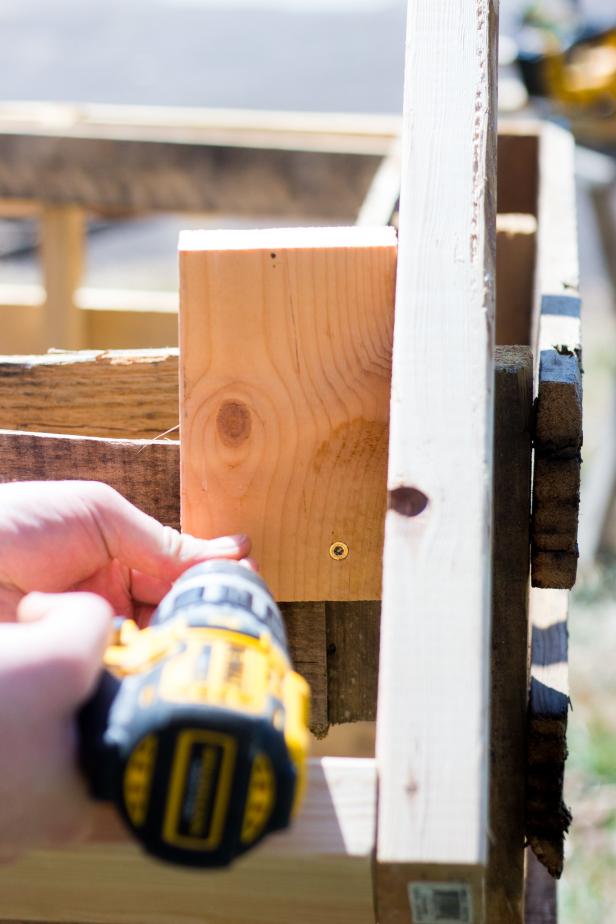
Cut Windows

Kamron & Ellie Sanders
Kamron & Ellie Sanders

Kamron & Ellie Sanders
Using a reciprocating saw, cut as many windows out as desired. Use the discarded pieces of wood to restructure and frame your windows, being sure to sand or re-sand all cut surfaces. Staple along the sides of the window and along the bottom to create a window sill.
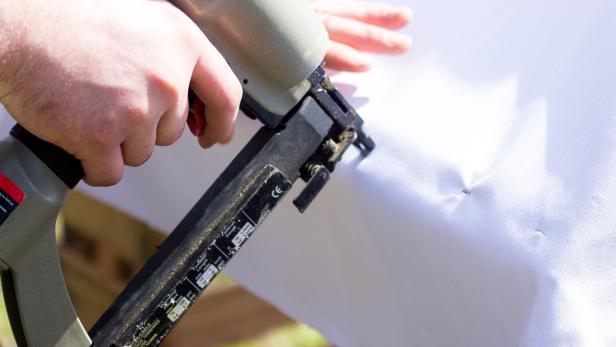
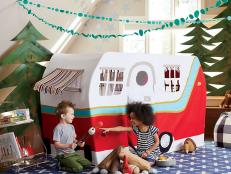
Attach Canvas Roof
Kamron & Ellie Sanders
Cut a piece of canvas to the full size of your roof plus enough for slight overhang on each edge. Stretch canvas over roof frame and staple along the entirety of the frame. If using a pneumatic or electric stapler, be sure to turn the force down to keep the staples from pulling through the fabric.
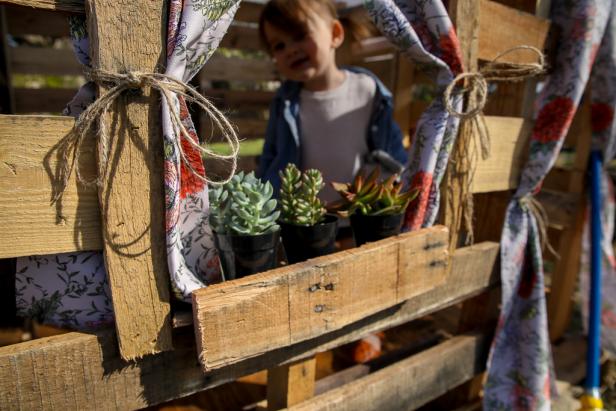
Decorate

Kamron & Ellie Sanders
Kamron & Ellie Sanders
Your little one’s home is almost complete! All it needs is a personal touch. Hang curtains using outdoor fabric, set potted succulents along the windows, and hang a plant or wind chimes from the roof. The possibilities are endless, and the cuteness? Overwhelming.

Kamron & Ellie Sanders


