


Make a Wall-Mounted Tape Dispenser
This clever wall mounted dispenser will declutter the tape and make sure it never gets misplaced.


Materials Needed:
- (1) 1"x6"x8' board
- yardstick
- pencil
- carpenters' square
- 2-1/2" hole saw bit
- drill
- table saw or circular saw
- 2 clamps
- wood glue
- (34) 1-1/4" wood screws
- wood putty
- sandpaper
- 12" hack saw blade
- 2" PVC pipe, at least 13-3/4" long
- 2 rolls 1" tape
- 3 rolls 2" tape
- level
- (4) 2" wood screws
- anchors (as necessary)
Cutting the Pieces

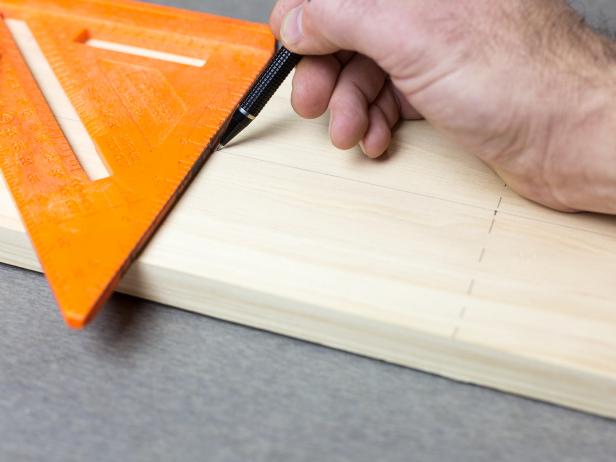


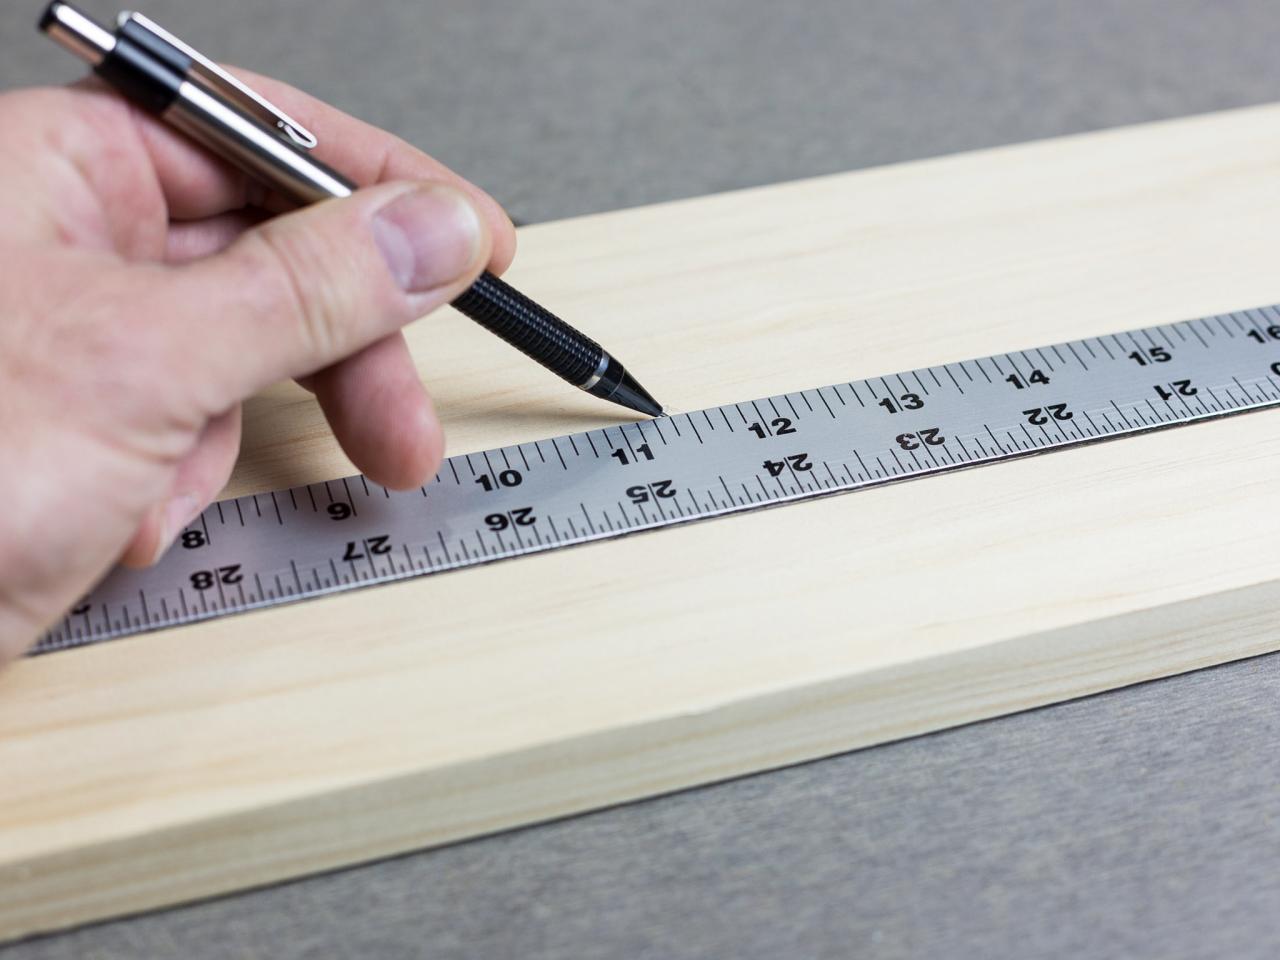
Starting at one end of the board, measure 2-3/4” from the long edge of the board in several spots along one wide side of the board. Use a yardstick or straight edge to draw a line at least 27” long from the end of the board, connecting the dots in the center of the board (Image 1).
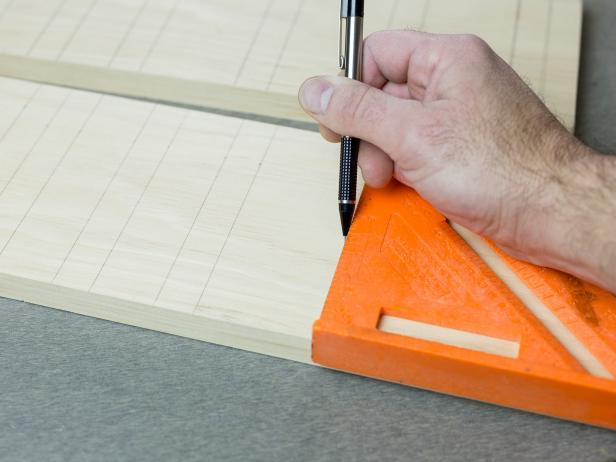
Starting at the end, use a carpenters’ square to make a line across the board crossing the line in the center of the board at 4-1/2” from the end (Image 2). At 4-1/2” from that line make a dotted line crossing the board and the center line. Repeat alternating these lines at 4-1/2” until you reach 27”.
At each of the straight line intersections, use the hole saw bit to drill a hole through the board (Image 3).
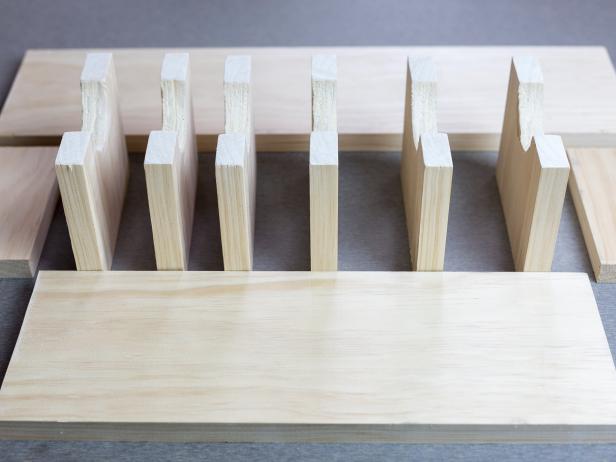
With the holes cut, use a table saw or circular saw to cut through the solid lines that run through the holes, cutting the holes in half (Image 4). Next, cut through the dotted lines creating six pieces with semi-circles cut out of one side. With the remaining wood, cut two pieces that are 5-1/2” long, one piece that is 15-1/4” long, and one piece that is 21-1/4” long (Image 5).
Assembling the Box
On the 1”x6”x15-1/4” piece, measure 3/4” from one end and make a line across the board using a carpenters’ square. From that line measure 3/4” and draw another line. Draw another line at 1-1/4”, 3/4”, 1-1/4”, 3/4”, 2-1/4”, 3/4”, 2-1/4”, 3/4”, 2-1/4”, and 3/4” leaving 3/4” at the end. Lay this board next to the 1”x6”x21-1/4” board with 3” of the longer board extending beyond each end of the shorter board. Use the previously drawn lines and carpenters’ square to make corresponding lines on the longer board (Image 1).
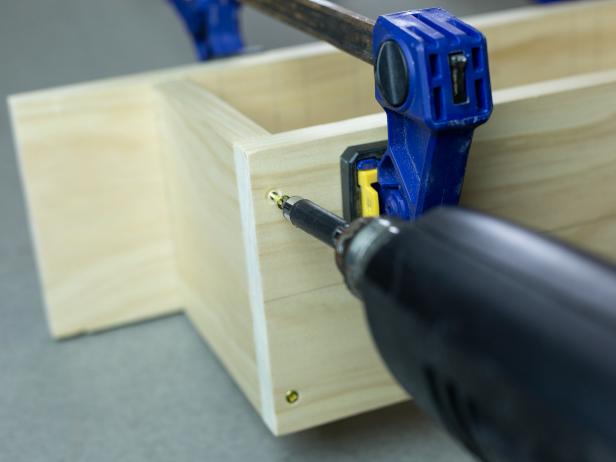
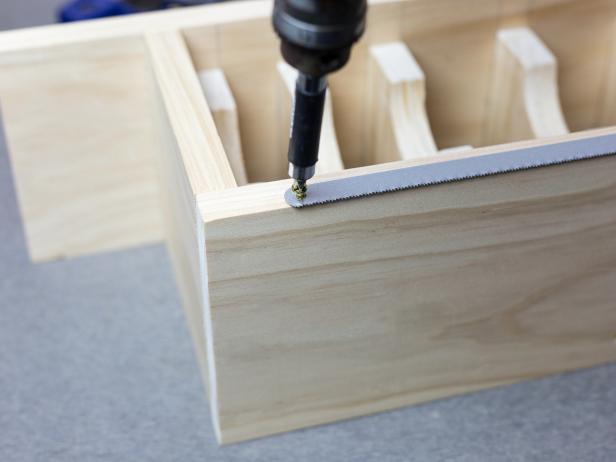
Use clamps to hold the two longer boards together with the two 1”x6”x5-1/2” boards sandwiched between them on the ends, using the first lines at both ends as a guide to keep them straight. Secure the boards together with two 1-1/4” wood screws on the front and back of each end (Image 2). Tip: to prevent wood from splitting, pre-drill holes with a bit slightly smaller than the screws.
Insert the boards with the half circles between the lines that are 3/4” apart. Make them flush with the bottom and keep them straight by lining them up with the lines on the front and back longer boards. Clamp them together and secure them with 1-1/4” screws on the front and back. Sink the screws slightly and fill with wood putty. Sand the putty and paint or stain and seal as desired.
Finishing Touches
Attach the hacksaw blade centered on the top edge of the front board with the teeth of the blade hanging slightly over the edge. Secure the blade with 1-1/4” wood screws (Image 1).
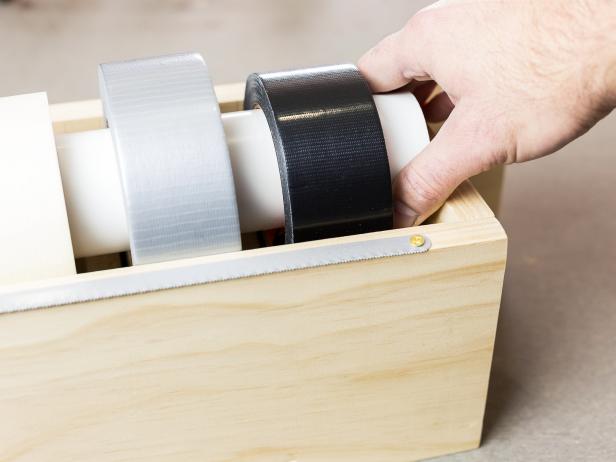
Cut the PVC pipe to 13-3/4”. Add rolls of tape to the pipe corresponding to the spaces in the holder with the ends of the tape facing in the same direction. Add the pipe with the tape to the holder, placing each roll in its corresponding space ( Image 2).
Use a level to make a mark on the wall where the dispenser will go. Line the top edge of the dispenser up with the level line. Attach to the wall with 2” wood screws through the 3" pieces of wood extending beyond the box in the back. Use anchors as necessary for added support.


