
.-Battle-on-the-Beach-courtesy-of-HGTV.-.jpg.rend.hgtvcom.196.196.suffix/1714761529029.jpeg)


Build Custom End Tables

Materials Needed:
- long, old bench (approximately 6 feet long)
- 2 small chunks of scrap wood
- pencil
- measuring tape
- electric jigsaw
- 2-1/2" wood screws
- electric drill
- electric screwdriver
- level
- protective eyewear
Find a Bench
Scour yard sales and flea markets for a solid wood bench that's approximately six feet long.
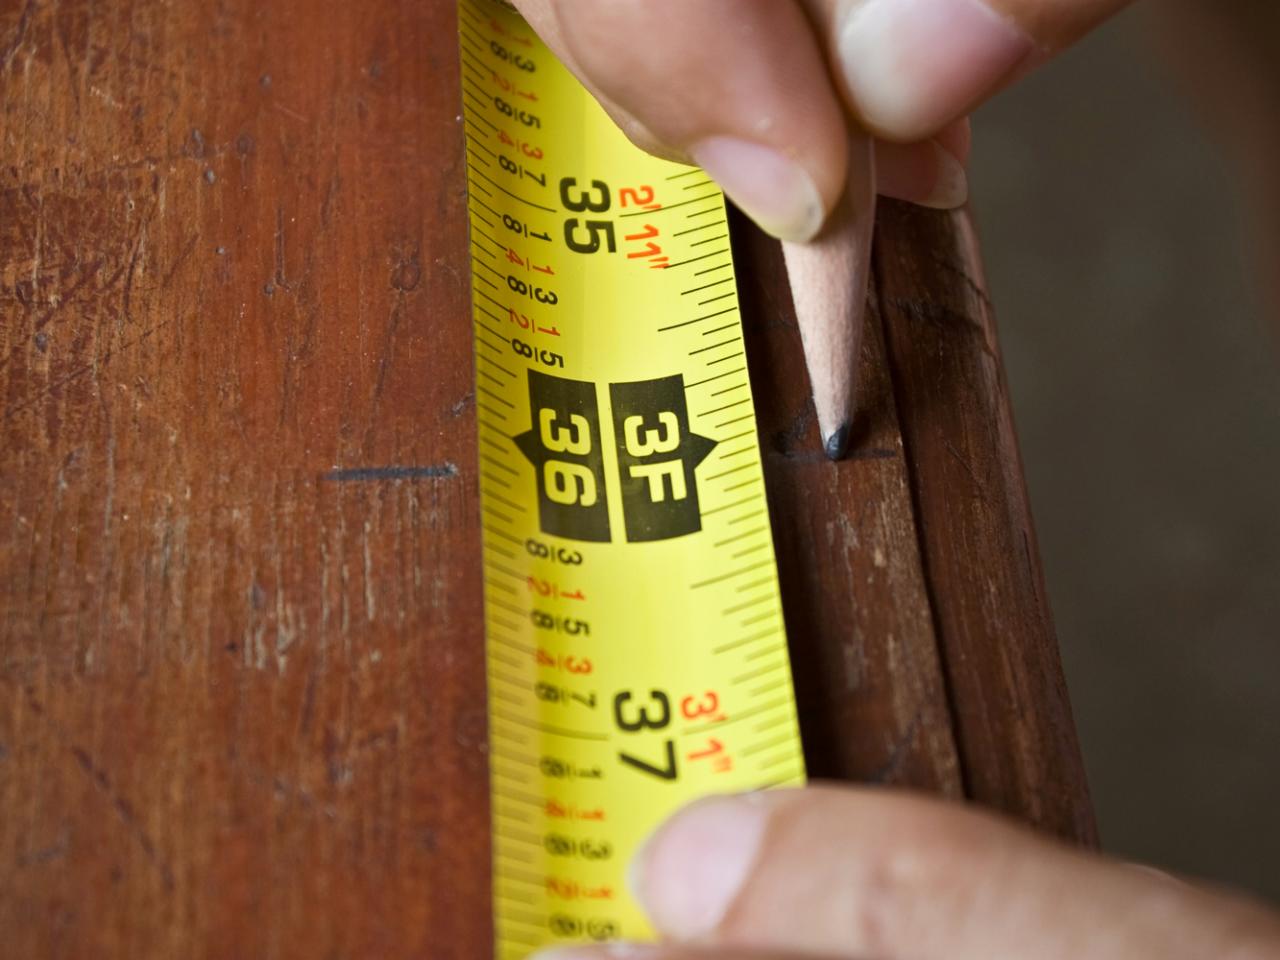
Measure
Using a pencil and measuring tape, make several marks on the top side of the bench, 36 inches from each end of it.

Draw a Line
Connect the marks across the top of the bench using a straight edge.

Mark the Sides
If the bench has sides on it, continue the pencil line from the top, down onto each side, using a straight edge.

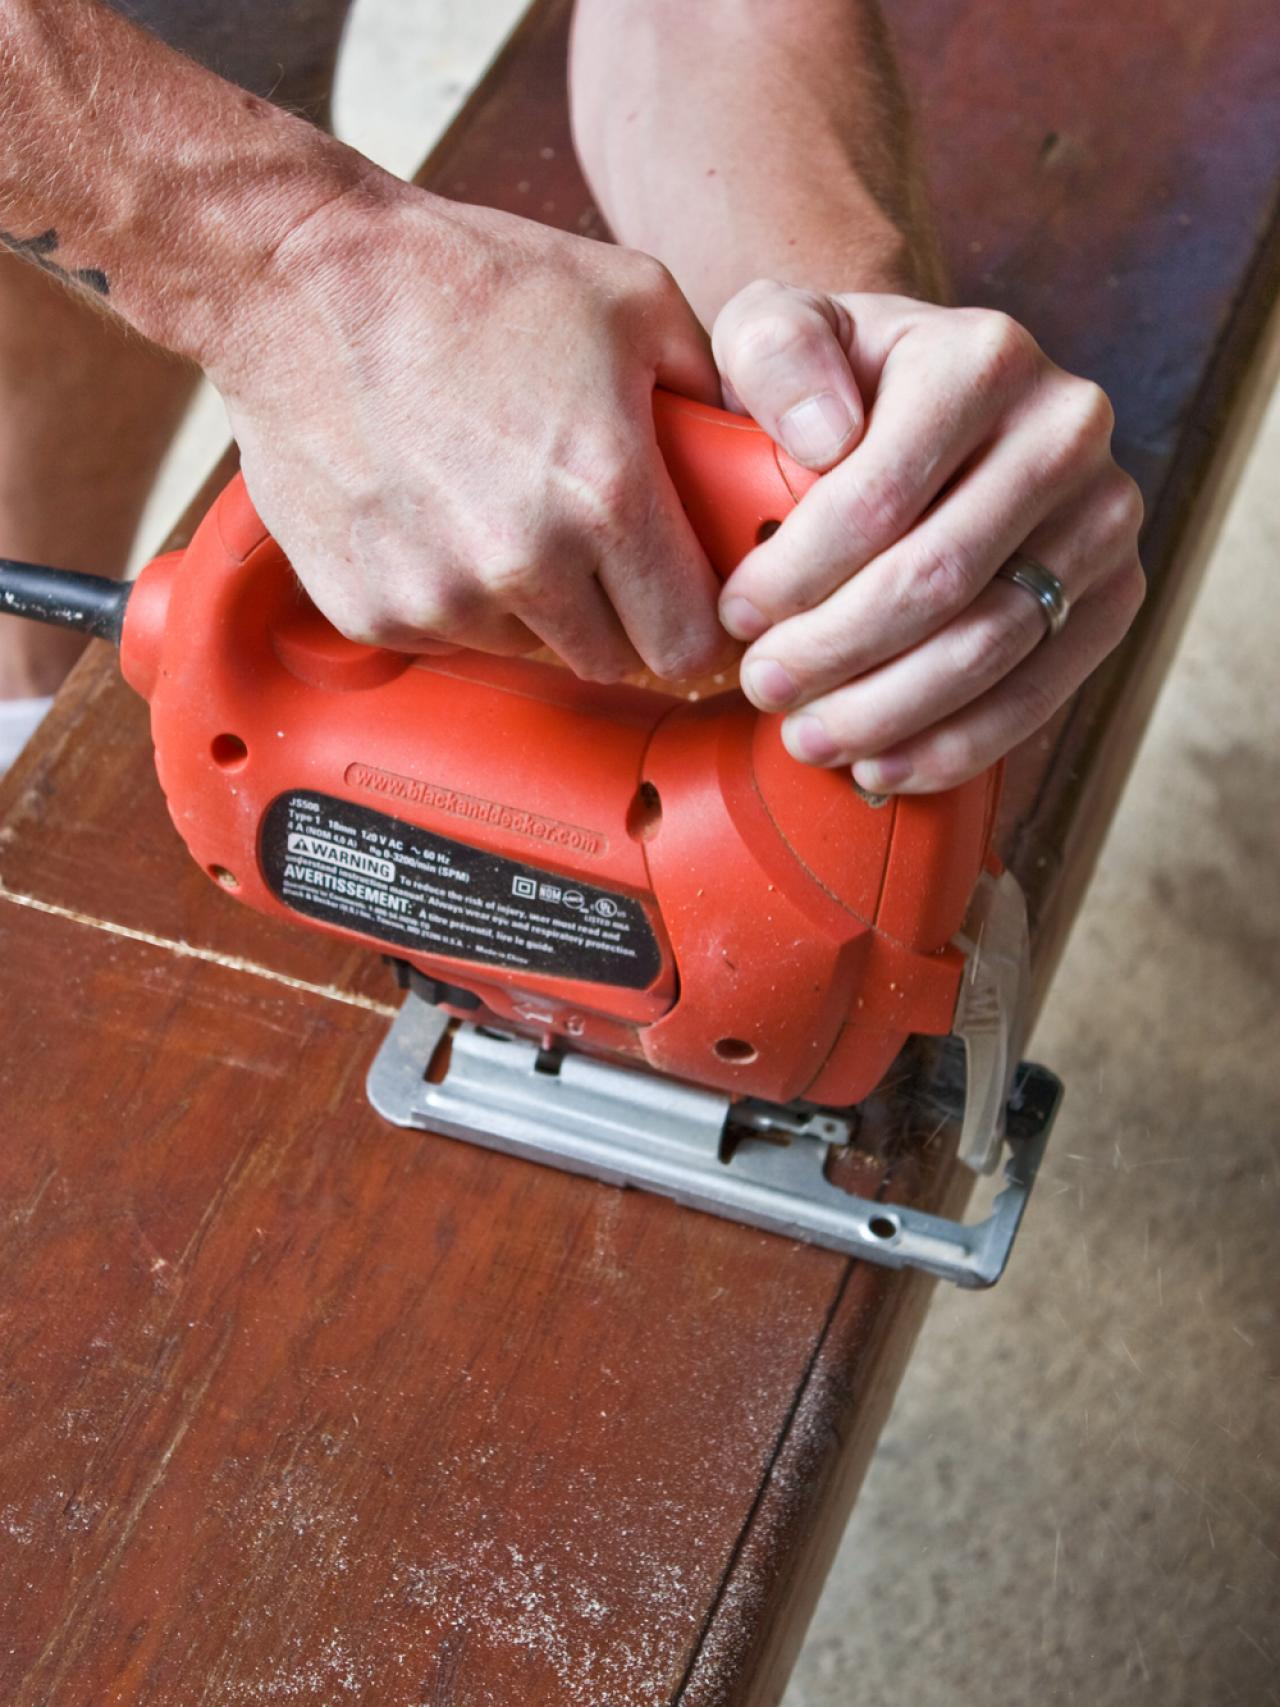
Cut the Bench
Put on protective eyewear and use a jigsaw to carefully cut the bench in half. Make sure the blade continues to follow the pencil line all the way across.

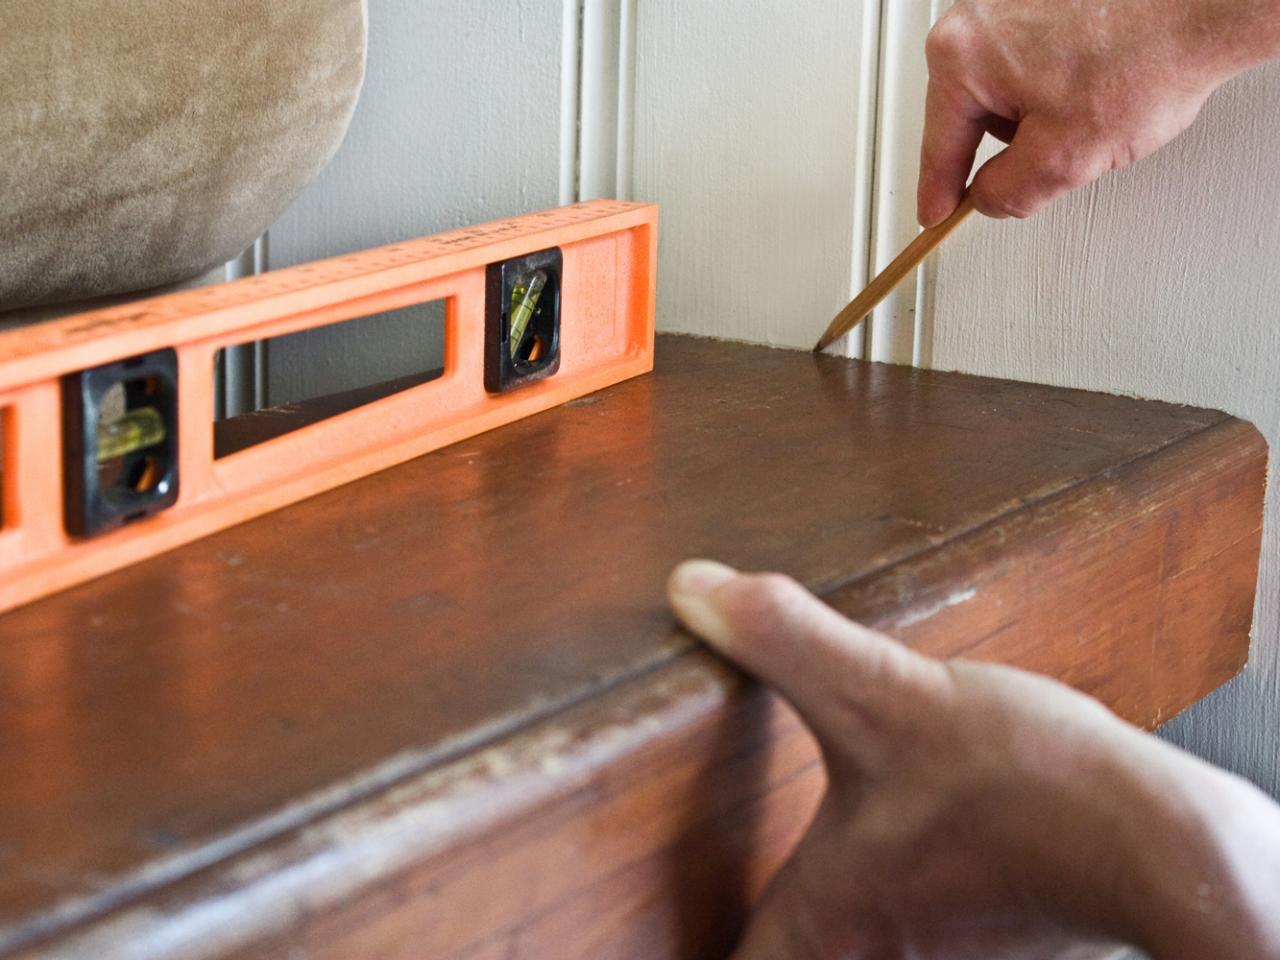
Mark Bench Position
Using a pencil and a level, draw a line on the wall across the top side of cut edge of the bench.

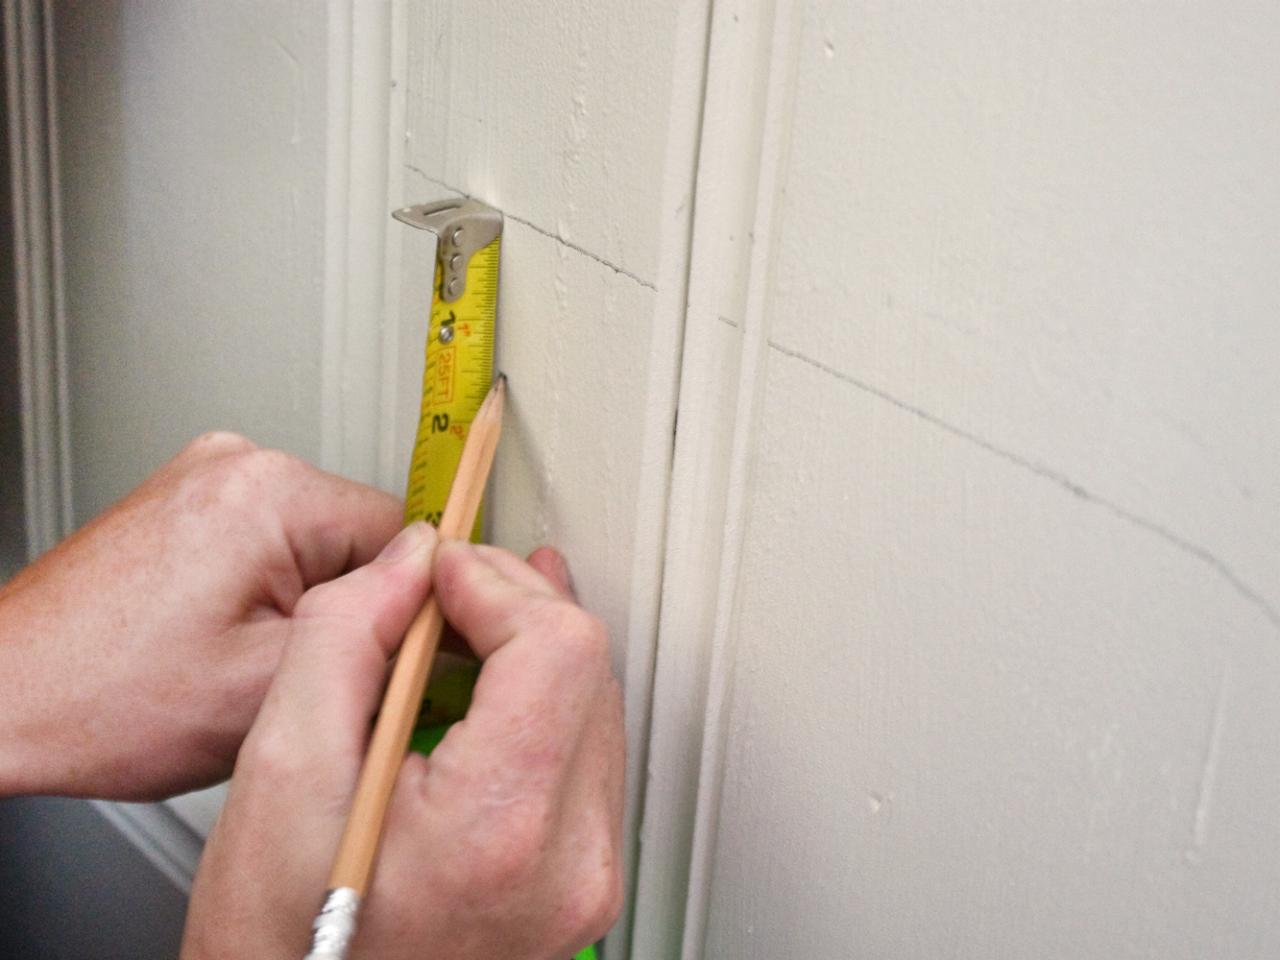
Mark Cleat Position
Make a pencil mark on the wall where the wood cleat will be attached. The easiest way to determine where it should go is to measure the thickness of the bench top because the bottom side of the bench top will sit directly on the wood cleat.

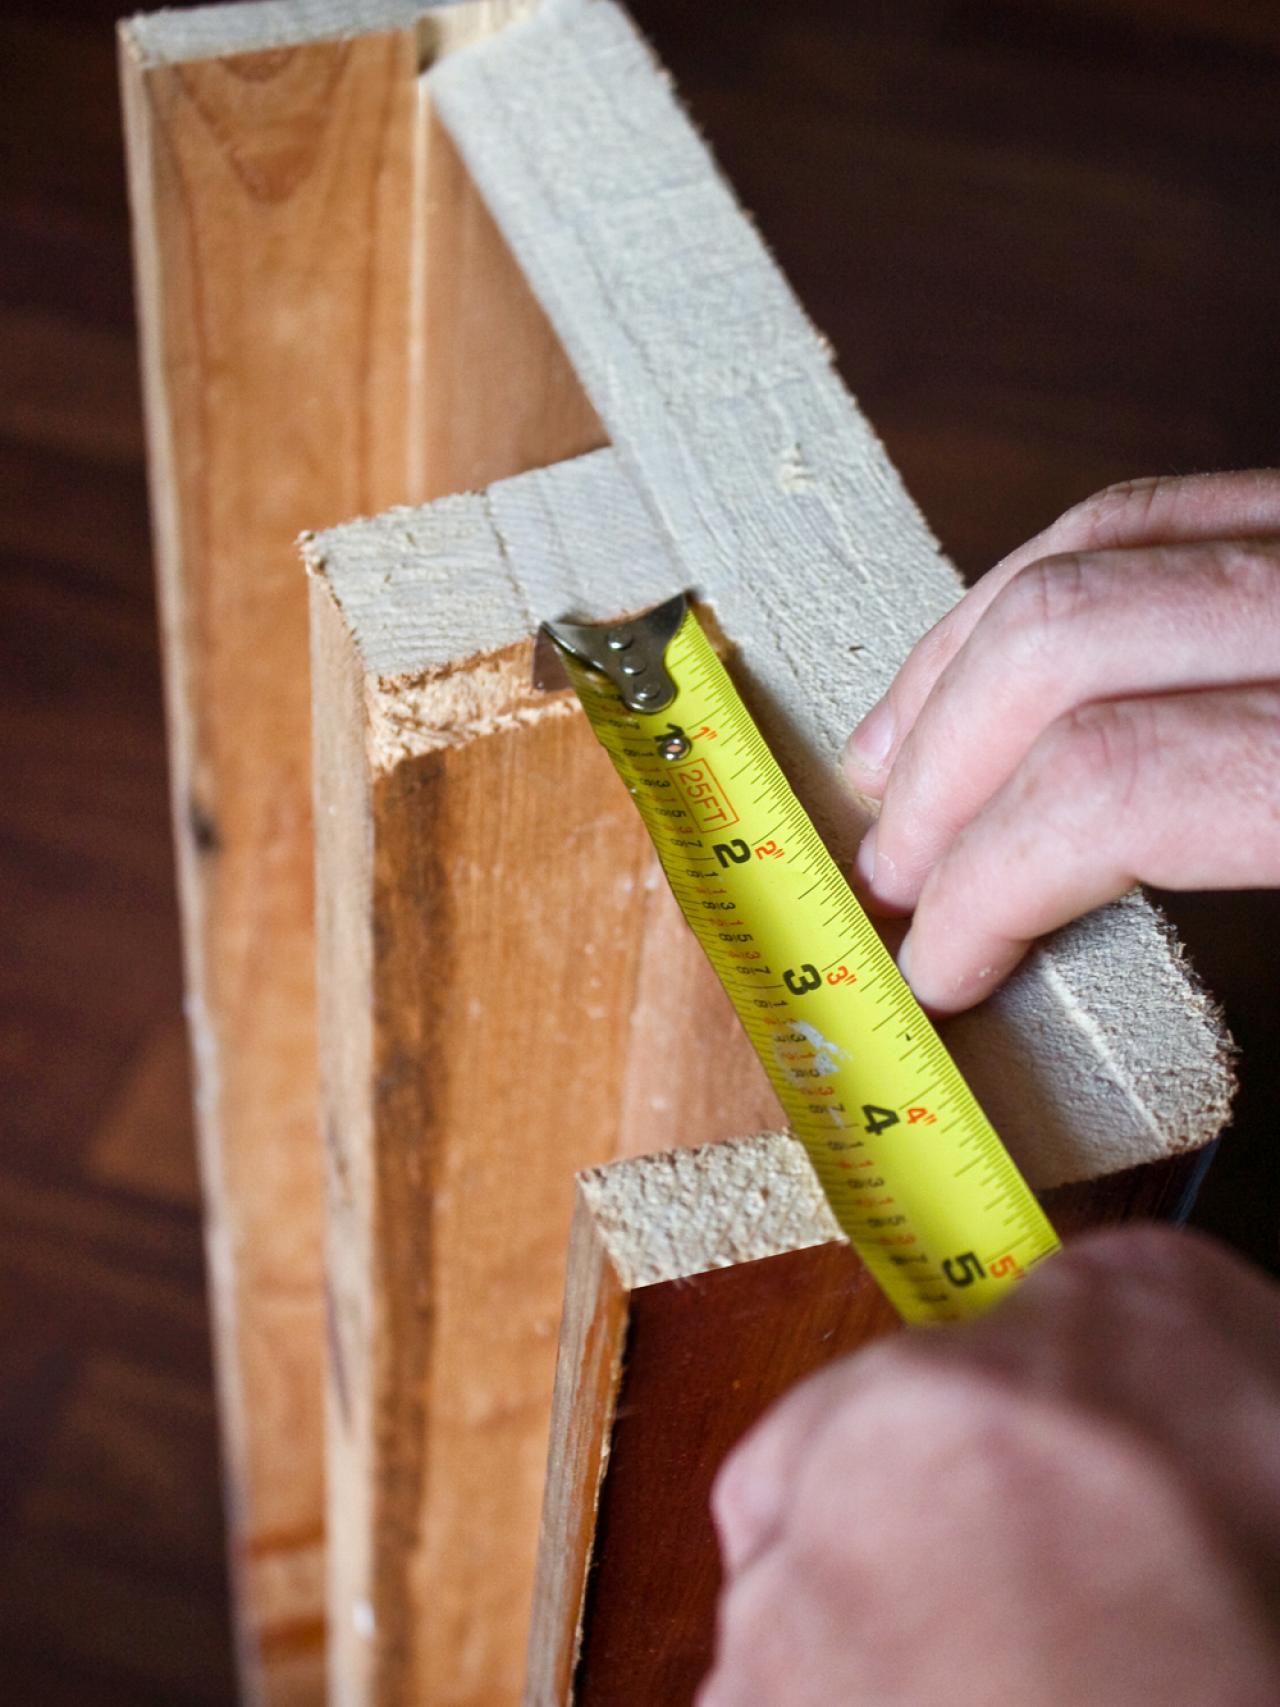
Measure Opening
Flip the bench over and measure the opening on the cut edge of the bench. This measurement will determine what size wood cleat you will need.

Attach Cleat(s)
Attach a small, chunky piece of wood to wall using an electric drill and screwdriver. First, pre-drill a hole, then drive a wood screw through the wood cleat into the wall.

Secure the Bench
To firmly secure the bench to the wall, drive another wood screw down through the top of the bench into the wood cleat below. To hide the screw head, countersink it slightly and cover it with wood putty.


