


Easy-Sew Fabric Pumpkins

Materials Needed:
- fabric (buy new fabric or reuse a shirt, coat or sweater)
- manila folder
- small bag of cotton stuffing
- needle and thread (use an upholstery needle and thread with leather, suede or corduroy)
- faux berries or leaves
Choose Your Fabric
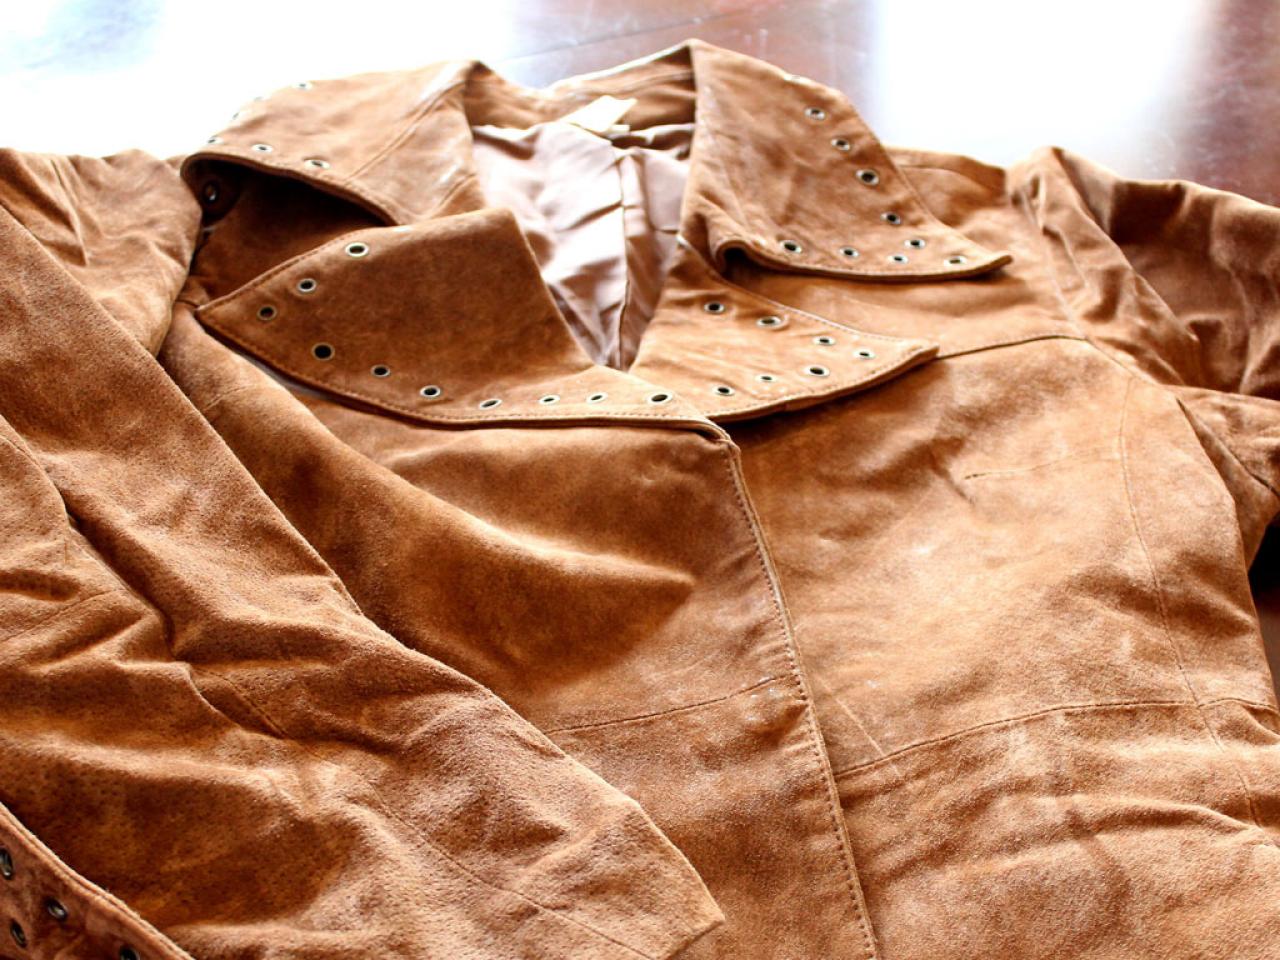
Fabric pumpkins can be created using new fabric or recycled pieces of clothing. Make sure to choose a piece of clothing that has a wide, flat section so there is ample room to lay the template.

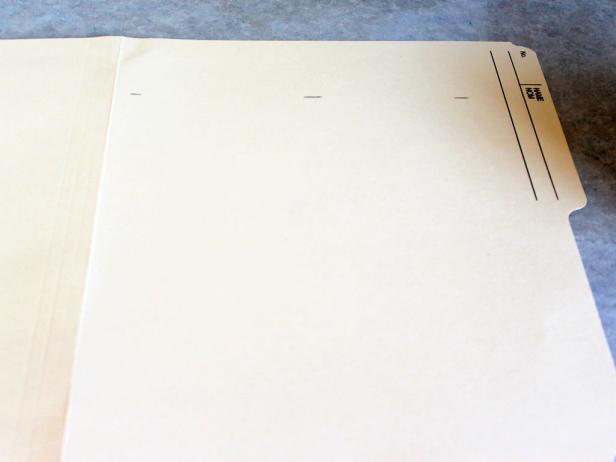
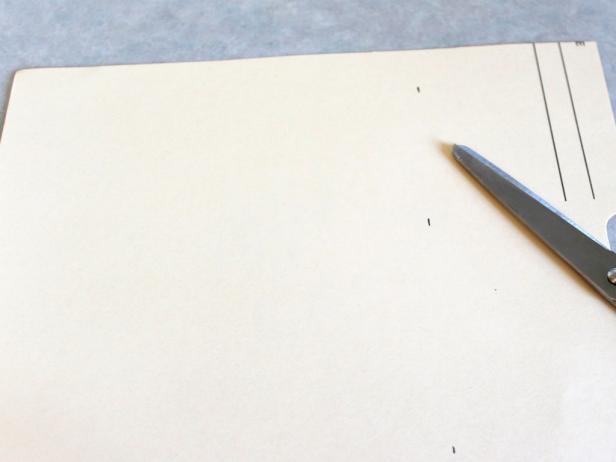
Create a Template
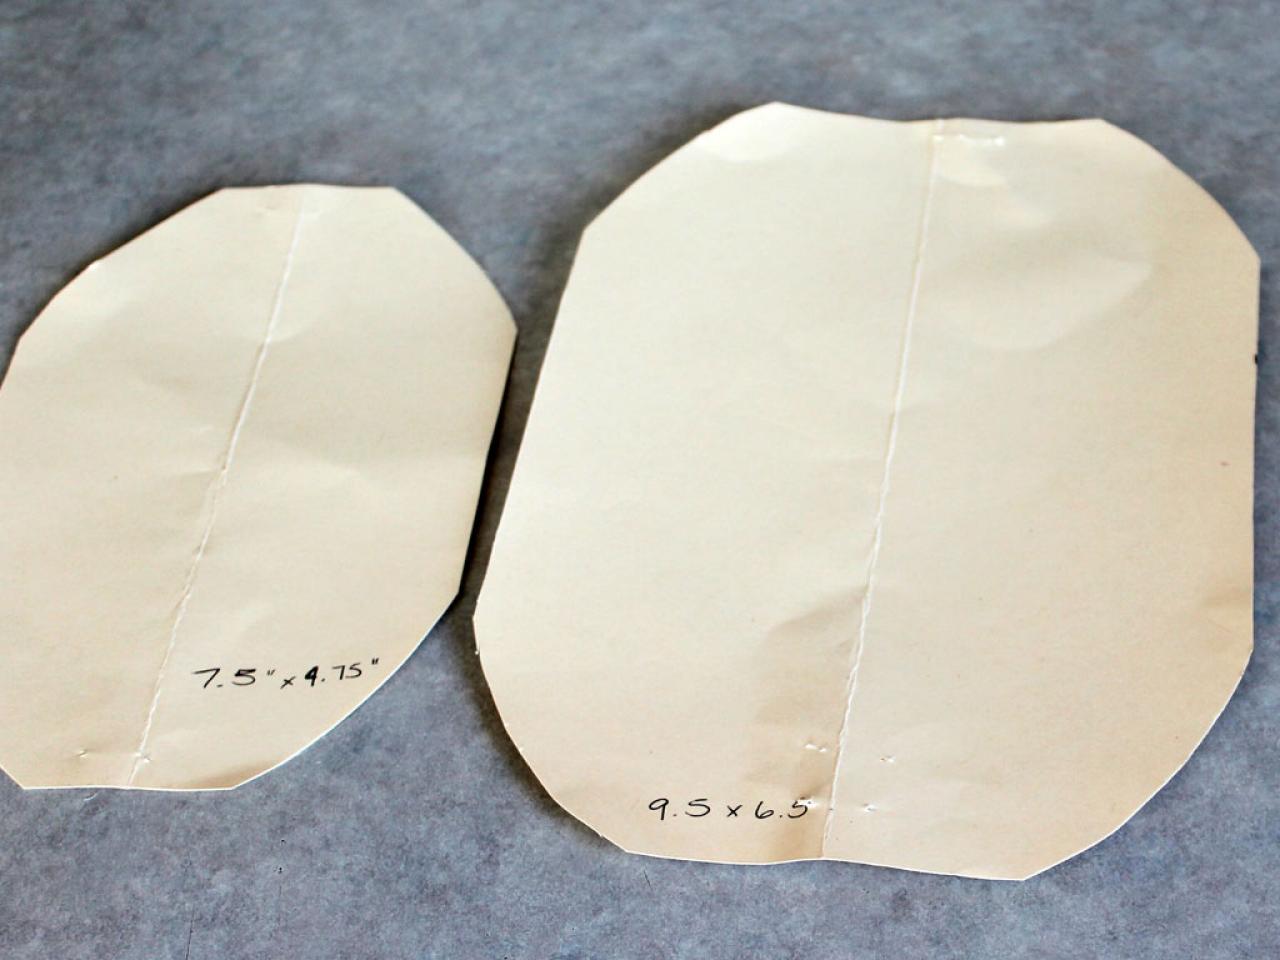
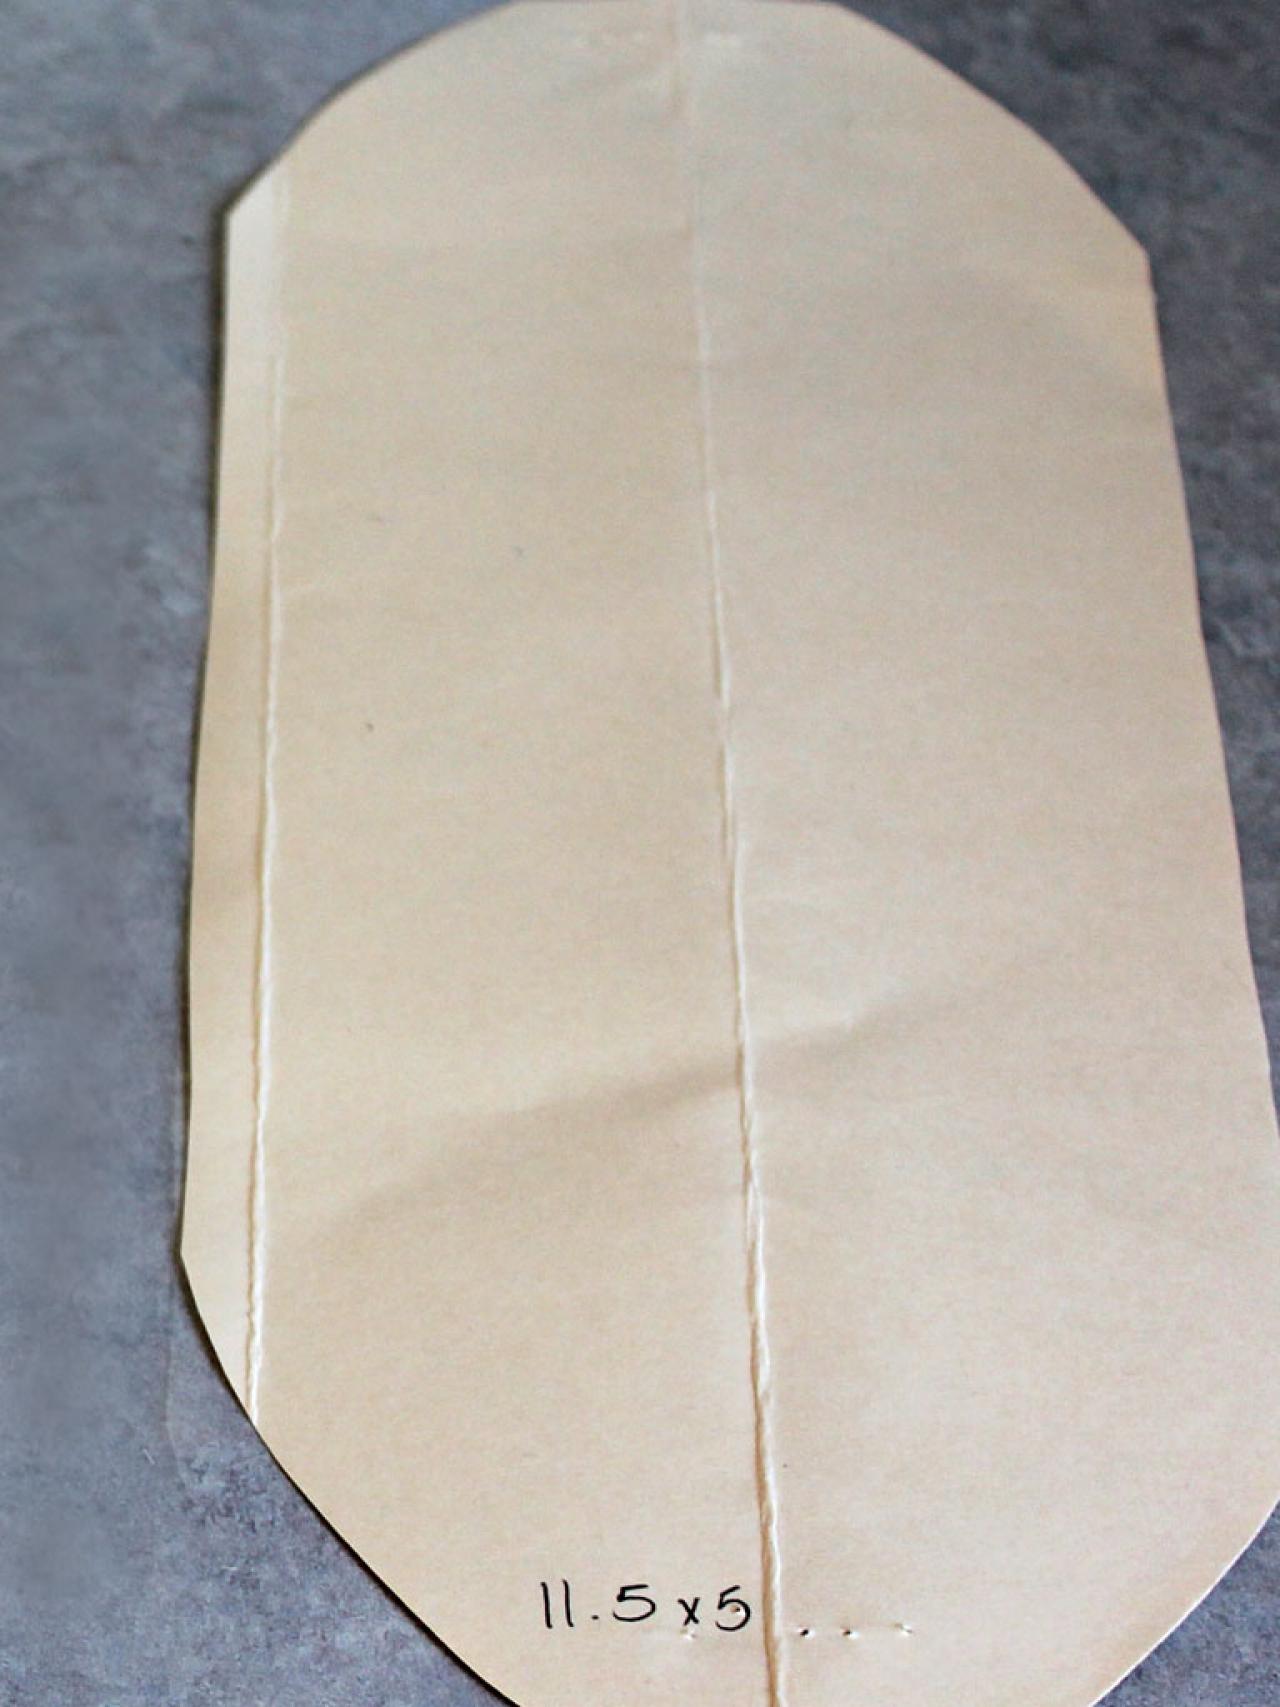
Make a template using a file folder. The template in this picture is for a medium-sized pumpkin at 9.5" long by 6.5" wide. There are two other template sizes: the smallest is 7.5" long by 4.75" wide, the largest is 11.5" x 5". Measure, mark, cut. Then fold your rectangle in half to cut the corners, making them rounded. (It doesn't have to be exact.)
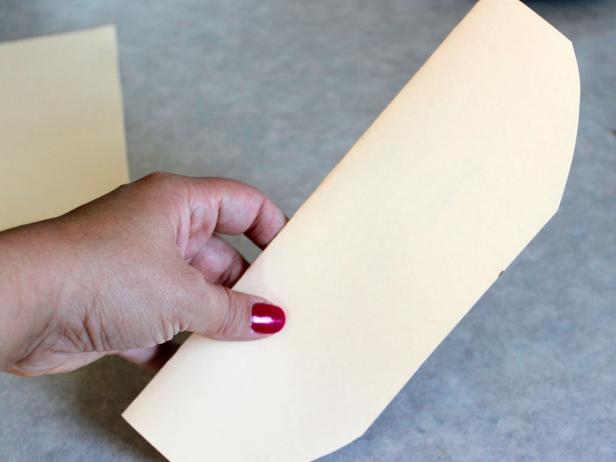


Cut Out Fabric
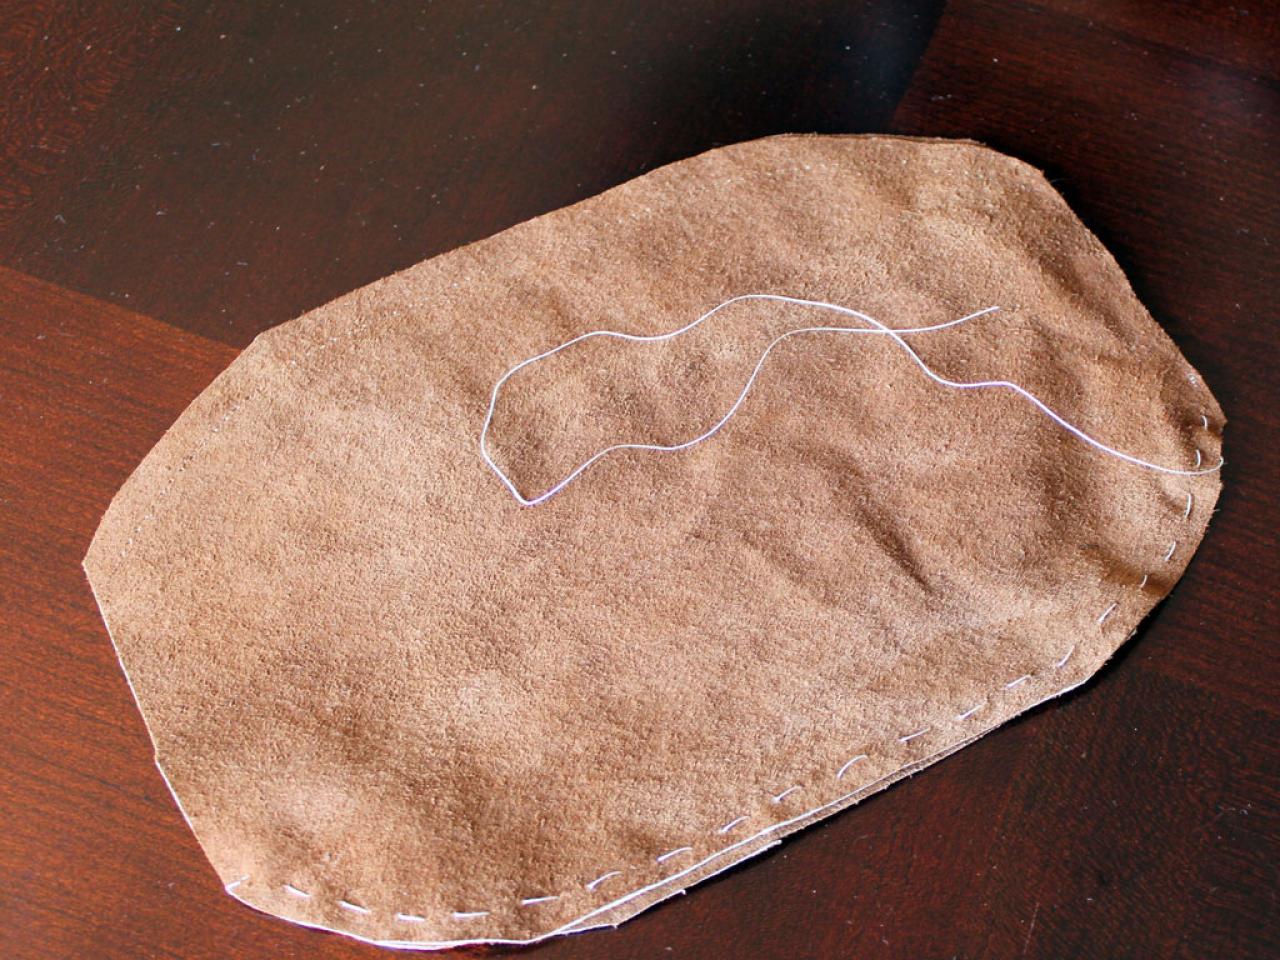
Pin the template to the fabric and cut out six pieces. (On cotton and similarly soft fabrics, do an accordion fold and cut out several pieces at once.) Since suede has a "nap," make sure to lay the pieces out with the nap going in the same direction. Same goes for corduroy and velvet.

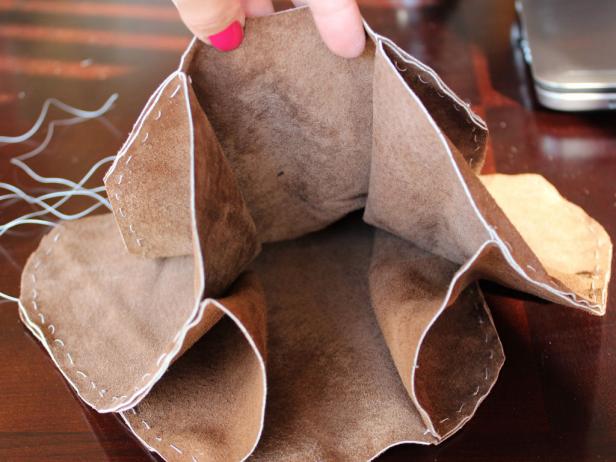
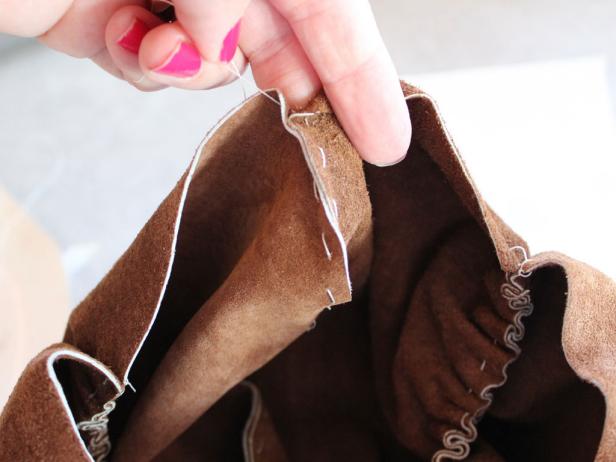
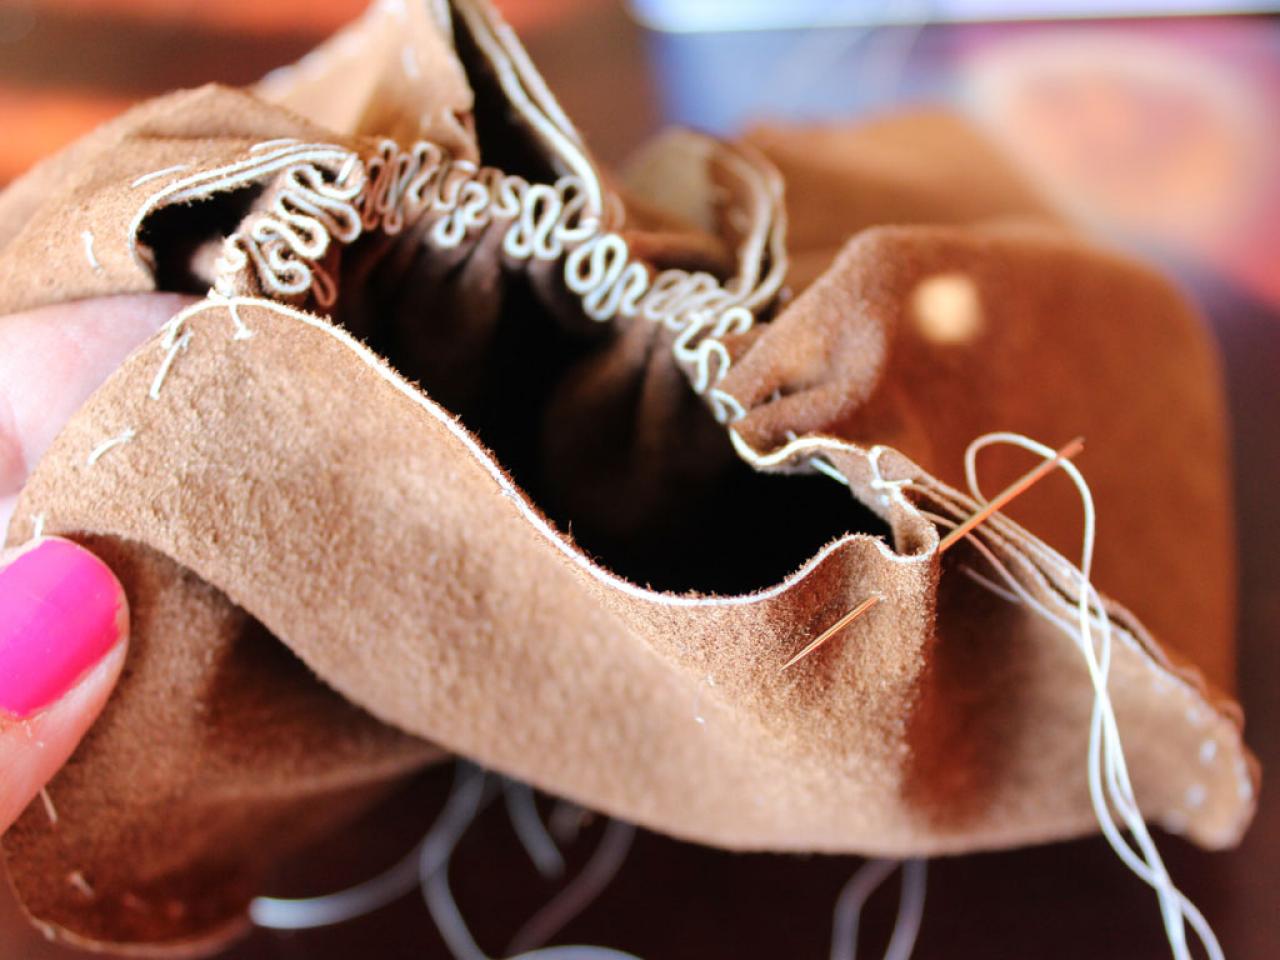
Start Stitching
Now lay the "right" sides together and stitch up one side. Secure thread on the bottom, but leave the tails at the top without securing to gather the fabric later. Depending on the material (such as suede) either hand-stitch the pumpkin or use a sewing machine to make it even easier. Make sure the stitch length is set at the longest setting.

Put Panels Together
Stitch all the panels together until you end up with a tube. Next, stitch and gather the bottom of the tube. Gather it together as tightly as possible. The pumpkin is starting to take shape. Then start gathering the seams on the panels. Pull on the thread until the sides of the pumpkin are gathered to your liking. Try to keep all the gathered seams even.

Stuff the Pumpkin
Stuff the pumpkin, making sure to get lots of batting into those little "pockets." Cut the pieces of batting and stuff them into the little sections to get them nice and plump, then add more to the center.

Stitch the Pumpkin Top Together
Gather the top of the pumpkin and stitch it together.

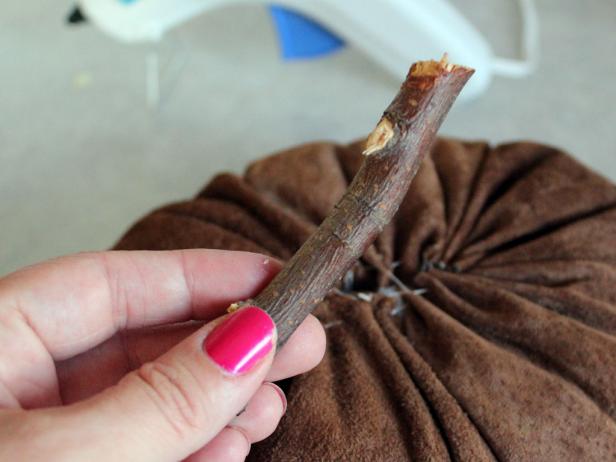
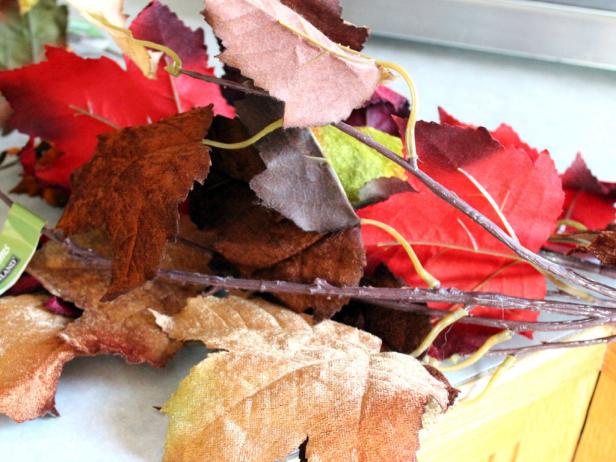
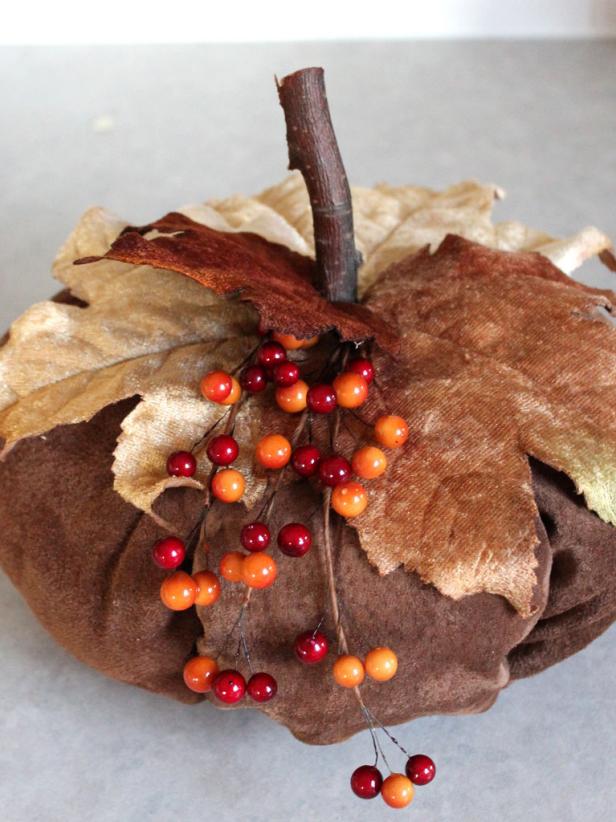
Add Embellishments
Now finish off by adding accessories. You can use a twig from your backyard and cut it down to the desired size. Hot glue the accessories into place over the hole on the top of the pumpkin. Next, add velvet leaves from the craft supply store.


