


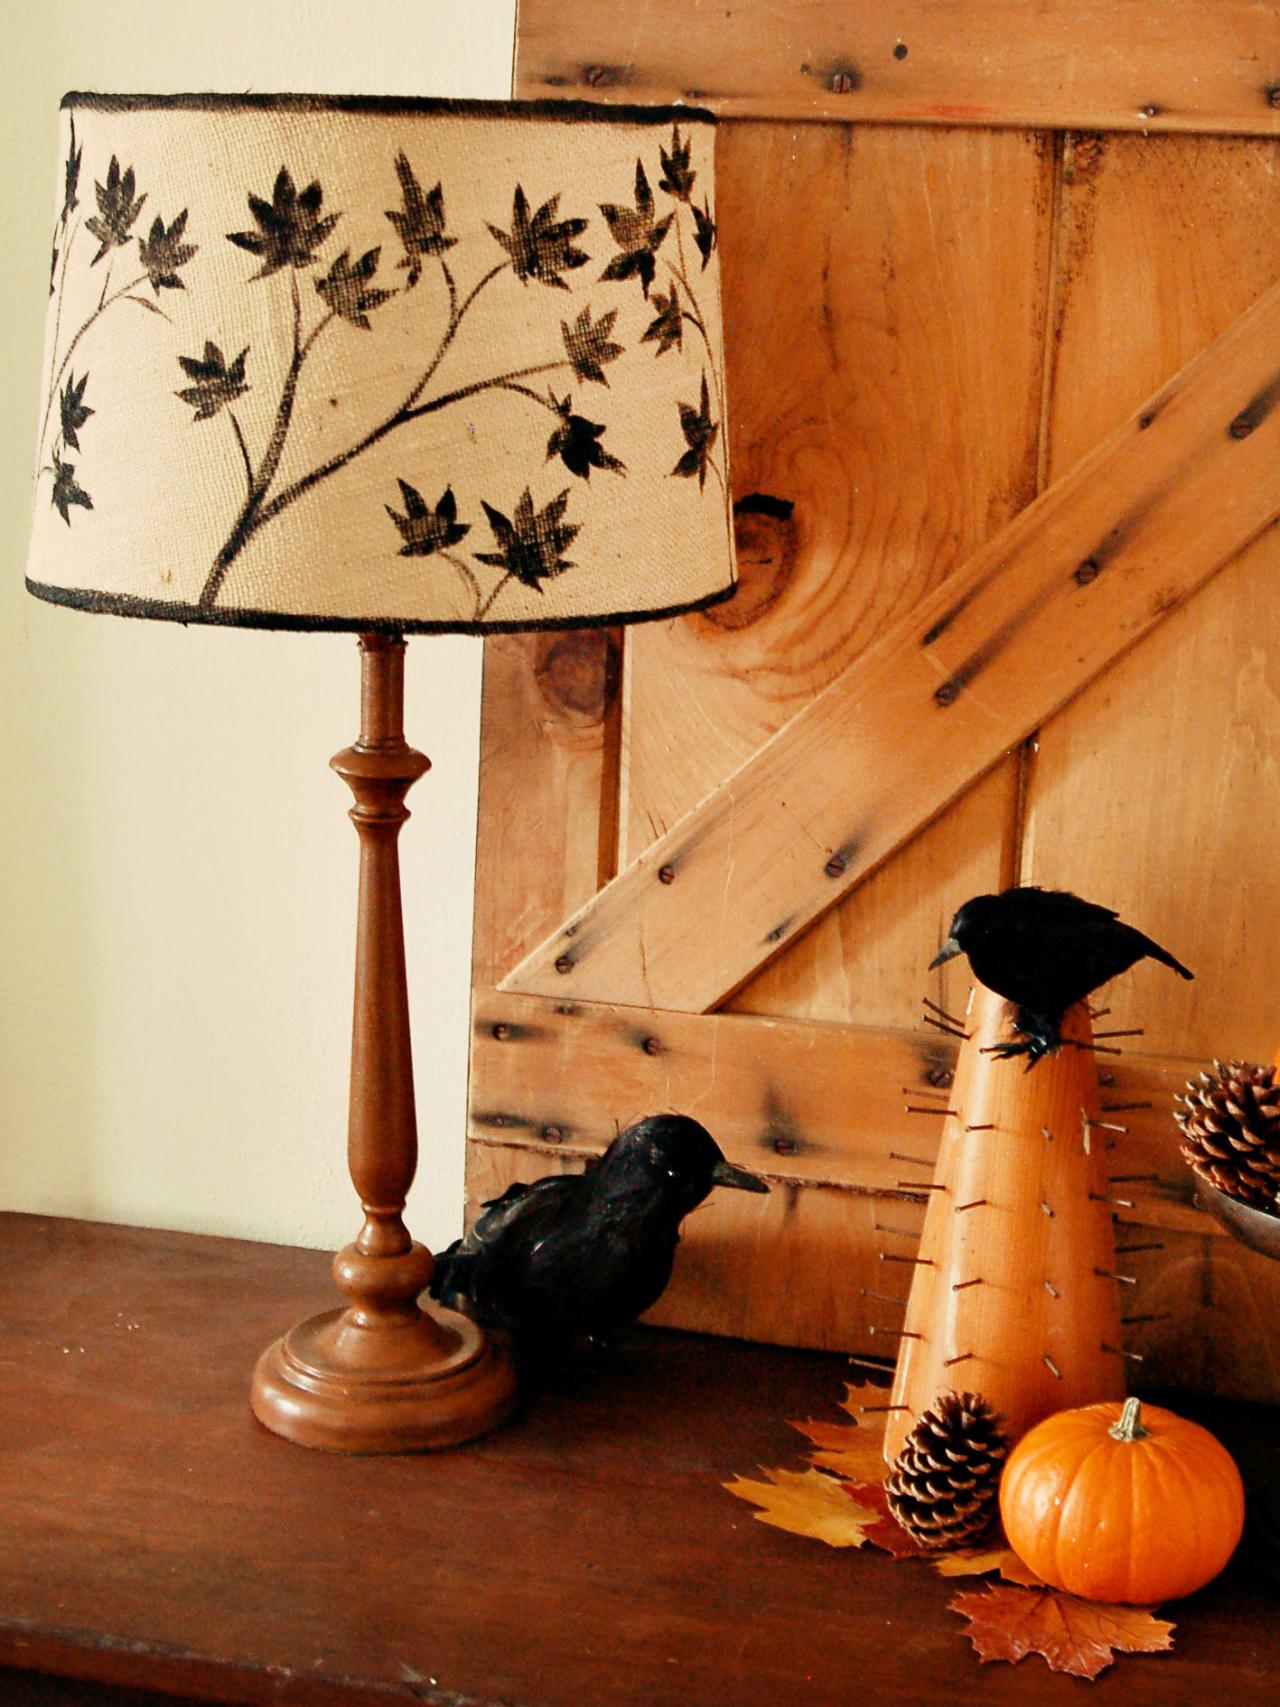
How to Create a Fall Leaf Lampshade

Seasonalize Your Decor
Give a plain lampshade autumnal appeal by stenciling it with fall leaves. Our free printable template makes this project is a snap, even for beginning crafters.

Materials Needed:
- burlap lampshade
- black acrylic paint
- stiff bristle brush
- no. 2 liner artist's brush
- 1" brush
- computer
- printer
- printer paper
- permanent marker
- black plastic stencil
- painter's tape
- craft knife
- cutting board or mat
- Download: Fall Leaf Template
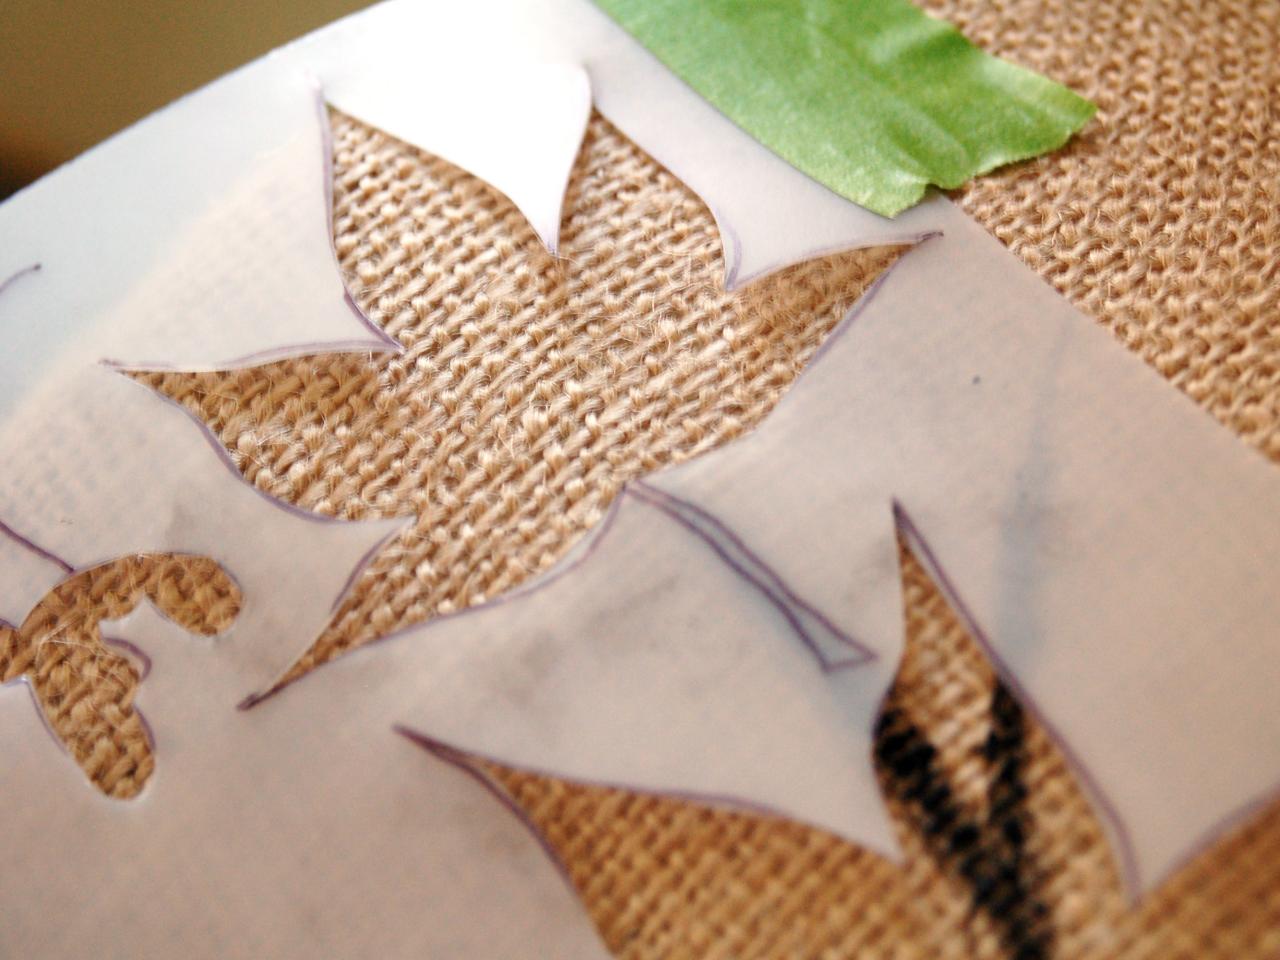
Create Stencil
Print leaf template in 5" x 7" photo format or 8" x 10" for larger leaves. Place blank plastic stencil over printed leaf template and trace design with permanent marker. Tip: Leaf template can be printed in assorted sizes to add variety.

Create Stencil
Print leaf template in 5" x 7" photo format or 8" x 10" for larger leaves. Place blank plastic stencil over printed leaf template and trace design with permanent marker. Tip: Leaf template can be printed in assorted sizes to add variety.
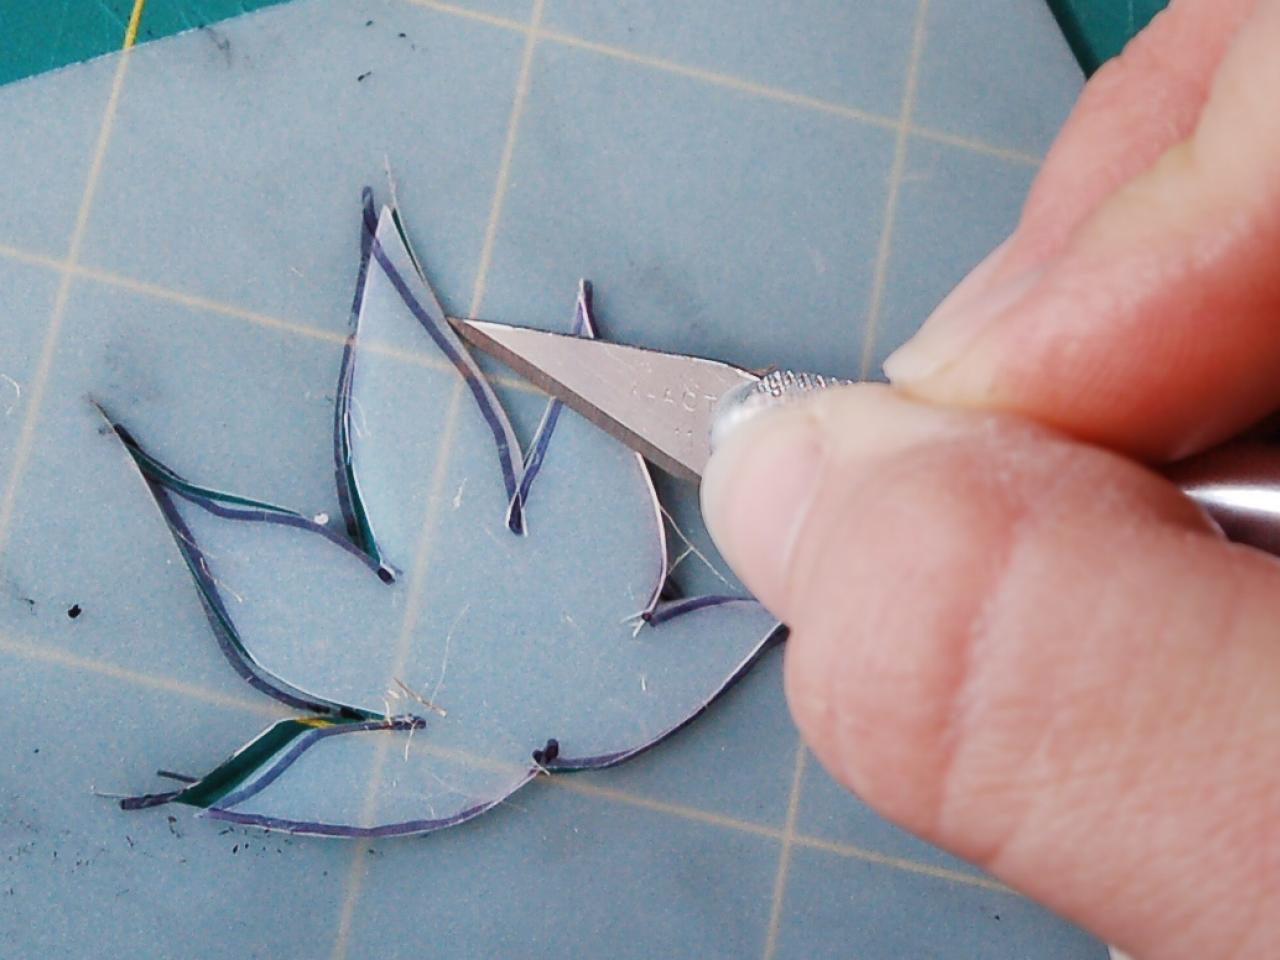
Cut Stencil
Use a sharp craft knife and cutting mat or board to cut leaf shapes out of template. Cutting stems is optional.

Cut Stencil
Use a sharp craft knife and cutting mat or board to cut leaf shapes out of template. Cutting stems is optional.
Paint Branches
Paint branches around shade using a no. 2 liner artist's brush and allow paint to dry. Tip: Look at a tree in your yard, or a photo, and use the branch pattern as a guide.

Paint Branches
Paint branches around shade using a no. 2 liner artist's brush and allow paint to dry. Tip: Look at a tree in your yard, or a photo, and use the branch pattern as a guide.
Stencil Leaves
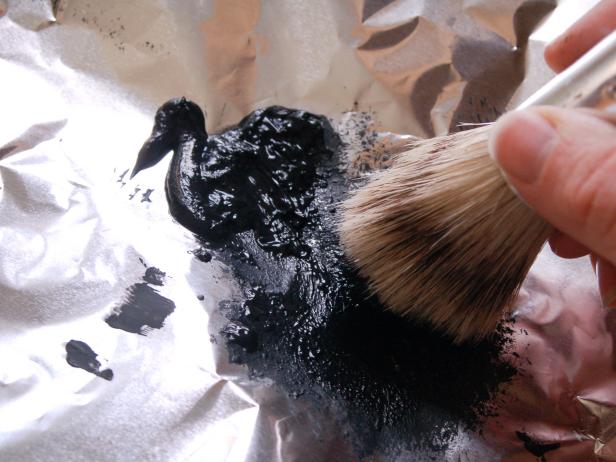
Secure leaf stencil to lampshade with painter's tape (Image 1). Apply acrylic paint to lampshade with stiff bristle brush (Image 2). To ensure clean lines, paint away from stencil edges, blotting the brush on a paper towel prior to painting lampshade (Image 3). For a more natural look, use different sizes and styles of leaves at end of branches. Tip: Rinse and dry stencil between uses to prevent paint from accidentally getting on lampshade.


Paint Stencils
To ensure clean lines, paint away from stencil edges, blotting the brush on a paper towel prior to painting lampshade. For a more natural look, use different sizes and styles of leaves at end of branches. Tip: Rinse and dry stencil between uses to prevent paint from accidentally getting on lampshade
Paint Trim
Tape off a 1/2-inch border on top and bottom of shade. Apply acrylic paint with 1-inch brush. Remove tape, and allow paint to dry.

Paint Trim
Tape off a 1/2-inch border on top and bottom of shade. Apply acrylic paint with 1-inch brush. Remove tape, and allow paint to dry.


