


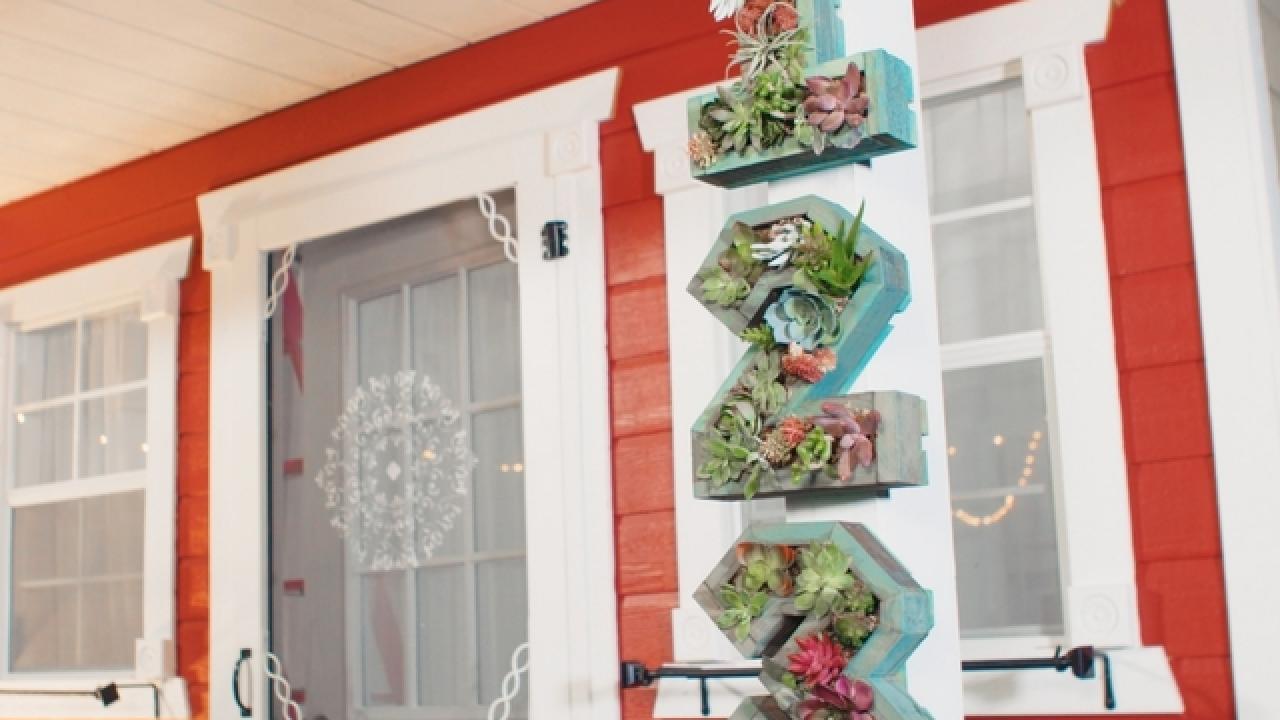
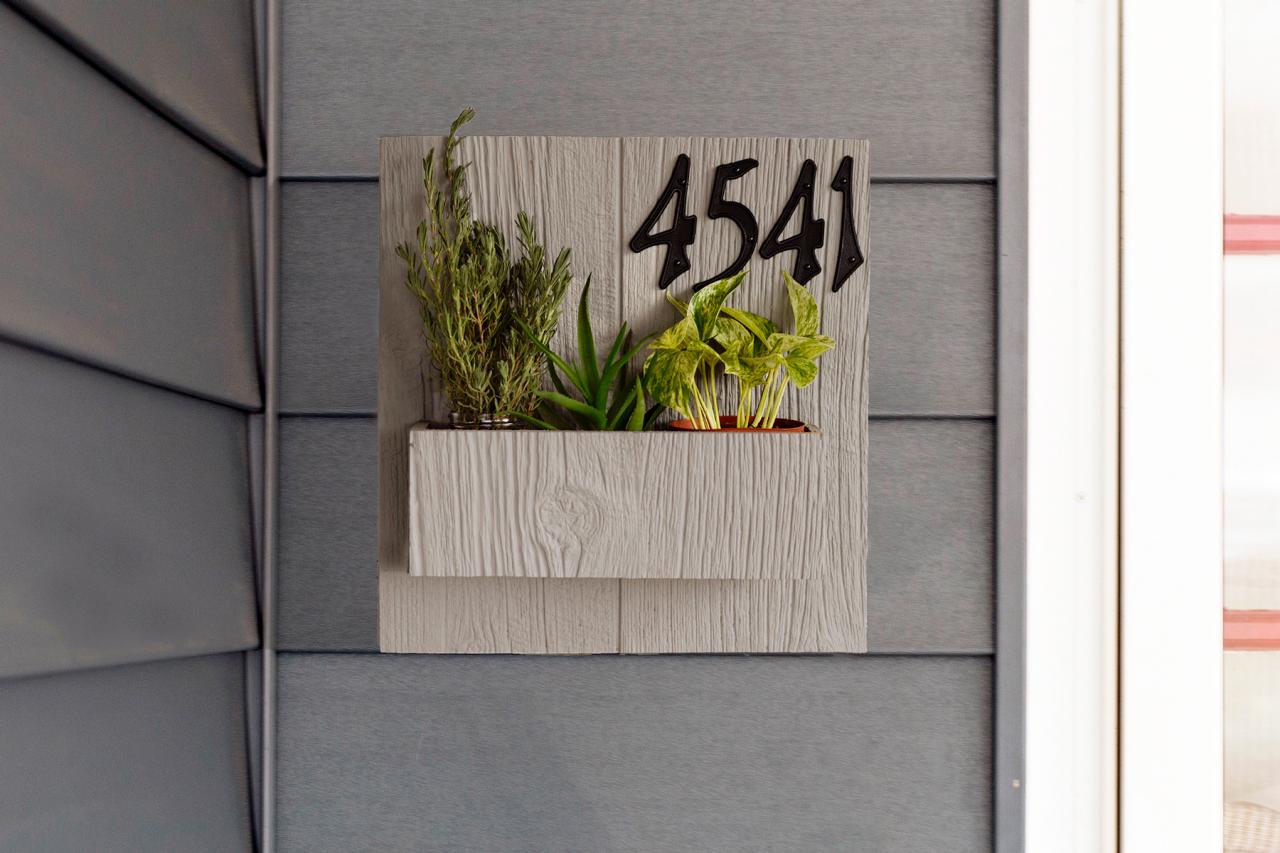
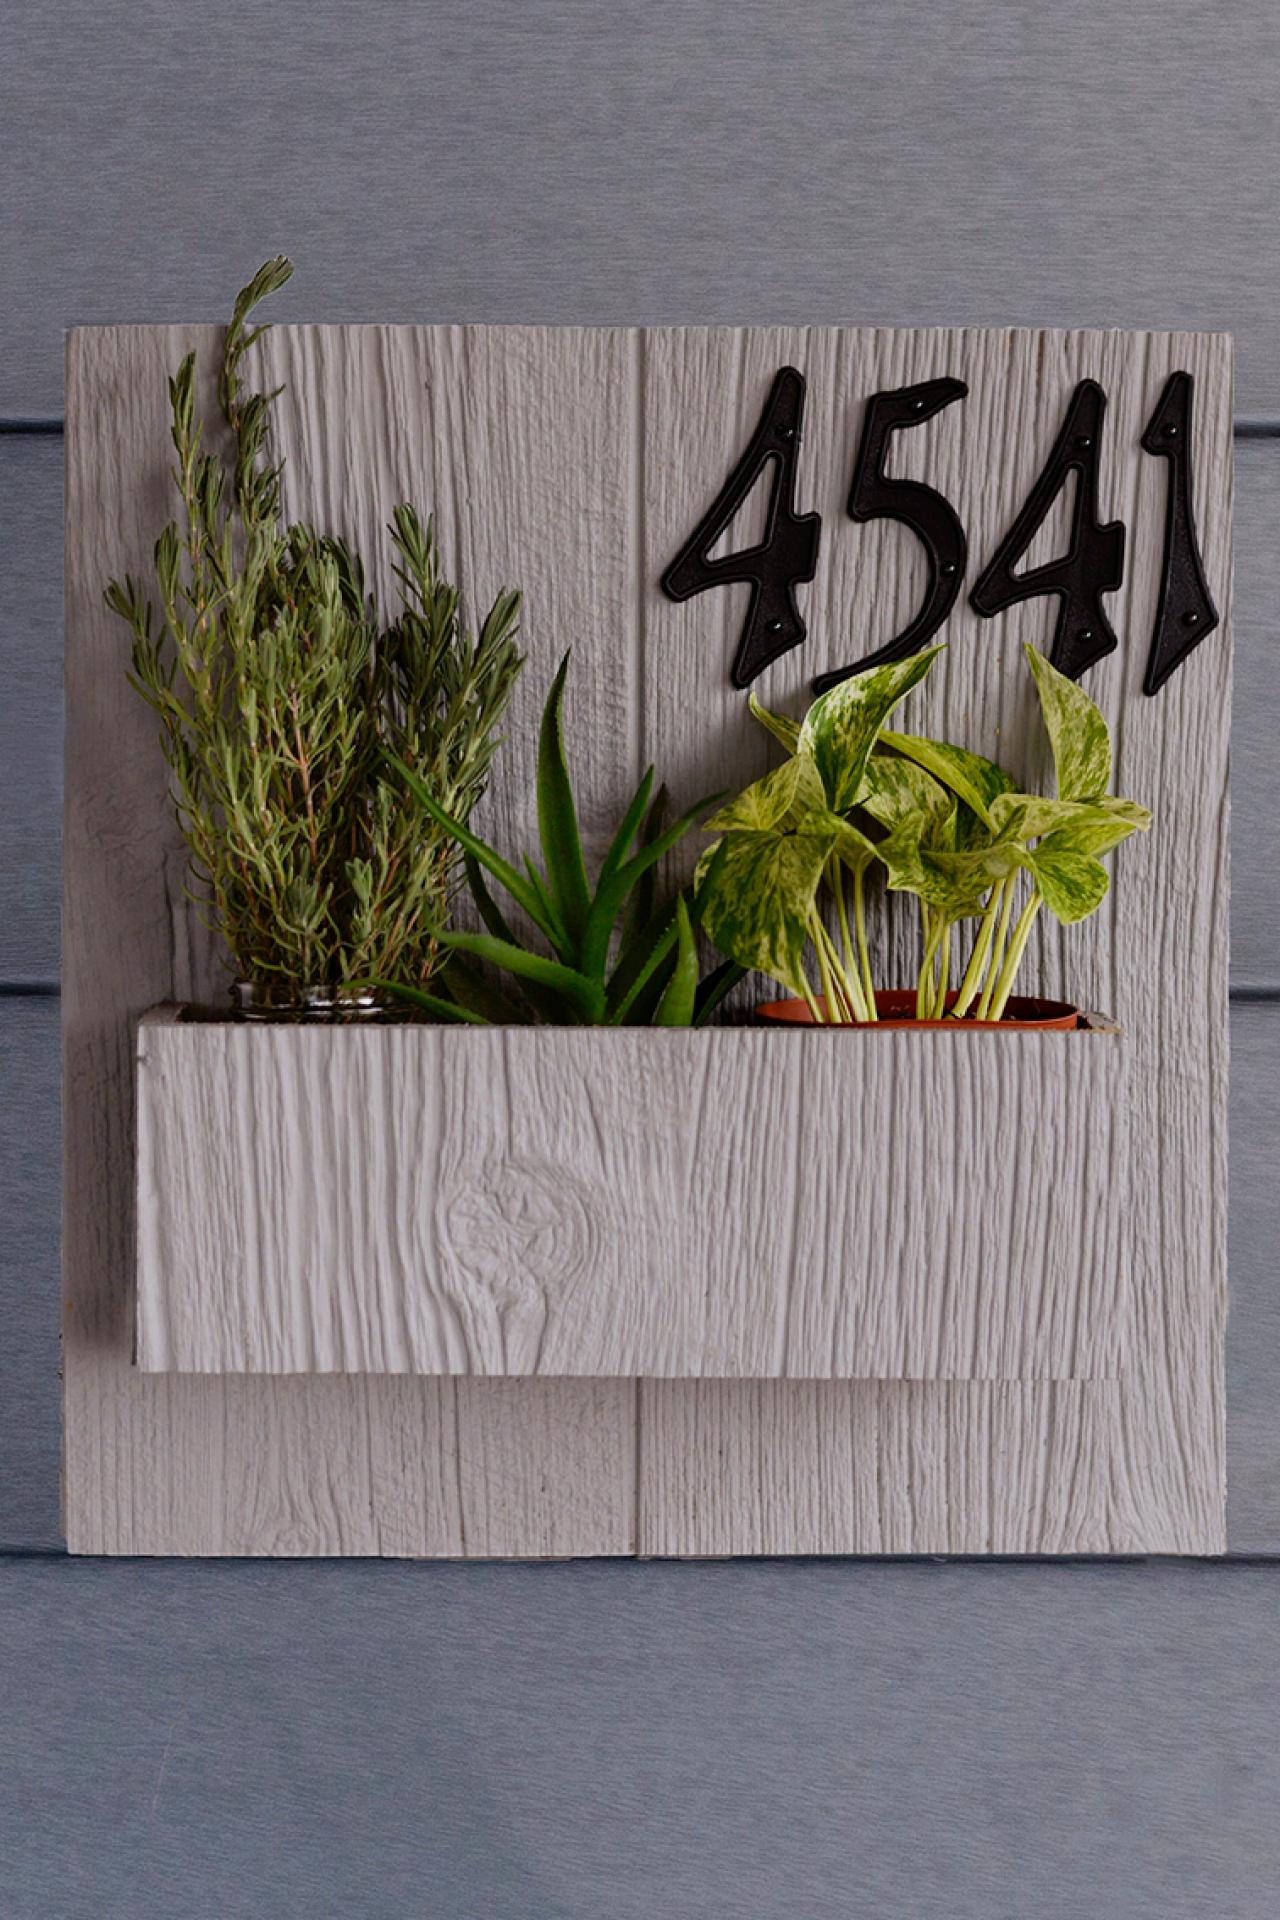
House Sign Planter How-To
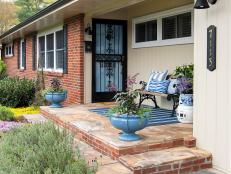
Add a bit of curb appeal with a custom wall planter.


Debbie Wolfe
Barnwood siding was used for the wood.
Wood Materials
- one 16 inch high x 15 ¼ inch wide (backboard)
- one 4 ½ inch high x 12 inch wide (planter front)
- two 4 ½ inch high x 3 ½ inch wide (planter sides)
- one 12 inch pressure treated 1x4 (planter cleat)

Debbie Wolfe
Tools and Hardware
- four 2-inch exterior wood screws
- twelve 1-inch finish nails
- wood glue
- drill
- hammer
- counter sink
- paint and accessories
- tape measure
- clamps

Debbie Wolfe
Any project that allows us to use our stash of wood scraps is a plus. We have serveral pieces of barnwood siding left over from another project that worked perfectly to build this little planter.

Debbie Wolfe
Paint
Paint the backboard and planter pieces and let them dry thoroughly.

Debbie Wolfe

Debbie Wolfe
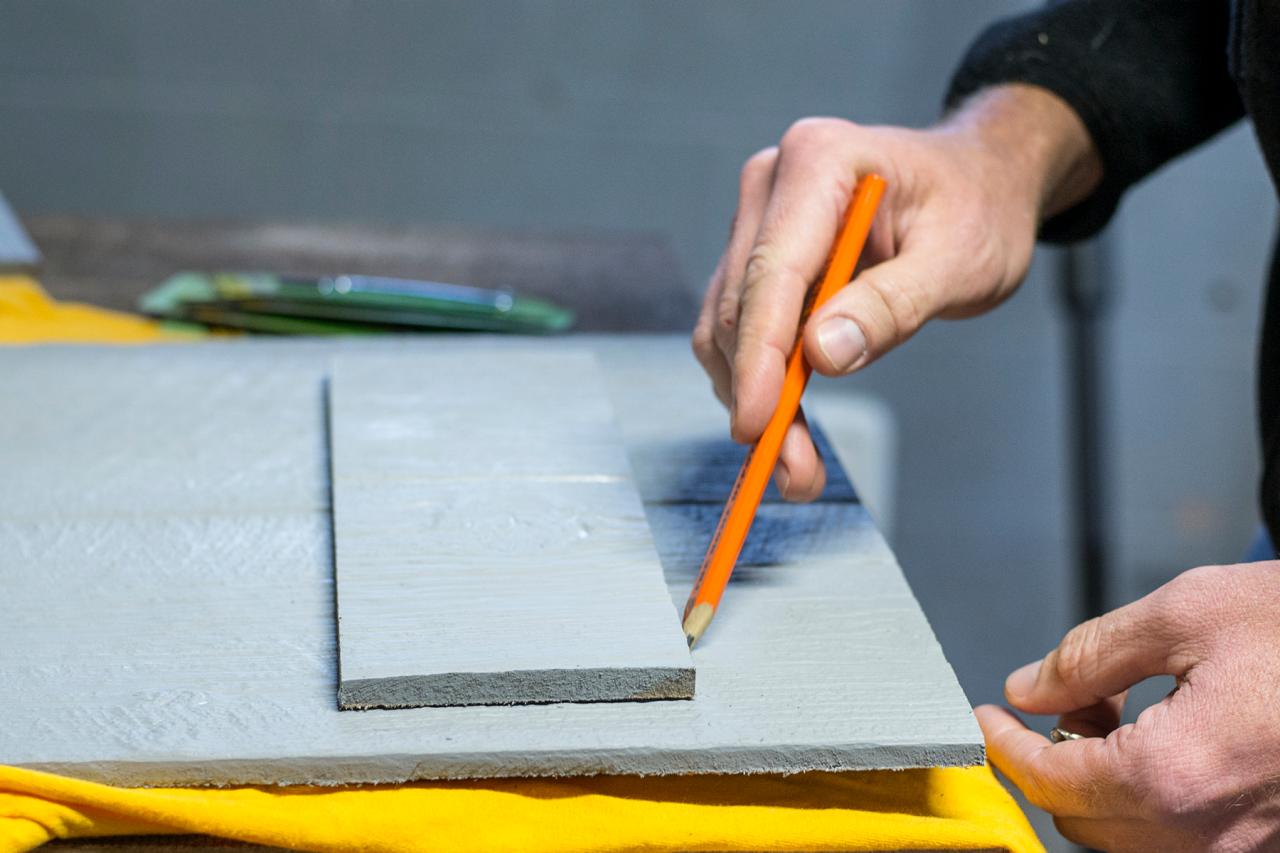
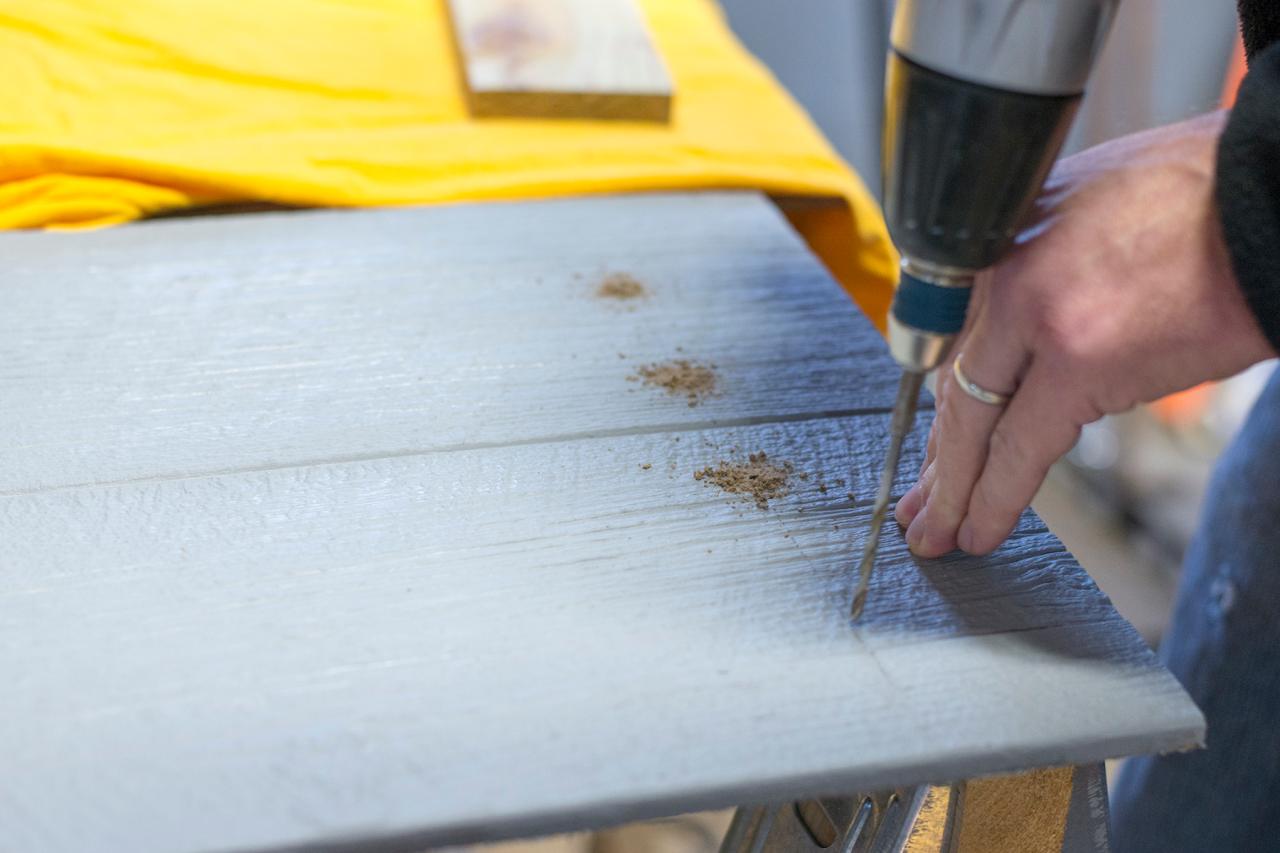
Measure
On the front side of the backboard, draw a straight line from side to side, four inches up from the bottom edge (Image 1). Pre-drill four holes on this line at 2 inches, 5 inches, 9 inches and 12 inches from the right side (Image 2).

Debbie Wolfe

Debbie Wolfe
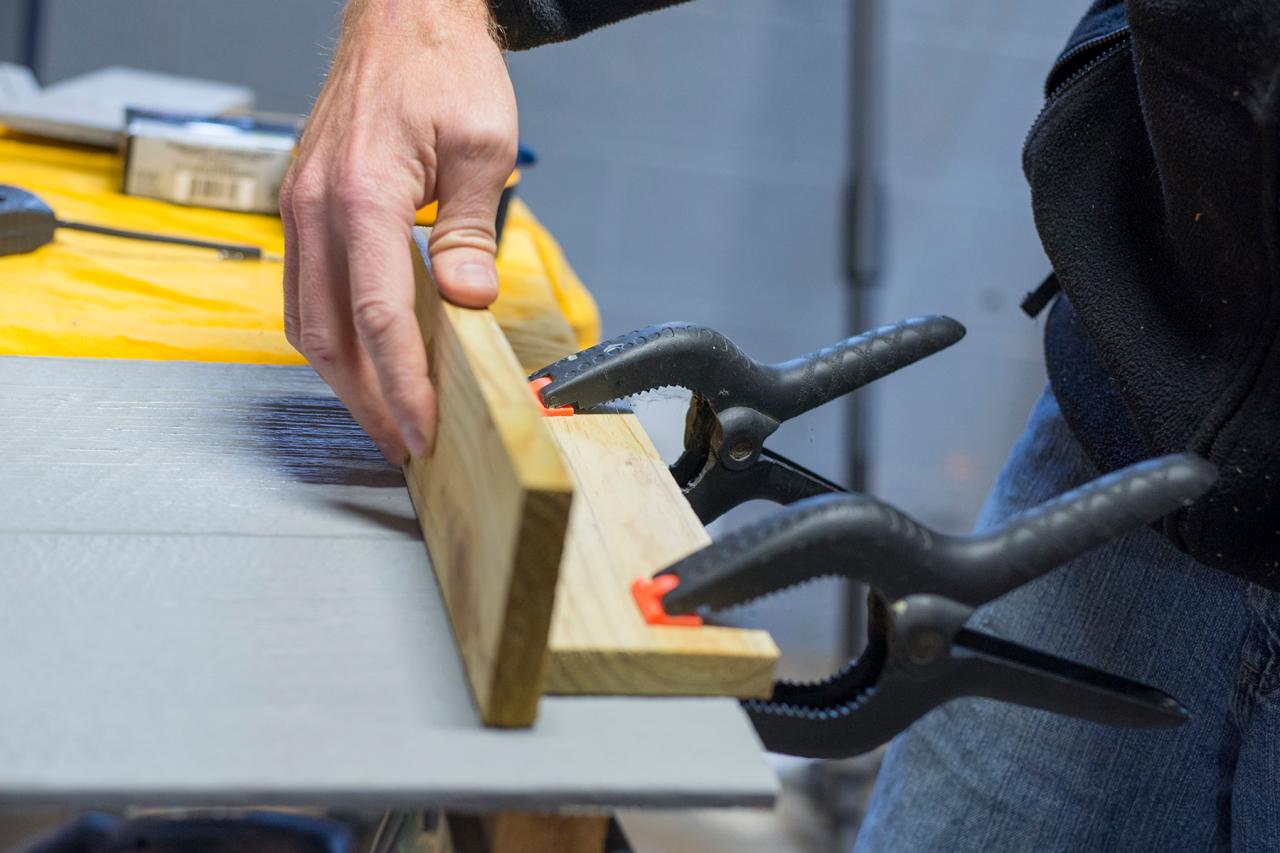
Attach Cleat
Clamp a straight edge on the front side of the backboard, with the top of the edge at 3- 3/4 inches from the bottom edge of the backboard. Use the straight edge as a guide to position the planter cleat (Image 1). Block up the upper portion of the backboard, facedown, on scraps of wood as you position the cleat against the clamped straight edge. Use the 2-inch exterior screws to fasten the cleat to the backboard (Image 2).

Debbie Wolfe

Debbie Wolfe
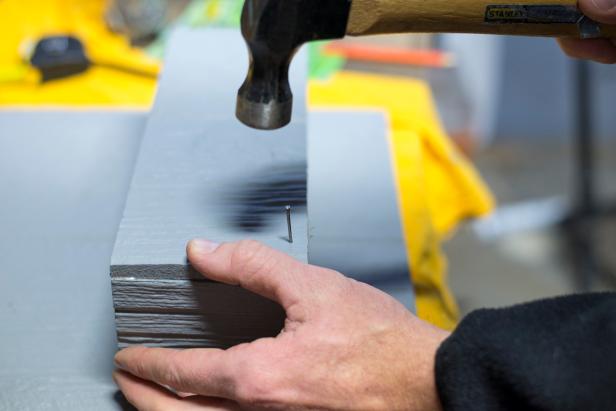
Add Sides
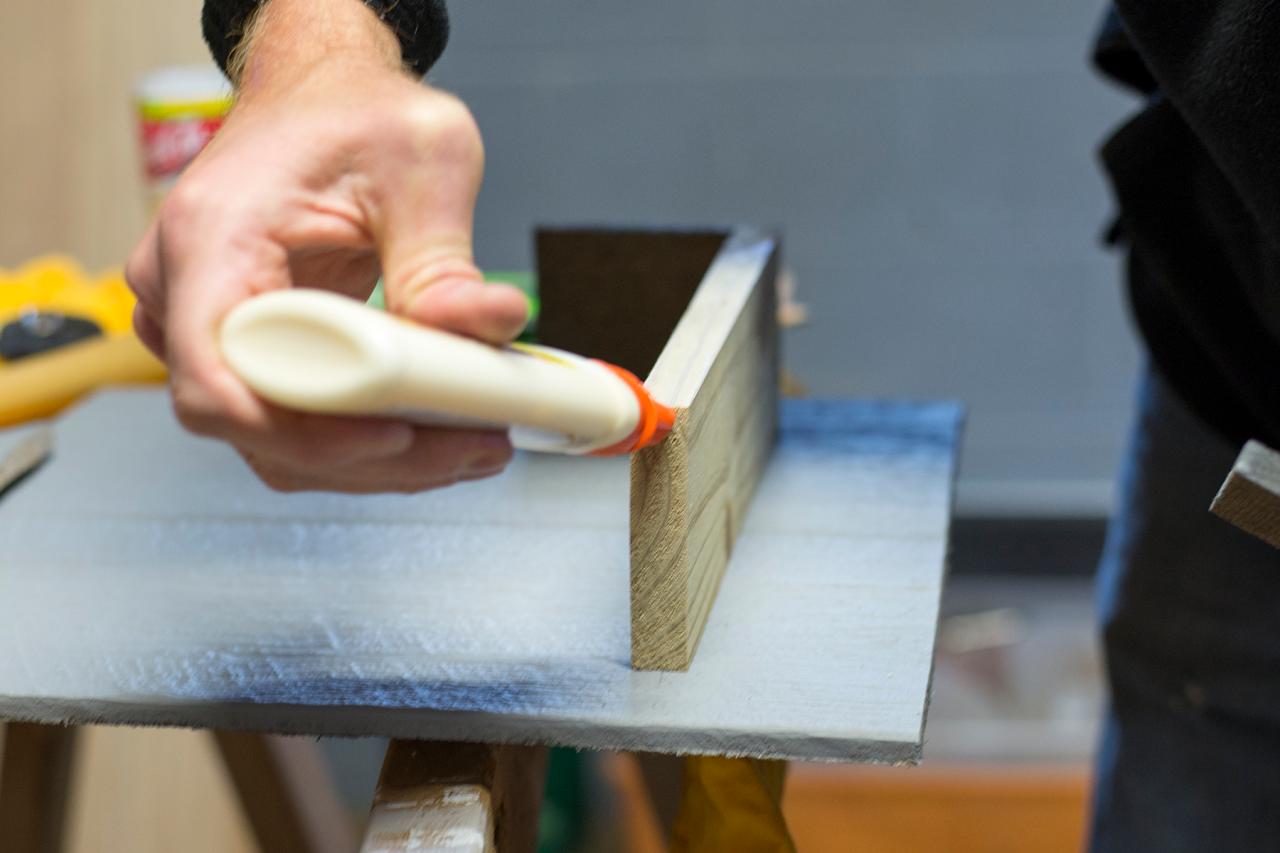
Flip the assembly over, face-up. Pre-drill the holes for the finish nails in the sides (3 holes each) and bottom edge (6 holes) of the planter front, and along the bottoms (3 holes each) of the planter sides. The holes should be evenly spaced and approximately 1/8 inch in from the edges. Place a bead of glue along the backboard and the right end of the cleat where the right planter side will attach (Image 1), use finish nails to attach it (Image 2). Repeat on the left end.
Debbie Wolfe
Debbie Wolfe

Debbie Wolfe
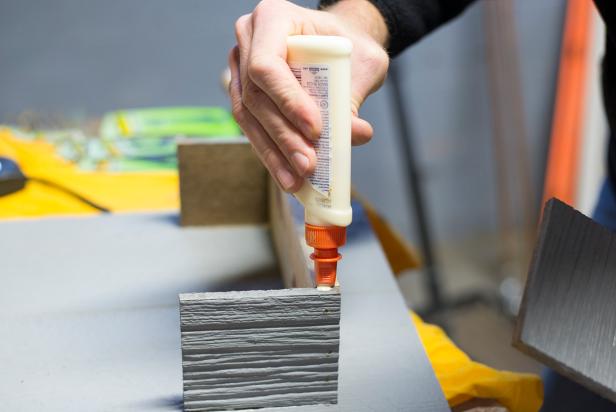
Add Front
Place a bead of glue along the exposed edges of the sides and along the front of the cleat (Image 1), and use finish nails to attach the planter front (Image 2). Use a countersink to hide the nail heads (Image 3).

Debbie Wolfe
Add Numbers
Attach the house numbers with the tops positioned 1 inch below the top edge of the backboard, and offset to one side. Touch up paint as needed.

Debbie Wolfe
Hang
Add plants. For best results, keep plants in a separate plastic liner and insert the liner into the house marker planter.


