


How to Paint and Replant Concrete Planters
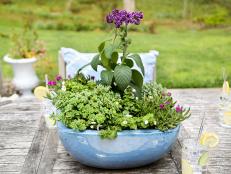
Spring, summer, winter or fall — the easiest way to majorly boost your curb appeal (without splashing major cash) is to give your front porch planters a makeover. Follow our tips to prep the surface for paint, then plant each pot with an eye-catching combo of thriller, spiller and filler.
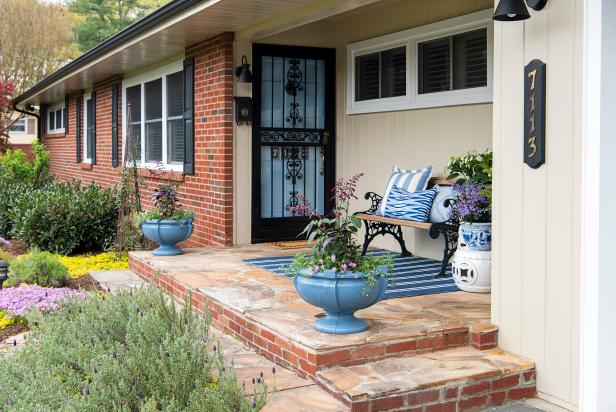

Photo by: Sarah Busby; Styling by H. Camille Smith
Sarah Busby; Styling by H. Camille Smith
Materials Needed
- metal scraper
- wire brush
- drop cloth, newspaper or old shipping cardboard to protect work surface
- exterior paint in the color of your choice
- paintbrush
- potting soil
- trowel
- chosen plants that suit your container’s sun exposure (we used salvia, Persian shield, lobelia and lantana)
- mulch
Protect Work Surface
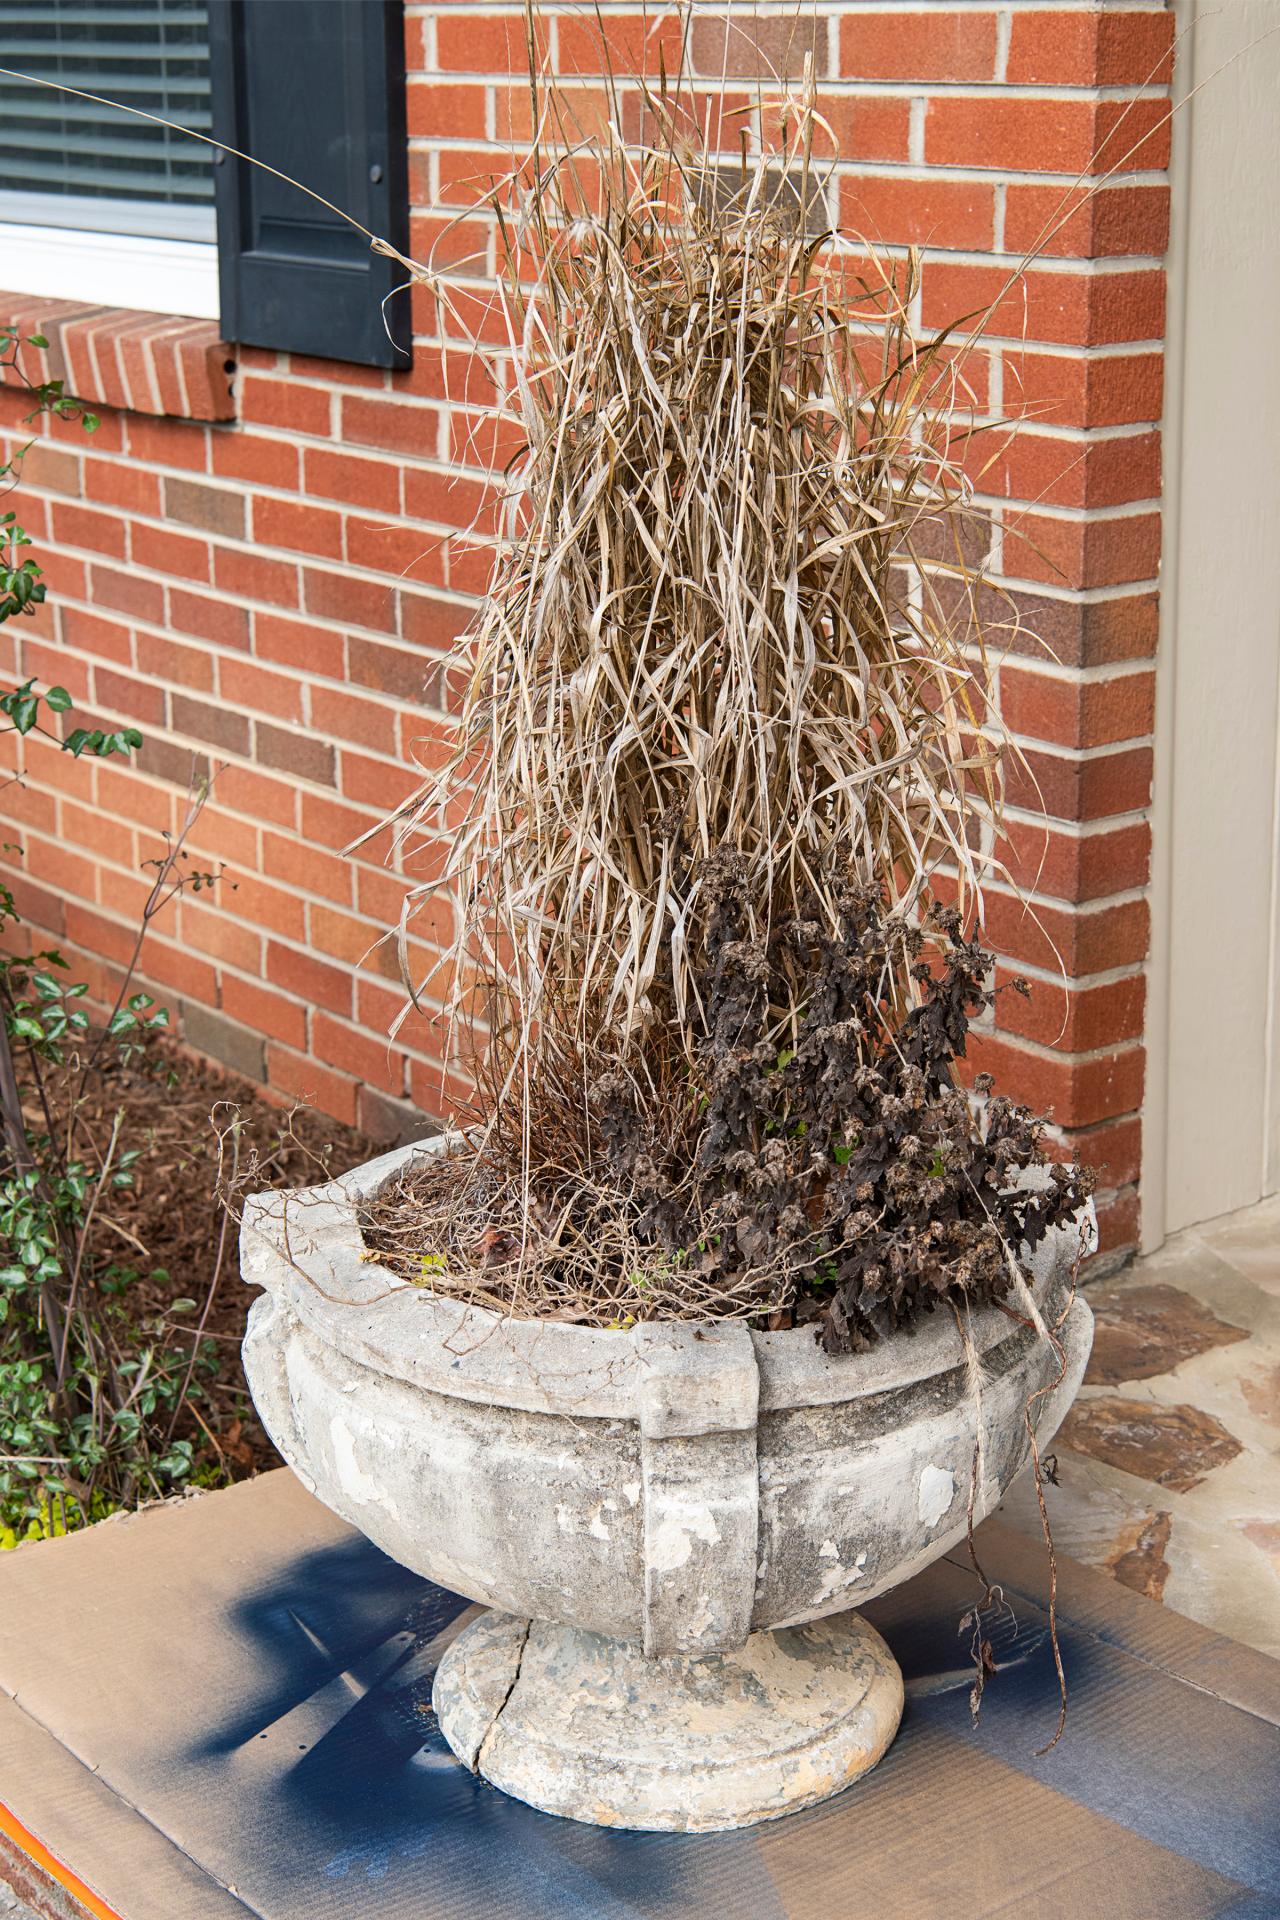
Save yourself the hassle of having to remove paint drips and splatters from your front porch by first maneuvering the planter onto a disposable surface, like a bit of leftover shipping cardboard. Tip: Enlist the help of a friend if the planter is too heavy to move alone.
Sarah Busby
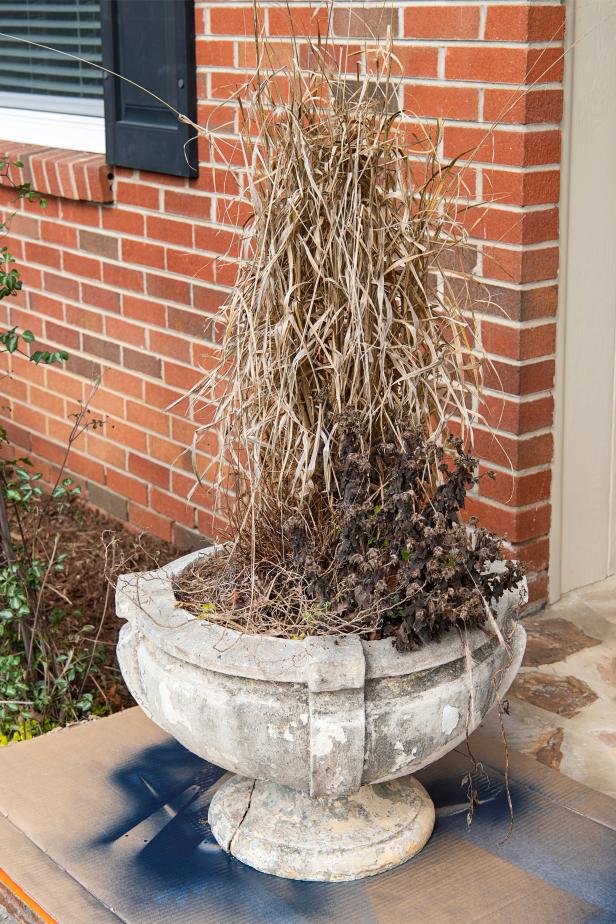
Remove Existing Plants
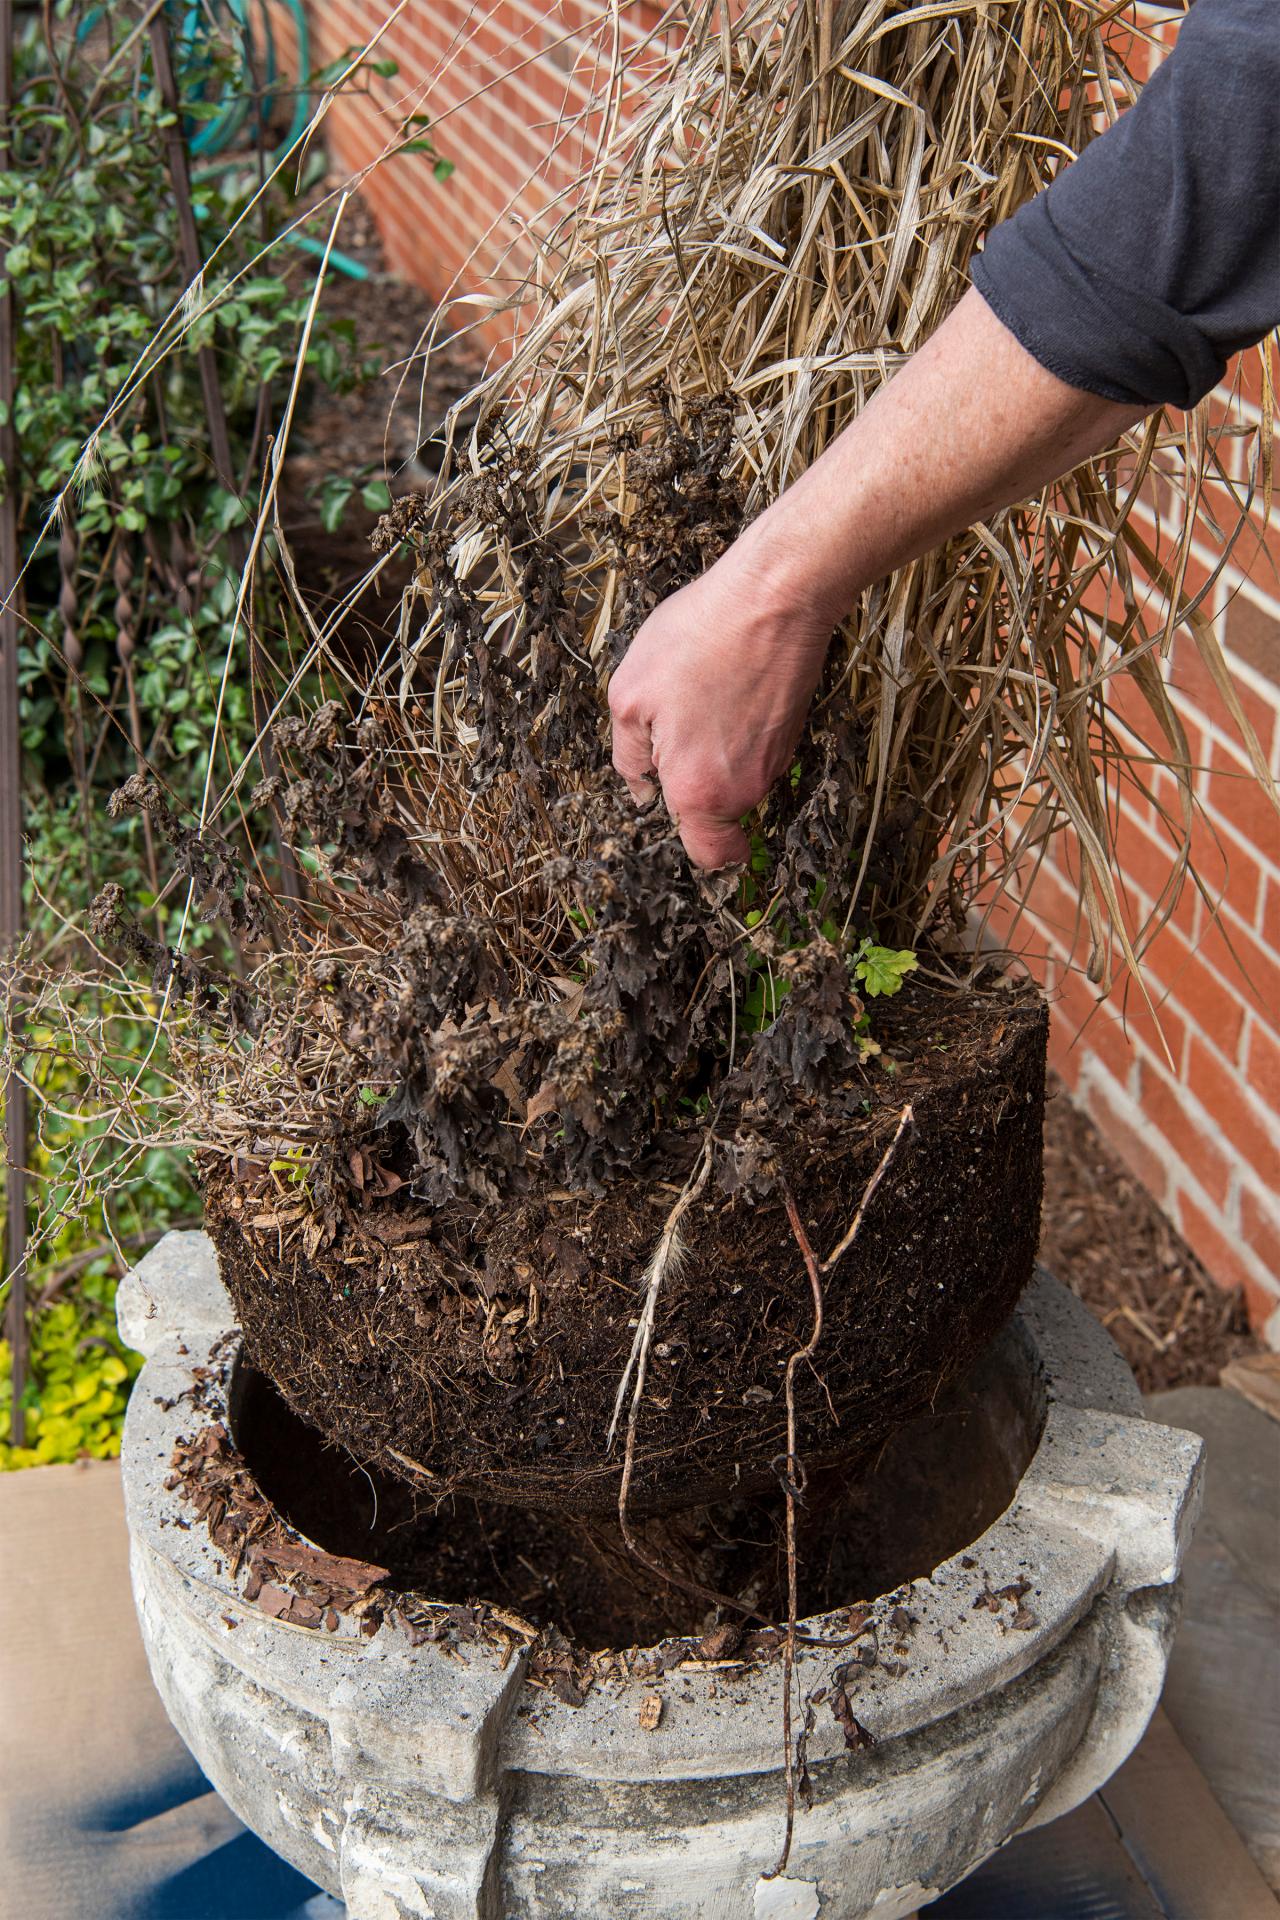
Typically, you can lift the entire contents of a concrete container out in one piece, as we have here — especially if the soil is dry. Set the old plants aside and be sure to relocate any perennials you want to plant in other locations.

Sarah Busby
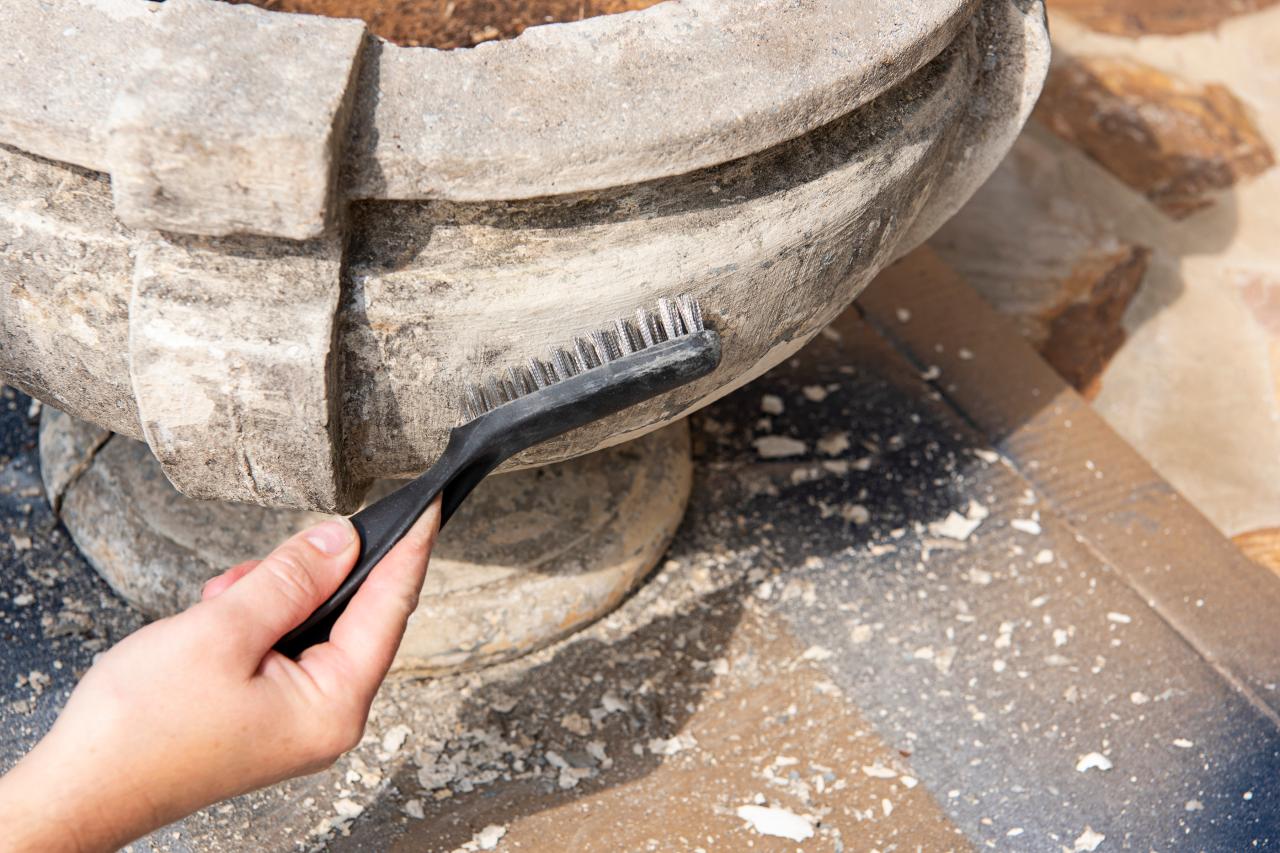
Remove Peeling Paint
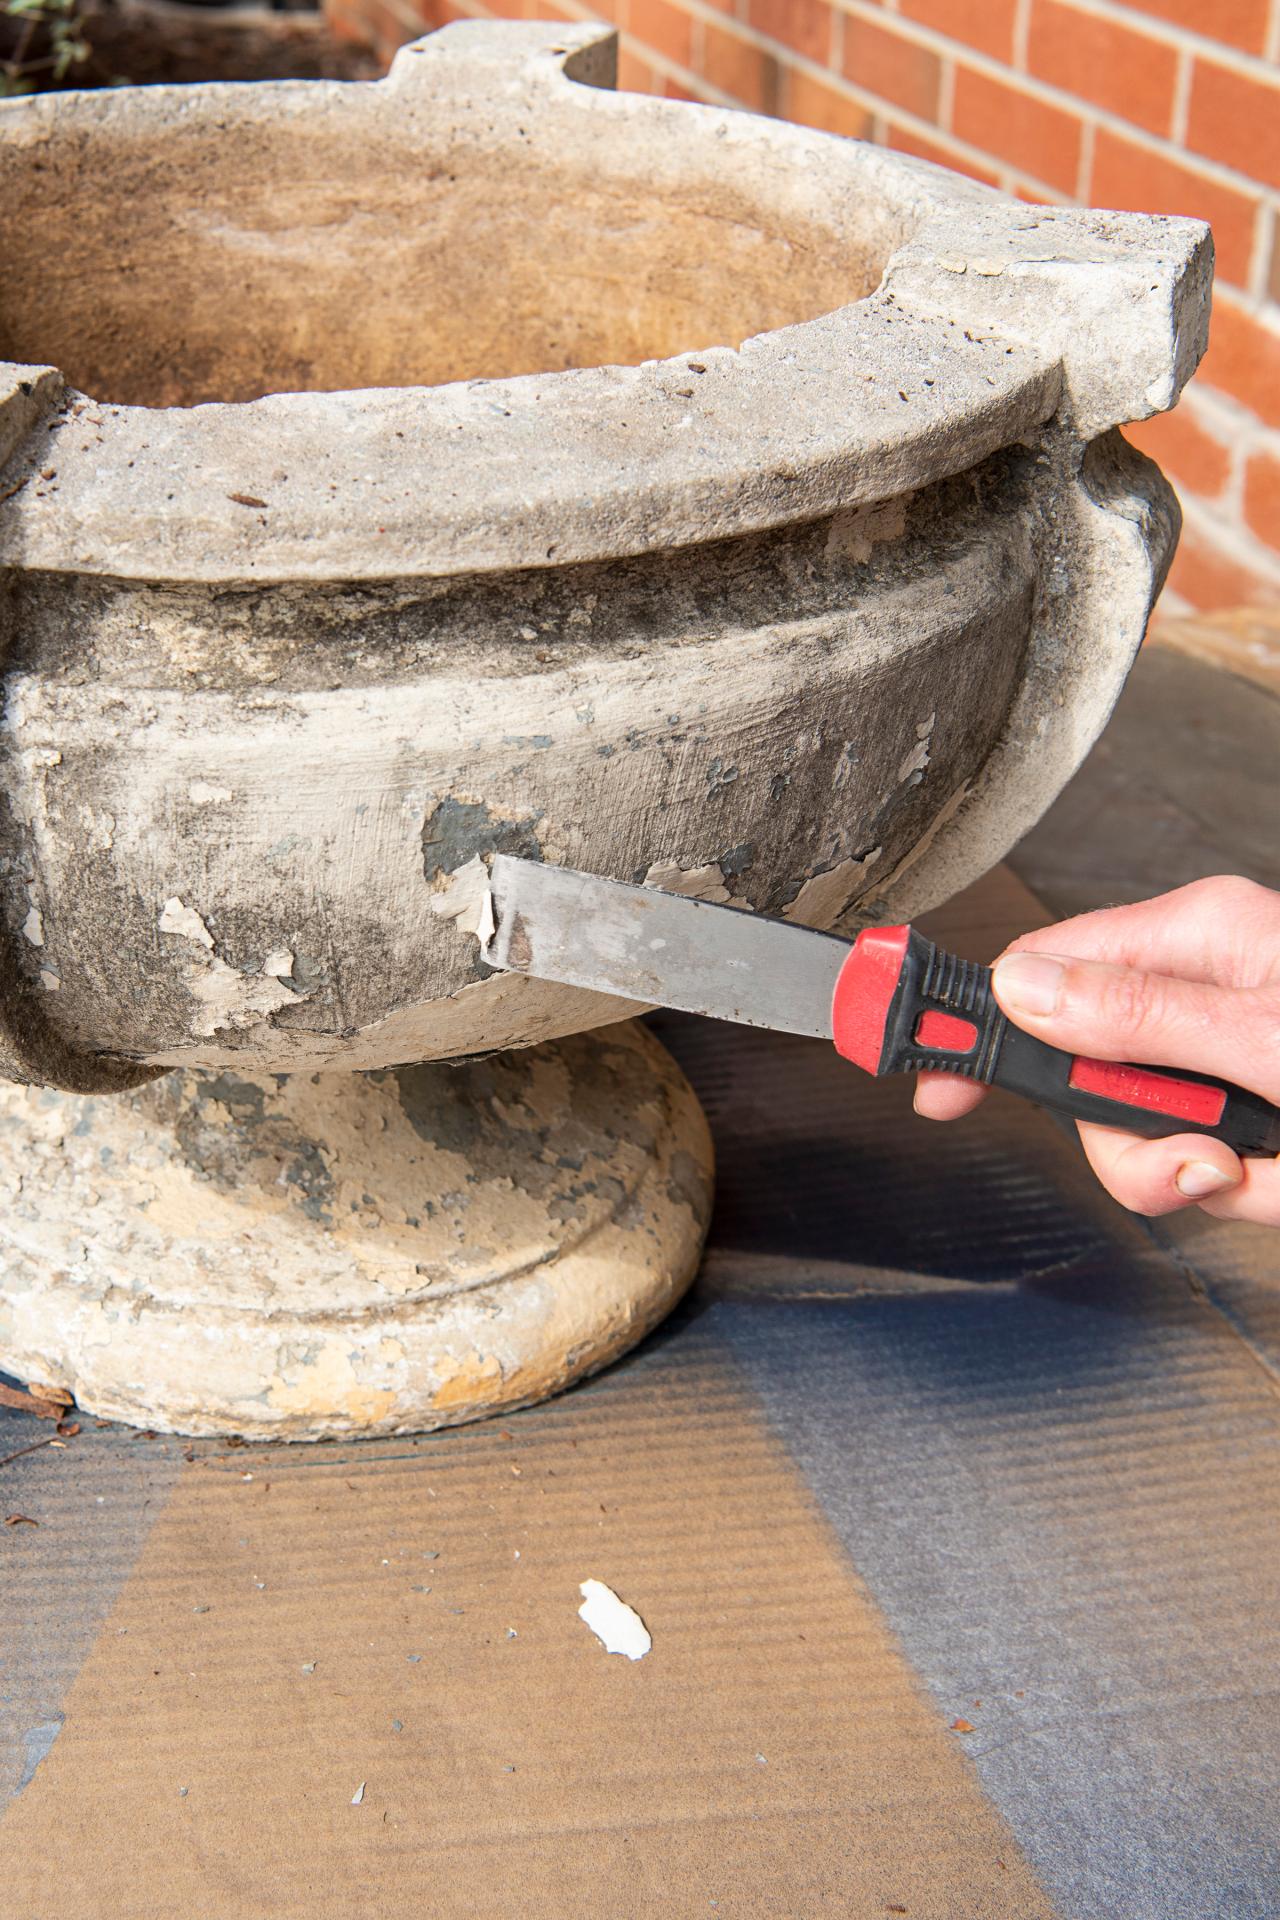
Using the sharp edge of the metal scraper, remove as much loose, flaking paint as you can from all areas, including the top and/or inner edge of the planter (Image 1). Using the wire brush, remove any remaining stuck-on bits of old paint and go over all areas to smooth the surface (Image 2).

Sarah Busby

Sarah Busby
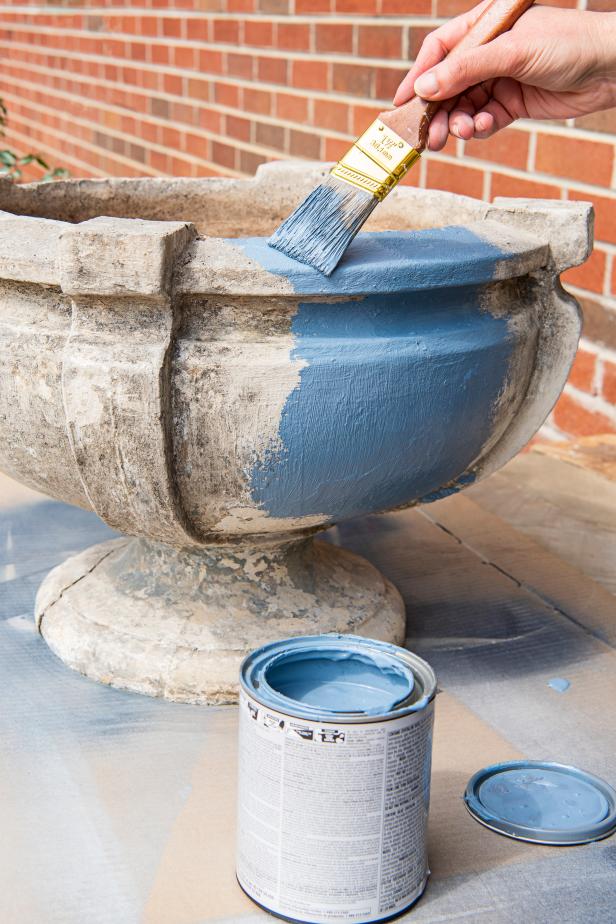
Paint Planter
First, use a broom and dustpan to sweep up the workspace. Give your planter a good, solid coat of paint on all exterior sides (Image 1). Also, add an inner ring of paint to the planter's interior (Image 2). If necessary, allow the first coat to dry, then brush on a second coat. Note: Look at your planter from all angles, including down low to ensure you've evenly covered all areas. A solid coat of exterior paint not only looks great but will seal and protect the porous concrete from the elements for many years to come.
Sarah Busby
Sarah Busby
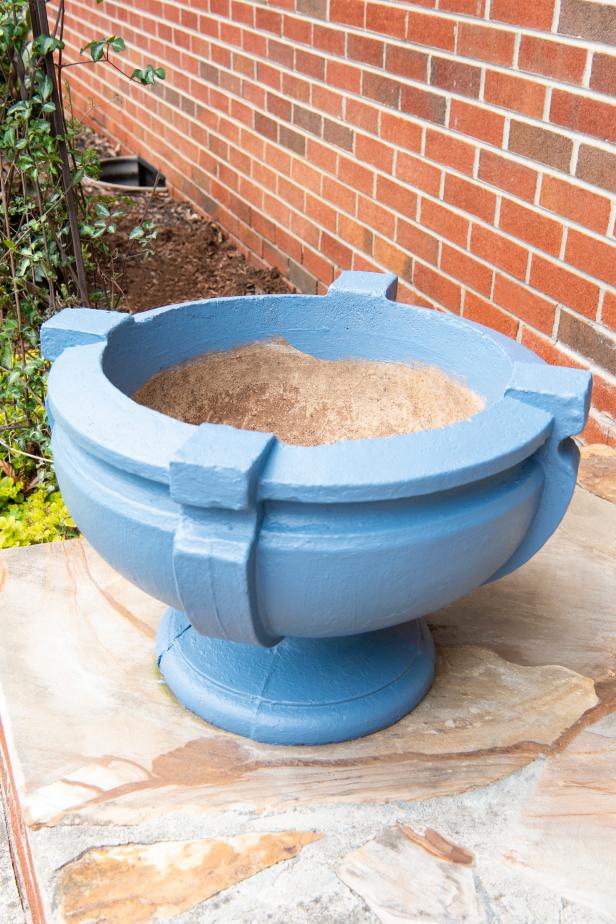
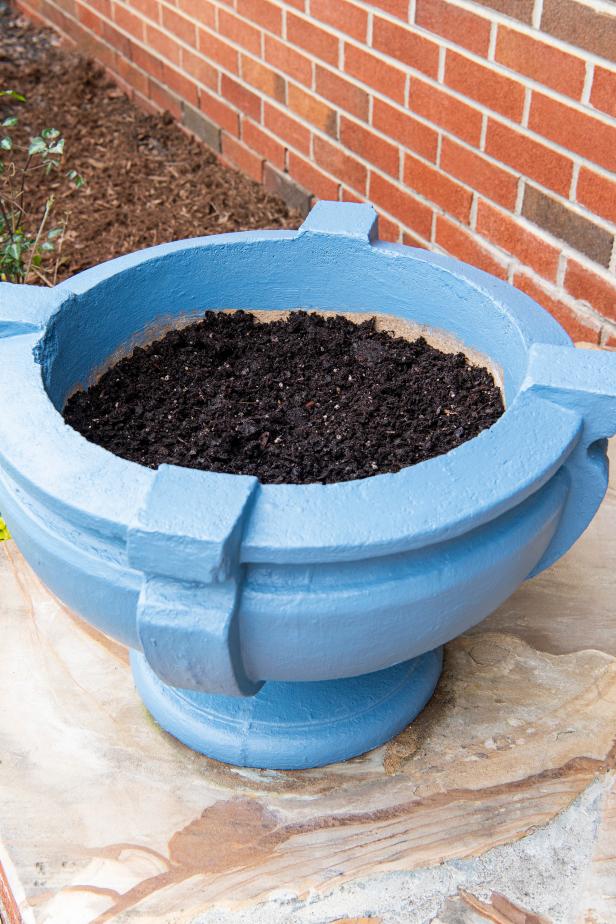
Add Potting Soil
After the paint has fully dried, add potting soil, leaving just enough room to add the new plants.
Sarah Busby
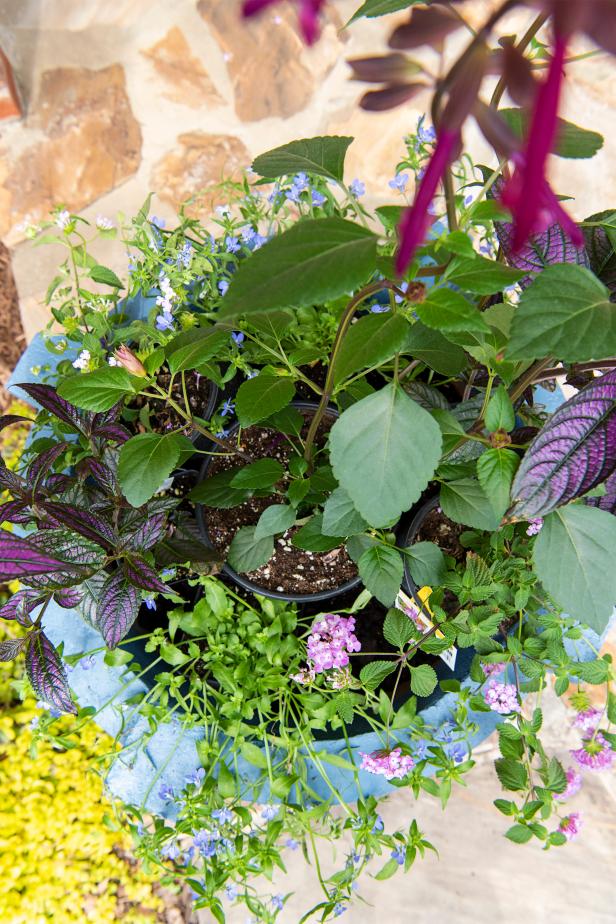
Determine Placement of New Plants
You’ve probably heard it before but the successful formula for a container is thriller, filler and spiller. So, you’ll need a central knockout plant/plants for the thriller (we used a single purple salvia surrounded by a pair of Persian shield plants), filler plants that grow in to give the planter a lush look (we used pale purple lantana) and a spiller, or a trailing plant that will spill over the container’s edge (we used lobelia). To determine placement, set the nursery pots on top of the freshly added layer of potting soil and arrange till you’re happy with their position, being sure to leave each plant a bit of elbow room to accomodate future growth.
Sarah Busby
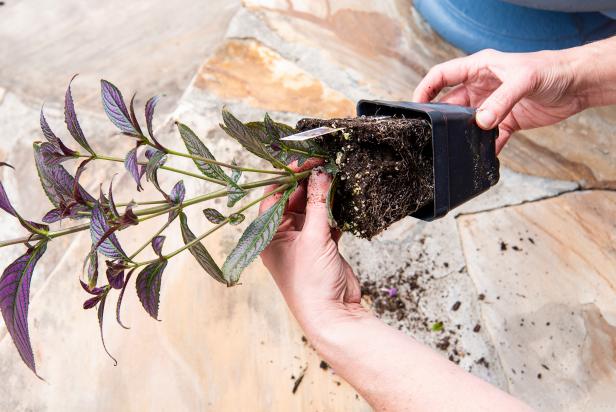
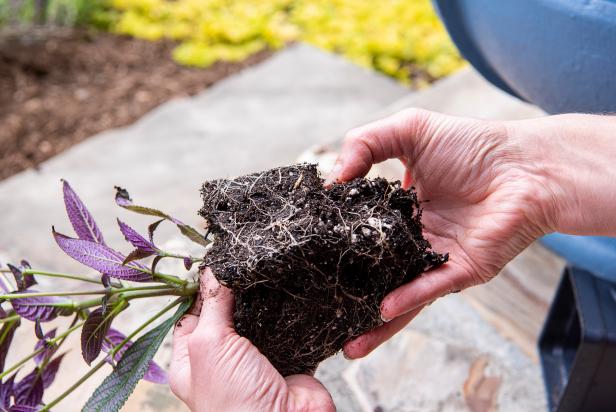
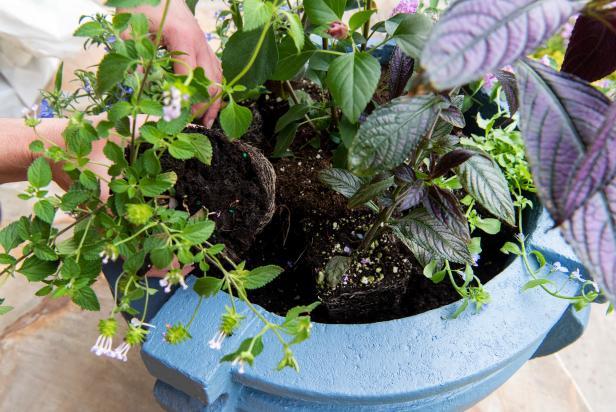
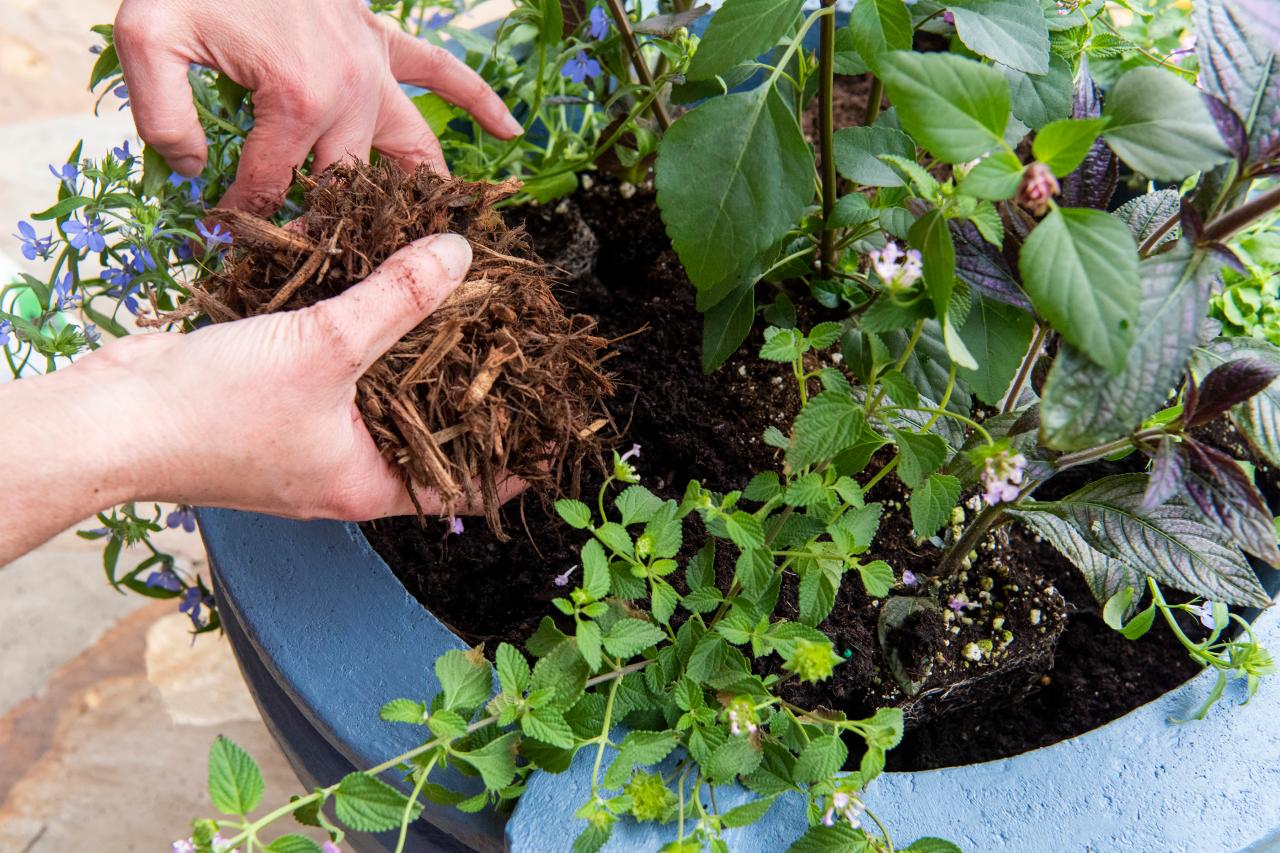
Unpot, Then Plant
Remove each plant from its nursery pot by firmly grasping the bottom of the plastic pot while gently pulling the plant free (Image 1). To give your plant a fresh start in its new home, gently tease apart the roots with your fingers (Image 2) to encourage new growth. Place each unpotted plant in its new location (Image 3) and fill in any gaps with potting soil, gently but firmly pressing the soil around each of the plants to secure them in their new home.
Sarah Busby
Sarah Busby
Sarah Busby
Add Mulch
Finally, no planter is complete without a layer of mulch that not only serves as a decorative finishing touch but also preserves moisture (meaning you'll need to water less often) and discourages weeds.

Sarah Busby
Admire Your New(Old) Planters
Voila, your decades-old planters have a new lease on life and will look great for many seasons to come.
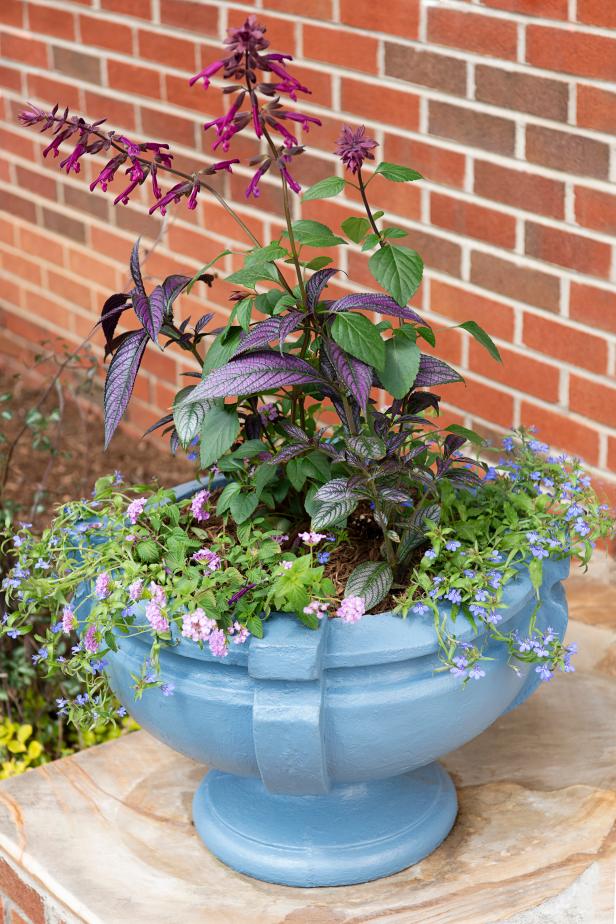
Photo by: Sarah Busby; Styling by H. Camille Smith
Sarah Busby; Styling by H. Camille Smith
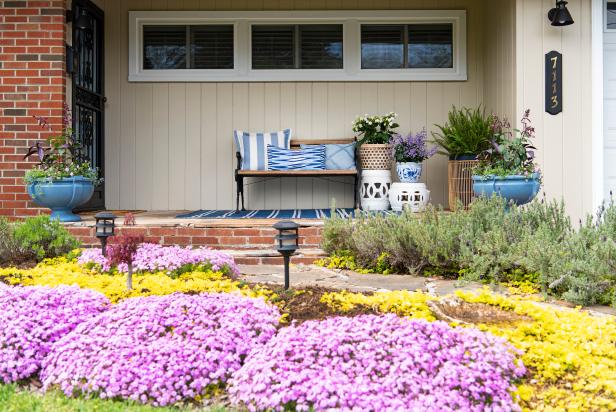
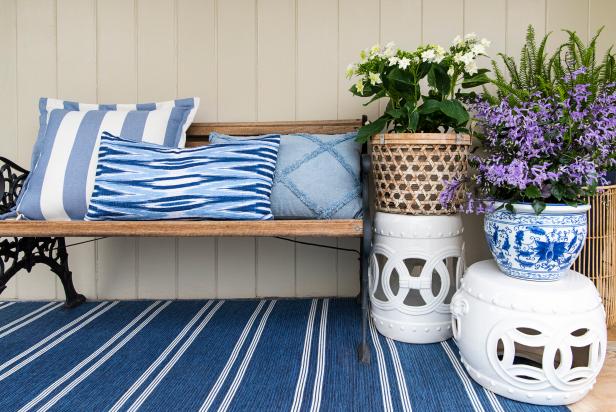
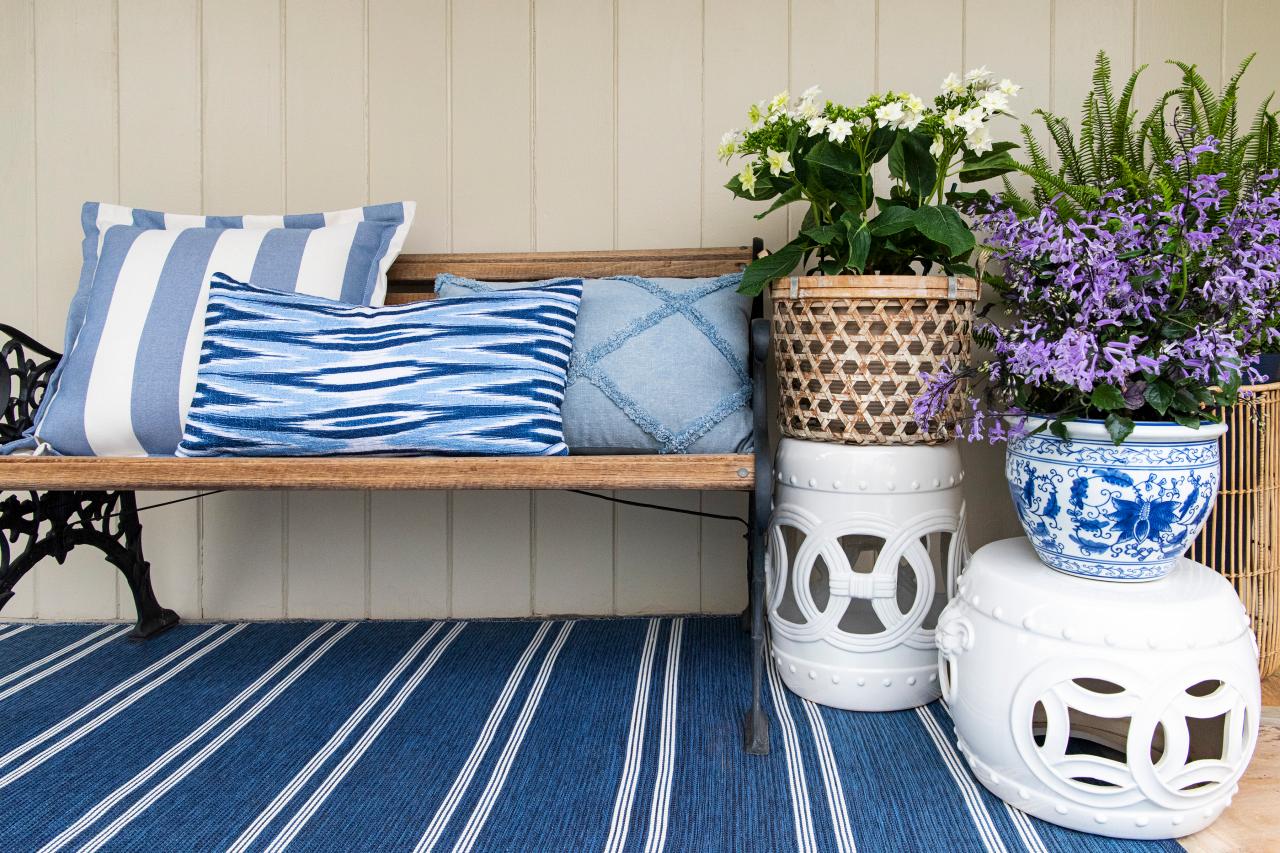
Don't Stop at the Planters
Give your curb appeal a major boost by adding a colorful outdoor rug, cozying up a bench with pillows and popping in more plants in complementary colors (Images 1-3).
Sarah Busby; Styling by H. Camille Smith
Sarah Busby
Sarah Busby; Styling by H. Camille Smith
Photo By: Sarah Busby; Styling by H. Camille Smith
Photo By: Sarah Busby; Styling by H. Camille Smith


