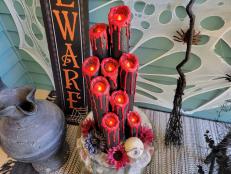
Easy DIY Sand Art Candles

If you loved doing sand art as a kid, here’s a grown-up-friendly twist on this easy craft you’ll want to try. Just add a votive candle, and you’ve got a stylish centerpiece or accessory for your home. You can customize the colors to complement any decor or occasion.

Pour layers of sand into a glass vase, alternating colors with each layer. For a more interesting look, try uneven layers in various heights.
Keep layering sand until you’re a few inches from the top of the vase. Place your votive candle in the center of the sand.
Continuing layering sand around the outside of the candle. (This is where the funnel may come in handy.) Keep going until you’ve reached the top rim of the candle.
Optional: Using a wooden skewer, create patterns in the sand.
Light the candles and enjoy!

HGTV Summer Camp: Sand Art

Pour layers of sand into a glass vase, alternating colors with each layer. For a more interesting look, try uneven layers in various heights. Keep layering sand until you’re a few inches from the top of the vase. Place your votive candle in the center of the sand. Continuing layering sand around the outside of the candle. (This is where the funnel may come in handy.) Keep going until you’ve reached the top rim of the candle. Optional: Using a wooden skewer, create patterns in the sand. Light the candles and enjoy!

Photo by: Jason Kisner

Jason Kisner

Materials Needed

  • Sand in various colors
  • Glass vases in various sizes
  • Glass votive candles
  • Funnel
  • Wooden skewer
  • Spoon

Colored Sand: Buy or DIY?

You can find decorative sand at your local craft store; the kids' crafts section will have bright, saturated colors, while the floral section will have more neutral hues. You can also dye your own sand using food coloring.

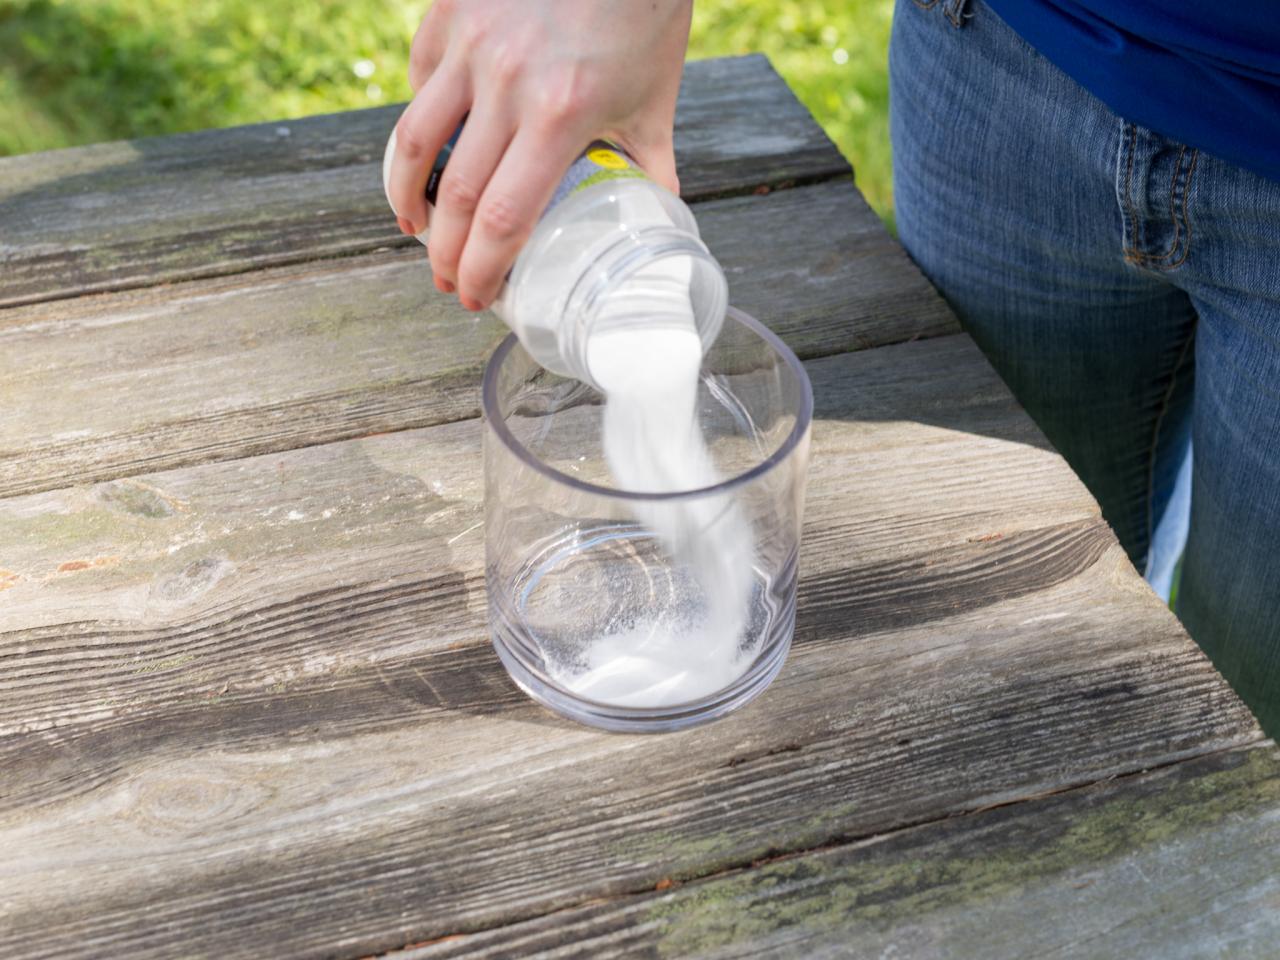
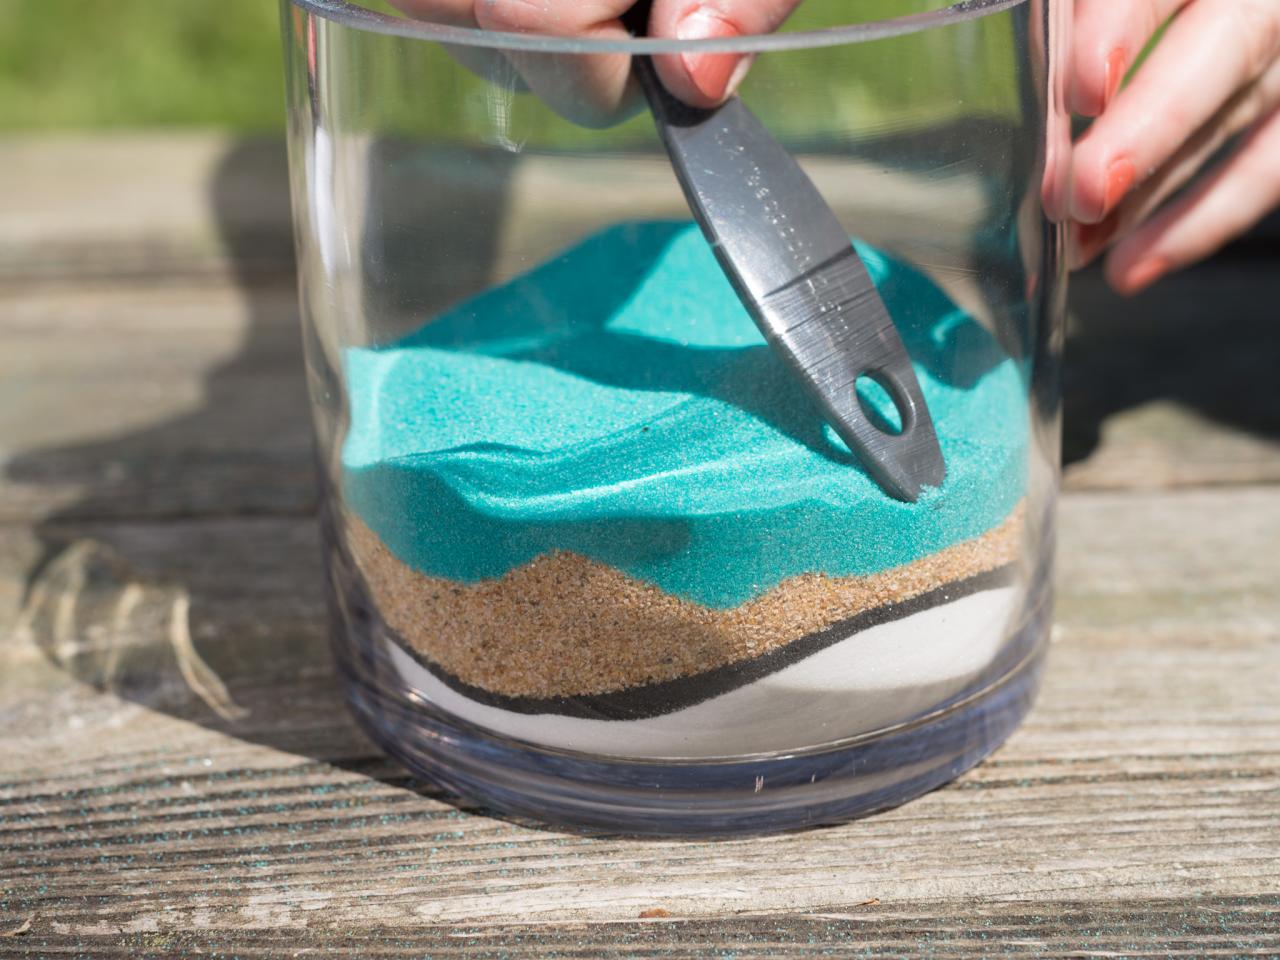
Pour Layers of Sand Into Vase

HGTV Summer Camp: Sand Art
Jason Kisner
HGTV Summer Camp: Sand Art
Jason Kisner

HGTV Summer Camp: Sand Art

Pour layers of sand into a glass vase, alternating colors with each layer. For a more interesting look, try uneven layers in various heights. Keep layering sand until you’re a few inches from the top of the vase. Place your votive candle in the center of the sand. Continuing layering sand around the outside of the candle. (This is where the funnel may come in handy.) Keep going until you’ve reached the top rim of the candle. Optional: Using a wooden skewer, create patterns in the sand. Light the candles and enjoy!

Photo By: Jason Kisner

Pour your first layer of sand into the vase. Don't worry about making the layers even or uniform — in fact, uneven layers will look more interesting in the end. Continue layering sand in various colors. Use a spoon or your fingers to create ridges and valleys in the sand.

Add Votive Candle

Pour layers of sand into a glass vase, alternating colors with each layer. For a more interesting look, try uneven layers in various heights.
Keep layering sand until you’re a few inches from the top of the vase. Place your votive candle in the center of the sand.
Continuing layering sand around the outside of the candle. (This is where the funnel may come in handy.) Keep going until you’ve reached the top rim of the candle.
Optional: Using a wooden skewer, create patterns in the sand.
Light the candles and enjoy!

HGTV Summer Camp: Sand Art

Pour layers of sand into a glass vase, alternating colors with each layer. For a more interesting look, try uneven layers in various heights. Keep layering sand until you’re a few inches from the top of the vase. Place your votive candle in the center of the sand. Continuing layering sand around the outside of the candle. (This is where the funnel may come in handy.) Keep going until you’ve reached the top rim of the candle. Optional: Using a wooden skewer, create patterns in the sand. Light the candles and enjoy!

Photo by: Jason Kisner

Jason Kisner

Once you've added several layers of sand, place your votive candle in the center of the vase. You want the rim of the candle to sit about half an inch below the rim of the vase.

Pour Sand Around Candle

Pour layers of sand into a glass vase, alternating colors with each layer. For a more interesting look, try uneven layers in various heights.
Keep layering sand until you’re a few inches from the top of the vase. Place your votive candle in the center of the sand.
Continuing layering sand around the outside of the candle. (This is where the funnel may come in handy.) Keep going until you’ve reached the top rim of the candle.
Optional: Using a wooden skewer, create patterns in the sand.
Light the candles and enjoy!

HGTV Summer Camp: Sand Art

Pour layers of sand into a glass vase, alternating colors with each layer. For a more interesting look, try uneven layers in various heights. Keep layering sand until you’re a few inches from the top of the vase. Place your votive candle in the center of the sand. Continuing layering sand around the outside of the candle. (This is where the funnel may come in handy.) Keep going until you’ve reached the top rim of the candle. Optional: Using a wooden skewer, create patterns in the sand. Light the candles and enjoy!

Photo by: Jason Kisner

Jason Kisner

Using a funnel, continue pouring sand around the candle. Stop when the top layer of sand sits about half an inch below the rim of the candle.

Add Patterns in Sand

Pour layers of sand into a glass vase, alternating colors with each layer. For a more interesting look, try uneven layers in various heights.
Keep layering sand until you’re a few inches from the top of the vase. Place your votive candle in the center of the sand.
Continuing layering sand around the outside of the candle. (This is where the funnel may come in handy.) Keep going until you’ve reached the top rim of the candle.
Optional: Using a wooden skewer, create patterns in the sand.
Light the candles and enjoy!

HGTV Summer Camp: Sand Art

Pour layers of sand into a glass vase, alternating colors with each layer. For a more interesting look, try uneven layers in various heights. Keep layering sand until you’re a few inches from the top of the vase. Place your votive candle in the center of the sand. Continuing layering sand around the outside of the candle. (This is where the funnel may come in handy.) Keep going until you’ve reached the top rim of the candle. Optional: Using a wooden skewer, create patterns in the sand. Light the candles and enjoy!

Photo by: Jason Kisner

Jason Kisner

You can leave your layers as they are, or use a wooden skewer to create patterns in the sand. Insert the skewer vertically into the sand as close to the side of the vase as possible, then pull it out. Repeat around the entire vase for a chevron-like pattern.

Display Them

Pour layers of sand into a glass vase, alternating colors with each layer. For a more interesting look, try uneven layers in various heights.
Keep layering sand until you’re a few inches from the top of the vase. Place your votive candle in the center of the sand.
Continuing layering sand around the outside of the candle. (This is where the funnel may come in handy.) Keep going until you’ve reached the top rim of the candle.
Optional: Using a wooden skewer, create patterns in the sand.
Light the candles and enjoy!

HGTV Summer Camp: Sand Art

Pour layers of sand into a glass vase, alternating colors with each layer. For a more interesting look, try uneven layers in various heights. Keep layering sand until you’re a few inches from the top of the vase. Place your votive candle in the center of the sand. Continuing layering sand around the outside of the candle. (This is where the funnel may come in handy.) Keep going until you’ve reached the top rim of the candle. Optional: Using a wooden skewer, create patterns in the sand. Light the candles and enjoy!

Photo by: Jason Kisner

Jason Kisner

These candles look best when grouped together. Make several in various sizes and colors and play around with different arrangements until you find one you like.

Next Up

Quickly Craft These Christmasy Taper Candle Rings

Give your everyday taper candles a holiday makeover in just a few minutes by dressing up plain napkin rings with hot glue and faux evergreens.

Preserved Moss Wall Art

New and longtime gardeners alike will love this easy, green wall art project from Hilton Carter's latest book, Wild Creations: Inspiring Projects to Create Plus Plant Care Tips & Styling Ideas for Your Own Wild Interior.

How to Make Scary Halloween Candles Out of Pool Noodles

Learn how to inexpensively make a haunted-house-worthy spooky candelabra using pool noodles, battery operated candles and a few basic craft supplies.

How to Make a 'Broomba': A Robot Vacuum Turned Into a Halloween Witch’s Broom

Turn your robotic vacuum into the life of your Halloween party by transforming it into a self-moving witch's broom.

Make a Tie-Dye Shower Curtain

It only takes 24 hours to brighten up a basic bathroom.

5 Cute + Easy Mother's Day Cards to Make

Make Mom one of these adorable handmade cards with materials you likely already have for an easy last-minute gift idea.

Craft a Clay Incense House Burner

Keep your house smelling oh-so-fresh all season long by crafting an incense-burning house out of oven-bake clay.

Make Picture-Perfect Pom-Poms in Minutes

Make super cute, no-sew pom-poms in a jiffy with these tips and tricks.

Make Clay Pinch Pot Hanging Planters to Display Your Fave Succulents

Learn how to make clay pinch pot hanging planters, perfect for mini succulents, with just a few materials and this easy, step-by-step tutorial.

5 Easy Halloween Costumes You Can Make With a T-Shirt

We're taking the plain white tee to a whole new level.

What's New in Handmade

On TV

Follow Us Everywhere

Join the party! Don't miss HGTV in your favorite social media feeds.