


How to Build a Wooden Window Valance

Tools and Materials:
circular saw
finish nailer
jig saw
miter saw
measuring tape
screw gun
wood glue
1/2” sheet of medium-density fiberboard (MDF)
1x3 clear pine for ledger
molding
caulk, paint and painting supplies
Steps:
1. Layout a piece of the MDF and draw a box the length and height of the cornice. If you want a scalloped edge or any other design on the bottom of the valance, draw it onto the wood. For a symmetrical pattern, draw your design to the half-way point of your pattern. Trace the pattern onto a paper of cardboard template and cut it out, then flip the pattern over to the undrawn side of the wood and copy onto the other half. If you are making more than one valance, a template is suggested to make sure your valances all match.
2. Measure and mark for the returns (sides of the valance). The width of the returns depend upon the window treatments that will be hanging under the cornice. Measure the window treatments when they are open and closed. The returns will be attached to the backside of the cornice face, not to the edge.
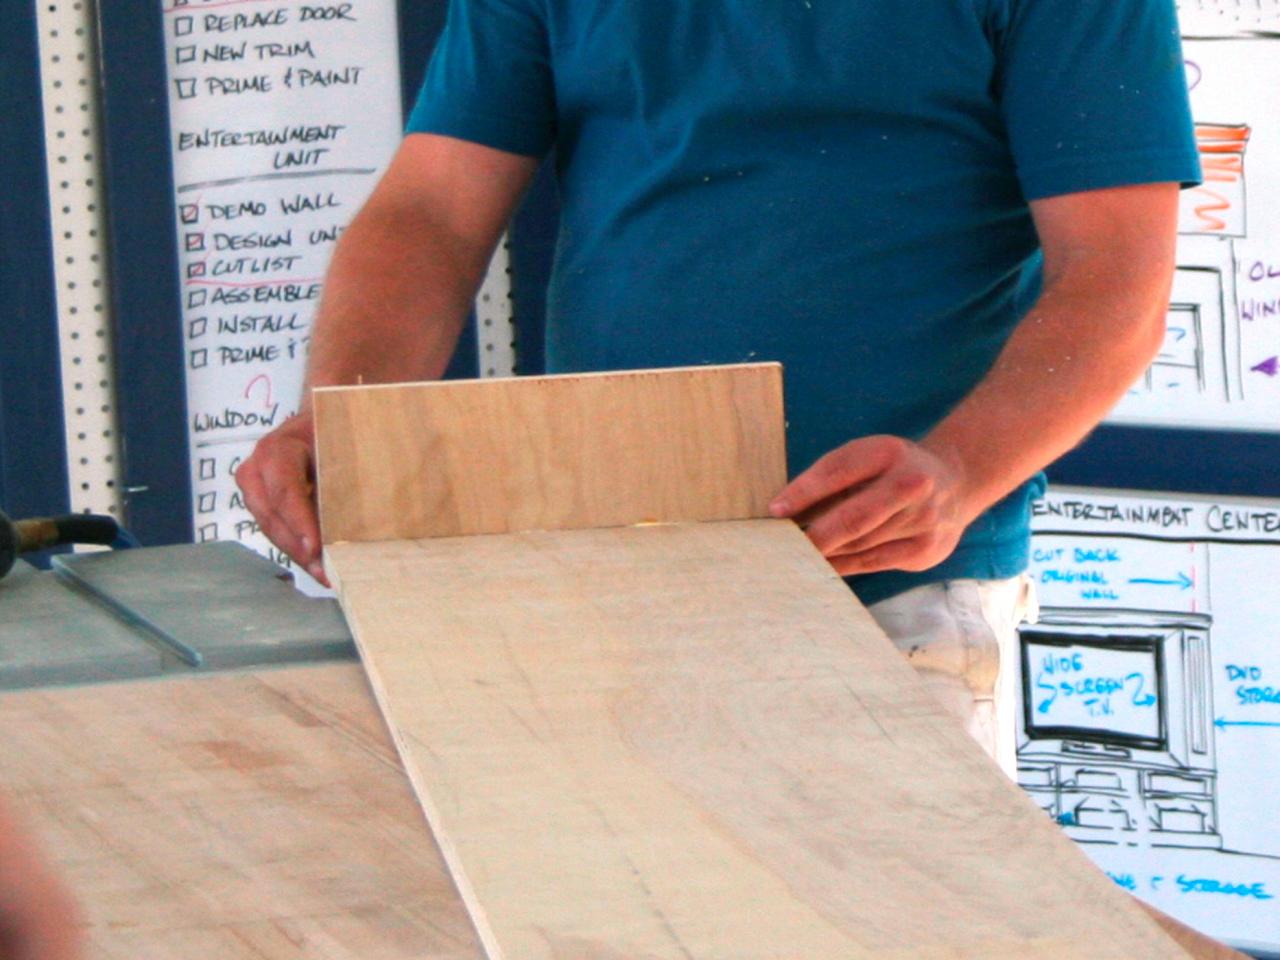
3. Use a circular saw to cut out the shape of the cornice, then a jig saw to out the design.

4. Use wood glue and a nails to fasten the returns through the face of the cornice.

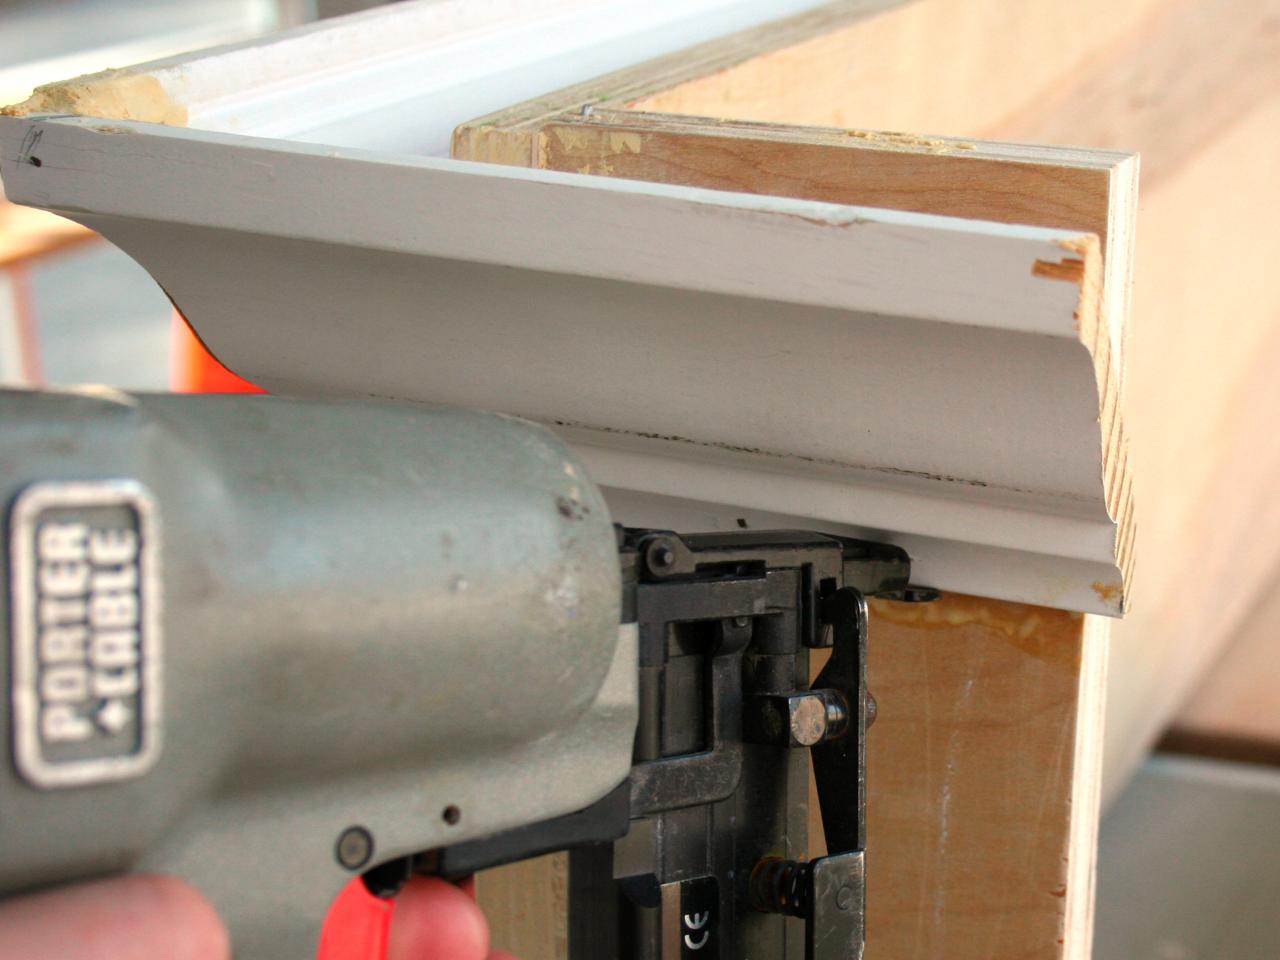
5. Measure and cut the molding. At the corners, cut the molding at a 45-degree angle and cope one piece for a tight fit. Nail the molding onto the cornice box.
6. Fill in gaps or nail holes with caulk, sand smooth, then prime and paint. Allow the cornice to dry completely.
7. Cut the 1x3 to size for the ledger, it should be just a little bit shorter in length than the inside of the cornice box. Screw the ledger to the wall. There should be a solid header to attach it to. If not, find the studs and attach the ledger to the studs.
8. Hang the cornice box by screwing it to the ledger.


